Editor’s note: This article was last updated on February 3, 2025, to provide a downloadable checklist of the steps involved in the UX design process and tool recommendations. The previous update, contributed by Allie Paschal, expanded on the UX design process and checklist items, explored advanced UX design concepts, addressed frequently asked questions, and refreshed the visual aids throughout the post.
The UX design process helps UX designers work step-by-step to create a useful feature or product. While the steps may vary across teams and projects, the goal remains the same — understanding user needs and designing solutions that truly work.
A solid UX process not only improves user experience but also cuts development costs and keeps design user-centered. It’s not always linear; sometimes, you’ll need to revisit earlier steps to refine your approach.
In this guide, we’ll break down the UX design process, explore some advanced concepts, and tackle common questions along the way. For a video version of this tutorial, check out this resource that walks through the seven steps that are vital to every UX design process:
The 7 crucial steps for every UX design process
The UX design process can feel different with every project, but there are some steps that remain vital regardless of where you work and what you’re working on. 📌 In this video, you’ll learn walk through the 7 steps that are vital to every UX design process: ✅ 1.
The UX design process is a flexible framework for crafting design solutions, evolving based on the team, project, or specific needs. Some guides may outline different steps, and you might find certain stages unnecessary — or even add your own.
That said, the seven steps below provide a solid foundation for structuring your UX process and tailoring it to your project’s goals:
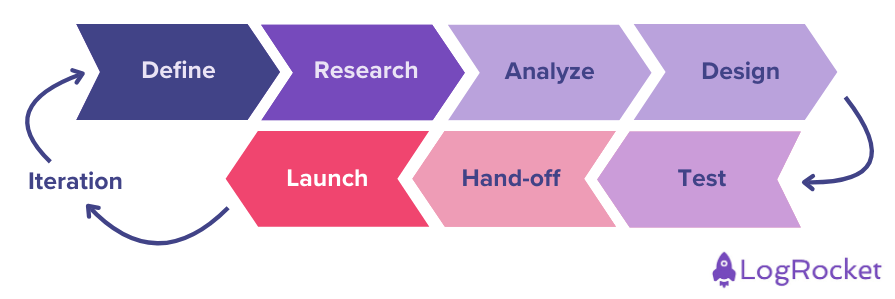
Let’s review each step’s expected actions and deliverables – starting with project definition and ending with launch and iteration.
To make your UX design process smoother, we’ve compiled a downloadable checklist with all the key steps and recommended tools. You might want to keep it handy for your next project!
Before you can run full-steam ahead of any research or design work, your team must align and clarify the project’s objectives and requirements. Ask questions like:
Asking straightforward, practical questions like this benefits the entire team because it encourages collaboration, helps set realistic expectations, and reduces feature creep (when a project’s features keep increasing without adding value).
Once you’ve defined your project, think of answers to questions like:
Prioritizing users ensures your product meets their needs. Research also uncovers biases and builds empathy.
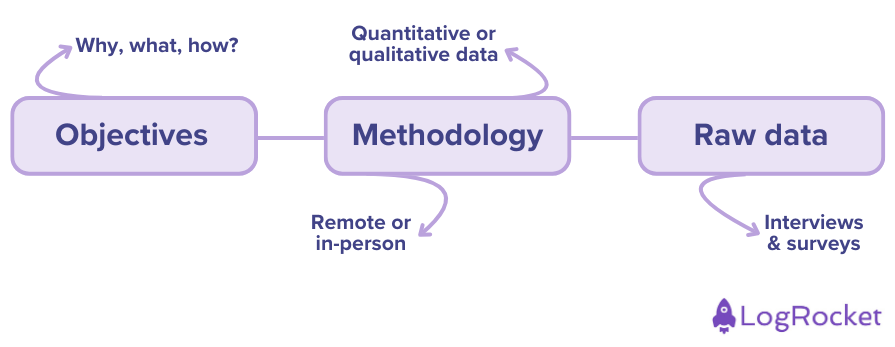
Though there are several UX research methods to choose from, we’ll review two common approaches below with interviews and surveys:
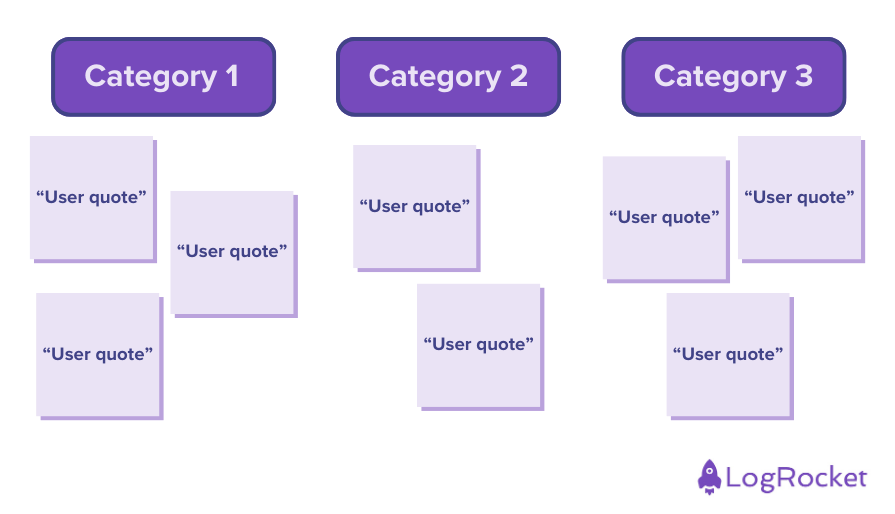
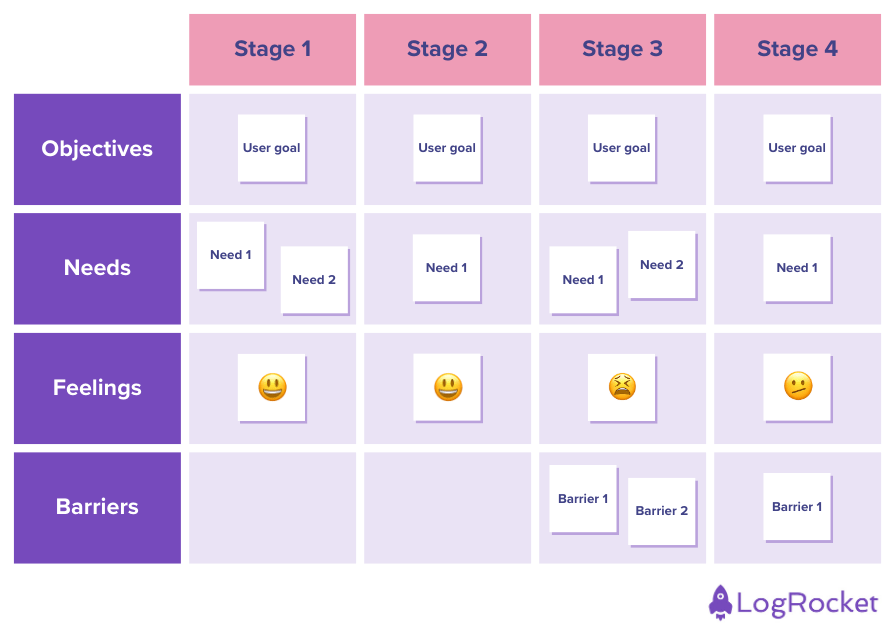
After collecting raw data, the next step is organizing and extracting key insights. Using structured methods simplifies this process. I’ll talk about them here:
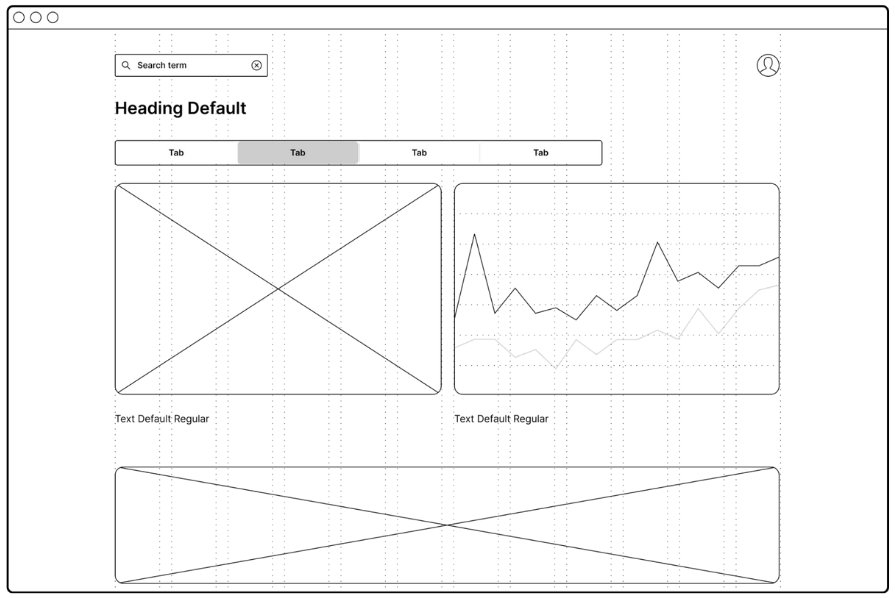
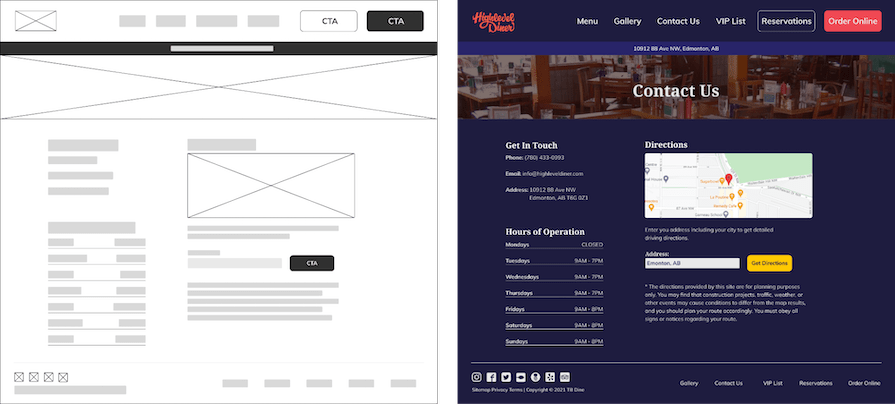
With research in hand, the next step is creating designs that balance aesthetics and usability. Users expect visually appealing yet functional products, and your designs should align with their expectations.
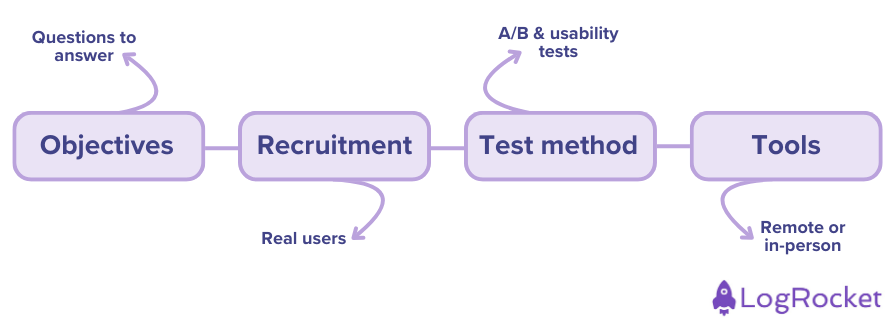
User testing validates your design by gathering real user feedback before development.
This stage often runs alongside design iterations, but final prototypes must be tested before handoff to engineers to catch usability issues early and avoid costly fixes later.
Once designs are finalized, they move to the development team for implementation. Developers bring UX designs to life, so collaboration between design and development is crucial throughout the process to ensure usability and feasibility.
The UX process doesn’t end at launch — it’s a continuous cycle of improvement based on user feedback and evolving product needs.
I’ve talked a lot about the UX design process. However, you may encounter not every design concept within each stage of the process. So, I’ll now go over a few advanced UX design topics that you may come across:
Inclusive design is all about creating digital experiences that are accessible to the broadest range of users, regardless of ability, background, or environment. It’s about designing for diversity — not as an afterthought, but as a fundamental principle.
A design system is a collection of reusable UI components, patterns, and guidelines that ensure consistency and efficiency across a product. While many companies develop their own systems, open-source options like Google’s Material Design, IBM’s Carbon, and Adobe’s Spectrum provide great starting points.
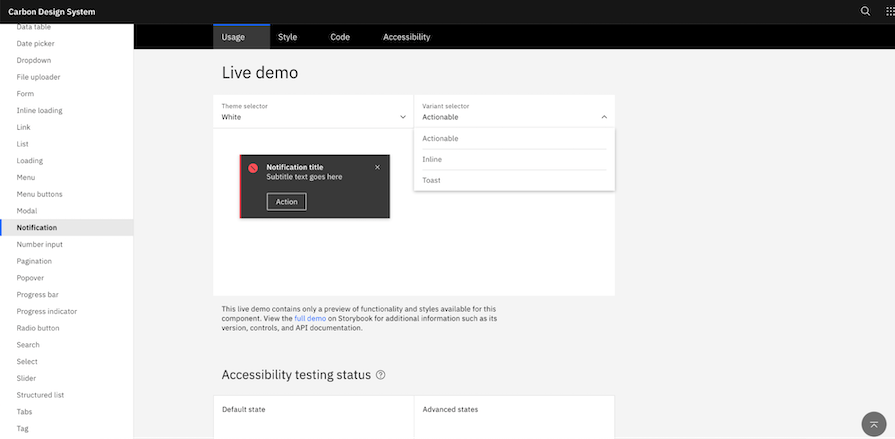
Information architecture (IA) is the practice of structuring content in a way that makes it intuitive, navigable, and easy to understand. A well-organized IA ensures users can find what they need without frustration.
There may still be some lingering questions, and I’ll take them up next:
The UX design process can take anywhere from a few weeks to several months, depending on project scope, budget, and resources.
Ultimately, UX design timelines vary — balancing thorough user research with efficient execution.
The tools you can use during the UX design process depend on which stage you’re in:
Stay open to all feedback — both positive and constructive. User insights may require rework, but they lead to better, user-informed designs. Keep stakeholders in the loop to ensure alignment and gather their input throughout the process.
Track key metrics using analytics tools and surveys:
The UX design process is ongoing — launching a product is just the beginning. Iteration ensures continuous improvement, optimizes UX, and reduces business costs.
This guide provides a structured approach but can be tailored to your project. For example, if a user persona already exists, reuse it instead of starting from scratch.
Beyond the process, we explored advanced concepts like inclusive design, information architecture, and design systems, along with key UX FAQs. Now, you’re equipped to refine your UX strategy effectively.
Ooh, and to help you streamline your workflow, we’ve created a handy downloadable checklist — so you always have a structured approach at your fingertips. Download it here and keep it as a go-to resource for your UX projects!
LogRocket's Galileo AI watches sessions and understands user feedback for you, automating the most time-intensive parts of your job and giving you more time to focus on great design.
See how design choices, interactions, and issues affect your users — get a demo of LogRocket today.
There’s no universally “best” design language. This section breaks down when Linear-style design works well, how to build beyond it (or start from Radix UI), why it felt overused in SaaS marketing, and why conversion claims still need real testing.

Minimal doesn’t always mean usable. This comparison shows how Linear-style UI keeps contrast, affordances, and structure intact, unlike brutalism’s extremes or neumorphism’s low-clarity depth effects.
Linear-style UIs look simple, but the theming system has to do real work. Here’s how to meet WCAG 2.2 contrast requirements across light, dark, and high-contrast modes — whether you’re using a UI library or rolling your own tokens.
As product teams become more data-driven, UX designers are expected to connect design decisions to metrics. But real value comes from interpreting data, questioning assumptions, and bringing human behavior back into the conversation.