
MDX is a Markdown-based format widely used in publishing because of its ease of use and simplicity. Markdown is a lightweight markup language with plaintext formatting syntax. It is designed to be easy to write and read for human users who are not necessarily familiar with the syntax of HTML, although it is widely used to write webpages. This article will explore how MDX can be integrated into Next.js applications.

To follow along with the tutorial, you can refer to the companion repository.
The Replay is a weekly newsletter for dev and engineering leaders.
Delivered once a week, it's your curated guide to the most important conversations around frontend dev, emerging AI tools, and the state of modern software.
Markdown is a simple and powerful tool for formatting plaintext documents. With just a few keystrokes, you can create headings, emphasize words, create lists, and more. Markdown is easy to read and write, allowing you to create rich, formatted documents without needing a complex word processor.
Whether you’re writing on the web, in an email, or a software documentation file, Markdown is a valuable tool to have in your toolkit. In this article, we will take a closer look at how easy it is to integrate Markdown with Next.js.
Next.js is a JavaScript framework for building server-rendered and statically-generated applications. One interesting feature of Next.js is its integration with Markdown. With Next.js, you can easily import and render Markdown files in your application. This can be useful for creating blog posts, documentation, or other content that requires formatting.
To use Markdown in Next.js, you’ll need to install the required dependencies, such as remark and rehype-react. Then, you’ll use the remark-react component to render your Markdown content. This allows you to write your content in a simple and easy-to-read syntax, while Next.js takes care of the rendering and formatting.
In the tutorial, we will use next/mdx, next-mdx-remote, and next-mdx-enhanced for implementing Markdown.
next/mdxTo get started, install the following dependencies:
npm install @next/mdx @mdx-js/loader @mdx-js/react
To configure the page, add the following code to the next.config.js file:
const nextConfig = {
  reactStrictMode: true,
  swcMinify: true,
};

const withMDX = require('@next/mdx')({
  extension: /\.mdx?$/,
  options: {
    remarkPlugins: [],
    rehypePlugins: [],
    providerImportSource: '@mdx-js/react',
  },
});

module.exports = nextConfig;

module.exports = withMDX({
  pageExtensions: ['js', 'jsx', 'ts', 'tsx', 'md', 'mdx'],
});
With the above code added to your Next.js project, every file with the .mdx extension will be transformed into a page.
Next, create a file inside the ./pages directory, such as ./pages/blog/hello-world.mdx. You can then write some Markdown in the file, although it may appear plain. Here’s what it will look like:
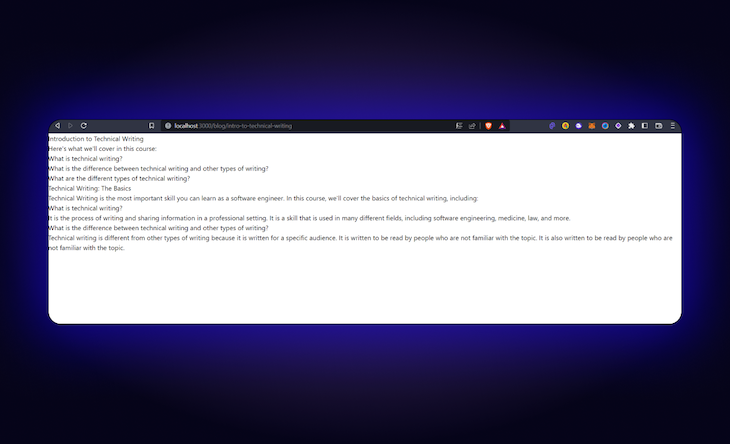
Now, we’ll create a layout for our blog page to personalize our HTML components. Make a file in the location ./layouts/Layout.tsx and type the following code in the document:
import { MDXProvider } from '@mdx-js/react';

interface LayoutProps {
  children: React.ReactNode;
}

function Layout ({children, ...props}: LayoutProps) {
   return (
    <MDXProvider components={components}>
      {children}
    </MDXProvider>
}
Next, add this Layout component to the Markdown page:
import Layout from '../../components/layout';

# Hello World!

{/* Markdown content */}

export default ({ children }) => <Layout>{children}</Layout>;
Although nothing much is happening now, we have set up the framework for configuring our Markdown page. Now, let’s create a few basic custom components, starting with the heading tags.
In ./components/mdx/Heading.tsx, add the following:
export const Heading = {
  H1: ({ children }) => <h1 className="text-2xl font-bold">{children}</h1>,
  H2: ({ children }) => <h2 className="text-xl font-bold">{children}</h2>,
};
Similarly, add one for the paragraph tag at ./components/mdx/Para.tsx:
function Para({ children }) {
  return <p className="text-gray-700 my-4 text-base">{children}</p>;
}
export default Para;
You can make more unique components based on the specifications. You can access the dev tools by hitting Ctrl + Shift + C. You can hover over the element you wish to examine to see which elements are wrapped around it on the website:
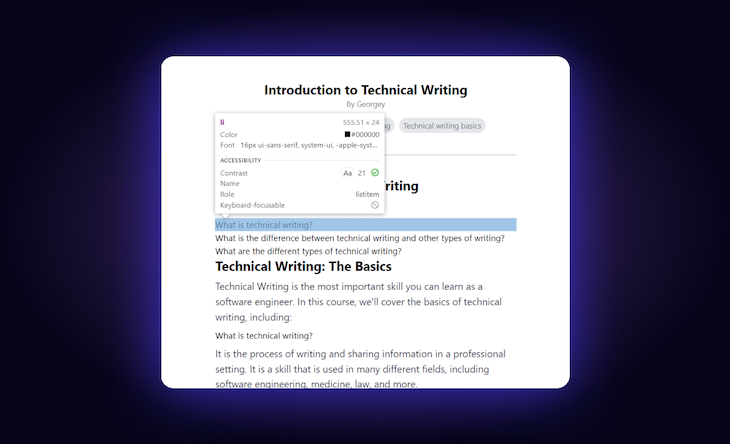
Next, head over to the Layout component and add the following changes:
const components = {
  h1: Heading.H1,
  h2: Heading.H2,
  p: Para,
  ul: UnorderedList,
};

function Layout ({children, ...props}: LayoutProps) {
  return (
    <MDXProvider components={components}>
      <div className="w-[80%] mx-auto p-6">
        {children}
      </div>
    </MDXProvider>
  )
}
Looks better!
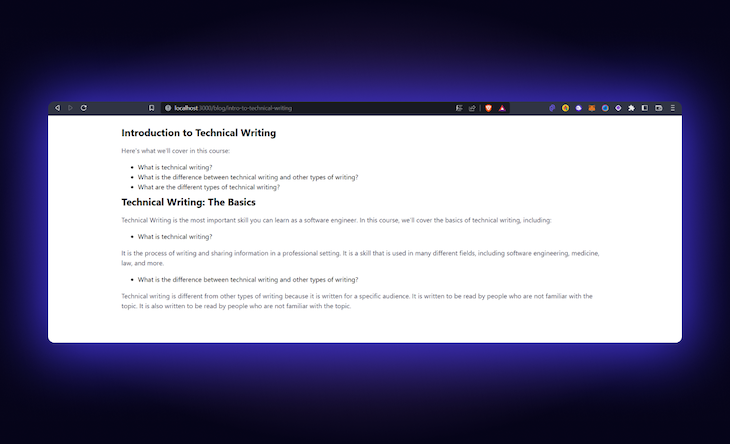
Another trick you can use with next/mdx is to add metadata to your Markdown content. This can be helpful when adding SEO to your Markdown page.
Now, add the following code to the Markdown page you just made:
export const meta = {
  author: 'Georgey',
  title: 'Introduction to Technical Writing',
  slug: 'introduction-to-technical-writing',
  topics: [
    'technical writing',
    'software engineering',
    'technical writing basics',
  ],
};

{/* Makrdown content */}

export default ({ children }) => <Layout meta={meta}>{children}</Layout>;
This object can now be accessed with the Layout.tsx component we created earlier. In the ./layouts/Layout.tsx file, add some metadata content onto the Head component provided by Next.js:
// ...imports
import Head from "next/head"

interface LayoutProps {
  children: React.ReactNode;
  meta: { author: string; title: string; slug: string; topics: string[] };
}

function Layout ({children, ...props}: LayoutProps) {
  return (
    <MDXProvider components={components}>
      <Head>
        <title>{props.meta.title}</title>
        <meta name="description" content={props.meta.title} />
      </Head>
    </MDXProvider>
  )
}
After completing that, our page can be indexed by web crawlers without encountering issues and earning a point on the Lighthouse score. Now that we have the metadata, we can also include it in the TL;DR section of the page to provide readers with a quick overview.
In the ./layouts/Layout.tsx component, add the following:
function Layout ({children, ...props}: LayoutProps) {
  return (
    <MDXProvider>
      <div className="w-[80%] mx-auto p-6">
        {/* Head */}


        <div className="flex flex-col mt-6 mb-10 items-center justify-center text-center">
          <h1 className="text-3xl font-bold">{props.meta.title}</h1>
          <p className="text-md text-gray-500">By {props.meta.author}</p>
          {/* topics */}
          <div className="flex flex-wrap gap-2 mt-4">
            {props.meta.topics.map((topic) => (
              <span
                key={topic}
                className="text-sm text-gray-500 bg-gray-200 rounded-full px-2 py-1"
              >
                {topic.slice(0, 1).toUpperCase() + topic.slice(1)}
              </span>
            ))}
          </div>
        </div>


        {children}
      </div>
    </MDXProvider>
  )
}
To help the user understand the page’s relevance, we have displayed the key tags the article belongs to in the section above. Here’s what it will look like:
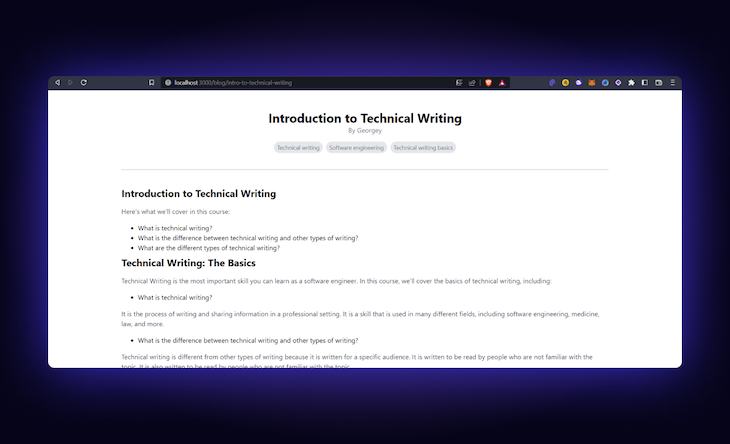
next-mdx-remoteTo see the code for this method in the repo, change the branch to using-next-mdx-remote to refer to the code for next-mdx-remote.
To start with next-mdx-remote, install the dependency below:
npm install next-mdx-remote
You can comment out the configurations we added to the next.config.js file earlier for next/mdx. We won’t need any for next-mdx-remote.
Next, clear the Markdown files inside the ./pages/blog directory, and move them to a separate directory outside ./pages inside a directory called ./database. Inside the ./database directory, make sure you create all Markdown files inside a directory of its own for each article page.
Your file structure should look something like this:
- pages
  |- blog
    |- [slug].tsx
- database
  |- intro-to-technical-writing
    |- intro-to-technical-writing.mdx
This file format will be useful when we add elements, like images, to our articles. After that, the Markdown file and the metadata object need to remove the export line. You can now include a feature called frontmatter in your Markdown file.
This will serve as our page’s metadata and be automatically processed when the Markdown content is fetched:
---
title: Intro to technical writing
author: Georgey
topics: technical writing, writing, documentation
description: A short introduction to technical writing
---
# Intro to technical writing
Technical writing is the process of writing and sharing information in a professional setting. A technical writer, or tech writer, is a person who produces technical...
{/* ...content below */}
All that’s left to do is set up next-mdx-remote inside the [slug].tsx file. We will use Next.js’s dynamic routes feature to create a page for every file inside our ./database directory.
I like this approach more because it separates the Markdown content from the data-fetching code, which is of more importance. Inside the [slug].tsx, add the following lines:
import fs from "fs"

export async function getStaticPaths() {
  const files = fs.readdirSync('database');
  return {
    paths: files.map((file) => ({
      params: {
        slug: file,
      },
    })),
    fallback: false,
  };
}
Dynamic routes inside ./pages need to be specified with the number of routes generated statically at build time. This is where getStaticPaths is used. We can use the Node.js file-system module to retrieve the filenames to use as route names for each article page.
Once this is done, all that is left is to fetch the specific Markdown content. To do this, create a getStaticProps function and include the following code:
import { GetStaticPropsContext } from 'next';
import { serialize } from "next-mdx-remote/serialize"
import path from "path"

export async function getStaticProps(ctx: GetStaticPropsContext) {
  const { slug } = ctx.params;

  const source = fs.readFileSync(
    path.join('database', slug as string, (slug + '.mdx') as string),
    'utf8'
  );

  const mdxSource = await serialize(source, { parseFrontmatter: true });
  return {
    props: {
      source: mdxSource,
    },
  };
}
In the code above, the requested slug is used as a parameter to fetch the Markdown content from the ./database directory. Again, using the fs module, the Markdown content is fetched and serialized to JSX to be used by the parser, provided by next-mdx-remote.
We will be using that in our client side shortly. Notice that we are passing an additional object to the serialize function with the property marked parseFrontmatter to parse the frontmatter from the Markdown content. Without this, you might be getting an empty object after serialization.
Let’s move to the client side now. Add the following code to see the Markdown right away:
import { GetStaticPropsContext, InferGetStaticPropsType } from 'next';
import { MDXRemote } from 'next-mdx-remote';
import Head from 'next/head';

function ArticlePage({
  source,
}: InferGetStaticPropsType<typeof getStaticProps>) {
  return (
    <div>
      <Head>
        <title>{source.frontmatter.title}</title>
      </Head>
      <MDXRemote {...source} />
    </div>
  );
}

// getStaticPaths + getStaticProps

export default ArticlePage;
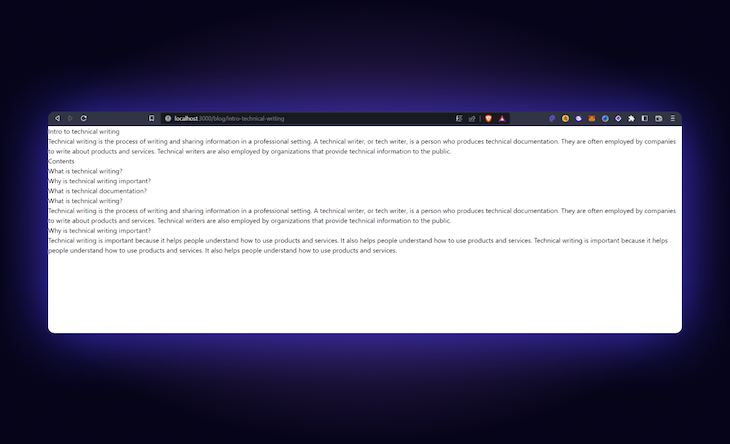
Like before, let’s add some custom components to the MDX parser. It’s fairly straightforward to do it in next-mdx-remote:
<div className="max-w-4xl mx-auto px-4 sm:px-6 lg:px-8 py-8">
 <MDXRemote
  {...source}
  components={{
   h1: Heading.H1,
   h2: Heading.H2,
   p: Para,
   ul: UnorderedList,
  }}
 />
</div>
Next, import the custom components we used previously for @next/mdx:
import { Heading } from '../../components/mdx/Heading';
import Para from '../../components/mdx/Para';
import UnorderedList from '../../components/mdx/UnorderedList';
And, voila!
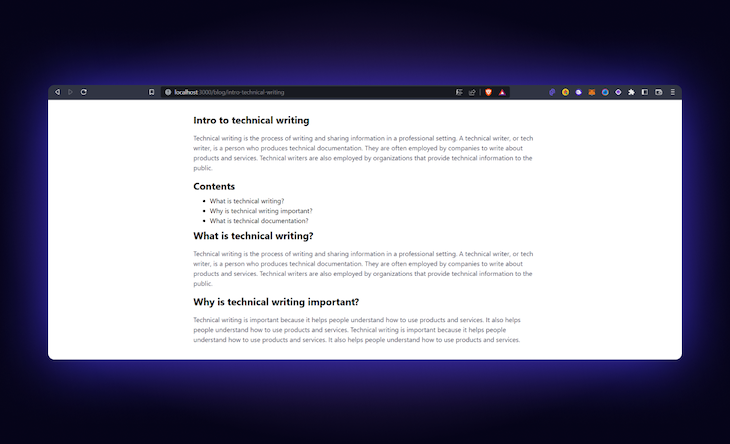
react-markdown for MDX integrationNow, we’ll look at using react-markdown as a strategy for MDX integration. First, install the following dependencies:
npm install react-markdown gray-matter
The gray-matter is a package for parsing the frontmatter available in our page, unlike the inbuilt serialize function in next-mdx-remote.
Let’s head on to our [slug].tsx file. The getStaticPaths function will remain the same as we are fetching the filenames. There’s only one thing that will change in the getStaticProps function, and that’s replacing the serialize function with gray-matter. gray-matter helps to parse the metadata content available in the Markdown page and serialize it appropriately.
Import gray-matter likewise and add the following code:
import matter from 'gray-matter';

export async function getStaticProps(ctx: GetStaticPropsContext) {
  const { slug } = ctx.params;
  const source = fs.readFileSync(
    path.join('database', slug as string, (slug + '.md') as string),
    'utf8'
  );
  const { data, content } = matter(source);
  return {
    props: {
      data,
      content,
    },
  };
}
The return value of the matter function can be destructured to obtain the data and content. Note that we will be using the .md file extension for react-markdown instead of .mdx, so be sure to make this change in the path.join() method above. Next, go to the client function and add the following lines:
import ReactMarkdown from "react-markdown"

function ArticlePage({
  data,
  content,
}: InferGetStaticPropsType<typeof getStaticProps>) {
  return (
    {/* header and layout */}
    <Layout meta={data}>
      <ReactMarkdown children={content} />
    </Layout>
  )
}
With that done, your page should be able to render the Markdown content. Next up, let’s add our custom components as usual. Again, this is pretty straightforward in react-markdown:
<ReactMarkdown
  children={content}
  components={{
    h1: Heading.H1,
    h2: Heading.H2,
    p: Para,
    ul: UnorderedList,
  }}
/>
To view the full list of customizable components, visit the official MDX.js page.
Our article may also contain images, so let’s customize the img tag to use the Next.js Image component, which allows for lazy loading and image optimization.
First, create a new file ./components/mdx/Image.tsx:
import Image from 'next/legacy/image';

function CustomImage({ src, alt, ...props }) {
  return (
    <div className="w-[10rem] p-10 mx-auto">
      <Image
        src={src}
        width={300}
        height={100}
        layout="responsive"
        alt={alt}
        {...props}
      />
    </div>
  );
}
export default CustomImage;
Then, add it to the configuration inside the ReactMarkdown component:
<ReactMarkdown
  children={content}
  components={{
    h1: Heading.H1,
    h2: Heading.H2,
    p: Para,
    ul: UnorderedList,
    image: ({ src, alt, ...props }) => {
      return <CustomImage src={src} alt={alt} {...props} />;
    },
  }}
/>
With that done, you should be able to view the image:
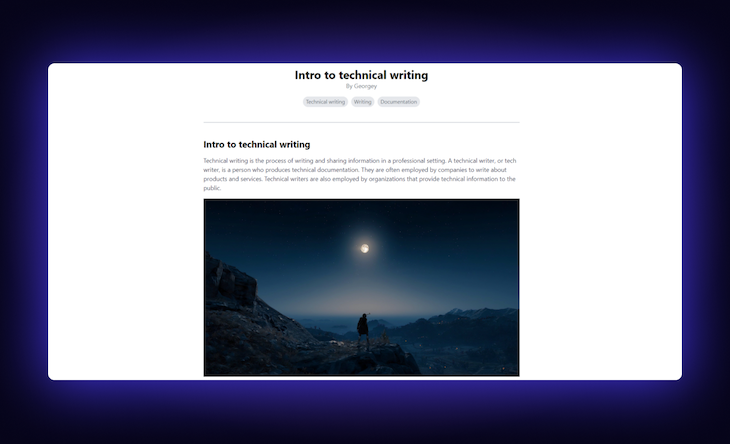
Another interesting feature you can add to your blogs is syntax highlighting for code blocks. We will use react-syntax-highlighter for this. To install it, use npm as follows:
npm install react-syntax-highlighter
Next, import the Provider and the theme we’ll be using for the code blocks:
// syntax-highlighter
import { Prism as SyntaxHighlighter } from 'react-syntax-highlighter';
import { atomDark } from 'react-syntax-highlighter/dist/cjs/styles/prism';
Inside the ReactMarkdown component, add another custom component:
<ReactMarkdown
  children={content}
  components={{
    ...components,
    code({ node, inline, className, children, ...props }) {
     const match = /language-(\w+)/.exec(className || '');
     return !inline && match ? (
      <SyntaxHighlighter
       children={String(children).replace(/\n$/, '')}
       style={atomDark}
       language={match[1]}
       PreTag="div"
       {...props}
      />
     ) : (
      <span className={className} {...props}>
       {children}
      </span>
     );
    },
  }}
/>
This line of code checks the Markdown content for the presence of a single "``" code tag or a code block, which is typically wrapped in "```---content---```". If it is a code block, it retrieves the language and assigns it to the SyntaxHighlighter component, adding appropriate syntax highlighting. Once you have added this feature, you should see the following theme on your code snippets:
```js
let name = "Georgey";

console.log("Hello " + name );
```
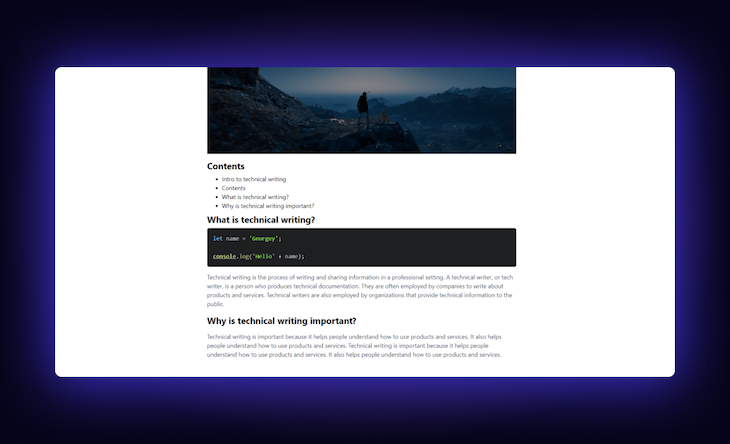
In conclusion, the three different MDX integration strategies outlined in this article each have unique benefits and trade-offs. By adding @next/mdx to your Next.js project, you can easily write JSX in your Markdown files and take advantage of the automatic code splitting provided by Next.js.
next-mdx-remote allows you to separate your Markdown content from your codebase and make it easier to manage. At the same time, react-markdown gives you a lightweight solution for converting Markdown to JSX with minimal setup. Ultimately, the best MDX integration strategy for your Next.js project will depend on your specific needs and requirements.
Debugging Next applications can be difficult, especially when users experience issues that are difficult to reproduce. If you’re interested in monitoring and tracking state, automatically surfacing JavaScript errors, and tracking slow network requests and component load time, try LogRocket.
LogRocket captures console logs, errors, network requests, and pixel-perfect DOM recordings from user sessions and lets you replay them as users saw it, eliminating guesswork around why bugs happen — compatible with all frameworks.
LogRocket's Galileo AI watches sessions for you, instantly identifying and explaining user struggles with automated monitoring of your entire product experience.
The LogRocket Redux middleware package adds an extra layer of visibility into your user sessions. LogRocket logs all actions and state from your Redux stores.


Modernize how you debug your Next.js apps — start monitoring for free.

React Server Components and the Next.js App Router enable streaming and smaller client bundles, but only when used correctly. This article explores six common mistakes that block streaming, bloat hydration, and create stale UI in production.

Gil Fink (SparXis CEO) joins PodRocket to break down today’s most common web rendering patterns: SSR, CSR, static rednering, and islands/resumability.

@container scroll-state: Replace JS scroll listeners nowCSS @container scroll-state lets you build sticky headers, snapping carousels, and scroll indicators without JavaScript. Here’s how to replace scroll listeners with clean, declarative state queries.

Explore 10 Web APIs that replace common JavaScript libraries and reduce npm dependencies, bundle size, and performance overhead.
Hey there, want to help make our blog better?
Join LogRocket’s Content Advisory Board. You’ll help inform the type of content we create and get access to exclusive meetups, social accreditation, and swag.
Sign up now
One Reply to "MDX integration strategies for Next.js"
This article just doesn’t work in Next 14