You may be reading this article because you stumbled upon the link from a different source and clicked to open it. This requires some interaction between you and your browser. Just like users interact with applications and get feedback, web applications also communicate among themselves and share information.
Imagine you finally paid for items in your cart on your favorite ecommerce site. If the payment was made via a third-party payment platform such as Paypal, there must be some mechanism to alert the ecommerce site of the payment you just made using Paypal, right?
That’s where webhooks come in.
In this tutorial, we’ll demonstrate how to receive webhooks in both Flask and Django.
The Replay is a weekly newsletter for dev and engineering leaders.
Delivered once a week, it's your curated guide to the most important conversations around frontend dev, emerging AI tools, and the state of modern software.
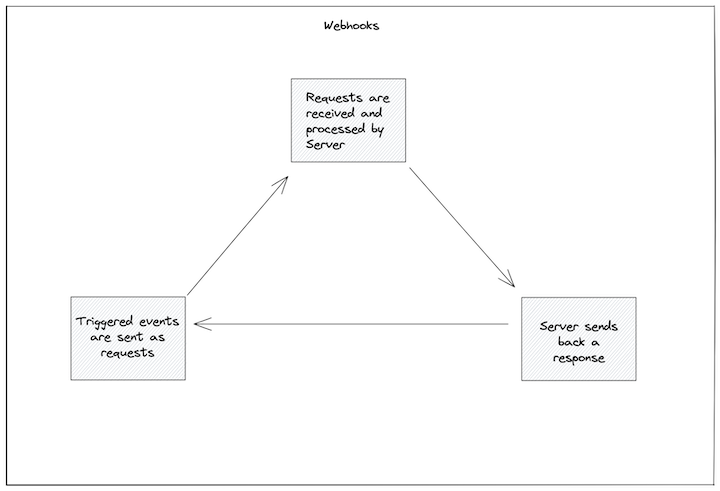
Webhooks are Hypertext Transfer Protocol (HTTP) endpoints that are triggered when an event occurs. They allow data to be sent from one application to another based on particular events.
Webhooks are commonly used to respond to a certain request. For example, webhooks are often used to:
In this section, we’ll walk through how to set up your development environment for both Flask and Django.
But first, to get started with development in Python, you need to install the following requirements:
Once you have Python and pip installed, you can proceed to install Flask and Django.
Flask is a web micro-framework developed in Python. Flask is easy to learn and use and does not require particular tools or libraries.
The Flask framework is lightweight and flexible, yet highly structured, making it a preferred choice for many Python developers.
To install Flask:
pip install flask

If you see something similar to the screenshot above, you have successfully installed Flask.
Django is a Python-based, free, open-source web framework that follows the model-template-views architectural pattern. Django is a high-level Python web framework that enables you to efficiently develop secure and maintainable websites.
pip install django

If you get feedback similar to the above, you have successfully installed Django.
Flask is a minimalist web framework. As such, we’ll create a single file for our webhook.
We’ll create a route in Flask that allows us to receive data on a /webhook path.
Flask has an inbuilt .route() decorator that binds a function to a URL. The function receives data in JSON format from a POST request and displays the data on the terminal.
# app.py

from flask import Flask, request

app = Flask(__name__)

@app.route('/webhook', methods=['POST'])
def webhook():
    if request.method == 'POST':
        print("Data received from Webhook is: ", request.json)
        return "Webhook received!"

app.run(host='0.0.0.0', port=8000)
The code snippet above represents our webhook app in Flask.
Save the file as app.py and run the following command in your terminal to start up the Flask server:
python app.py

We can send some sample JSON data to the /webhook route with the POST method using Postman.
Ensure that you have the same address as returned by the Flask server:
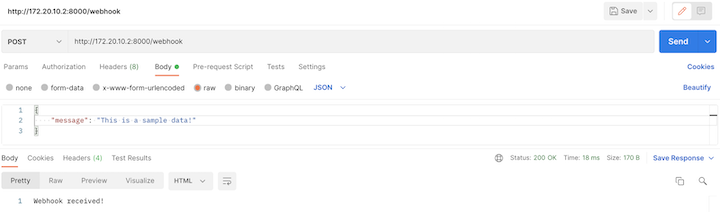
You can also consult the Flask server running on your terminal to see the behavior of your running webhook application:

You can do much more with the incoming data, such as process it or save it to a database.
To get started with Django, you need to do an initial setup of the project. This is to autogenerate some code that serves as a collection of settings for an instance of Django, including database configuration, Django-specific options, and application-specific settings.
Run the following command to create a project for your webhook application:
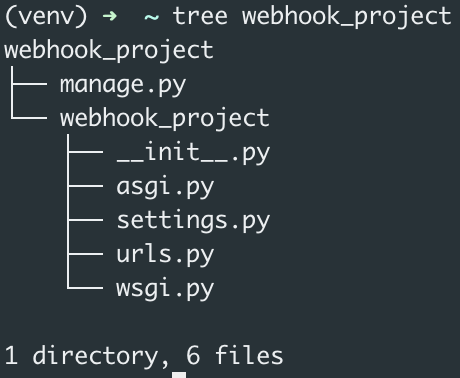
django-admin startproject webhook_project

Once this is done, Django creates a parent directory containing some files. You can run either ls or tree to see the contents of the directory:
Next, we need to create an app.
Each application you write in Django consists of a Python package that follows a certain convention. Django comes with a utility that automatically generates the basic directory structure of an app, so you can focus on writing code rather than creating directories.
To create an app inside the project directory, run the following command:
python manage.py startapp webhook

You can see that Django automatically generates some very important files for you to work with. For this tutorial, we’ll focus primarily on editing the views.py file.
To make our newly created app accessible to the project, we need to add it to the list of INSTALLED_APPS in the webhook_project/settings.py file.
# webhook_project/settings.py
# ...

INSTALLED_APPS = [
    'django.contrib.admin',
    'django.contrib.auth',
    'django.contrib.contenttypes',
    'django.contrib.sessions',
    'django.contrib.messages',
    'django.contrib.staticfiles',
    'webhook' # <- Add this line
]
Because Django uses a model-view-controller (MVC) pattern, we’ll just create a view.
Add the following lines of code to the webhook/views.py file:
# webhook/views.py
# ...
from django.http import HttpResponse
from django.views.decorators.csrf import csrf_exempt

@csrf_exempt
def webhook(request):
    if request.method == 'POST':
        print("Data received from Webhook is: ", request.body)
        return HttpResponse("Webhook received!")
The csrf_exempt decorator marks the view as exempt from the protection ensured by the cross-site request forgery (CSRF) middleware.
Next, modify the project’s urls.py file, import the view you just created, and append it to urlpatterns.
# webhook_project/urls.py
# ...

from webhook.views import webhook

urlpatterns = [
    path('admin/', admin.site.urls),
    path('webhook', webhook),
]
We pass two arguments to the path() method. The first is for the route and next is the imported view function we created earlier.
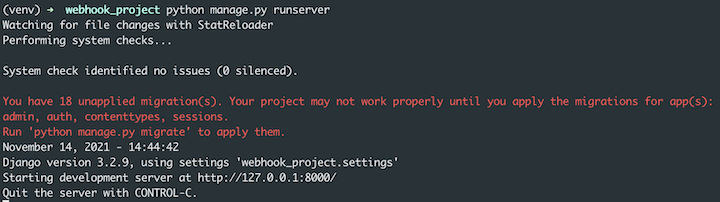
You can run the Django server using the following command:
python manage.py runserver
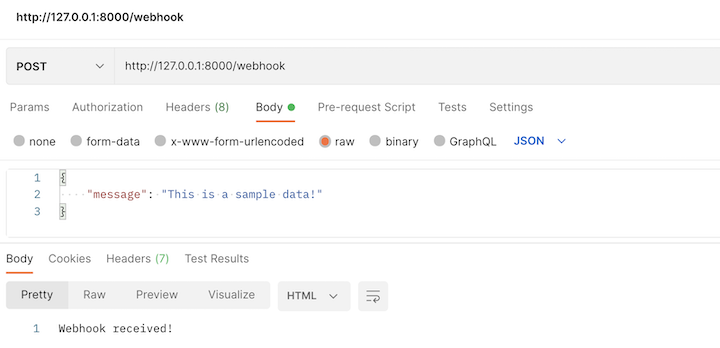
Now you can send some sample JSON data to the /webhook route with the POST method using Postman.
Ensure that you have the same address as returned by the Django server.
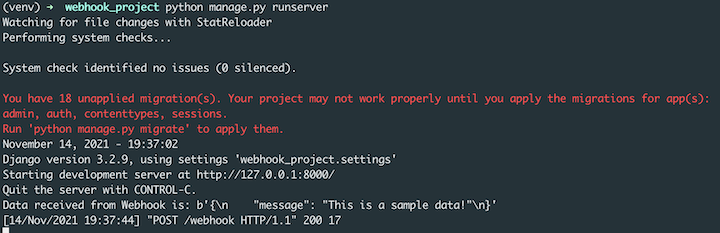
Again, you can also confirm from the Django server running on your terminal to see the behavior of your running webhook application.
Understanding how webhooks work is crucial to building scalable web applications.
You’ll often need to integrate with other systems and third-party tools, and being able to build effective communications among web systems could save you a lot of effort long-term.
In this tutorial, we introduced you to the concept of webhooks and demonstrated how to create a webhook in Python using both Flask and Django Web Frameworks.

Learn how Graph RAG uses connected knowledge structures to improve retrieval beyond simple text similarity.

Learn how sibling-index() enables clean, JavaScript-free stagger animations using native CSS.

useEffect breaks AI streaming responses in ReactSee why useEffect breaks AI streaming in React, and how moving stream state outside React fixes flicker and stale updates.

A real-world debugging session using Claude to solve a tricky Next.js UI bug, exploring how AI helps, where it struggles, and what actually fixed the issue.
Would you be interested in joining LogRocket's developer community?
Join LogRocket’s Content Advisory Board. You’ll help inform the type of content we create and get access to exclusive meetups, social accreditation, and swag.
Sign up now

