
Editor’s note: This guide was updated by Amazing Enyichi Agu in January 2026 to reflect React Router v7. The update refreshes the setup and examples (Vite + React + TypeScript), switches to the react-router package, introduces React Router’s modes (declarative, data, framework), and revises the routing, nested routes, params, useRoutes, and route protection sections to match current v7 patterns.

Single-page applications (SPAs) with multiple views need a mechanism for users to navigate between those different views without refreshing the whole webpage. We can dynamically change application views by switching the app state with conditional rendering, but in most scenarios, we need to sync the application URL with views.
For example, when a user visits a profile page, you may need to use /profile in the browser URL. You don’t need to implement this routing logic yourself. A fully-featured React routing library, such as React Router, can handle this. In this tutorial, I’ll explain how to implement routing for your React apps with React Router v7, including practical examples.
The Replay is a weekly newsletter for dev and engineering leaders.
Delivered once a week, it's your curated guide to the most important conversations around frontend dev, emerging AI tools, and the state of modern software.
React Router is primarily a fully-featured routing solution for React apps. It offers pre-developed components, Hooks, and utility functions to create modern routing strategies. React Router v7 – the latest major release of the project – is notable because it is a combination of React Router v6 and the full-stack framework Remix. As a result, React Router v7 has a wide range of use cases that span from simple routing to a full-stack framework.
Discussing all the modes and use cases of React Router is beyond the scope of this article, as there are numerous. However, this guide will focus on declarative mode, which is the recommended option for understanding fundamental React Router concepts and adding basic routing to React apps.
Traditional multi-page web apps typically have multiple view files (pages) for rendering different views, but modern SPAs use component-based views. So, you need to switch components based on the URL route a user navigates to. Not every feature in a React app needs a third-party library, but implementing robust routing from scratch is time-consuming. A pre-developed library for this use case will no doubt boost productivity.
React Router is the most popular routing library for React-based SPAs. It comes with a lightweight size, easy-to-learn API, and well-written documentation so that every React developer can utilize it seamlessly. The React Router team also provides active development and developer support for the project.
To take full advantage of this tutorial, please make sure you have the following installed in your local development environment:
Additionally, make sure you have basic knowledge of JavaScript, React, and TypeScript.
Start by creating a new React app. Use the following command in a terminal window to generate the project directory, then navigate inside the project directory and install React Router:
npm create vite@latest
# Follow the prompt. Use a React + TypeScript template and name the project 'react-router-example'
cd react-router-example

npm install react-router
This guide uses npm, but you’re free to use any package manager you prefer.
Once you have installed the dependencies, open the package.json file in your favorite code editor. You will see the version of the react-router library:
"dependencies": {
    // rest of the dependencies installed
    "react-router": "^7.9.6",
  },
As mentioned earlier, React Router has three modes, each with different use cases. Let’s briefly define them:
<ScrollRestoration/> componentFor more information on these different modes and their use cases, check out this insightful guide. The remainder of this article focuses on React Router’s declarative mode.
To create the first route using React Router, open src/App.tsx file and add the following import statement:
// after other import statements
import { BrowserRouter } from 'react-router';
This is the first component to import from the react-router library. It is used to wrap different routes. It uses the HTML5 history API to keep track of route history in the React app. Import and use it at the top-level component in a React app’s component hierarchy:
function App() {
  return <BrowserRouter>{/* All routes are nested inside it */}</BrowserRouter>;
}
The next component to import from react-router is Routes:
import { BrowserRouter, Routes } from 'react-router';
This component is an upgrade of the previous Switch component in React Router v5. It includes features like relative routing, nested routes, and layouts.
The last component from react-router required is called Route, and it is responsible for rendering the UI of an app route:
import { BrowserRouter, Routes, Route } from 'react-router';
It has a path prop that defines the app route, and an element prop that specifies what the Route component should render when that route is matched.
To create the first route in the following demo, let’s create a basic function component called Home that returns some JSX:
function Home() {
  return (
    <div style={{ padding: 20 }}>
      <h2>Home View</h2>
      <p>Lorem ipsum dolor sit amet, consectetur adip.</p>
    </div>
  );
}
Next, update the App component with the following route:
function App() {
  return (
    <BrowserRouter>
      <Routes>
        <Route path="/" element={<Home />} />
      </Routes>
    </BrowserRouter>
  );
}
Here is the complete source code of our first route:
import { BrowserRouter, Routes, Route } from 'react-router';

function Home() {
  return (
    <div style={{ padding: 20 }}>
      <h2>Home View</h2>
      <p>Lorem ipsum dolor sit amet, consectetur adip.</p>
    </div>
  );
}

function App() {
  return (
    <BrowserRouter>
      <Routes>
        <Route path="/" element={<Home />} />
      </Routes>
    </BrowserRouter>
  );
}

export default App;
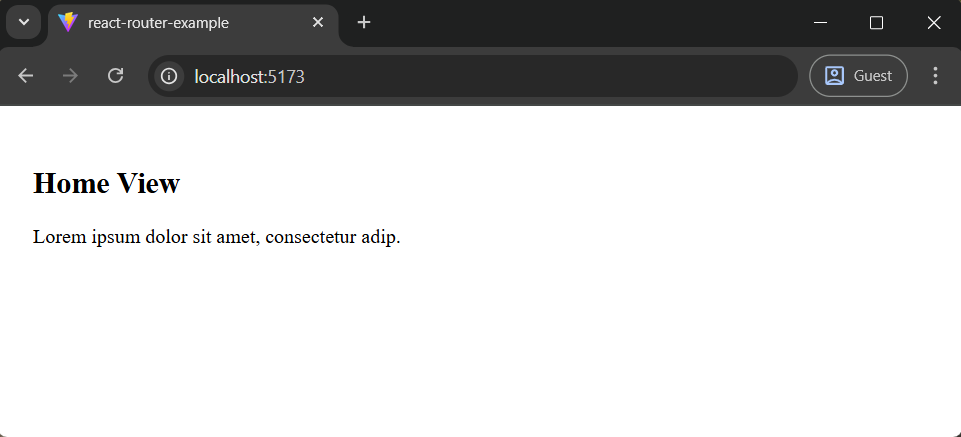
To see it working, go back to the terminal window and start the development server using npm run dev. Next, visit the localhost URL in a browser window. Here is the output after this step:
Let’s quickly create another function component called About that is only rendered when the route in a browser window is /about:
function About() {
  return (
    <div style={{ padding: 20 }}>
      <h2>About View</h2>
      <p>Lorem ipsum dolor sit amet, consectetur adip.</p>
    </div>
  );
}
Then, add the Route for the About component:
<Routes>
  <Route path="/" element={<Home />} />
  <Route path="/about" element={<About />} />
</Routes>
Now, go back to the browser window and navigate to about, as shown in the following preview:
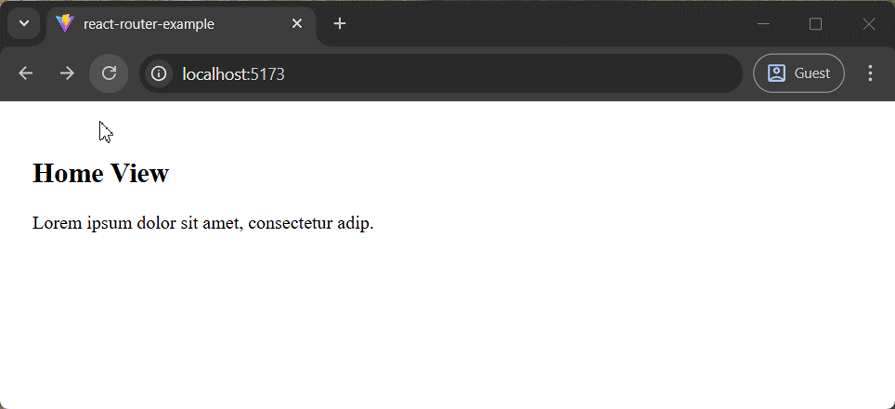
As shown in the preview above, you can navigate to the About page using the /about route. The browser’s forward/back button also works and changes views based on the history stack.
You can implement a 404 view for invalid route entries by adding a no-match route with the * syntax as follows:
// -----
// -----
function NoMatch() {
  return (
    <div style={{ padding: 20 }}>
      <h2>404: Page Not Found</h2>
      <p>Lorem ipsum dolor sit amet, consectetur adip.</p>
    </div>
  );
}

function App() {
  return (
    <Router>
      <Routes>
        <Route path="/" element={<Home />} />
        <Route path="/about" element={<About />} />
        <Route path="*" element={<NoMatch />} />
      </Routes>
    </Router>
  );
}

// -----
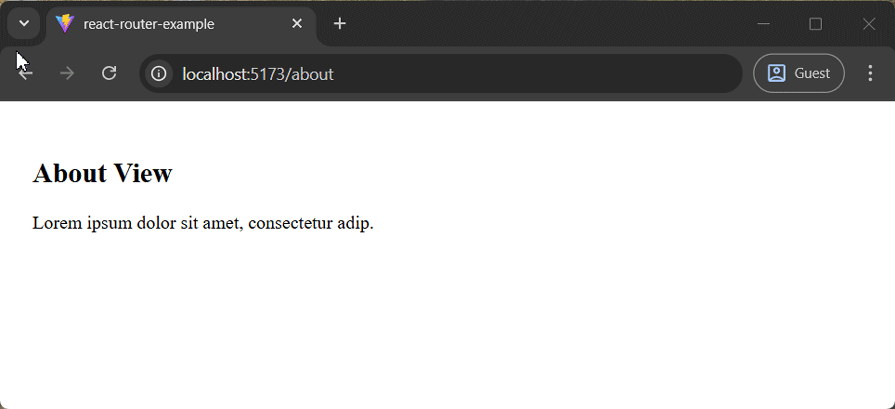
Once you use the above code segment in your App.tsx source, you will see a 404 page if the user enters an invalid route in the browser URL:
Here is the complete source code of all routes — you can copy and paste and get the above output:
import { BrowserRouter, Routes, Route } from 'react-router';

function Home() {
  return (
    <div style={{ padding: 20 }}>
      <h2>Home View</h2>
      <p>Lorem ipsum dolor sit amet, consectetur adip.</p>
    </div>
  );
}

function About() {
  return (
    <div style={{ padding: 20 }}>
      <h2>About View</h2>
      <p>Lorem ipsum dolor sit amet, consectetur adip.</p>
    </div>
  );
}

function NoMatch() {
  return (
    <div style={{ padding: 20 }}>
      <h2>404: Page Not Found</h2>
      <p>Lorem ipsum dolor sit amet, consectetur adip.</p>
    </div>
  );
}

function App() {
  return (
    <BrowserRouter>
      <Routes>
        <Route path="/" element={<Home />} />
        <Route path="/about" element={<About />} />
        <Route path="*" element={<NoMatch />} />
      </Routes>
    </BrowserRouter>
  );
}

export default App;
The way to navigate between different webpages in HTML is to use an anchor tag, as shown below:
<a href="/about">Some Link Name</a>
But using this approach in a React app is going to lead to refreshing the entire webpage each time the user clicks a link. This is not the advantage you are looking for when using a library like React. To avoid refreshing the webpages, React Router provides the Link and NavLink component.
The Link component works very similarly to the HTML anchor tag. It has a to prop that just like href, accepts a route to link to. NavLink on the other hand, is an extension of Link component that can change styles if the route it links to is active.
To navigate to a particular route within our React app, or the two currently existing routes in the demo app, let’s add a minimal navigation bar with the help of the NavLink component. Begin by importing NavLink from the library:
import { BrowserRouter, Routes, Route, NavLink } from 'react-router';
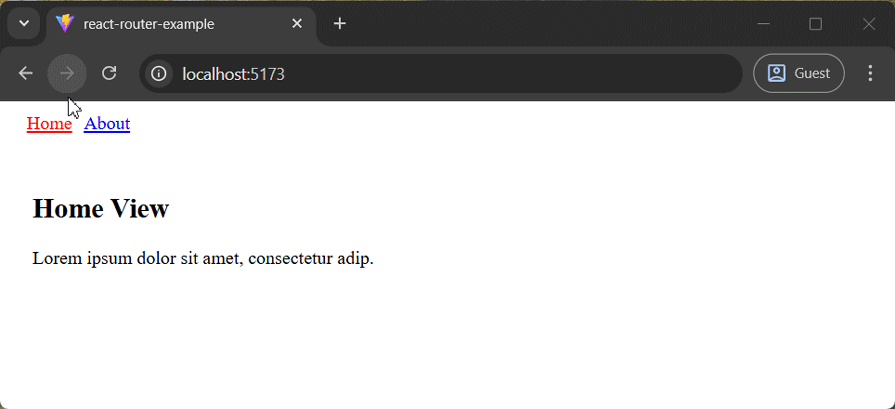
Next, inside the App function component, create a navbar. In the navbar, use the color red to signify the active route:
function App() {
  return (
    <BrowserRouter>
      <nav style={{ margin: 10 }}>
        <NavLink
          to='/'
          style={({ isActive }) => ({
            padding: 5,
            ...(isActive ? { color: "red" } : {}),
          })}
        >
        <NavLink
          to='/about'
          style={({ isActive }) => ({
            padding: 5,
            ...(isActive ? { color: "red" } : {}),
          })}
        >
          About
        </NavLink>
      </nav>
      <Routes>
        <Route path="/" element={<Home />} />
        <Route path="/about" element={<About />} />
        <Route path="*" element={<NoMatch />} />
      </Routes>
    </BrowserRouter>
  );
}
Go to the browser window to see the navigation bar in action:
Nesting routing is an important concept to understand. When routes are nested, generally a certain part of the webpage remains constant, and only a child node of the webpage changes. For example, if you visit a simple blog, the title of the blog is always displayed, with a list of posts displayed beneath it.
However, when you click a post, the list of posts is replaced by the content or the description of that specific post. That is the example this section will use to illustrate how to handle nested routes in React Router v7.
React Router offers a component called Outlet that renders any matching children for a particular route. To start, import Outlet from react-router:
import {
  BrowserRouter,
  Routes,
  Route,
  NavLink,
  Outlet } from 'react-router';
To mimic a basic blog, let’s add some mock data in the App.tsx file. The code snippet consists of an object called BlogPosts, which further consists of different objects as properties. Each object is constituted of three things:
Add the following BlogPosts constant to your App.tsx file:
interface Posts {
  [key: string]: {
    title: string;
    description: string;
  };
}

const BlogPosts: Posts = {
  "first-blog-post": {
    title: "First Blog Post",
    description: "Lorem ipsum dolor sit amet, consectetur adip.",
  },

  "second-blog-post": {
    title: "Second Blog Post",
    description: "Hello React Router v6",
  },
};
This unique slug is going to be used in the URL of a web browser to see the contents of each post. Next, create a function component called Posts, where a list of all posts is displayed:
function Posts() {
  return (
    <div style={{ padding: 20 }}>
      <h2>Blog</h2>
      <Outlet />
    </div>
  );
}
The above Outlet component will render child components based on the routing configuration.
Define another component called PostLists that is going to display a list of all posts whenever the user hits /posts route. Let’s use JavaScript Object.entries() method to return an array from the object BlogPosts. This array is then mapped to display a list of titles of all posts:
function PostLists() {
  return (
    <ul>
      {Object.entries(BlogPosts).map(([slug, { title }]) => (
        <li key={slug}>
          <h3>{title}</h3>
        </li>
      ))}
    </ul>
  );
}
Modify the routes configuration in the App function component like this:
<Routes>
  <Route path="/" element={<Home />} />
  <Route path="/posts" element={<Posts />}>
    <Route index element={<PostLists />} />
  </Route>
  <Route path="/about" element={<About />} />
  <Route path="*" element={<NoMatch />} />
</Routes>
Here, we used the index prop for the PostLists route to specify the index of /posts. This indicates that whenever the URL http://localhost:3000/posts is triggered, a list of posts is going to be rendered, hence, the component PostsLists. Next, update the navigation by adding a link to the Posts page:
<nav style={{ margin: 10 }}>
  <NavLink
    to='/'
    style={({ isActive }) => ({
      padding: 5,
      ...(isActive ? { color: "red" } : {}),
    })}
  >
    Home
  </NavLink>
  <NavLink
    to='/posts'
    style={({ isActive }) => ({
      padding: 5,
      ...(isActive ? { color: "red" } : {}),
    })}
  >
    Posts
  </NavLink>
  <NavLink
    to='/about'
    style={({ isActive }) => ({
      padding: 5,
      ...(isActive ? { color: "red" } : {}),
    })}
  >
    About
  </NavLink>
</nav>
After adding the above updates, look at your browser window. You’ll see the following output:
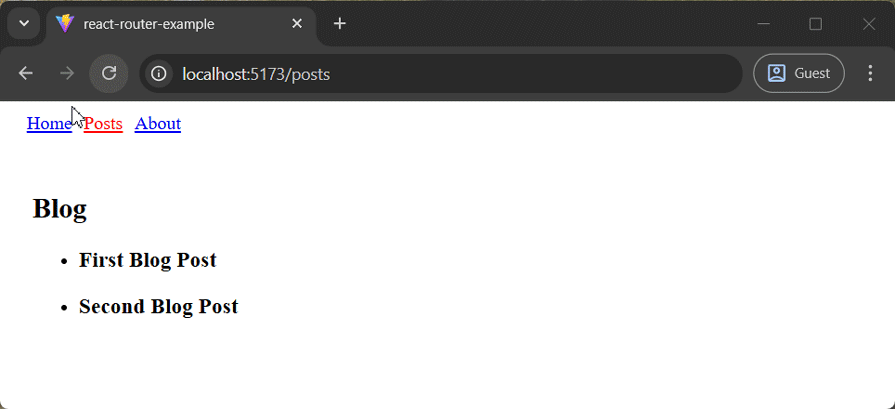
Note: Here we render the BlogLists child component within the Blog parent component via the library’s inbuilt Outletcomponent.
To visit an individual post by clicking the post title from the rendered list of posts, all you have to do is wrap the title of each post with a Link component in PostsLists. First import Link:
import {
  BrowserRouter,
  Routes,
  Route,
  NavLink,
  Outlet,
  Link } from 'react-router';
Then, define the path to each post using its slug. The /posts/ prefix allows the path in the web browser to be consistent:
function PostLists() {
  return (
    <ul>
      {Object.entries(BlogPosts).map(([slug, { title }]) => (
        <li key={slug}>
          <Link to={`/posts/${slug}`}>
            <h3>{title}</h3>
          </Link>
        </li>
      ))}
    </ul>
  );
}
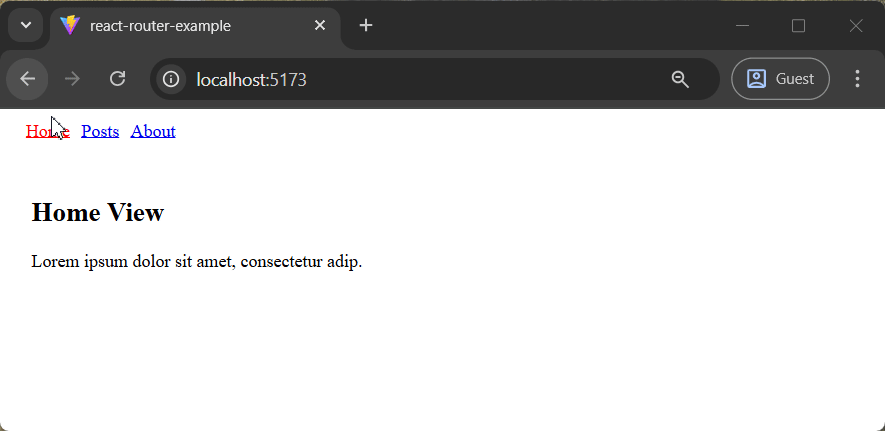
At this stage, you can also test your 404 page since we haven’t added a page for a single post.
You’ll get your 404 page whenever you click a post title:
Let’s continue the development process and display a single post. Import a Hook called useParams from react-router. This Hook allows you to access any dynamic parameters that a particular route (or slug, in this case) may have. The dynamic parameters for each slug are going to be the title and the description of each blog post.
The need to access them is to display the content of each blog post when a particular slug of a blog post is triggered as the URL in the browser window:
import {
  BrowserRouter as Router,
  Routes,
  Route,
  NavLink,
  Outlet,
  Link
  useParams } from 'react-router-dom';
Create a new function component called Post. This component will get the current slug of the post from useParams Hook. Using the slug as an index, create a new variable that has the value of the properties or content of a post. Destructuring the contents of this post variable, you can render them, like so:
function Post() {
  const { slug } = useParams();
  const post = slug ? BlogPosts[slug] : null;
  if (!post) {
    return <span>The blog post you've requested doesn't exist.</span>;
  }
  const { title, description } = post;
  return (
    <div style={{ padding: 20 }}>
      <h3>{title}</h3>
      <p>{description}</p>
    </div>
  );
}
Lastly, add a dynamic route called :slug in the App function component to render the contents of each post:
<Route path="/posts" element={<Posts />}>
  <Route index element={<PostLists />} />
  <Route path=":slug" element={<Post />} />
</Route>
Here is the source code so far of the demo app:
import {
  BrowserRouter,
  Routes,
  Route,
  NavLink,
  Outlet,
  Link,
  useParams,
} from "react-router";

interface Posts {
  [key: string]: {
    title: string;
    description: string;
  };
}

const BlogPosts: Posts = {
  "first-blog-post": {
    title: "First Blog Post",
    description: "Lorem ipsum dolor sit amet, consectetur adip.",
  },
  "second-blog-post": {
    title: "Second Blog Post",
    description: "Hello React Router v6",
  },
};

function Home() {
  return (
    <div style={{ padding: 20 }}>
      <h2>Home View</h2>
      <p>Lorem ipsum dolor sit amet, consectetur adip.</p>
    </div>
  );
}

function About() {
  return (
    <div style={{ padding: 20 }}>
      <h2>About View</h2>
      <p>Lorem ipsum dolor sit amet, consectetur adip.</p>
    </div>
  );
}

function Posts() {
  return (
    <div style={{ padding: 20 }}>
      <h2>Blog</h2>
      <Outlet />
    </div>
  );
}

function PostLists() {
  return (
    <ul>
      {Object.entries(BlogPosts).map(([slug, { title }]) => (
        <li key={slug}>
          <Link to={`/posts/${slug}`}>
            <h3>{title}</h3>
          </Link>
        </li>
      ))}
    </ul>
  );
}

function Post() {
  const { slug } = useParams();
  const post = slug ? BlogPosts[slug] : null;
  if (!post) {
    return <span>The blog post you've requested doesn't exist.</span>;
  }
  const { title, description } = post;
  return (
    <div style={{ padding: 20 }}>
      <h3>{title}</h3>
      <p>{description}</p>
    </div>
  );
}

function NoMatch() {
  return (
    <div style={{ padding: 20 }}>
      <h2>404: Page Not Found</h2>
      <p>Lorem ipsum dolor sit amet, consectetur adip.</p>
    </div>
  );
}

function App() {
  return (
    <BrowserRouter>
      <nav style={{ margin: 10 }}>
        <NavLink
          to='/'
          style={({ isActive }) => ({
            padding: 5,
            ...(isActive ? { color: "red" } : {}),
          })}
        >
          Home
        </NavLink>
        <NavLink
          to='/posts'
          style={({ isActive }) => ({
            padding: 5,
            ...(isActive ? { color: "red" } : {}),
          })}
        >
          Posts
        </NavLink>
        <NavLink
          to='/about'
          style={({ isActive }) => ({
            padding: 5,
            ...(isActive ? { color: "red" } : {}),
          })}
        >
          About
        </NavLink>
      </nav>
      <Routes>
        <Route path='/' element={<Home />} />
        <Route path='/posts' element={<Posts />}>
          <Route index element={<PostLists />} />
          <Route path=':slug' element={<Post />} />
        </Route>
        <Route path='/about' element={<About />} />
        <Route path='*' element={<NoMatch />} />
      </Routes>
    </BrowserRouter>
  );
}

export default App;
Here is the complete output after this step:

useRoutes HookIn the demo app, we defined and configured app routes via two JSX components: Routes and Route. The React Router library also lets you implement routing via the useRoutes Hook. So, you can define routes without using HTML-like nested JSX routing trees.
Let’s understand the useRoutes Hook by rewriting our App component. First, remove all JSX-based routing components from the import statement since we don’t use them. Also, make sure to import useRoutes:
import {
  BrowserRouter,
  useRoutes,
  NavLink,
  Outlet,
  Link
  useParams } from 'react-router';
We can rewrite our existing App component by separating the routing logic to Routes as follows:
function Routes() {
  const element = useRoutes([
    { path: "/", element: <Home/> },
    { path: "/posts",
      element: <Posts/>,
      children: [
        { index: true, element: <PostLists/> },
        { path: ":slug", element: <Post/> }
      ],
    },
    { path: "/about", element: <About/> },
    { path: "*", element: <NoMatch/>}
  ]);
  return element;
}

function App() {
  return (
    <Router>
      <nav style={{ margin: 10 }}>
          <NavLink
          to='/'
          style={({ isActive }) => ({
            padding: 5,
            ...(isActive ? { color: "red" } : {}),
          })}
        >
          Home
        </NavLink>
        <NavLink
          to='/posts'
          style={({ isActive }) => ({
            padding: 5,
            ...(isActive ? { color: "red" } : {}),
          })}
        >
          Posts
        </NavLink>
        <NavLink
          to='/about'
          style={({ isActive }) => ({
            padding: 5,
            ...(isActive ? { color: "red" } : {}),
          })}
        >
          About
        </NavLink>
      </nav>
      <Routes/>
    </Router>
  );
}
The above code snippet handles routing definitions in the Routes component with the useRoutes Hook.
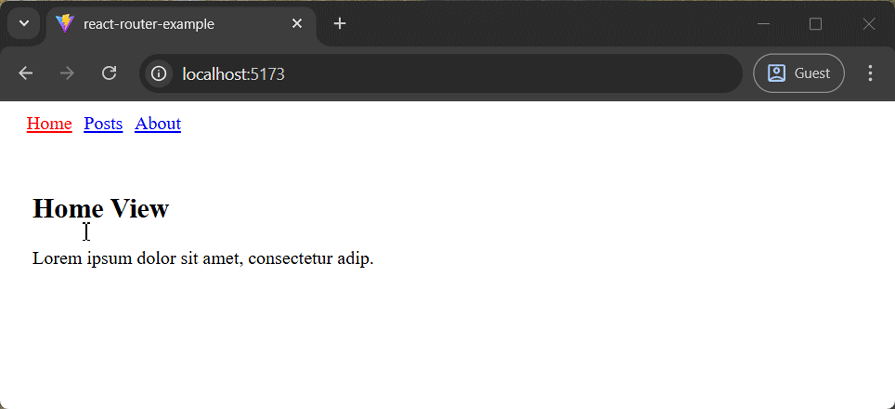
Note: We can use any Route prop as a JavaScript attribute, for example, index: true. Once you run the above modification, your app routes will work as usual:
An app can contain several restricted routes that only authenticated users can access. In some scenarios, frontend developers allow or restrict app routes based on user levels or privileges. In React Router-based apps, you can implement protected routes based on custom conditional checks to limit publicly available app routes.
To demonstrate the protected routes concept, I’ll implement a sample post statistics page that only authenticated admins can access. First, update your import statements to use the required components and Hooks:
import { useState, useEffect } from 'react';
import {
  BrowserRouter,
  Routes,
  Route,
  Link,
  Outlet,
  useParams,
  useNavigate } from 'react-router';
Next, add the following components:
// ...

interface User {
  username: string;
}

function Stats({ user }: { user: User | null }) {
  const navigate = useNavigate();


  useEffect(() => {
    if (!user) {
      navigate("/login");
    }
  });


  return (
    <div style={{ padding: 20 }}>
      <h2>Stats View</h2>
      <p>Lorem ipsum dolor sit amet, consectetur adip.</p>
    </div>
  );
}

function Login({
  onLogin,
}: {
  onLogin: React.Dispatch<React.SetStateAction<User | null>>;
}) {
  const [creds, setCreds] = useState({ username: "", password: "" });
  const navigate = useNavigate();
  function handleLogin() {
    // For demonstration purposes only. Never use these checks in production!
    // Use a proper authentication implementation
    if (creds.username === "admin" && creds.password === "123") {
      onLogin({ username: creds.username });
      navigate("/stats");
    }
  }
  return (
    <div style={{ padding: 10 }}>
      <br />
      <span>Username:</span>
      <br />
      <input
        type='text'
        onChange={(e) =>
          setCreds({ ...creds, username: e.target.value })
        }
      />
      <br />
      <span>Password:</span>
      <br />
      <input
        type='password'
        onChange={(e) =>
          setCreds({ ...creds, password: e.target.value })
        }
      />
      <br />
      <br />
      <button onClick={handleLogin}>Login</button>
    </div>
  );
}

function NoMatch() {
  return (
    <div style={{ padding: 20 }}>
      <h2>404: Page Not Found</h2>
      <p>Lorem ipsum dolor sit amet, consectetur adip.</p>
    </div>
  );
}

function AppLayout() {
  const [user, setUser] = useState<User | null>(null);
  const navigate = useNavigate();
  function logOut() {
    setUser(null);
    navigate("/");
  }
  return (
    <>
      <nav style={{ margin: 10 }}>
        <NavLink
          to='/'
          style={({ isActive }) => ({
            padding: 5,
            ...(isActive ? { color: "red" } : {}),
          })}
        >
          Home
        </NavLink>
        <NavLink
          to='/posts'
          style={({ isActive }) => ({
            padding: 5,
            ...(isActive ? { color: "red" } : {}),
          })}
        >
          Posts
        </NavLink>
        <NavLink
          to='/about'
          style={({ isActive }) => ({
            padding: 5,
            ...(isActive ? { color: "red" } : {}),
          })}
        >
          About
        </NavLink>
        <span> | </span>
        {user && (
          <NavLink to='/stats' style={{ padding: 5 }}>
            Stats
          </NavLink>
        )}
        {!user && (
          <NavLink to='/login' style={{ padding: 5 }}>
            Login
          </NavLink>
        )}
        {user && (
          <span
            onClick={logOut}
            style={{ padding: 5, cursor: "pointer" }}
          >
            Logout
          </span>
        )}
      </nav>
      <Routes>
        <Route path='/' element={<Home />} />
        <Route path='/posts' element={<Posts />}>
          <Route index element={<PostLists />} />
          <Route path=':slug' element={<Post />} />
        </Route>
        <Route path='/about' element={<About />} />
        <Route path='/login' element={<Login onLogin={setUser} />} />
        <Route path='/stats' element={<Stats user={user} />} />
        <Route path='*' element={<NoMatch />} />
      </Routes>
    </>
  );
}

function App() {
  return (
    <BrowserRouter>
      <AppLayout />
    </BrowserRouter>
  );
}

export default App;
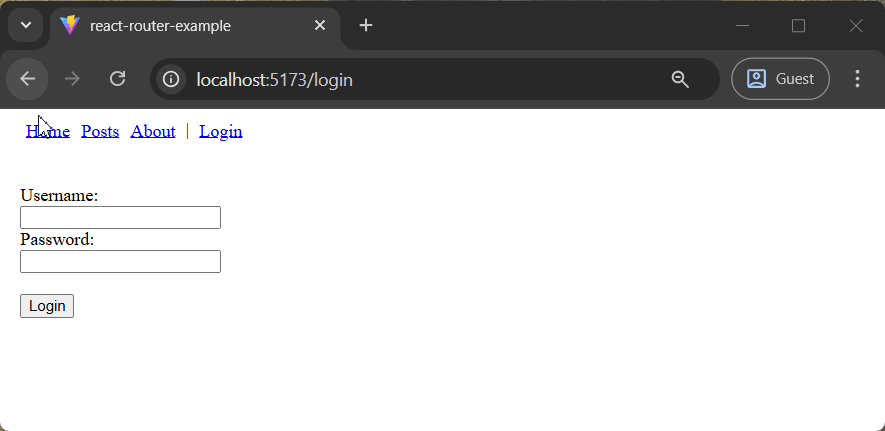
Notice the following about the above source code. We implement a username and password-based login page in the /loginroute with the Login component. The blog admin can log in to the app by entering hardcoded credentials (username: admin, password: 123)
Once logged in, the admin can view the Stats view (via /stats). If a normal user enters the stats page, the user will be redirected to the login page. The protected routes use the useNavigate hook for redirection. Update your app with the above code and run. First, try to access the stats page as a normal user.
Then, you’ll see the login page:

Enter credentials and log in. You’ll see the stats page:
If you have multiple protected routes, you can avoid the repetition of the login check with a wrapper component:
function ProtectedRoute({ user, children }:{
  user: User;
  children: React.ReactNode;
}) {
  const navigate = useNavigate();
  useEffect(() => {
    if (!user) {
      navigate("/login");
    }
  });

  return children;
}
In route definitions, you can use the wrapper as follows:
<Route path="/stats" element={<ProtectedRoute user={user}><Stats/></ProtectedRoute>} />
<Route path="/settings" element={<ProtectedRoute user={user}><h2>Settings Page</h2></ProtectedRoute>} />
Note: This sample app demonstrates the concept of protected routes with hardcoded credentials by holding the login state in memory. Read this tutorial for a complete React Router authentication implementation guide.
If you’re just getting started with React Router, this guide should help you understand the basics. If you’ve worked with earlier versions, it also walks through what’s changed. For a full breakdown of the upgrade process, check out the React Router v6 to v7 migration guide. The full demo source code is available on StackBlitz.
Install LogRocket via npm or script tag. LogRocket.init() must be called client-side, not
server-side
$ npm i --save logrocket

// Code:

import LogRocket from 'logrocket';
LogRocket.init('app/id');
// Add to your HTML:

<script src="https://cdn.lr-ingest.com/LogRocket.min.js"></script>
<script>window.LogRocket && window.LogRocket.init('app/id');</script>

Learn how to recreate Claude Skills–style workflows in GitHub Copilot using custom instruction files and smarter context management.

Claude Code is deceptively capable. Point it at a codebase, describe what you need, and it’ll autonomously navigate files, write […]

Compare the top AI development tools and models of February 2026. View updated rankings, feature breakdowns, and find the best fit for you.

Broken npm packages often fail due to small packaging mistakes. This guide shows how to use Publint to validate exports, entry points, and module formats before publishing.
Hey there, want to help make our blog better?
Join LogRocket’s Content Advisory Board. You’ll help inform the type of content we create and get access to exclusive meetups, social accreditation, and swag.
Sign up now
13 Replies to "How to use React Router v7 in React apps"
How can we add different content in there different component based on a single route? Assume we have a 3 column layout and then based on a route it has to update different content in the three columns. I tried using Outlet, however I am not able to send different content, right now all the three column content are same.
Aman – This was awesome.
Y’all may cull subject-to-change’s in the new [migration guide here](https://github.com/remix-run/react-router/blob/dev/docs/advanced-guides/migrating-5-to-6.md).
I am very new in Reat Router. I am following your tutorial. It is much helpful to me. Thank you for sharing.
Much helpful tutorial. I am new in React Router. Thank you for sharing.
Thank you for the awesome content.
dont quite understand where to put the nested route, it cannot be in the same place as the component which has the same path (=”/”) and you say rest of the code should be left as it was…
<Route path="/" element={} /> <—- ?
<Route path="/about" element={} />
<Route path="posts" element={}>
<Route path="/" element={} /> <—- ?
Amazing Blog Thanks for sharing this Helpful information.
this is Very Helpful for me.
amazing
This post was very informative and Amazing
this was very informative
Awesomely awesome
As a React developer, I can say React Router V6 has provided us the extra power to speed up the pages. Thank you for sharing this amazing article.
Is this a typo in your code snippet?
> useParams } from ‘react-router-dom’;
Should it be:
> useParams } from ‘react-router’;