
The scope of this article will cover the exploration of the Three.js library and the Animated API. You should have basic knowledge of JavaScript and React Native to follow along; to learn more about all the wonderful things that can be done in React Native, the React Native archives on the LogRocket blog is a great place to brush up.

We’ll split this article into two. In the first part, we explore the creation of advanced 3D animations in React Native. We’ll rely on the Three.js library, which is a cross-platform JavaScript 3D library for the creation of 3D content, such as graphics and animation, in web environments. Three.js incorporates WebGL enhancement behaviors to render 3D models on the web and TweenMax to enhance animation quality.
The second part of the article will explore the Animated API, which lets us make our animations fluid.
Jump ahead:
The Replay is a weekly newsletter for dev and engineering leaders.
Delivered once a week, it's your curated guide to the most important conversations around frontend dev, emerging AI tools, and the state of modern software.
To get started, we need to create our React Native application. Install the Expo CLI to serve our project; it works hand-in-hand with the Expo GO library, which is a mobile client app that we’ll use to open our project in iOS or Android platforms.
Once the Expo CLI is installed, proceed to run the following command in the terminal. This application will use the TypeScript template.
expo init reactNative3D
cd reactNative3D
yarn start
Before proceeding, we need to install some core dependencies. Opening up the terminal window, run the following command.
yarn add three expo-three expo-gl
yarn add --dev @types/three
Let’s review these dependencies:
View that acts as an OpenGL ES render target, which is useful for rendering 2D and 3D graphics alike. Once mounted, an OpenGL context is created that accepts the onContextCreate prop, which has a WebGL RenderingContext interfaceWhen rendering 3D models with Three.js, we first create a scene to serve as the set for the model to render in. The image below illustrates the basic structure of a Three.js app, where it is required to create objects and connect them together.
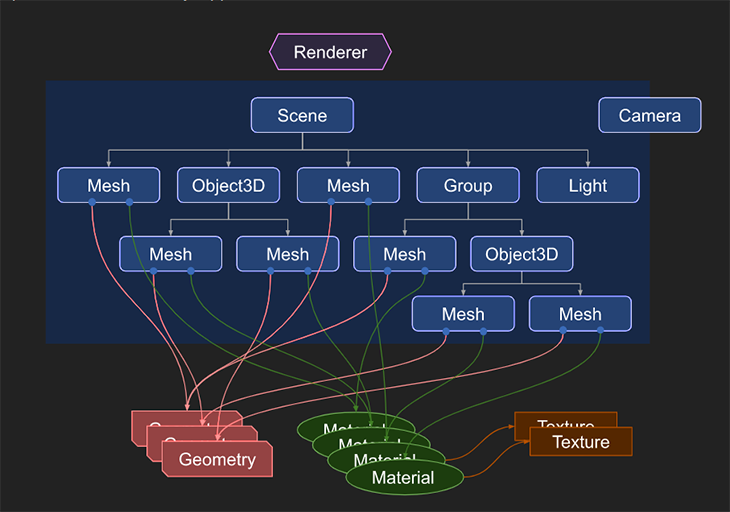
Let’s explore the diagram illustrated above.
renderer, the main object of Three.js. Our created scene and camera are passed to the renderer, which renders (draws) the portion of the 3D scenescene is an object that defines the root of the scenegraph and contains some properties, like the background colorMesh are objects that represent the drawing of a specific Geometry with a specific Material classGeometry (sphere, cube) is represented by the Geometry object. Three.js provides inbuilt geometry primitivesMaterial object. It accepts values such as color and textureTexture objects represent images loaded from image filesIn the following sections, we’ll use each of these structures to create a 3D animation.
In the App.tsx component at the root of our project directory, we’ll create a basic React Native component. Import the required packages into the App.tsx component.
code App.tsx
import React from 'react';
import { View } from 'react-native';
import Expo from 'expo';
import {Scene, Mesh, MeshBasicMaterial, PerspectiveCamera} from 'three';
import ExpoTHREE, {Renderer} from 'expo-three';
import { ExpoWebGLRenderingContext, GLView } from 'expo-gl';
Proceeding to create a scene, the GLView exported from expo-gl provides a view that acts as an OpenGL ES render target. This is very useful for rendering the 3D objects we’re creating.
In the App.tsx component, create a functional component.
const App = () => {
  const onContextCreate = async (gl: Object) => {}
  return (
    <View>
      <GLView
      onContextCreate={onContextCreate}
      />
    </View>
  )
}

export default App;
The basic skeleton of our application is complete. The onContextCreate prop is being passed into the GLView with a single argument, gl, which has a WebGL RenderingContext interface.
Shifting our focus, let’s create the onContextCreate function.
  const onContextCreate = async (gl: any) => {
    // three.js implementation.
    const scene = new Scene();
    const camera = new PerspectiveCamera(
      75,
      gl.drawingBufferWidth / gl.drawingBufferHeight,
      0.1,
      1000
    );
    gl.canvas = {
      width: gl.drawingBufferWidth,
      height: gl.drawingBufferHeight,
    };

    // set camera position away from cube
    camera.position.z = 2;

    const renderer = new Renderer({ gl });
    // set size of buffer to be equal to drawing buffer width
    renderer.setSize(gl.drawingBufferWidth, gl.drawingBufferHeight);

    // create cube
    // define geometry
    const geometry = new BoxBufferGeometry(1, 1, 1);
    const material = new MeshBasicMaterial({
      color: "cyan",
    });

    const cube = new Mesh(geometry, material);

    // add cube to scene
    scene.add(cube);

    // create render function
    const render = () => {
      requestAnimationFrame(render);
      // create rotate functionality
      // rotate around x axis
      cube.rotation.x += 0.01;

      // rotate around y axis
      cube.rotation.y += 0.01;

      renderer.render(scene, camera);
      gl.endFrameEXP();
    };

    // call render
    render();
  };
With the completion of the onContextCreate function, our 3D cube is complete.
Your App.tsx file should look like this:
import React from "react";
import { View } from "react-native";
import Expo from "expo";
import {
  Scene,
  Mesh,
  MeshBasicMaterial,
  PerspectiveCamera,
  BoxBufferGeometry,
} from "three";
import ExpoTHREE, { Renderer } from "expo-three";
import { ExpoWebGLRenderingContext, GLView } from "expo-gl";
import { StatusBar } from "expo-status-bar";

const App = () => {

  const onContextCreate = async (gl: any) => {
    // three.js implementation.
    const scene = new Scene();
    const camera = new PerspectiveCamera(
      75,
      gl.drawingBufferWidth / gl.drawingBufferHeight,
      0.1,
      1000
    );
    gl.canvas = {
      width: gl.drawingBufferWidth,
      height: gl.drawingBufferHeight,
    };

    // set camera position away from cube
    camera.position.z = 2;

    const renderer = new Renderer({ gl });
    // set size of buffer to be equal to drawing buffer width
    renderer.setSize(gl.drawingBufferWidth, gl.drawingBufferHeight);

    // create cube
    // define geometry
    const geometry = new BoxBufferGeometry(1, 1, 1);
    const material = new MeshBasicMaterial({
      color: "cyan",
    });

    const cube = new Mesh(geometry, material);

    // add cube to scene
    scene.add(cube);

    // create render function
    const render = () => {
      requestAnimationFrame(render);
      // create rotate functionality
      // rotate around x axis
      cube.rotation.x += 0.01;

      // rotate around y axis
      cube.rotation.y += 0.01;

      renderer.render(scene, camera);
      gl.endFrameEXP();
    };

    // call render
    render();
  };

  return (
    <View>
      <GLView
        onContextCreate={onContextCreate}
        // set height and width of GLView
        style={{ width: 400, height: 400 }}
      />
    </View>
  );
};

export default App;
Stop the Metro server to ensure that all new files have been added and start it up again.
ctrl c
yarn start
Open up the application with the Expo app.
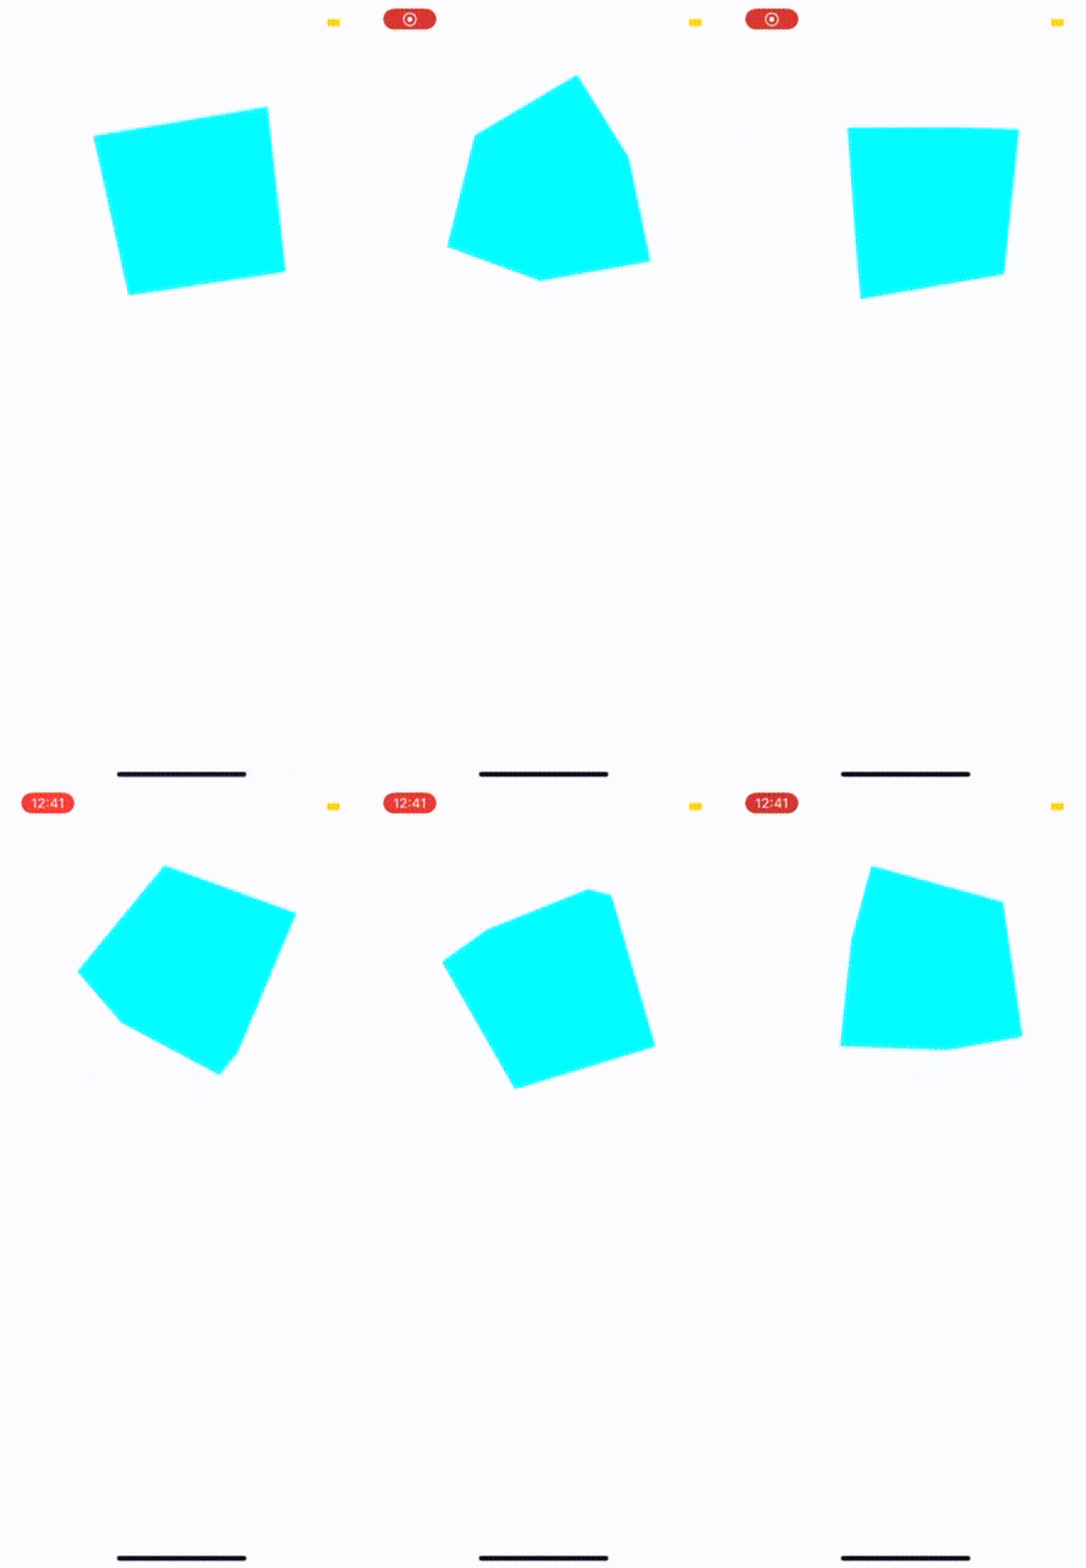
In this section, we’ll create a 3D carousel using a FlatList and the Animated API. Let’s first create the carousel without the 3D effect.
In the App.tsx, comment out the previous code and start the new implementation from scratch. We begin by installing the dependencies we’ll need in the project.
Install the react-native-uuid library and @expo/vector-icons.
yarn add react-native-uuid @expo/vector-icons
Now, import the libraries needed into the component.
import * as React from "react";
import {
  FlatList,
  Image,
  Text,
  View,
  Dimensions,
  TouchableOpacity,
  StyleSheet,
  Animated,
} from "react-native";
import { SafeAreaView } from "react-native";
import { AntDesign } from "@expo/vector-icons";
import uuid from "react-native-uuid";
import { StatusBar } from "expo-status-bar";
const { width, height } = Dimensions.get("screen");
When creating an image carousel, specifying the width and height properties of the images in the carousel enables a better view. The Spacing variable enables reusability across different styling needs.
const IMAGE_WIDTH = width * 0.65;
const IMAGE_HEIGHT = height * 0.7;
const SPACING = 20;
Using the Pexels Images API, we can generate an array of images to populate our application.
const images = [
  "https://images.pexels.com/photos/1799912/pexels-photo-1799912.jpeg?auto=compress&cs=tinysrgb&dpr=1&w=500",
  "https://images.pexels.com/photos/1769524/pexels-photo-1769524.jpeg?auto=compress&cs=tinysrgb&dpr=1&w=500",
  "https://images.pexels.com/photos/1758101/pexels-photo-1758101.jpeg?auto=compress&cs=tinysrgb&dpr=1&w=500",
  "https://images.pexels.com/photos/1738434/pexels-photo-1738434.jpeg?auto=compress&cs=tinysrgb&dpr=1&w=500",
  "https://images.pexels.com/photos/1698394/pexels-photo-1698394.jpeg?auto=compress&cs=tinysrgb&dpr=1&w=500",
  "https://images.pexels.com/photos/1684429/pexels-photo-1684429.jpeg?auto=compress&cs=tinysrgb&dpr=1&w=500",
  "https://images.pexels.com/photos/1690351/pexels-photo-1690351.jpeg?auto=compress&cs=tinysrgb&dpr=1&w=500",
  "https://images.pexels.com/photos/1668211/pexels-photo-1668211.jpeg?auto=compress&cs=tinysrgb&dpr=1&w=500",
  "https://images.pexels.com/photos/1647372/pexels-photo-1647372.jpeg?auto=compress&cs=tinysrgb&dpr=1&w=500",
  "https://images.pexels.com/photos/1616164/pexels-photo-1616164.jpeg?auto=compress&cs=tinysrgb&dpr=1&w=500",
  "https://images.pexels.com/photos/1799901/pexels-photo-1799901.jpeg?auto=compress&cs=tinysrgb&dpr=1&w=500",
  "https://images.pexels.com/photos/1789968/pexels-photo-1789968.jpeg?auto=compress&cs=tinysrgb&dpr=1&w=500",
  "https://images.pexels.com/photos/1774301/pexels-photo-1774301.jpeg?auto=compress&cs=tinysrgb&dpr=1&w=500",
  "https://images.pexels.com/photos/1734364/pexels-photo-1734364.jpeg?auto=compress&cs=tinysrgb&dpr=1&w=500",
  "https://images.pexels.com/photos/1724888/pexels-photo-1724888.jpeg?auto=compress&cs=tinysrgb&dpr=1&w=500",
];
We’ll use the react-native-uuid library to seed random data into the application.
const DATA = [...Array(images.length).keys()].map((_, i) => {
  return {
    key: uuid.v4(),
    image: images[i],
  };
});
Now it’s time to implement our carousel view.
export default () => {
  return (
    <View style={{ backgroundColor: "#A5F1FA", flex: 1 }}>
      <StatusBar hidden />
      <SafeAreaView style={{ marginTop: SPACING * 1 }}>
        <View style={{ height: IMAGE_HEIGHT * 2.1 }}>
          <FlatList
            data={DATA}
            keyExtractor={(item) => item.key}
            horizontal
            pagingEnabled
            bounces={false}
            style={{ flexGrow: 0, zIndex: 9999 }}
            contentContainerStyle={{
              height: IMAGE_HEIGHT + SPACING * 2,
              paddingHorizontal: SPACING * 4,
            }}
            showsHorizontalScrollIndicator={false}
            renderItem={({ item, index }) => {
              return (
                <View
                  style={{
                    width,
                    paddingVertical: SPACING,
                  }}
                >
                  <Image
                    source={{ uri: item.image }}
                    style={{
                      width: IMAGE_WIDTH,
                      height: IMAGE_HEIGHT,
                      resizeMode: "cover",
                    }}
                  />
                </View>
              );
            }}
          />
        </View>
      </SafeAreaView>
    </View>
  );
};
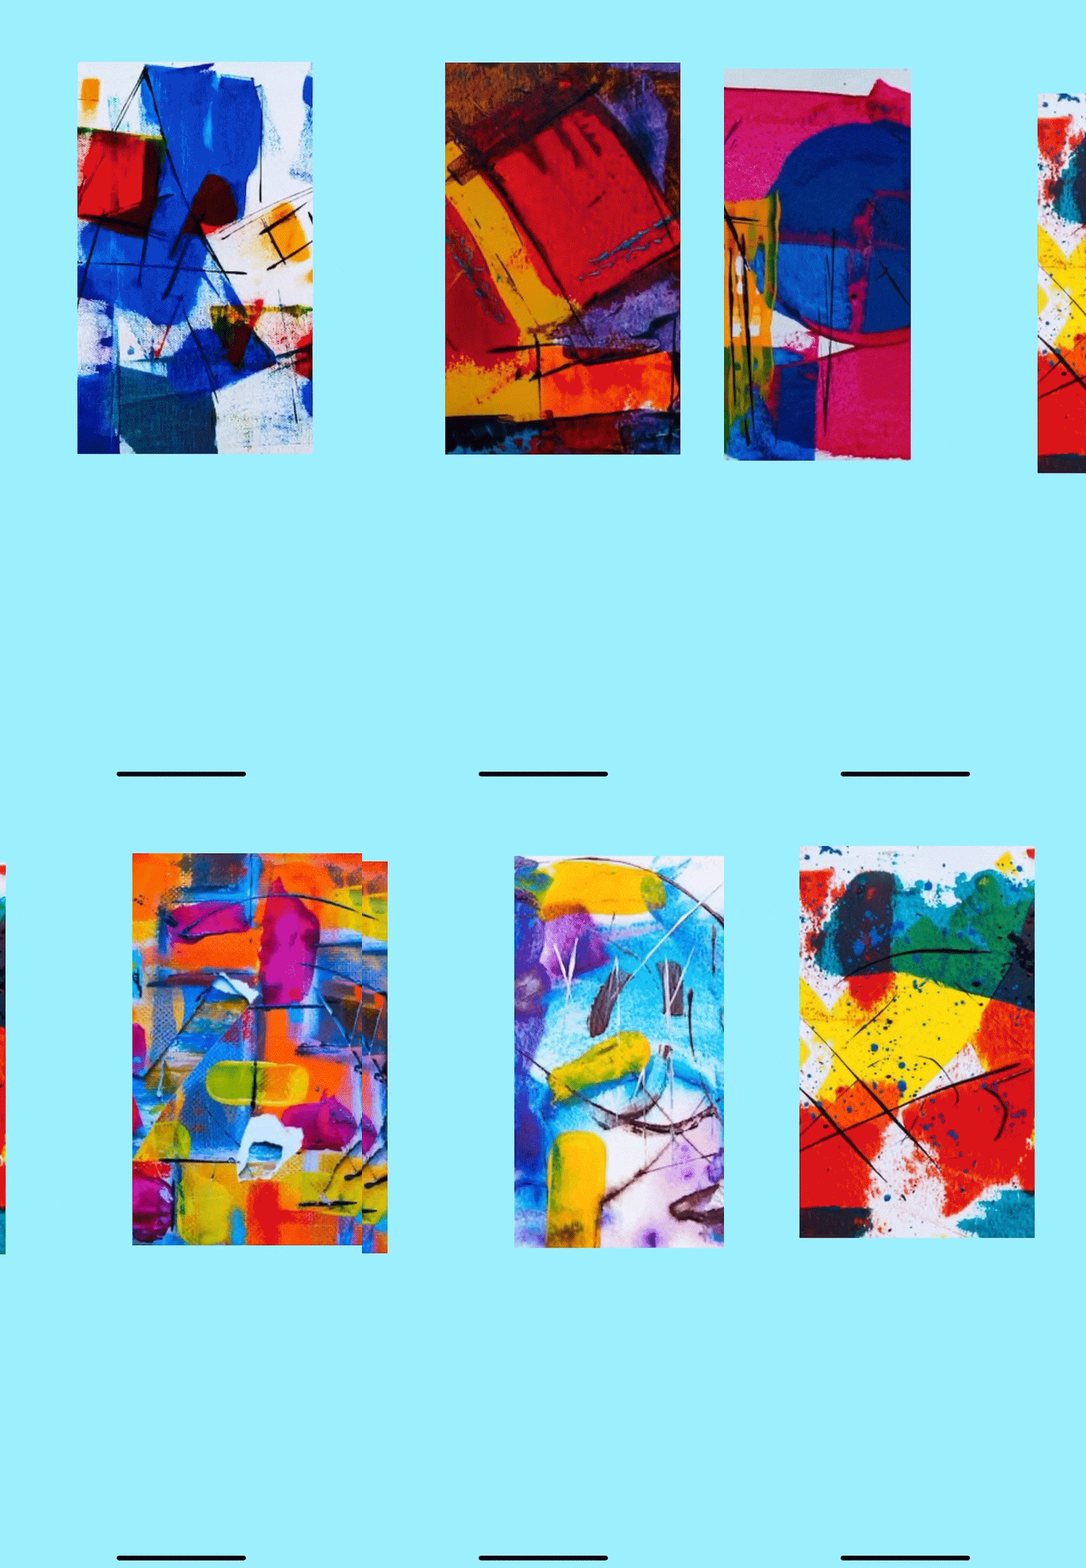
The image carousel has successfully been created.
The next step is to use the Animated API to create the 3D effect. In order to make use of the Animated API, we’ll need to change our FlatList to an Animated.FlatList and add an onScroll event, in which we’ll pass in a NativeEvent.
A variable scrollX will be defined as the value for our x-axis. We’ll pass in a useRef() Hook to enable React to keep track of the animation. This persists the scrollX value even after re-renders.
export default () => {
  const scrollX = React.useRef(new Animated.Value(0)).current;
  return (
    <View style={{ backgroundColor: "#A5F1FA", flex: 1 }}>
      <StatusBar hidden />
      <SafeAreaView style={{ marginTop: SPACING * 1 }}>
        <View style={{ height: IMAGE_HEIGHT * 2.1 }}>
          <Animated.FlatList
            data={DATA}
            keyExtractor={(item) => item.key}
            horizontal
            pagingEnabled
            onScroll={Animated.event(
              [
                {
                  nativeEvent: { contentOffset: { x: scrollX } },
                },
              ],
              {
                useNativeDriver: true,
              }
            )}
Now we can interpolate values while relying on scrollX to create animations. In the renderItem of our FlatList, create an inputRange. We’ll use the input range figures for the interpolation. Then, create an opacity variable inside the renderItem.
           renderItem={({ item, index }) => {
              const inputRange = [
                (index - 1) * width, // next slide
                index * width, // current slide
                (index + 1) * width, // previous slide
              ];
              const opacity = scrollX.interpolate({
                inputRange,
                outputRange: [0, 1, 0],
              });
         const translateY = scrollX.interpolate({
                inputRange,
                outputRange: [50, 0, 20] // create a wave
              })
Moving on, we’ve converted the view in our project to an Animated.View, and the opacity variable we created earlier will be passed in as a style.
             return (
                <Animated.View
                  style={{
                    width,
                    paddingVertical: SPACING,
                    opacity,
                    transform: [{ translateY }]
                  }}
                >
                  <Image
                    source={{ uri: item.image }}
                    style={{
                      width: IMAGE_WIDTH,
                      height: IMAGE_HEIGHT,
                      resizeMode: "cover",
                    }}
                  />
                </Animated.View>
              );
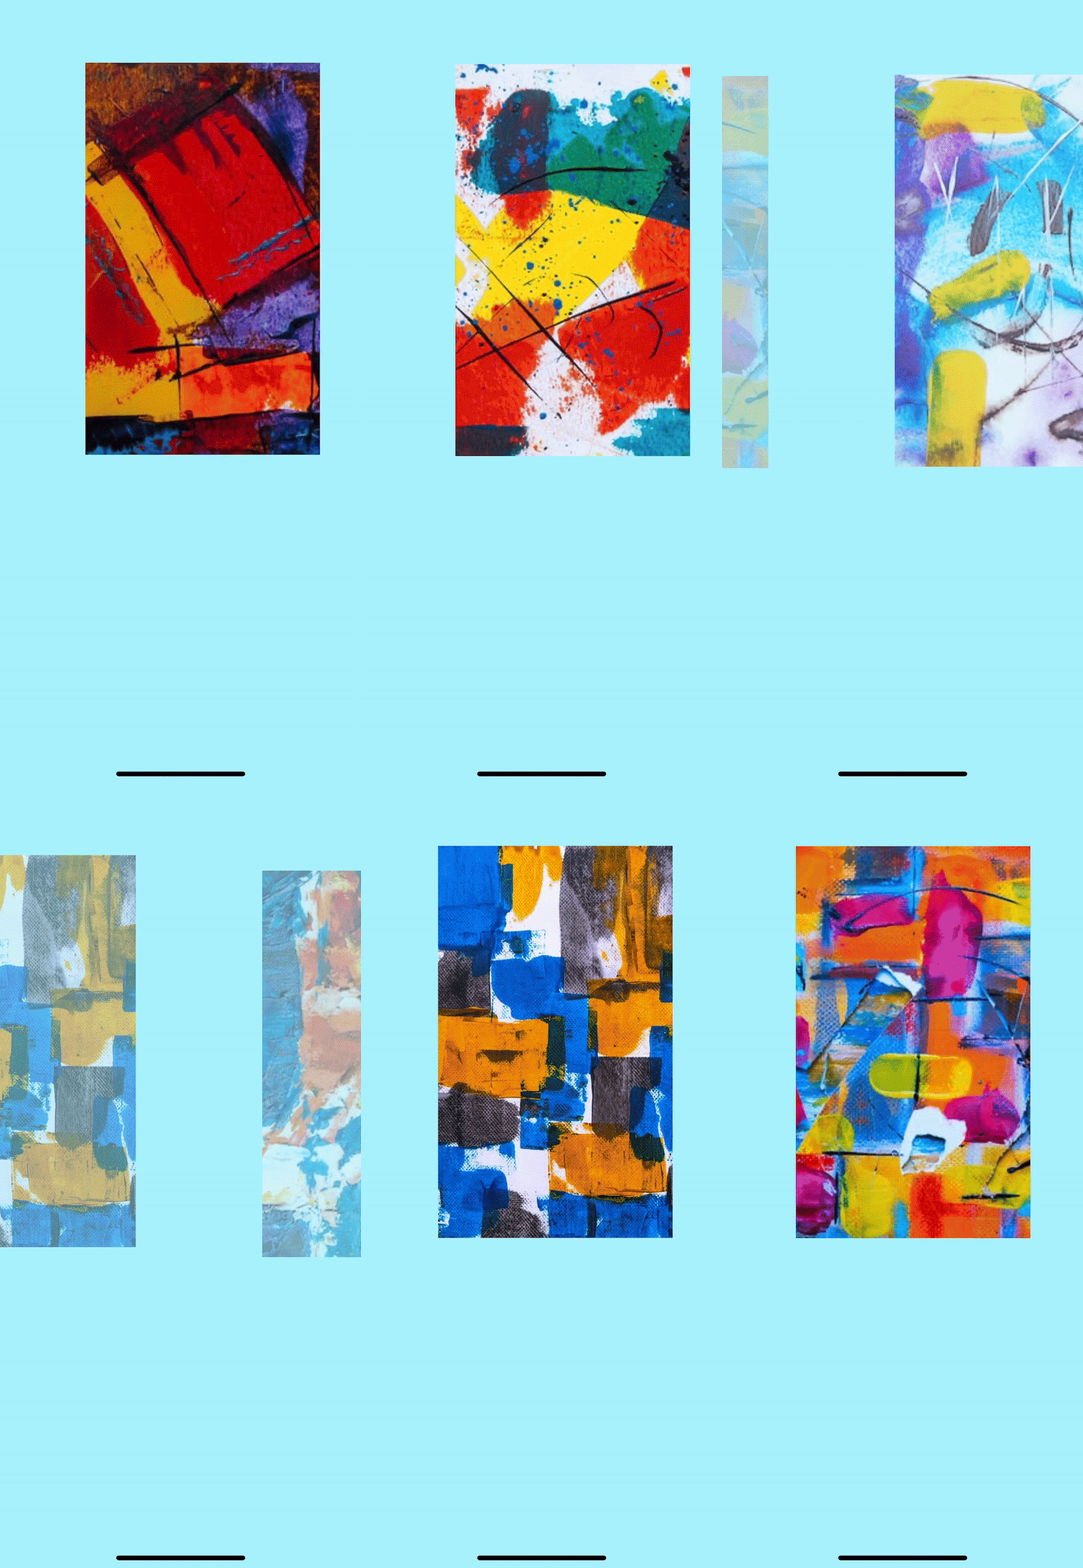
Now when swiping, the opacity is applied based on the input range.
Let’s add a white background to accentuate the 3D animation when we swipe the image.
Beneath the View, paste the below code block.
 <View
            style={{
              width: IMAGE_WIDTH + SPACING * 4,
              height: 450,
              position: "absolute",
              backgroundColor: "white",
              backfaceVisibility: true,
              zIndex: -1,
              top: SPACING * 1,
              left: SPACING * 1.7,
              bottom: 0,
              shadowColor: "#000",
              shadowOpacity: 0.2,
              shadowRadius: 24,
              shadowOffset: {
                width: 0,
                height: 0,
              },
            }}
          />
        </View>
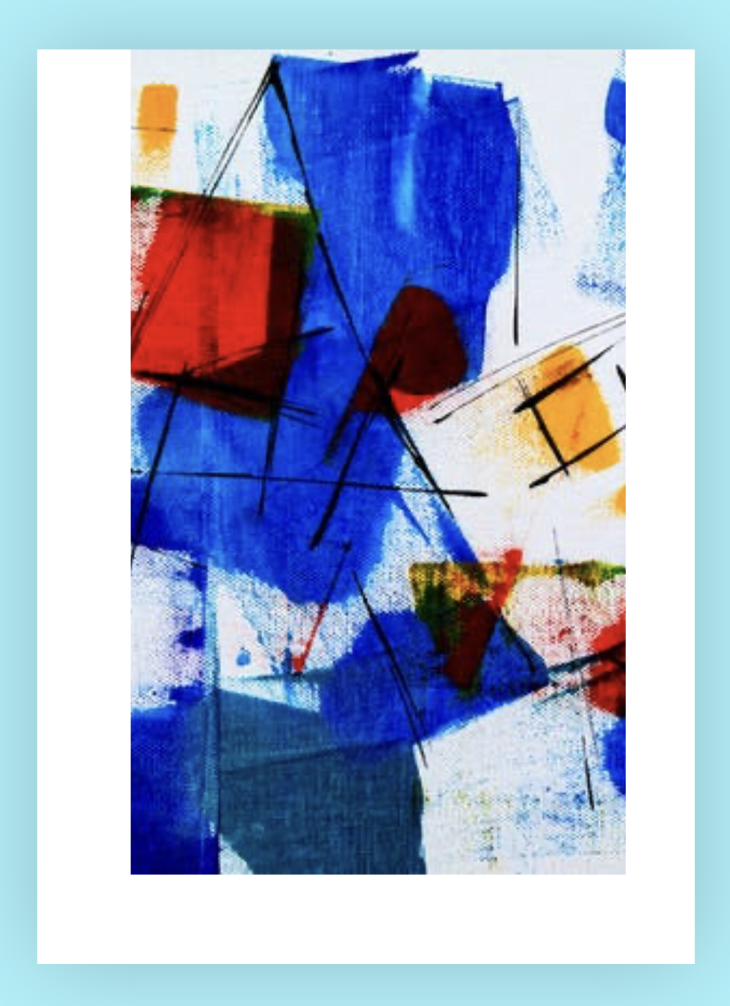
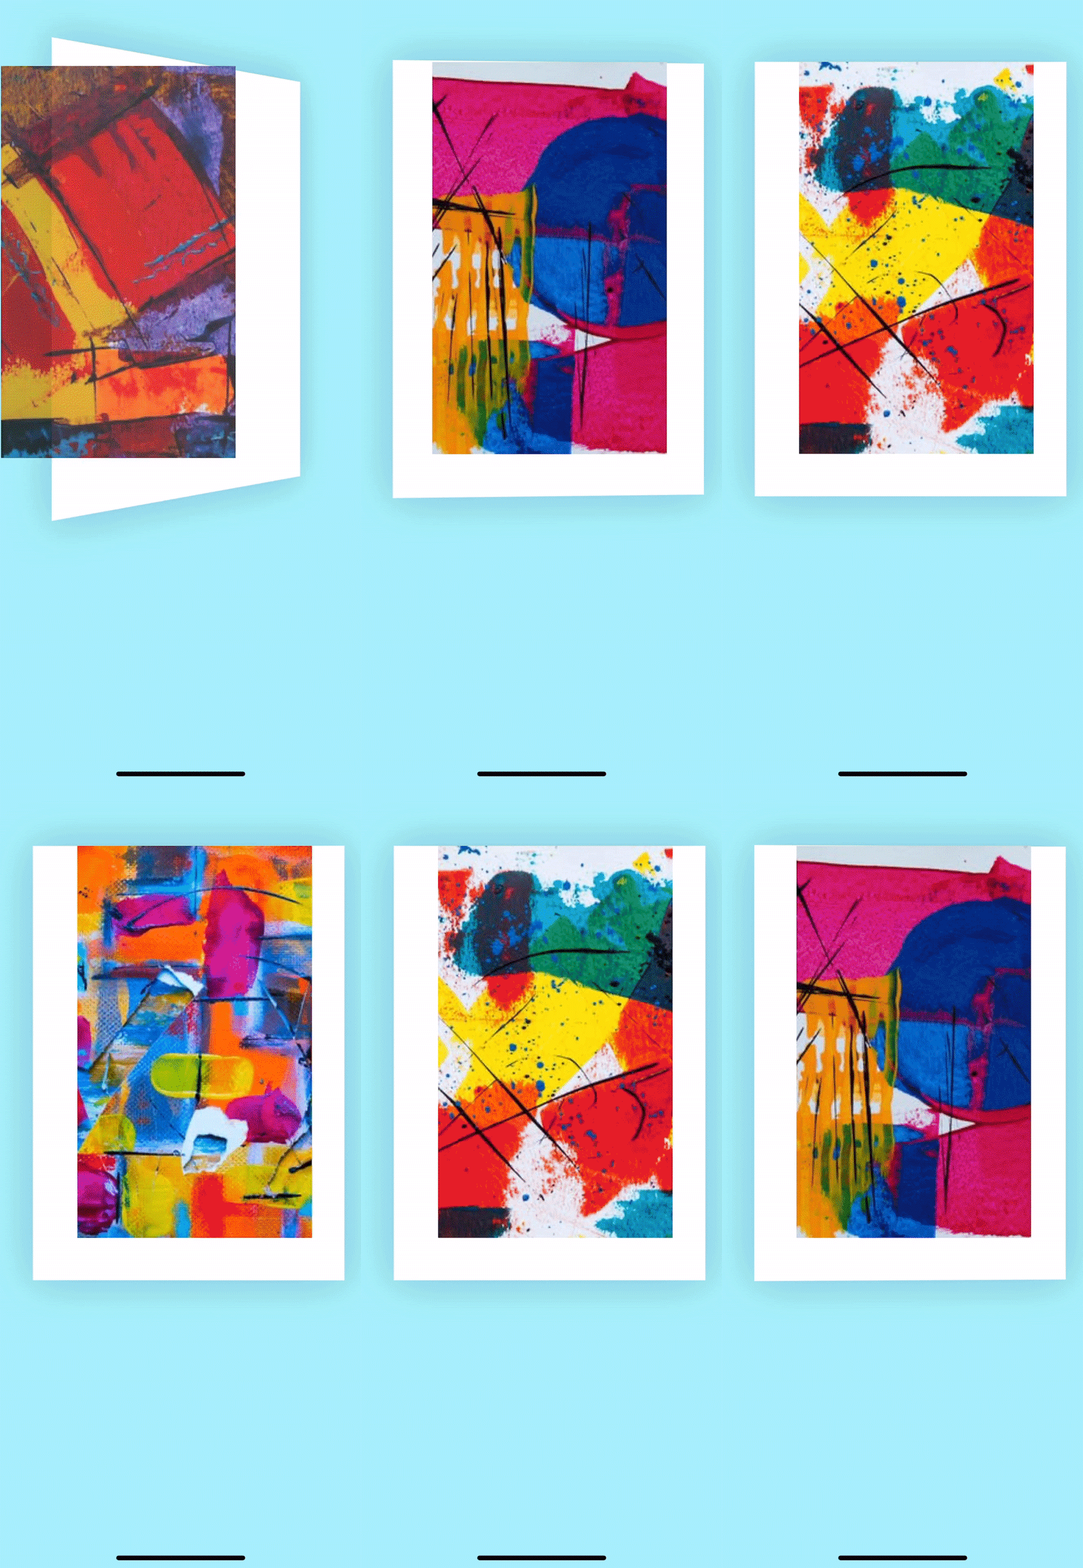
The next step is to animate the white background so that it will rotate in a 3D view. But before we do that, let’s figure out a way to view the inputRange between 0 and 1.
At the top of our Carousel component, create a progress variable using the methods divide() and modulo() from the Animated API, which let us modify and get the values between 0 and 1. The progress variable enables us to clamp our values to be between 0 and 1.
export default () => {
  const scrollX = React.useRef(new Animated.Value(0)).current;
  const progress = Animated.modulo(Animated.divide(scrollX, width), width);
We are now ready to start modifying the View component that holds our white background. As we did previously, convert the View component into an Animated.View.
A transform input is passed into the Animated.View component; the transform receives a perspective and a rotateY.
          <Animated.View
            style={{
              width: IMAGE_WIDTH + SPACING * 4,
              height: 450,
              position: "absolute",
              backgroundColor: "white",
              backfaceVisibility: true,
              zIndex: -1,
              top: SPACING * 1,
              left: SPACING * 1.7,
              bottom: 0,
              shadowColor: "#000",
              shadowOpacity: 0.2,
              shadowRadius: 24,
              shadowOffset: {
                width: 0,
                height: 0,
              },
              transform: [
                {
                  perspective: IMAGE_WIDTH * 4,
                },
                {
                  rotateY: progress.interpolate({
                    inputRange: [0, 0.5, 1],
                    outputRange: ["0deg", "90deg", "180deg"],
                  }),
                },

              ],
            }}
          />
The repo for this project is available on GitHub.
In this article, we’ve explored using Three.js to create 3D content in React Native. Three.js enables the rendering of 3D models in React Native environments. When coupled with the Animated API, these tools can provide us with additional flexibility that enables us to build smoother and more enticing views for our users. This is just a taste of the amazing animations that can be carried out with the Animated API.
Hopefully, this article serves as an exploratory guide for future developers to create great user experiences.

LogRocket's Galileo AI watches sessions for you and and surfaces the technical and usability issues holding back your React Native apps.
LogRocket also helps you increase conversion rates and product usage by showing you exactly how users are interacting with your app. LogRocket's product analytics features surface the reasons why users don't complete a particular flow or don't adopt a new feature.
Start proactively monitoring your React Native apps — try LogRocket for free.

React Server Components and the Next.js App Router enable streaming and smaller client bundles, but only when used correctly. This article explores six common mistakes that block streaming, bloat hydration, and create stale UI in production.

Gil Fink (SparXis CEO) joins PodRocket to break down today’s most common web rendering patterns: SSR, CSR, static rednering, and islands/resumability.

@container scroll-state: Replace JS scroll listeners nowCSS @container scroll-state lets you build sticky headers, snapping carousels, and scroll indicators without JavaScript. Here’s how to replace scroll listeners with clean, declarative state queries.

Explore 10 Web APIs that replace common JavaScript libraries and reduce npm dependencies, bundle size, and performance overhead.
Hey there, want to help make our blog better?
Join LogRocket’s Content Advisory Board. You’ll help inform the type of content we create and get access to exclusive meetups, social accreditation, and swag.
Sign up now