In Flutter, we use the Dart programming language to build cross-platform applications. Dart packages are like the libraries you might be used to installing for, say, Node.js projects using either npm or yarn. These packages are built by Flutter devs for Flutter devs.

In this tutorial, we’ll show you how to build Dart packages and share them with other Flutter developers around the world.
We’ll cover the following with practical examples:
Dart packages help us solve issues and create workarounds for problems without having to write the code ourselves from scratch.
For example, let’s say we’re building a Flutter app and we discover that we need to upload a picture from our local filesystem and display it in the app. Implementing that ourselves would be tedious and time-consuming.
Chances are, some developer somewhere has already built a Dart package for Flutter to handle the image picking and display functionalities for us. All we have to do is install the package, then use its methods and classes to find and display images. This affords us more time to focus on the core business logic of our app.
To follow along with this tutorial, make sure you have the Flutter SDK installed on your machine.
The Flutter SDK is used to build, compile, and run Flutter projects. To install it, head to the official Flutter website and download the appropriate SDK depending on your operating system:
There are two types of packages in Dart: regular Dart packages and plugin packages.
In this tutorial, we’ll demonstrate how to create a Dart package.
To create a Flutter package, run the below command:
flutter create --template=package flutter_pkg
create subcommand is used to create a Flutter project or package. In this case, it will create a Flutter package--template=package flag tells it to create a Flutter packageflutter_pkg is the folder in which the Flutter package will be created. You can name it anything you wantThe command will run like this:
Creating project flutter_pkg...
  flutter_pkg/LICENSE (created)
  flutter_pkg/test/flutter_pkg_test.dart (created)
  flutter_pkg/flutter_pkg.iml (created)
  flutter_pkg/.gitignore (created)
  flutter_pkg/.metadata (created)
  flutter_pkg/pubspec.yaml (created)
  flutter_pkg/README.md (created)
  flutter_pkg/lib/flutter_pkg.dart (created)
  flutter_pkg/.idea/libraries/Dart_SDK.xml (created)
  flutter_pkg/.idea/modules.xml (created)
  flutter_pkg/.idea/workspace.xml (created)
  flutter_pkg/CHANGELOG.md (created)
Running "flutter pub get" in flutter_pkg...                         5.3s
Wrote 12 files.

All done!
Your package code is in flutter_pkg/lib/flutter_pkg.dart
The main file, or the entry file, of this package is lib/flutter_pkg.dart. Flutter sets the main file to be the same as the package name with the .dart extension. Our package name is flutter_pkg, so the main file will be flutter_pkg.dart. If the package name is modalpicker, the main file will be modalpicker.dart.
Let’s look at some of the files and folders we generated to learn what each of them does.
pubspec.yaml contains the information regarding a Flutter package as well as dependencies for that project. It also enables us to specify the assets we want to add to our Flutter project, such as images, fonts, etc..gitignore tells Git which files in our Flutter project to ignore when pushing our code to a repositoryREADME.md contains general information about the project written in Markdown. This file describes how to install, run, and contribute to the project, among other thingsCHANGELOG.md is where we add changes that were made to the project. This document is also written in MarkdownBefore we proceed further, we need to initialize a Git repo in our project. This helps when we need to push our package to pub.dev.
Run the below code:
echo "# flutter_pkg" >> README.md
git init
git add README.md
git commit -m "first commit"
git branch -M main
git remote add origin [email protected]:flutter-prjs/flutter_pkg.git
git push -u origin main
We will include a homepage or repository field in our pubspec.yaml. In the homepage, we’ll add the Git repo URL of our package project. We’ll also add a description to clearly describe to devs what this package does.
name: flutter_pkg
description: A new Flutter package with a customized TextButton.
version: 0.0.1
author: Chidume Nnamdi
homepage: https://github.com/flutter-prjs/flutter_pkg
Next, we’ll create a custom button styled to our liking.
Clear the original code generated by Flutter in the lib/flutter_pkg.dart. Then, add the CustomButton widget:
library flutter_pkg;

import 'package:flutter/material.dart';

class CustomButton extends StatelessWidget {
  var onPressed;
  final Widget child;
  var style;
  CustomButton({Key key, @required this.onPressed, this.child, this.style})
      : super(key: key);

  @override
  Widget build(BuildContext context) {
    return TextButton(
      onPressed: onPressed,
      style: TextButton.styleFrom(
        padding: const EdgeInsets.all(16.0),
        primary: Colors.white,
        backgroundColor: Colors.blue,
        elevation: 9.0,
        textStyle: const TextStyle(
          fontSize: 20,
        ),
      ),
      child: child
    );
  }
}
The library flutter_pkg code sets the name of our package to flutter_pkg.
First, we imported the Flutter Material package — this is the root of all Flutter apps. Next, we created a CustomButton class that extends the StatelessWidget class. This causes our CustomButton widget to hold or manage no local state.
We have three properties that the CustomButton widget constructor will receive:
onPressed — This function will be called when the CustomButton widget is pressed or clickedstyle — This property will hold the custom styling of the button from its users. The users might decide to style our CustomButton widget to their taste, so they code the styling and pass it down to the CustomButton widget via the style propertychild — This is a widget tree of the CustomButton widget. This tree is usually a Text widget that displays the text on the buttonThe build method renders a TextButton and styles the button as follows:
padding — The padding is set to 16.0 units all sidesprimary — The primary color of the button is set to bluebackgroundColor — The background color of the button is set to blueelevation — The box shadow of the button is elevated to 9.0 unitstextStyle — The font size is set to 20 units to make the button appear much biggerchild — This property renders the widget tree of the CustomButton widgetOur custom button is something like a smaller version of TextButton. This button renders a customized TextButton. Inside our CustomButton, we increased the padding, elevation, background color, and text style of the TextButton.
To use this widget, enter the following:
CustomButton(
    onPressed: _incrementCounter,
    child: const Text("Click me")
),
We will need to test our package to see if it is working. To do that, we have to create a Flutter project in our project:
flutter create example
An example folder will be created in our flutter_pkg project.
Next, we have to install our flutter_pkg in the example Flutter project. Since the package is not yet published to pub.dev, we will refer to the path locally.
Open pubspec.yaml in the example project, and add this line:
dependencies:
  flutter:
    sdk: flutter
  flutter_pkg:
    path: ../
The path: ../ tells Flutter to get the flutter_pkg dependency from the path ../ — that is, from its parent folder.
Open lib/main.dart and add the following code to the _MyHomePageState widget:
class _MyHomePageState extends State<MyHomePage> {
  int _counter = 0;

  void _incrementCounter() {
    setState(() {
      _counter++;
    });
  }

  @override
  Widget build(BuildContext context) {
    return Scaffold(
      appBar: AppBar(
        title: Text(widget.title),
      ),
      body: Center(
        child: Column(
          mainAxisAlignment: MainAxisAlignment.center,
          children: <Widget>[
            Text(
              'You have pushed the button this many times:',
            ),
            CustomButton(
              onPressed: _incrementCounter,
              child: const Text("Click me")
            ),
            Text(
              '$_counter',
              style: Theme.of(context).textTheme.headline4,
            ),
          ],
        ),
      ),
      floatingActionButton: FloatingActionButton(
        onPressed: _incrementCounter,
        tooltip: 'Increment',
        child: Icon(Icons.add),
      ), // This trailing comma makes auto-formatting nicer for build methods.
    );
  }
}
We imported the flutter_pkg package, then we set the CustomButton widget between two Text widgets.
Run the example project by running flutter run in the command line. If you’re using VS Code, right-click on the lib/main.dart file and click Run Without Debugging.
Our app will look as follows:
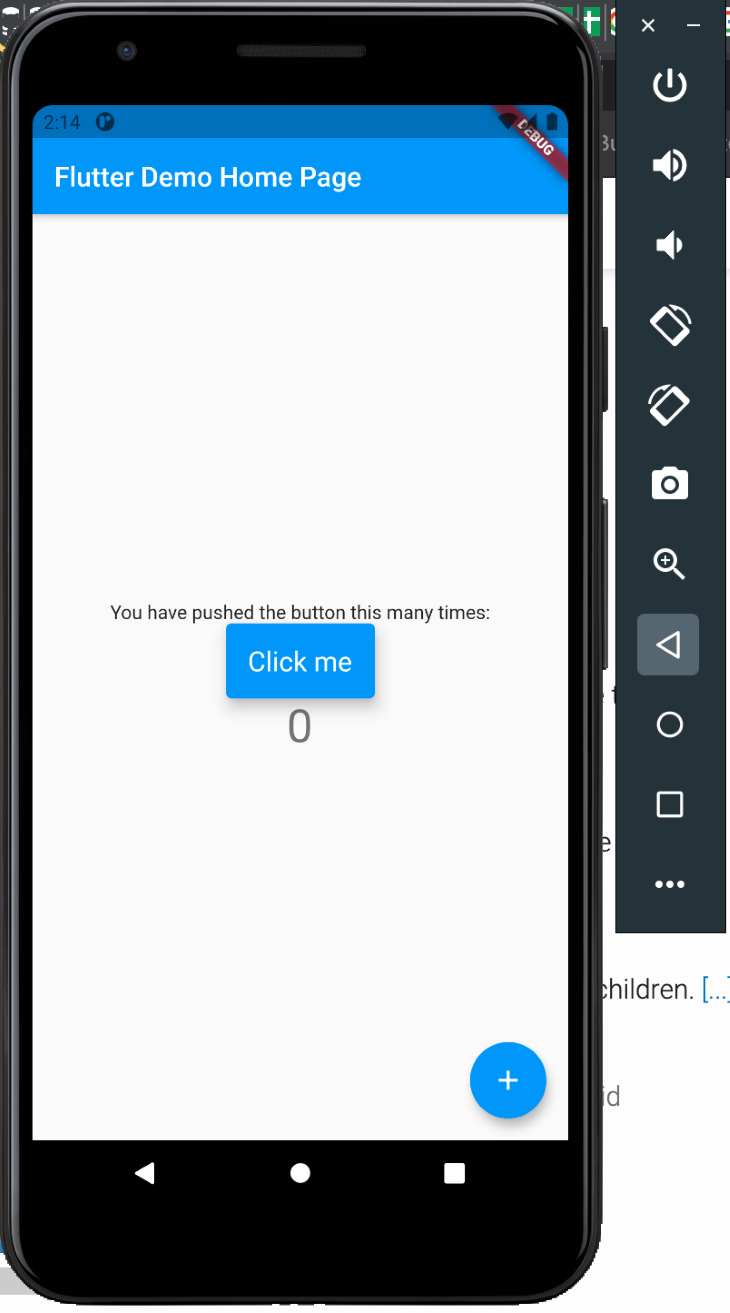
Great! Our package is working. Now we can publish it to pub.dev so other developers can use our package.
Now that we know our Dart package is working, we can now publish it to pub.dev so other developers can use our package.
Before we publish our package, let’s add a license to the LICENSE file:
Copyright (c) 2021 Chidume Nnamdi
Permission is hereby granted to use this software as deemed fit.
Next, we’ll push our changes to Git. Run the below code:
git add . && git commit -m "Made some changes" && git push
Now it’s time to publish our package:
flutter packages pub publish
Something like this will appear:
Publishing flutter_pkg 0.0.1 to https://pub.flutter-io.cn:
|-- .gitignore
|-- .metadata
|-- CHANGELOG.md
|-- LICENSE
|-- README.md
|-- example
...
At the bottom, it will require authorization if you are not yet authorized on pub.dev.
Pub needs your authorization to upload packages on your behalf.
In a web browser, go to https://accounts.google.com/o/oauth2/auth?access_type=offline&...wpFwBAMgkc&code_challenge_method=S256&scope=openid+https%3A%2F%2Fwww.googleapis.com%2Fauth%2Fuserinfo.email
Then click "Allow access".

Waiting for your authorization...
Then you will have to click on the link in the terminal above (Ctrl + Click). Finally, you will be prompted to authorize access via your selected Gmail account.
Note: Flutter says that publishing is forever, meaning packages cannot be unpublished.
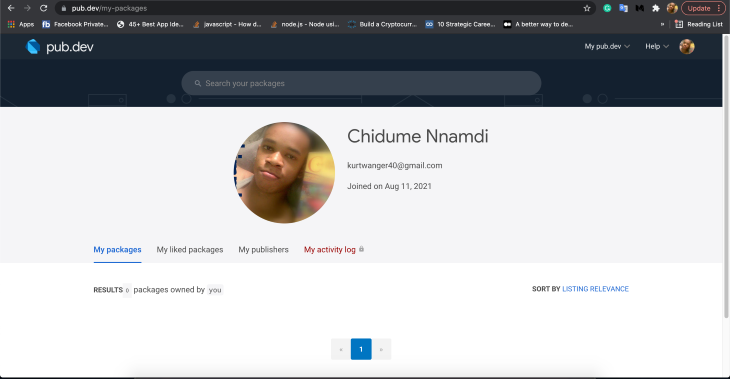
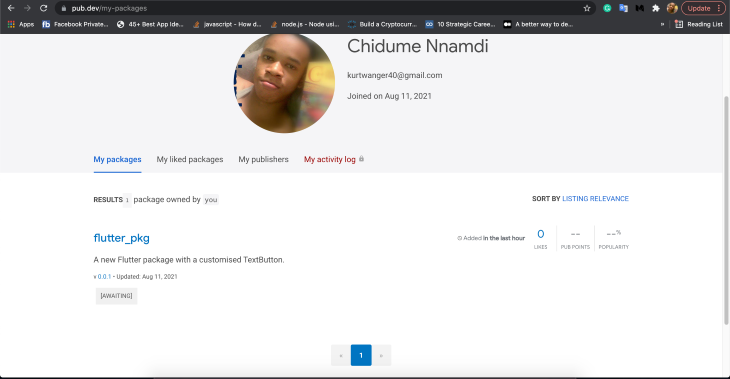
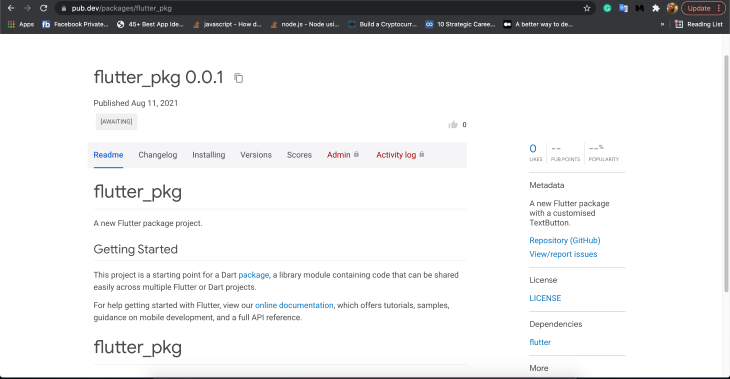
See the published package associated with this demo on pub.dev.
We covered a lot in this tutorial. We started by introducing packages in Dart, what they are, and how they are designed to share code with other devs.
Later on, we learned how to scaffold a Flutter package project and how to write the package code. Next, we learned how to test our Flutter package locally and, finally, how to publish our Flutter package to pub.dev.
Install LogRocket via npm or script tag. LogRocket.init() must be called client-side, not
server-side
$ npm i --save logrocket

// Code:

import LogRocket from 'logrocket';
LogRocket.init('app/id');
// Add to your HTML:

<script src="https://cdn.lr-ingest.com/LogRocket.min.js"></script>
<script>window.LogRocket && window.LogRocket.init('app/id');</script>

Learn how to set up Meilisearch, index documents, and build keyword, semantic, and hybrid search with AI-powered retrieval.

Compare pnpm and npm across security defaults, disk usage, dependency strictness, and workspace policy to decide which package manager fits your project.

I migrated 20 production-style components from Tailwind to StyleX. Here’s what the data showed about LOC, CSS bundle size, build time, and type safety.

A guide for using JWT authentication to prevent basic security issues while understanding the shortcomings of JWTs.
Hey there, want to help make our blog better?
Join LogRocket’s Content Advisory Board. You’ll help inform the type of content we create and get access to exclusive meetups, social accreditation, and swag.
Sign up now

