Infinite scrolling is a popular interaction pattern that allows users to continuously load content while scrolling down a page. This means an app fetches a small chunk of data and continues fetching more data as the user scrolls through.

One of the most common use-cases for this pattern is seen in large-scale social media websites such as Instagram and Twitter. This provides major performance improvements when compared to fetching a website’s entire data during an initial load.
In this article, we’ll learn how to build an Instagram-like infinite scrolling feed in a React application with React Query’s useInifiniteQuery() Hook.
The Replay is a weekly newsletter for dev and engineering leaders.
Delivered once a week, it's your curated guide to the most important conversations around frontend dev, emerging AI tools, and the state of modern software.
This article assumes that you have a basic understanding of React components, common Hooks such as useState() and useEffect(), and familiarity adding npm packages to a React project.
If you’re new to React Query, you can check out what’s new in React Query to learn more about it and its benefits. However, we’ll be only discussing the useInfiniteQuery() Hook in this article.
To preview this project in full, visit this CodeSandbox link to view the source code and the demo.

React is an unopinionated JavaScript library that builds interactive and scalable web applications. However, this unopinionated nature can also act as a double-edged sword because it does not ship with a built-in data fetching solution.
Although you can implement your own data fetching mechanisms, React Query provides an easier and more efficient way to manage asynchronous server state in the form of Hooks.
These Hooks also come with the added benefits of caching response data, deduping multiple requests, and more performance optimizations.
Some of the most commonly used Hooks from this library are the useQuery() Hook, which fetches data from an API, and the useMutation() Hook, which creates, updates, and deletes server data.
The useInfiniteQuery() Hook is just a modified variant of the useQuery() Hook and provides the infinite scrolling functionality.
useInfiniteQuery() HookBefore diving into the project, let’s take a moment to understand how the useInfiniteQuery() Hook works and how to use it. This Hook takes two mandatory parameters: the query key and the query function, along with an optional options object.
This Hook returns values and functions that can retrieve fetched data, check the state of a query (such as error, loading, fetching, or idle), and check whether more pages are present or other information to send to the infinite scroller component.
For a detailed explanation of the useInfiniteQuery() Hook, see the official API reference documentation.
Now, let’s explore the practical usage of this Hook in the next few sections.
useInfiniteQuery() projectTo code along with this project, you can either visit this CodeSandbox link to get the starter files with all the dependencies pre-installed, or create a new React app on your local machine using the create-react-app tool by running this command:
npx create-react-app infinite-scroll
In case you choose to create the React app on your local machine, install React Query and the infinite scroller component using the command given below:
npm install react-query react-infinite-scroller
#or
yarn add react-query react-infinite-scroller
While React Query can help you fetch data, providing the UI implementation of the infinite scroller component is up to you. This is why we’re using the react-infinite-scroller library.
Before we can start using the Hooks from React Query, we must import QueryClient and QueryClientProvider from react-query and wrap it around the <App /> component inside the index.js file.
This ensures all the components in the React application have access to the Hooks and cache:
#index.js
import { QueryClient, QueryClientProvider } from "react-query";
import { ReactQueryDevtools } from "react-query/devtools";
import ReactDOM from "react-dom";
import App from "./App";

const queryClient = new QueryClient();

ReactDOM.render(
  <QueryClientProvider client={queryClient}>
    <App />
    <ReactQueryDevTools />
  </QueryClientProvider>,
 document.getElementById("root")
);
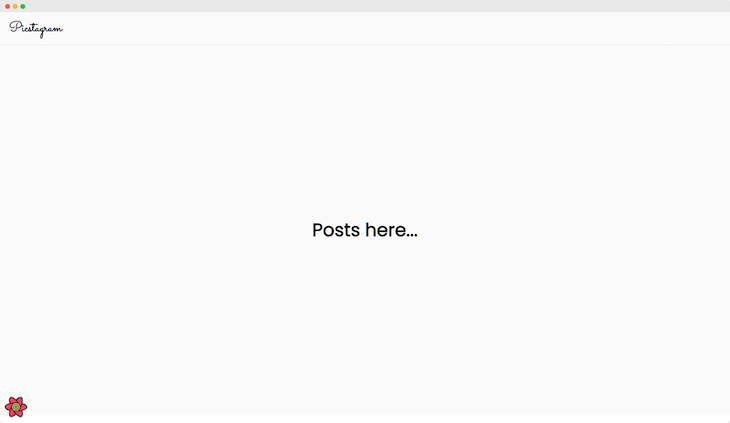
This code renders our landing page where our pictures will eventually reside:

In the above example, we also imported the React Query Devtools, a handy tool that comes with the react-query built-in to monitor network requests and other query details.
And with that, we’re done integrating React Query into our React Project. It’s that easy.
To display images for the infinite scrolling feed, we’ll use the Lorem Picsum API to fetch an array of images and their information in JSON format. More specifically, we’ll use the following API endpoint:
https://picsum.photos/v2/list?page=1&limit=10
Using the limit query parameter, we can set the number of images fetched per API call to 10. This retrieves 10 images initially and continues fetching 10 more images each time the user is close to reaching the end of the feed.
By incrementing the page query parameter, we can fetch the next set of images. Initially, the page query parameter is set to 1 to start from the first page.
The response from the above endpoint looks something like this:
[
  {
    "id": "0",
    "author": "Alejandro Escamilla",
    "width": 5616,
    "height": 3744,
    "url": "https://unsplash.com/photos/yC-Yzbqy7PY",
    "download_url": "https://picsum.photos/id/0/5616/3744"
  },
  {
    ...
  },
  {
    ...
  }
]
It is also worth noting that this API endpoint provides 1000 images in total. Therefore, using a limit of 10 images per API call, we can expect to have 100 pages of images.
PostCard componentLet’s make a simple React component to display an image and its author. First, create a folder inside the src directory named components. Inside this components folder, create a new file named PostCard.jsx and paste the following code:
// components/PostCard.jsx
const PostCard = ({ post }) => {
  return (
    <div className="post-card">
      <h4>{post.author}</h4>
      <img src={post.download_url} alt={post.author} />
    </div>
  );
};
export default PostCard;
This component takes a prop named post and uses the author and download_url properties to display the author’s name and image. To style this component, append the CSS given below to the App.css file:
// App.css
.post-card {
  display: flex;
  flex-direction: column;
  border: 1px solid #dbdbdb;
  margin-bottom: 1.5rem;
}
.post-card h4 {
  background: #fafafa;
  padding: 0.5rem;
}
.post-card img {
  height: 300px;
  width: 500px;
  object-fit: cover;
}
The PostCard component is now ready to be used inside the App.js file. Let’s now move on towards fetching the data from the API.
To begin implementing infinite scroll into our app, let’s make a function named fetchPosts() to make a GET request to the endpoint and retrieve an array of posts depending upon the page number and limit:
const fetchPosts = async ({ pageParam = 1 }) => {
  const response = await fetch(
    `https://picsum.photos/v2/list?page=${pageParam}&limit=10`
  );
  const results = await response.json();
  return { results, nextPage: pageParam + 1, totalPages: 100 };
};
This function also takes the pageParam parameter that React Query automatically passes while calling this function. In this case, the pageParam is the page number.
Since the API we’re using doesn’t provide the total number of pages and the next page number in the response, let’s return a custom object with these properties since we know the next page number will be the current page number plus one, and the total number of pages will be 100.
Now, import the useInfiniteQuery() Hook from react-query and use it in this manner:
const { data, isLoading, isError, hasNextPage, fetchNextPage } =
  useInfiniteQuery("posts", fetchPosts, {
    getNextPageParam: (lastPage, pages) => {
      if (lastPage.nextPage < lastPage.totalPages) return lastPage.nextPage;
      return undefined;
    },
  });
Pass "posts" as the query key and the fetchPosts function as the query function. As a third parameter, pass an object containing the getNextPageParam function, as shown above.
This function retrieves the page number of the next page. If we’re already on the last page, we can return undefined so React Query does not try to fetch more data.
Finally, we can destructure out the data array consisting of the pages, isLoading boolean, isError boolean, hasNext boolean, and the fetchNextPage function to render the UI accordingly.
InfiniteScroll componentNow, import the InfiniteScroll component from react-infinite-scroller. Map through all the posts inside each page of the data.pages array to render the <PostCard /> component inside <InfiniteScroll>:
<InfiniteScroll hasMore={hasNextPage} loadMore={fetchNextPage}>
  {data.pages.map((page) =>
    page.results.map((post) => <PostCard key={post.id} post={post} />)
  )}
</InfiniteScroll>;
The <InfiniteScroll> component takes two props: hasMore, a boolean value to check whether there are more pages to fetch, and the loadMore function to fetch more posts when the user nears the end of the page.
The hasNextPage boolean destructured from useInfiniteQuery()‘s return properties can be used as the value for the hasMore prop.
Similarly, the return properties also contain a fetchNextPage function that can fetch the next page’s results and be used as the value for the loadMore prop.
Finally, after piecing together all the code snippets along with some conditional rendering, our App.js file will look something like this:
// App.js
import InfiniteScroll from "react-infinite-scroller";
import { useInfiniteQuery } from "react-query";
import Navbar from "./components/Navbar";
import PostCard from "./components/PostCard";
import "./styles.css";
export default function App() {
  const fetchPosts = async ({ pageParam = 1 }) => {
    const response = await fetch(
      `https://picsum.photos/v2/list?page=${pageParam}&limit=10`
    );
    const results = await response.json();
    return { results, nextPage: pageParam + 1, totalPages: 100 };
  };
  const {
    data,
    isLoading,
    isError,
    hasNextPage,
    fetchNextPage
  } = useInfiniteQuery("posts", fetchPosts, {
    getNextPageParam: (lastPage, pages) => {
      if (lastPage.nextPage < lastPage.totalPages) return lastPage.nextPage;
      return undefined;
    }
  });
  return (
    <div className="App">
      <Navbar />
      <main>
        {isLoading ? (
          <p>Loading...</p>
        ) : isError ? (
          <p>There was an error</p>
        ) : (
          <InfiniteScroll hasMore={hasNextPage} loadMore={fetchNextPage}>
            {data.pages.map((page) =>
              page.results.map((post) => <PostCard key={post.id} post={post} />)
            )}
          </InfiniteScroll>
        )}
      </main>
    </div>
  );
}
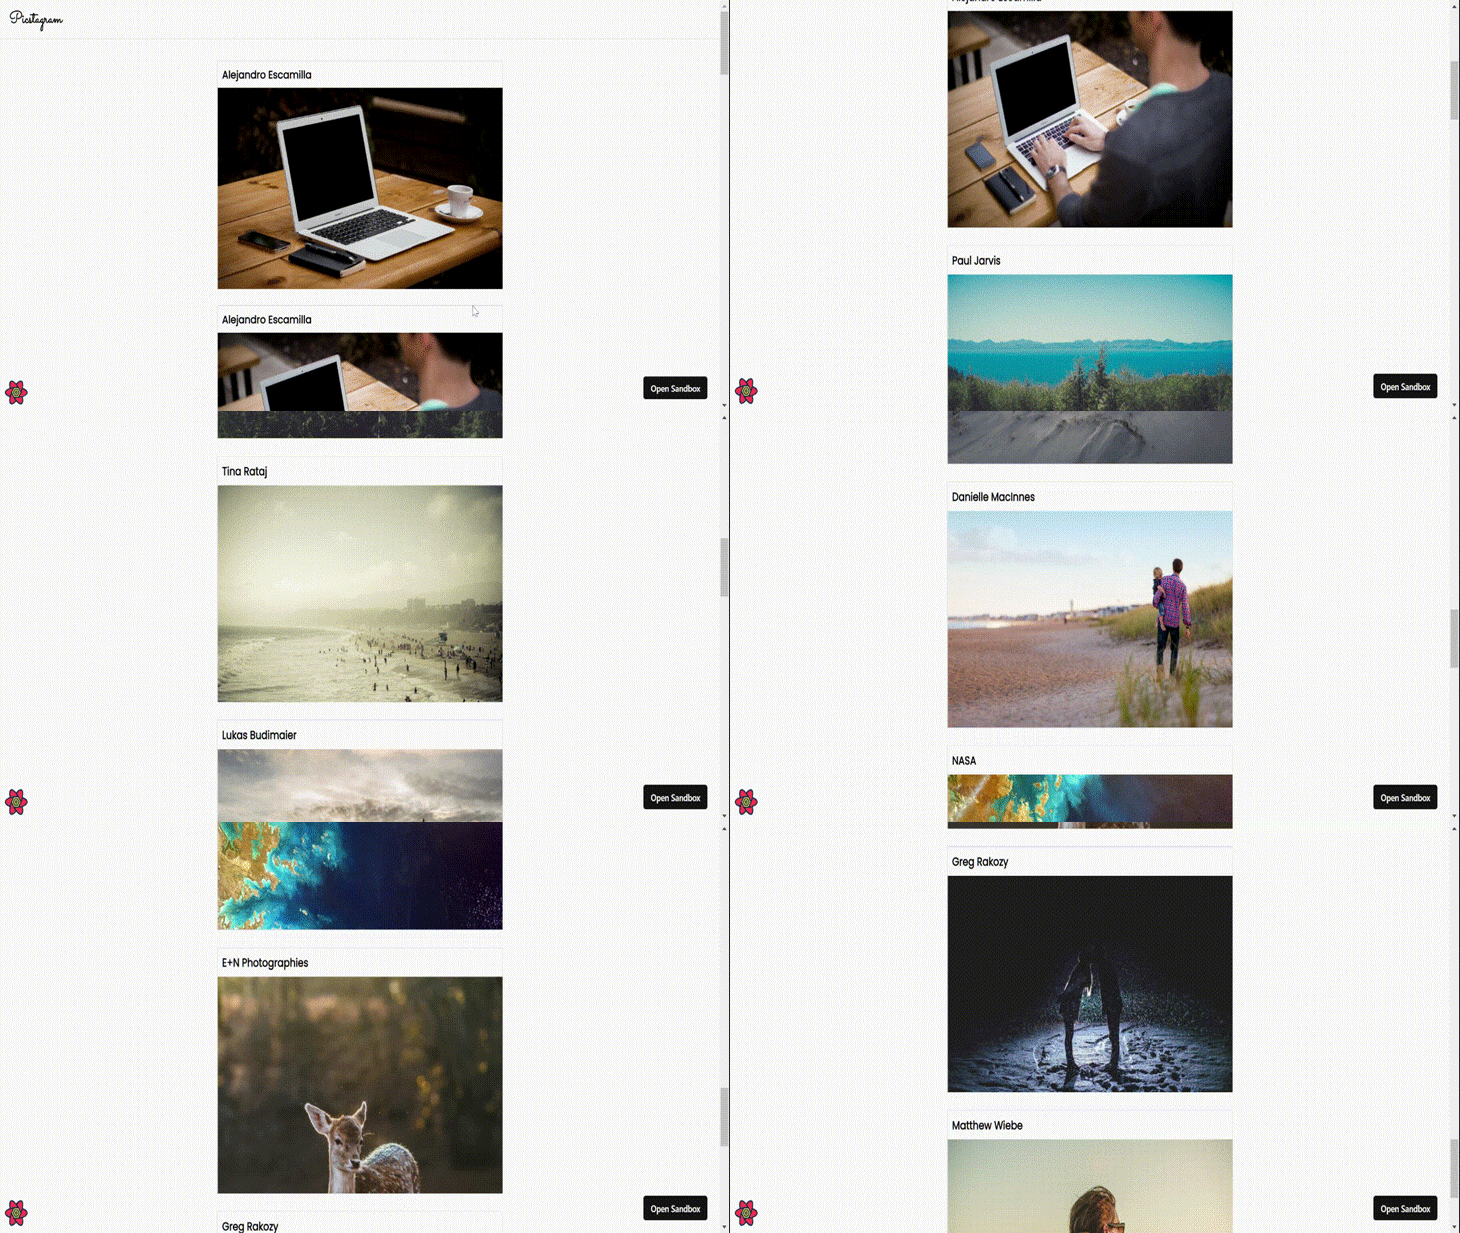
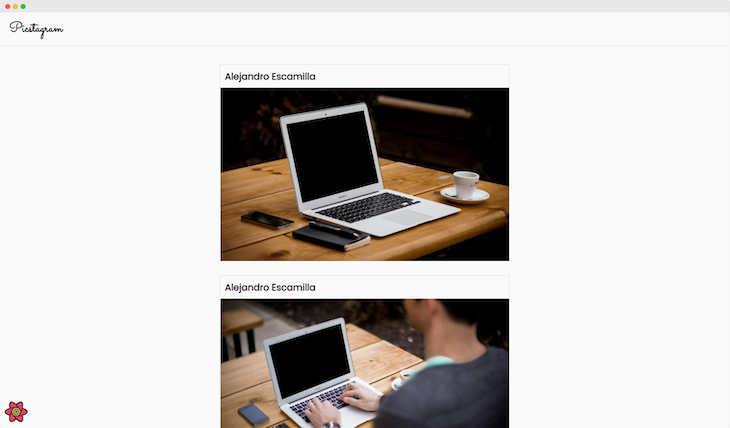
Thus, rendering the final instagram-like infinite scrolling feed:

With this, you’ve successfully built your own infinite scrolling feed of images using React Query, the Lorem Picsum API, and the React InfiniteScroll component. You can use this concept to build any type of infinite scrolling feed for your projects.
Install LogRocket via npm or script tag. LogRocket.init() must be called client-side, not
server-side
$ npm i --save logrocket

// Code:

import LogRocket from 'logrocket';
LogRocket.init('app/id');
// Add to your HTML:

<script src="https://cdn.lr-ingest.com/LogRocket.min.js"></script>
<script>window.LogRocket && window.LogRocket.init('app/id');</script>

Russ Miles, a software development expert and educator, joins the show to unpack why “developer productivity” platforms so often disappoint.

Discover what’s new in The Replay, LogRocket’s newsletter for dev and engineering leaders, in the February 18th issue.

Learn how to recreate Claude Skills–style workflows in GitHub Copilot using custom instruction files and smarter context management.

Claude Code is deceptively capable. Point it at a codebase, describe what you need, and it’ll autonomously navigate files, write […]
Hey there, want to help make our blog better?
Join LogRocket’s Content Advisory Board. You’ll help inform the type of content we create and get access to exclusive meetups, social accreditation, and swag.
Sign up now