If you are already working with Flutter or starting your journey with Flutter app development, you might have heard of a hot topic in the Flutter community: state management.

The search for an ideal state management solution has been discussed over recent years, and there’s no definite answer for this. All these solutions have their own pros and cons, and it depends on which tool provides you the best features for your use case.
This blog focuses on StateNotifier, which is another solution for managing the state.
Before proceeding, you should revamp your understanding of state in Flutter.
Flutter is declarative in nature. This means that Flutter builds UI by overriding your build methods to reflect the current state of your app:
UI = fn(state)
As per the Flutter documentation, the state is described as “whatever data you need in order to rebuild your UI at any moment in time.”
Further, state is divided into two types: ephemeral and app state.
A state that can be contained in a single widget is known as an ephemeral (local) state. Flutter provides inbuilt classes and methods to deal with this self-contained state like StatefulWidget and setState. You can take the example of the Flutter counter app for ephemeral state.
Conversely, a state that needs to be shared among different widgets is known as app (global) state. It is at this point where state management tools kick in with their benefits and drawbacks. However, first check the inbuilt tools provided by Flutter for this case.
ChangeNotifier is a class that provides change notification to its listeners. That means you can subscribe to a class that is extended or mixed in with ChangeNotifier and call its notifyListeners() method when there’s a change in that class. This call will notify the widgets that are subscribed to this class to rebuild.
ValueNotifier is a ChangeNotifier that carries a single value and it will notify its listeners when its value property is changed.
ValueNotifier, in general, is sufficient for state management in your app. However, it is not appropriate for every scenario. Hence, here is StateNotifier to help you with one such scenario.
You’ll not run into issues while using ChangeNotifier in a regular Flutter app. However, ChangeNotifier is mutable in nature. That means it can change the state directly.
On the other hand, StateNotifier is an immutable state management solution where the state can be directly changed within the notifier only. It is an amplification of ValueNotifier. Also, StateNotifier is an independent package that doesn’t rely on Flutter, unlike ChangeNotifier, and it can be used within your Dart projects as well.
These are some benefits of StateNotifier:
So instead of extending your class with ChangeNotifier, extend it using StateNotifier. This package’s author recommends this state management solution when using Provider or Riverpod.
This tutorial will use Riverpod with StateNotifier, but the same fundamentals are valid if you prefer Provider or another state management package. So consider an example of a book-entry app to keep a track of books by adding and removing them.
Download the starter project from here.
This project uses the stable Flutter SDK version 2.5.0 and editor Visual Studio Code.
Open the starter project in your favorite editor. Build and run your app:
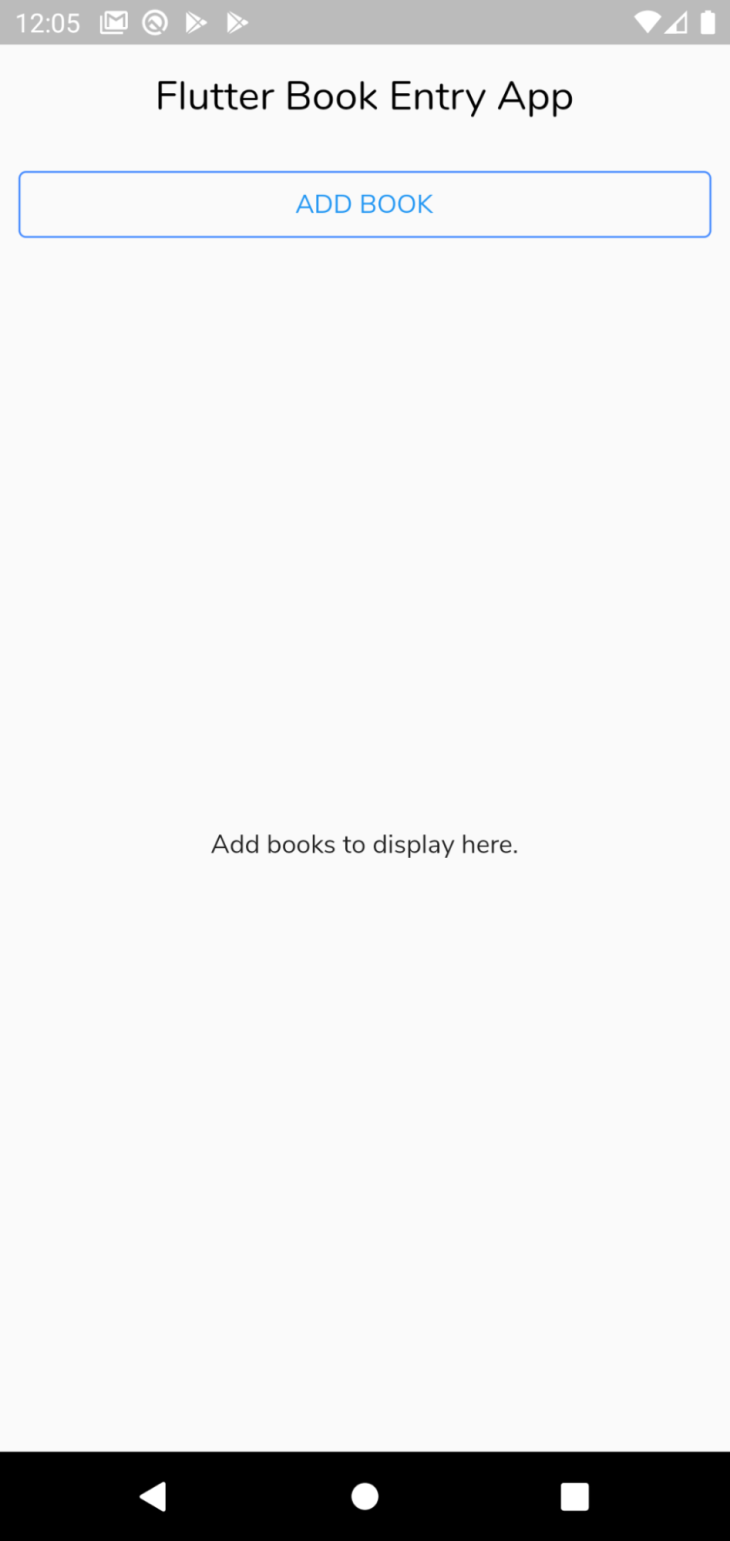
The file structure of the starter project looks like this:
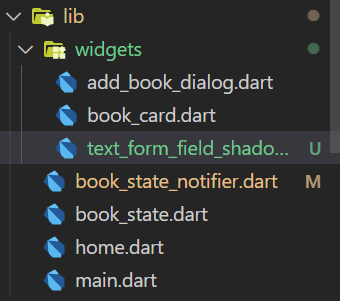
main.dart — The entry point for the whole apphome.dart — Contains the Home view where the book list will be displayed laterbook_state.dart — The model or state to store a book’s name and author:
class Book {
  String name;
  String author;
  Book({required this.name, required this.author});
}
widgets — Directory containing additional custom widgets to help build the UI:
add_book_dialog.dart — A dialog widget used to add books to update the statebook_card.dart — A custom widget that accepts a Book object from the book list to display the list itemtext_from_field_shadow.dart — A widget to add shadow over the input text field in the add_book_dialog.dartStart by adding the following packages to your app in pubspec.yaml:
flutter_riverpod: ^1.0.0
The Riverpod package comes with StateNotifier in it.
N.B., the future version may have a different implementation than what is followed in this tutorial.
book_state_notifierAfter adding Riverpod, you can create the Book state notifier. So start by creating a new file book_state_notifier.dart in the lib.
Add the following code in the book_state_notifier:
import 'package:flutter_riverpod/flutter_riverpod.dart';
import 'package:state_notifier/state_notifier.dart';
import 'package:state_notifier_example/book_state.dart';

// 1
class BookStateNotifier extends StateNotifier<List<Book>> {
  // 2
  BookStateNotifier() : super([]);

  // 3
  void addBook(Book bookToAdd) => state = [...state, bookToAdd];

  // 4
  void removeBook(Book booktoRemove) => state = [
        for (final book in state)
          if (book != booktoRemove) book,
      ];
}

// 5
final StateNotifierProvider<BookStateNotifier, List<Book>> booksProvider =
    StateNotifierProvider((ref) => BookStateNotifier());
In the above code:
BookStateNotifier class is extending the StateNotifier with the type List of Book model/stateStateNotifier<List<Book>> superclassaddBook — Add a book to the current stateremoveBook — Remove a book from the current statebooksProvider — The book provider global variable to watch and read to update the UIYou might be thinking, “Why didn’t you use .add and .remove here?” The reason is that the state must be changed, resulting in oldState == newState as false, but methods like .add mutates the list in place, so the equality is preserved. That’s why both the addBook and removeBook methods have something like state = [...state, book], which provides an entirely new list in the state.
book_state_notifierTo use Riverpod in your app, wrap your whole app in a ProviderScope. So in the main.dart, update the runApp method:
void main() {
  runApp(const ProviderScope(
    child: MyApp(),
  ));
}
The ProviderScope widget stores the state of all the providers created by you.
Next, update your MyHomePage view by extending it to ConsumerWidget and updating the build method:
class MyHomePage extends ConsumerWidget {
  ...

  @override
  Widget build(BuildContext context, WidgetRef ref) {...}
}
ConsumerWidget allows the widget tree to listen to changes on a provider and update the UI when required.
Inside the build method, use the WidgetRef object to interact with the bookProvider to observe the current state (List<Book>) and react to the changes:
final List<Book> bookList = ref.watch(booksProvider);
Next, to display the changes, add a conditional operator:
...
Expanded(
  child: Center(
    child: bookList.isEmpty
        ? const Text("Add books to display here.")
        : ListView.builder(
            itemCount: bookList.length,
            itemBuilder: (_, index) {
              return BookCard(book: bookList[index]);
            }),
  ),
)
...
In the above code, you checked whether bookList is empty or not. If empty, display the text. If not, display the list using ListView.builder.
However, this will not reflect anything in the UI unless we update the UI by adding a book.
First, start by adding a book to the current state to reflect it in the UI.
Go to the AddBookDialog widget and extend it to ConsumerWidget as we have done earlier.
However, this time, inside the build method, use the WidgetRef object to watch the booksProvider.notifier:
final BookStateNotifier bookStateNotifier =
        ref.watch(booksProvider.notifier);
The booksProvider.notifier obtains the StateNotifier without listening to it.
Also as recommended, avoid calling read inside build if the value is used only for events because it is an anti-pattern that could easily lead to bugs in the future.
Now use the bookStateNotifier to use the addBook method on the onPressed event:
bookStateNotifier.addBook(Book(
                        name: bookNameController.text,
                        author: bookAuthorContorller.text));
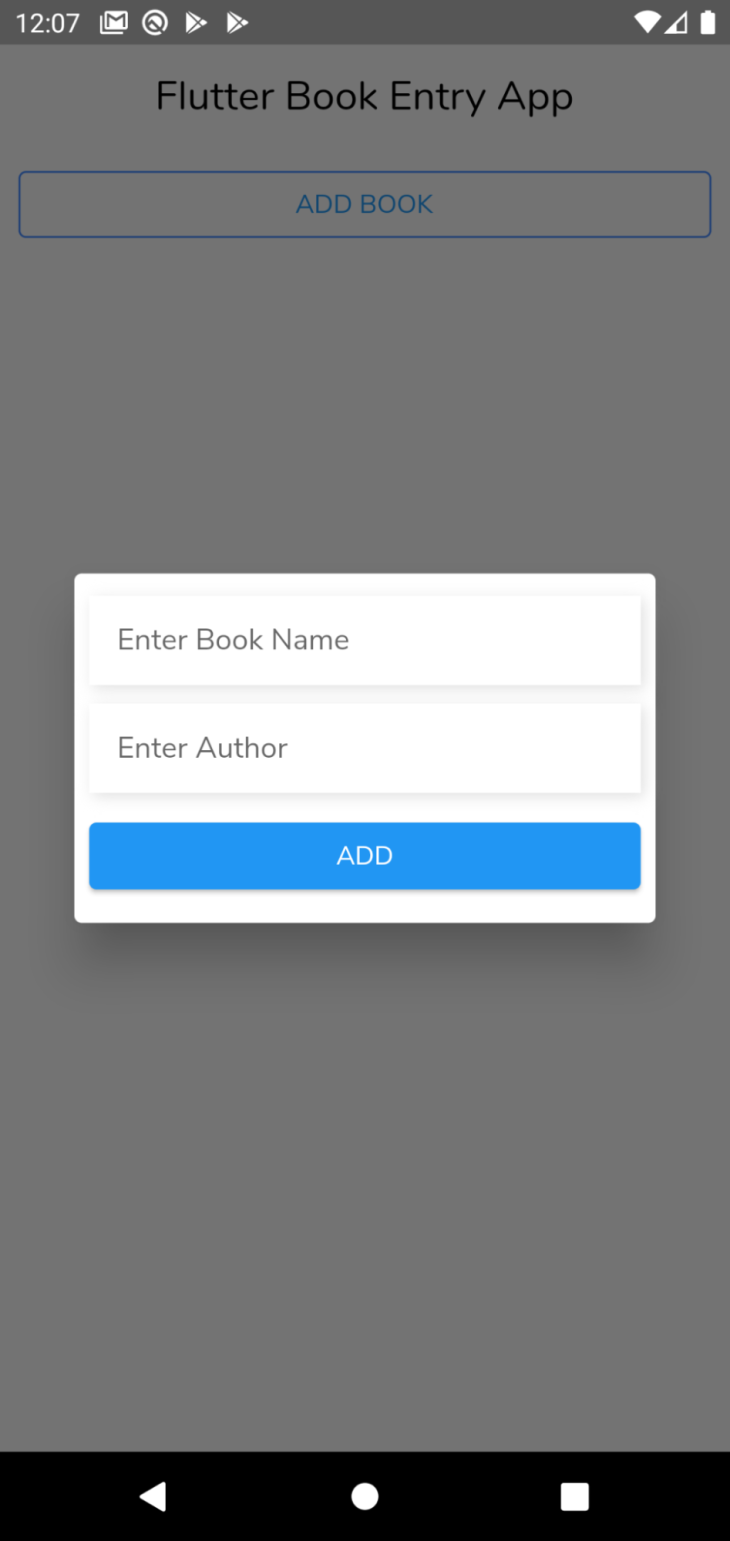
Add a book using the dialog, and finally, you’ll see a book in your home view:
Next, you can work on removing a book or two from the UI.
Go to your BookCard widget, extend it to ConsumerWidget, and create a bookStateNotifier as done earlier.
After this, use the bookStateNotifier to remove a book on the onLongPress event of the ListTile:
bookStateNotifier.removeBook(book)
In the above code, the book object is being sent from the home view via the ListView builder.
Your simple book-entry app is finally complete using Riverpod and StateNotifier.
You can find the final project here.
In this tutorial, you learned about StateNotifer, its benefits, and how you can use it along with Riverpod. However, this is only the beginning. For the next step, you can learn about using StateNotifier with the freezed package to generate sealed unions or integrate it with service locators. Also, you can use StateNotifier with other state management tools like flutter_bloc or you can learn more about Riverpod itself if you are interested.
We hope you enjoyed this tutorial. Feel free to reach out to us if you have any queries. Thank you!
Install LogRocket via npm or script tag. LogRocket.init() must be called client-side, not
server-side
$ npm i --save logrocket

// Code:

import LogRocket from 'logrocket';
LogRocket.init('app/id');
// Add to your HTML:

<script src="https://cdn.lr-ingest.com/LogRocket.min.js"></script>
<script>window.LogRocket && window.LogRocket.init('app/id');</script>

Learn how to detect unused and ghost dependencies in JavaScript projects using Knip, a project-level linter that keeps your dependency graph accurate.

Learn how Storybook MCP enables AI agents to understand your component library, generate accurate UI, and validate code using documentation, stories, and automated tests.

Debug RSC hydration mismatches in production with Next.js instrumentation, Suspense isolation, HTML diffing, and CI smoke tests.

Explore why npm dependencies are a major supply chain security risk and how to protect JavaScript apps from compromised packages and transitive threats.
Hey there, want to help make our blog better?
Join LogRocket’s Content Advisory Board. You’ll help inform the type of content we create and get access to exclusive meetups, social accreditation, and swag.
Sign up now

