The Replay is a weekly newsletter for dev and engineering leaders.
Delivered once a week, it's your curated guide to the most important conversations around frontend dev, emerging AI tools, and the state of modern software.
Animations are important to make an app interactive. They make the user feel more connected with the app.

With React Native gaining momentum, a lot of products are either built with React Native or have migrated to it. However, while code for webpages can be reused in mobile apps in some cases, a major problem is that animations often cannot carry over, as the APIs are completely different.
In this article, we will learn how to leverage React Native file resolution and react-spring (an animation library) to write a single codebase that runs animations in both React and React Native.
We will start by learning about React Native file resolution and react-spring, and continue by building a very basic sample app. In this sample app, we will write one code which will work both in React on the web, and React Native in mobile apps.
React Native has an efficient file resolution system that lets us write platform-specific or native-specific code. It will detect when a file has a .ios.js or .android.js extension and load the relevant platform(Android/iOS) file when required from other components. This way we can write two different pieces of code or components for two different platforms.
Likewise, when we create files with a .js or .native.js extension, the .js file is picked up by Node.js and web, whereas the .native.js file is picked up by the React Native Metro bundler.
This gives us the power to build easily maintainable apps and reuse a lot of code across platforms.
Consider a folder of the below structure:
|-TestComponent
  |-index.js
  |-index.native.js
Let’s assume we are using the TestComponent component in the App component as follows:
const App = () => (
  <div>
    <TestComponent />
  </div>
)
When the code is bundled for the browser, an import of TestComponent will import the component from index.js file. If the code is bundled for React Native, however, it picks up index.native.js.
We will leverage this aspect of the file resolution to write a single animation code for both platforms.
React-spring is a spring physics-based animation library that should cover most of your UI-related animation needs. It gives you tools flexible enough to confidently cast your ideas into moving interfaces.
React-spring is a bridge between the two existing React animation libraries: React Motion and Animated. It inherits Animated’s powerful interpolations and performance, as well as React Motion’s ease of use.
The main advantage of react-spring over other animation libraries is its ability to apply animations without relying on React to render updates frame by frame. Animations are based on physics.
There is no need (unless you do so intentionally) to customize duration or easing. It means your animations can handle interruptions and changes pretty seamlessly. The result is smooth, soft, and natural-looking animations.
React-spring is also a cross-platform animation library. It has similar implementations for web, React Native, and other platforms, but as different packages. We can pick the right module based on our requirements. However, they share the same APIs for all platforms. This helps us use react-spring to achieve our goal of one code for all platforms.
We will use the useSpring hook for the sample app we are going to build in this article. useSpring turns values into animated values by either overwriting values to change the animation or updating the values dynamically by passing a callback function using the API.
Let us use the above concepts we just learned and build a sample app. This sample app will use React for the web, React Native for mobile apps, and react-spring for animation. Functionally it will be a very simple app wherein a text will appear and zoom in on load of the application, both in mobile apps and on the web.
However, we will have to first create the basic building blocks for this app to work. You can manually configure Metro bundler and webpack or use the existing starter kits.
I have used expo and create-react-app merged into single project. The complete working version of the app can be found here.
Let’s see some code now. Consider the following project:
|-src
  |-Box
    |-index.js
    |-Box.js
    |-Box.native.js
  |-Text
    |-index.js
    |-Text.js
    |-Text.native.js
  |-App.js
We have two components here: Box and Text. Both components leverage file resolution in React Native, which enables us to write single component that works for both platforms.
BoxBox is a container component. We will use Box as a container for all the other components or texts.
In web, we use div or section as containers. However, React Native doesn’t support these elements and uses the View component as a container instead. Our aim is to write one code for all platforms, hence we will create this Box component to translate to div or View based on the platform.
Considering the file resolution of React Native, we will create two files for the Box components:
Box.jsBox.native.jsThe Box.js file will be used by the web platform and is just an alias for a div. This will export the div element like so:
// Box.js
export default 'div';
The Box.native.js file will be used by the React Native platform. We import the View component from React Native and export it from the file like so:
// Box.native.js
import {View} from 'react-native'
export default View
We create a common index.js file, so it’s easy and more readable to import and use the Box component in other files. If you see here, we don’t explicitly mention whether Box is imported from .js or .native.js file.
We let the bundlers decide, and just export the component in index.js file, so it can be used by other components:
// index.js
import Box from './Box';
export default Box
TextThe Text component will be used to add text to both web and mobile apps. In web, we use elements like h1, h2, or p for displaying text, whereas in React Native we use the Text component. This Text component will now translate to p or Text based on the platform.
We will create two files for the Text component:
Text.jsText.native.jsThe Text.js file will be used by the web platform and is just an alias for p. This will export the p element like so:
// Text.js
export default 'p';
The Text.native.js file will be used by the React Native platform. We import the Text component from React Native and export it from the file here:
// Text.native.js
import {Text} from 'react-native'
export default Text
Like the Box component, we create a common index.js file here as well. This makes it easy and more readable to import, and to use the Text component in other files:
// index.js
import Text from './Text';
export default Text
Now that we have the basic building blocks of the Box and Text components, we can go ahead and build the sample app.
Let’s create a new component, App.js, which will use Box as container and Text to display our title: React Spring Animation. We can also add some styling to the component.
It should look like this:
// App.js

import React from 'react';
import Box from './Box';
import Text from './Text';

function App() {
  return (
    <Box style={{ marginTop: 50}}>
      <Text style={{ fontSize: 50 }}>React Spring Animation</Text>
    </Box>
  );
}
export default App;
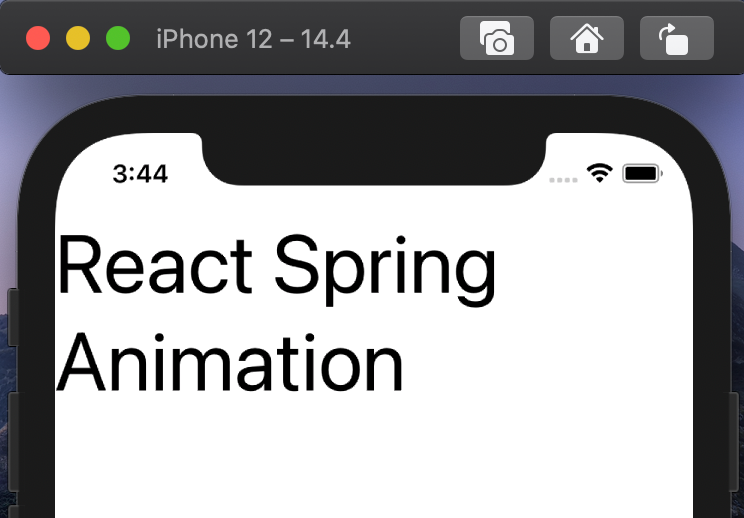
The above code creates the same text for both mobile and web, which you can see in the screenshot below. Under the hood, the code is bundled before being executed in any platform.
When webpack bundles the code for web, it uses the Box.js and Text.js files, adds a div element and p element with the text React Spring Animation to the App component, and runs it on the browser.
However, Metro bundles Box.native.js and Text.native.js files and adds View and Text components from React Native into the App component. This gives intended result in mobile apps as well.
So far, this is what our app looks like on mobile and on the web:

Time to add animation to the above application. Let’s add a “zoom in” animation to the text by increasing the font size.
First, install react-spring as dependency to the project:
npm i react-spring

yarn add react-spring
Next, build an Animated component similar to the Box and Text components. This Animated component will be our single source for all the hooks, APIs, and utils from the react-spring library.
We will structure it similarly to our Box and Text components, thereby using the right hooks and APIs based on each platform.
React-spring has two modules we will be using: react-spring for web and react-spring/native for React Native. In this example we will be using the useSpring hook of react-spring for implementing the animation.
However, we should import useSpring from react-spring for the web and useSpring from react-spring/native for React Native. Hence we cant directly use react-spring.
Considering the facts, we will build an Animated component which will help us write single animation for multiple platforms.
Lets add a new component folder as below:
|-src
  |-Animated
    |-index.js
    |-Animated.js
    |-Animated.native.js
AnimatedThe Animated component will supply all required hooks and utils from react-spring. In web, we use elements like useSpring and useTransition from react-spring for animations, whereas in React Native we use the same hooks from react-spring/native.
This Animated component will import useSpring from either react-spring or react-spring/native based on the platform.
We will create two files for the Animated component:
Animated.jsAnimated.native.jsThe Animated.js file will be used by the web platform and will import useSpring and animated from react-spring and export it:
// Animated.js
export { useSpring, animated } from 'react-spring'
The Animated.native.js file will be used by the React Native platform and will import useSpring and animated from react-spring/native and export it:
// Animated.native.js
export { useSpring, animated } from 'react-spring/native'
We can create a common index.js file now, which will import and export the Animated components like Box and Text. This will make it easy and more readable to import and use the Animated component in other files:
// index.js
export {useSpring, animated} from './Animated'
Now, let’s use the Animated component in App.js to animate the text.
Import useSpring and animated from the Animated component:
import { useSpring, animated } from './Animated';
Then, create an animation enabled component using the Animated function. A component can be animated using react-spring only if it is extended by the Animated function:
const AnimatedText = animated(Text);
Create the animation, which is very similar to the CSS keyframe animation, using the useSpring function.
Keyframes in CSS control the intermediate steps in a CSS animation sequence by defining styles for keyframes (or waypoints) along the animation sequence. Hence, we can determine the style of an element during different phases of an animation.
useSpring works exactly same. You can define how certain styles should look like during the start and end of animations using the from and to properties respectively:
const styles = useSpring({
    from: {
      fontSize: 10,
    },
    to: {
      fontSize: 50,
     },
  })
Finally, pass the styles to the style attribute of AnimatedText component:
<AnimatedText style={{ ...styles }}>React Spring Animation</AnimatedText>
Putting everything together, App.js should look like the following:
import React from 'react';
import { useSpring, animated } from './Animated';
import Box from './Box';
import Text from './Text';

const AnimatedText = animated(Text)

function App() {
  const styles = useSpring({
    from: {
      fontSize: 10,
    },
    to: {
      fontSize: 50,
     }
  })
  return (
    <Box style={{ marginTop: 50}}>
      <AnimatedText style={{ ...styles }}>React Spring Animation</AnimatedText>
    </Box>
  );
}
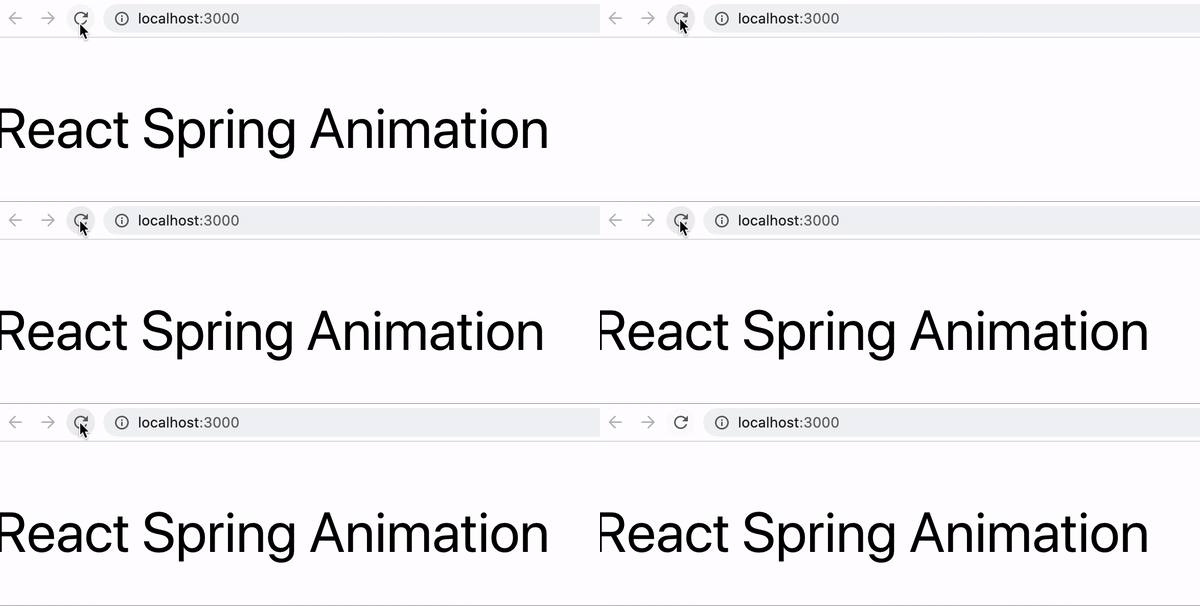
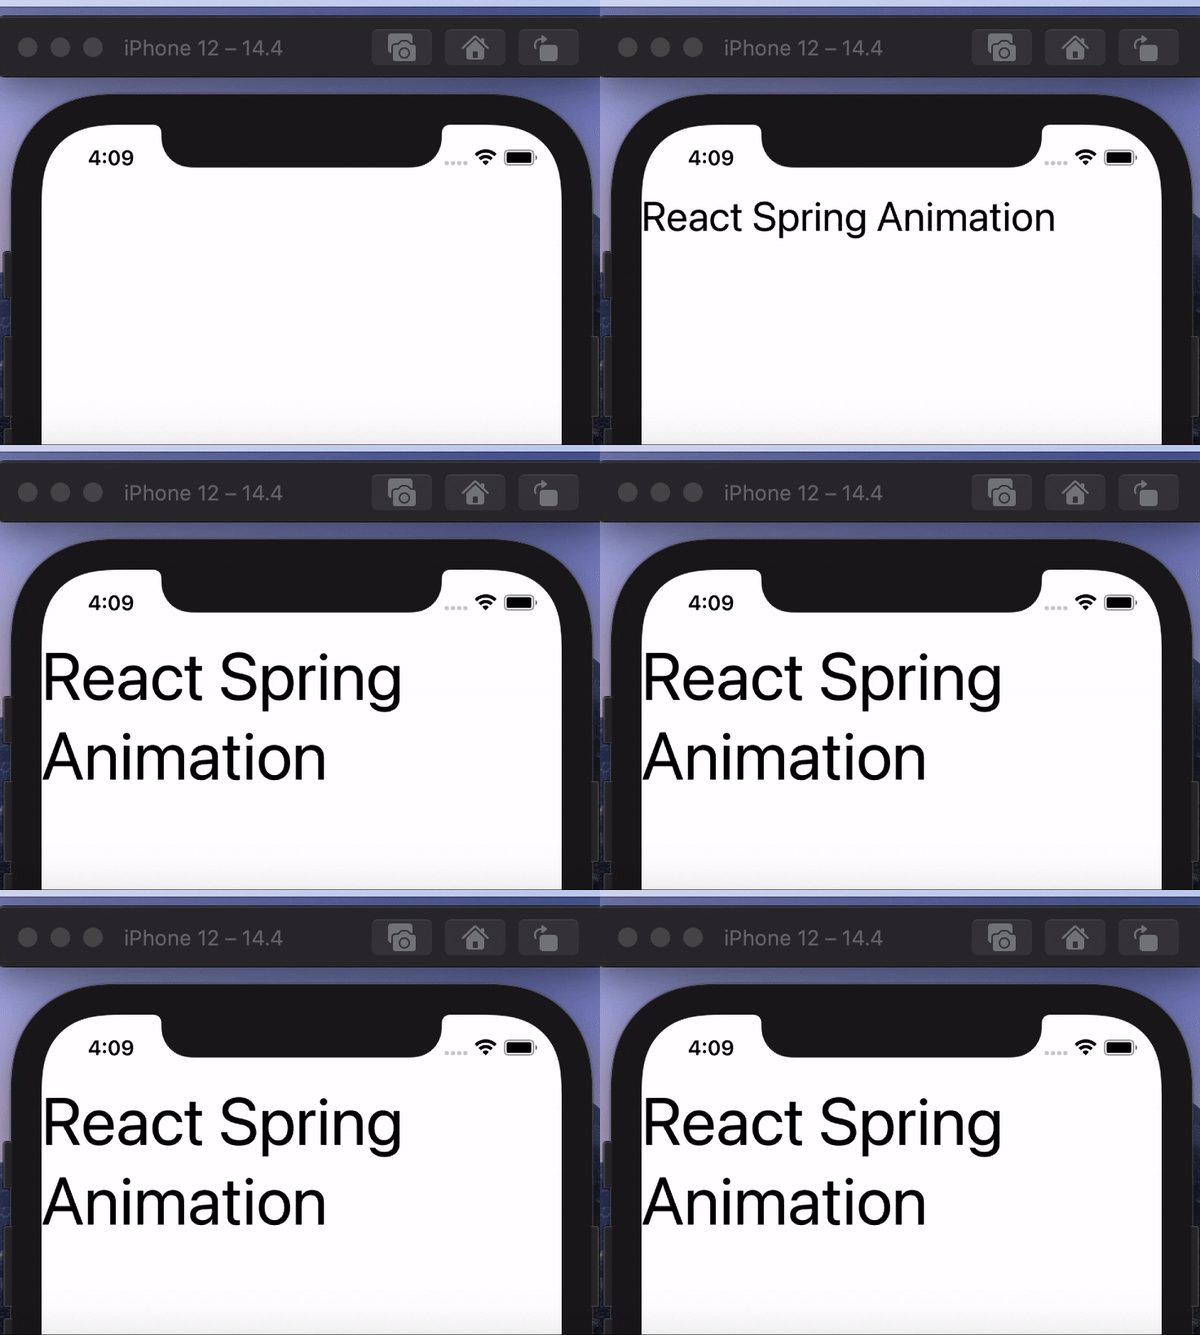
The above code adds a “zoom in” animation to the text for both web and mobile (via React Native).
You can see how it looks in the gifs below:


Using the above technique, we can create almost any animation only once and reuse it across web and mobile platforms. This enables quick prototyping and easy maintenance. It also facilitates consistent behavior of features across platforms.
Unfortunately, this technique comes with a small caveat: only CSS properties that are supported by both React and React Native can be animated this way. Anything that involves other CSS properties should still maintain two versions of code for both platforms.

LogRocket's Galileo AI watches sessions for you and and surfaces the technical and usability issues holding back your React Native apps.
LogRocket also helps you increase conversion rates and product usage by showing you exactly how users are interacting with your app. LogRocket's product analytics features surface the reasons why users don't complete a particular flow or don't adopt a new feature.
Start proactively monitoring your React Native apps — try LogRocket for free.
Install LogRocket via npm or script tag. LogRocket.init() must be called client-side, not
server-side
$ npm i --save logrocket

// Code:

import LogRocket from 'logrocket';
LogRocket.init('app/id');
// Add to your HTML:

<script src="https://cdn.lr-ingest.com/LogRocket.min.js"></script>
<script>window.LogRocket && window.LogRocket.init('app/id');</script>

@container scroll-state: Replace JS scroll listeners nowCSS @container scroll-state lets you build sticky headers, snapping carousels, and scroll indicators without JavaScript. Here’s how to replace scroll listeners with clean, declarative state queries.

Explore 10 Web APIs that replace common JavaScript libraries and reduce npm dependencies, bundle size, and performance overhead.

Russ Miles, a software development expert and educator, joins the show to unpack why “developer productivity” platforms so often disappoint.

Discover what’s new in The Replay, LogRocket’s newsletter for dev and engineering leaders, in the February 18th issue.
Hey there, want to help make our blog better?
Join LogRocket’s Content Advisory Board. You’ll help inform the type of content we create and get access to exclusive meetups, social accreditation, and swag.
Sign up now
One Reply to "Run animations in React and React Native from one codebase"
actually react-spring/native seems deprecated now you can just import from react-spring.