Cloudflare Workers is a serverless computing platform developed by Cloudflare that allows developers to deploy and run JavaScript code across an edge network. The platform, which has over 200 data centers worldwide, provides great performance, low latency, and efficient scaling for web applications.

Unlike serverless functions such as AWS Lambda, which runs on container-based Firecracker, Cloudflare Workers is a JavaScript runtime that runs on the Chrome V8 isolation engine. This eliminates many developer concerns, such as the cold-start issue.
Cloudflare recently introduced a new database integration option that enables developers to connect their preferred databases to Workers, including Supabase, which is one of the few database providers available for instant integration.
In this article, we’ll walk through the process of setting up, configuring, and deploying a Supabase database on Cloudflare Workers.
Jump ahead:
The Replay is a weekly newsletter for dev and engineering leaders.
Delivered once a week, it's your curated guide to the most important conversations around frontend dev, emerging AI tools, and the state of modern software.
In order to follow along with the tutorial, you should have the following:
Supabase is an open source backend as a service (BaaS) platform. It offers developers a comprehensive set of tools and services specifically designed to build applications with a database backend. It aims to streamline the development process by effectively managing routine tasks associated with data storage, authentication, and real-time updates.
Supabase is built on top of PostgreSQL, a popular and robust open source relational database management system. PostgreSQL offers an intuitive and user-friendly API, enabling developers to effectively interact with the database and seamlessly execute CRUD (Create, Read, Update, Delete) operations.
To demonstrate the integration procedure, we’ll create a Postgres database with Supabase and then deploy it on Cloudflare Workers.
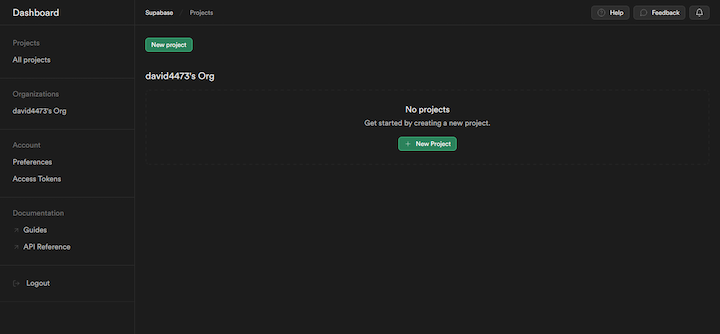
To start, go to Supabase and sign up for an account. If you already have an account, simply login to access your dashboard:
Click the New Project button to initiate a new project and enter the relevant information in the required fields, or use the following details:
Supabase will automatically generate an API for your project. When you click the Create project button at the bottom of the form, you’ll be directed to a loading screen that displays the API anon key. Make a copy and save it in a safe location because it will be required every time you connect with the API.
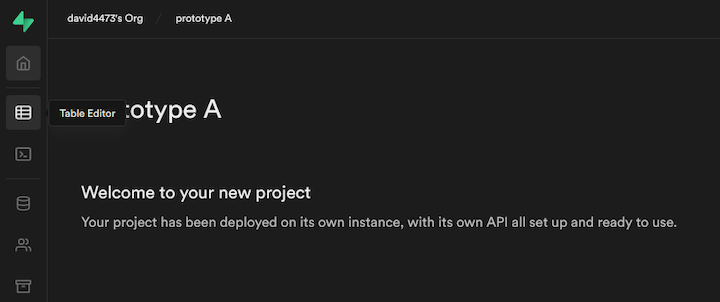
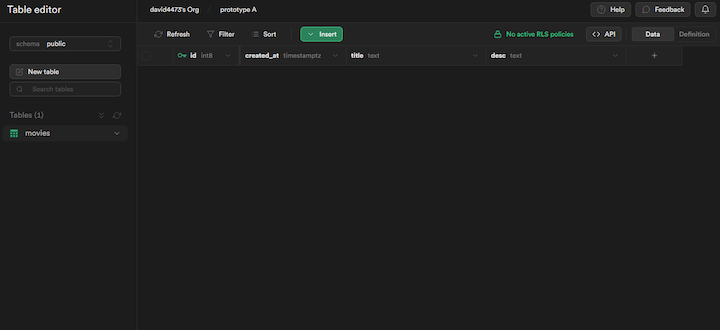
After successfully deploying the project on its own instance, navigate to the Table Editor by selecting the table icon from the left navbar:
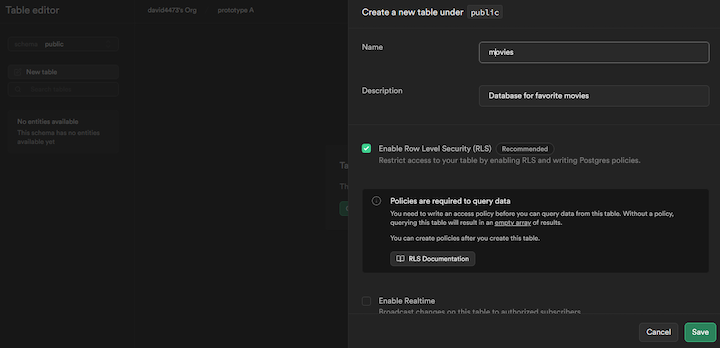
Next, select Create a new table and provide a name and description of your choice. For this example, let’s name the table “movies”:
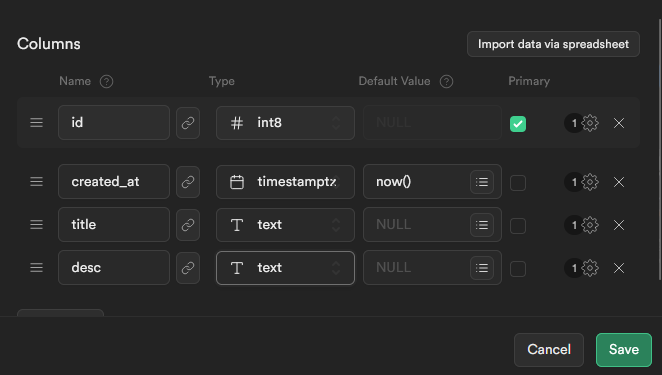
Scroll to the bottom of the page, add the columns shown below, and click Save:
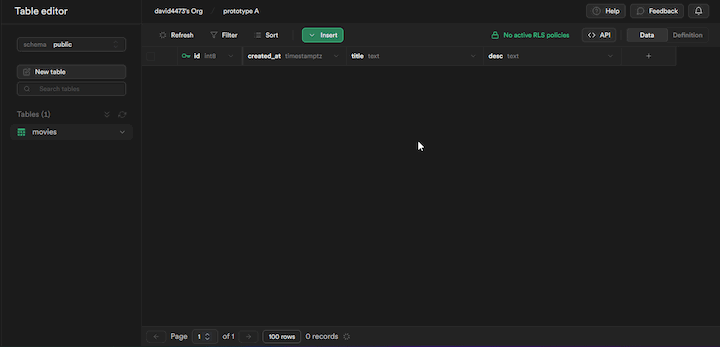
You can see the newly created “movies” table in the left nav:
Now that the “movies” table is ready, you can begin adding rows of data. This can be done by importing data from a CSV file or by manually entering the rows.
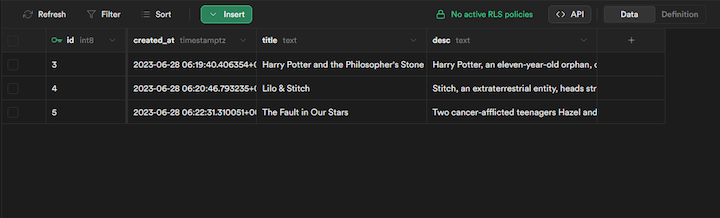
For this demo, let’s opt for manual entry:
You can add as many rows to the table as you’d like. For this tutorial, let’s add three rows:
That’s all there is to setting up a simple Supabase database! Next, let’s set up a workers project in your local development environment and deploy it to Cloudflare Workers.
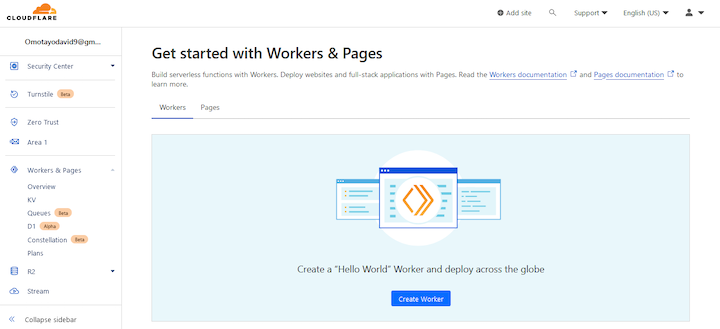
To begin, create a new account on the Cloudflare Workers platform or log in to the dashboard if you already have an account:
The platform will attempt to deploy a sample project on your Worker if you click the Create Worker button. But, let’s say, instead of deploying a sample project, you want to create and deploy your own. You can accomplish this by creating a project with Cloudflare Wrangler, connecting it to your Supabase database, and then deploying it to your Worker.
The Wrangler package is a command-line utility tool for Cloudflare Workers. It allows you to generate, configure, build, preview, and deploy projects to your Cloudflare Workers dashboard from your development environment.
To set up a Cloudflare project, you must first install wrangler globally on your computer by running the following command:
npm i -g wrangler
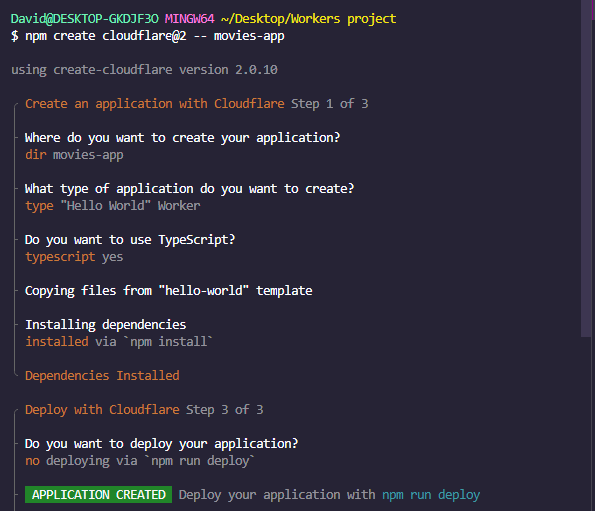
After the installation is finished, you can use the Wrangler package to automatically generate a boilerplate project by running the following command:
npm create cloudflare@2 -- movies-app
This command will create a movies-app folder and launch the wrangler command-line wizard to assist in creating a project based on your preferences.
You can use the following options to quickly set up a basic project using the "hello-world" template:
Once the wizard is configured, the Wrangler package will generate a basic project structure that includes an src folder containing a worker.ts file:
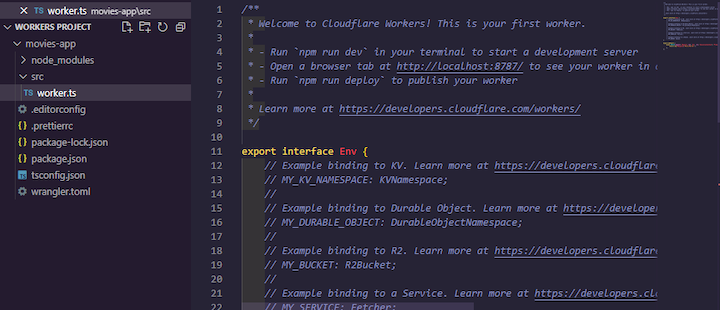
The worker.ts file is where you’ll write your application logic. However, since there’s already an API set up with Supabase, you can connect your application to Supabase using the Supabase JavaScript client package before querying your data.
To install the package, let’s go back to the terminal and run the following command:
npm install @supabase/supabase-js
Once the installation is complete, go back to the worker.ts file and replace the boilerplate code with the following:
import { createClient } from '@supabase/supabase-js'

export default {
  async fetch(request: any, env: any) {
    const supabase = createClient(env.SUPABASE_URL, env.SUPABASE_KEY)
    const { data, error } = await supabase.from('movies').select('*')
    if (error) throw error
    return new Response(JSON.stringify(data), {
      headers: {
        'Content-Type': 'application/json',
      },
    })
  },
}
The Supabase JavaScript client exports a createClient function that accepts two arguments, a Supabase project URL and KEY, and returns the specified table and row using the from and select objects.
In the above code, we’re using the function to query the movies table in your database and select every row on the table by specifying the * symbol.
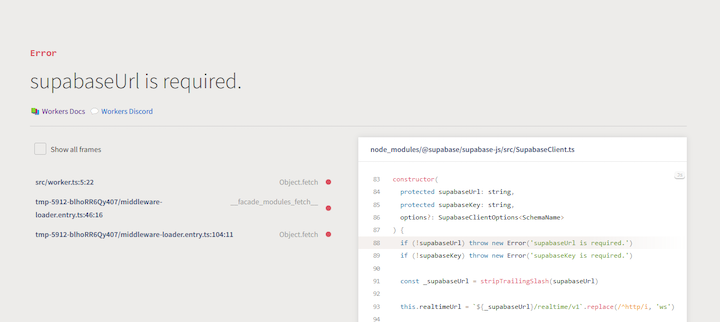
The environment variable passed to the createClient function is undefined and will cause an error if you try to start a local development server using the npx wrangler dev command:
You can specify these environment variables by creating a .env file in your project directory or by setting them on the Cloudflare Workers platform and letting it auto-populate the variables when you deploy your app. For this tutorial, let’s use the latter option. But first, you’ll need to deploy your project to your Cloudflare Workers account.
Deploying your application to a Worker is as easy as running npx wrangler deploy in the terminal; the project will be deployed to your Cloudflare Workers account in seconds (depending on the size of the application):

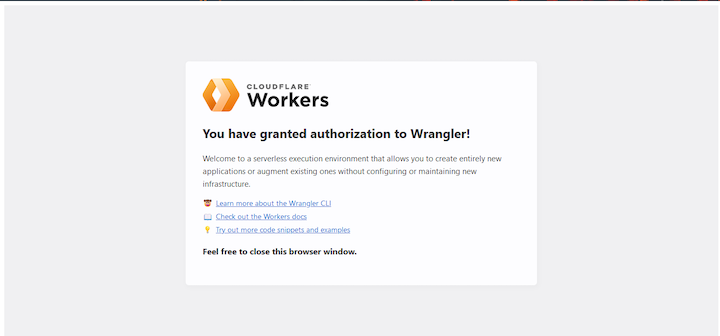
If you’re using Wrangler for the first time, you’ll need to authenticate your account before deploying your project. When you run the deployment command, you’ll be redirected to an authentication page where you must grant authorization to Wrangler:
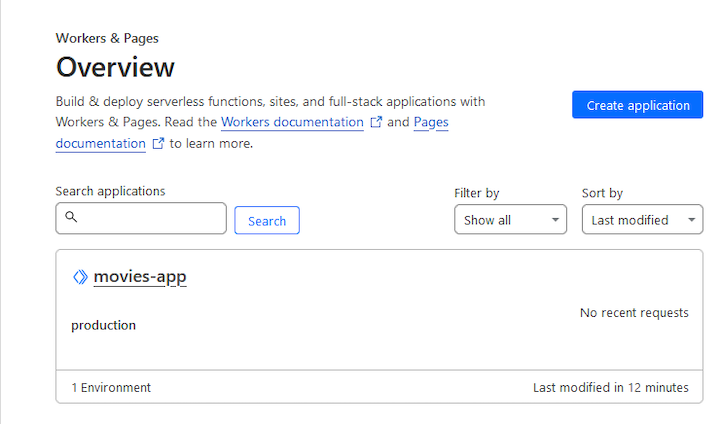
After deploying your project, return to the Cloudflare Workers dashboard and navigate to the Overview page to view your newly deployed project:
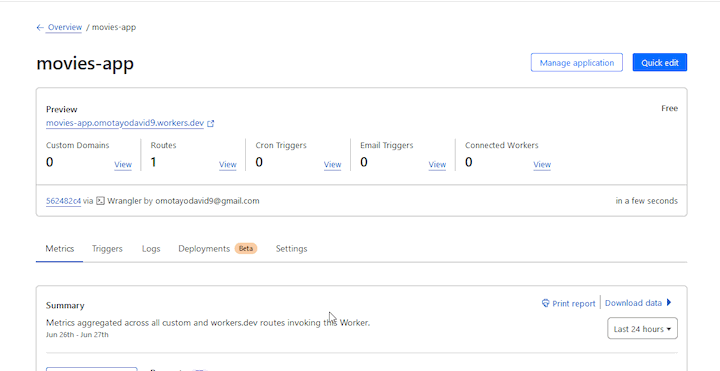
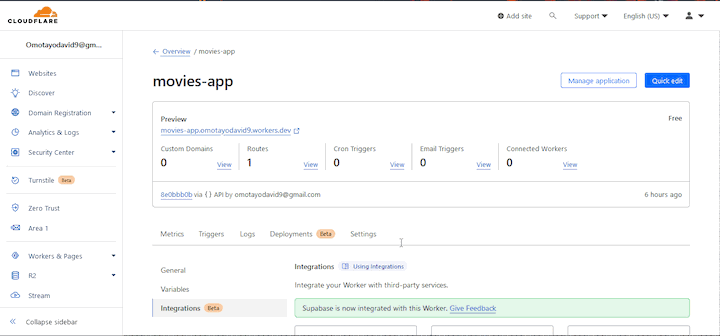
Clicking on the project name to preview it will result in an error similar to the previous one because the integration type for the project has not been set. To set it, select the Settings tab, then click on Integration in the left nav, and choose Add Integration from the Supabase option:
On the Integration page, you’ll need to grant permission for your Worker to connect to your Supabase account. Next, select a project and configure your profile secrets, including your Supabase URL and Key:
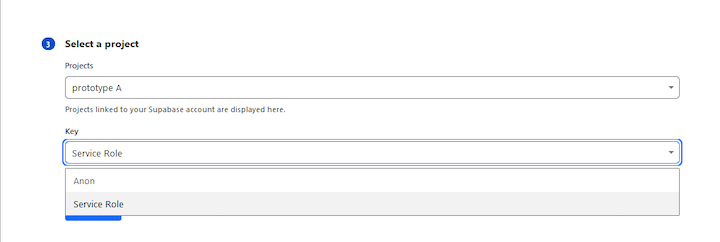
As shown above, after selecting your project, choose the Key that will be used to access Supabase from your Worker. Here are the two options:
Anon: suitable for projects that follow Row Level Security (RLS) policiesService Role: bypasses these policies and has the ability to read, write, and delete any data in your database. It is appropriate for use in a backend context where data changes frequentlyRefer to Supabase documentation to learn more about the Row Level Security policy.
Select the Service Role key, as it is appropriate for this use case. Then, click Continue to advance to the final step of configuring the secret.
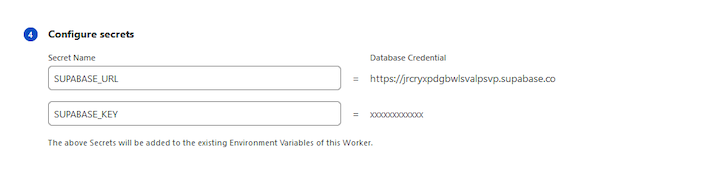
You’ll notice that the SUPABASE_KEY and SUPABASE_URL environment variables have been automatically injected into your Cloudflare Workers code because of your previous connection to your Supabase account:
To complete the integration process, click the Add integration button at the bottom of the page.
If you click the dashboard Preview link, you should see a list of movies from your Supabase table:
You’ve successfully integrated Supabase with Cloudflare Workers. Now, you can take advantage of the benefits that each platform provides.
In this article, we explored how to prepare a Postgres database with Supabase and integrate it with Cloudflare Workers. Although the project demonstrated in this tutorial is simple, it provides a foundation for deploying Supabase projects of any complexity and size on Cloudflare Workers’ serverless computing platform.
Install LogRocket via npm or script tag. LogRocket.init() must be called client-side, not
server-side
$ npm i --save logrocket

// Code:

import LogRocket from 'logrocket';
LogRocket.init('app/id');
// Add to your HTML:

<script src="https://cdn.lr-ingest.com/LogRocket.min.js"></script>
<script>window.LogRocket && window.LogRocket.init('app/id');</script>

Learn about TypeScript v6’s breaking changes, new ES2025 features, and deprecated options. A complete migration guide from v5 to prepare for v7.

Learn how Vite+ unifies Vite, Vitest, Oxlint, Oxfmt, Rolldown, and Node.js management in one CLI.

AI companies are buying developer tools as coding agents turn runtimes, package managers, and linters into strategic infrastructure.

Learn how AI-assisted development governance uses rules, agents, hooks, and protocols to help AI coding tools produce safer, more consistent code.
Hey there, want to help make our blog better?
Join LogRocket’s Content Advisory Board. You’ll help inform the type of content we create and get access to exclusive meetups, social accreditation, and swag.
Sign up now

