Editor’s note: This article was updated on 27 May 2022 to reflect the most recent versions of PHP, Composer, Laravel, and Sanctum, and to resolve several code errors.

Dealing with authentication in single-page applications (SPAs) can be tricky. Often, developers simply use local storage or session storage to save users tokens. However, these web storage mechanisms aren’t very secure due to possible XSS vulnerabilities, so it’s generally recommended to use something that offers more protection, such as cookies.
In this tutorial, we’ll show you how to implement cookie-based authentication in a Nuxt.js SPA using Laravel Sanctum. To demonstrate how this works, we’ll walk through the process of building a simple Nuxt.js app with authentication powered by a Laravel API.
We’ll cover the following in detail and with examples:
To follow along with this demonstration, you should have a working understanding of Laravel and Nuxt.js.
Laravel Sanctum is a Laravel package for authentication of SPAs, mobile applications, and basic, token-based APIs. Depending on what you’re building, Laravel Sanctum can be used to generate API tokens for users or authenticate users with a Laravel session.
Before creating a new Laravel app make sure that you have,
Let’s start our demo by creating a new Laravel application.
To create a new Laravel app, use the Laravel Installer:
laravel new laravel-sanctum-nuxtjs-api
Once that’s done, run the following command to start the application:
cd laravel-sanctum-nuxtjs-api
php artisan serve
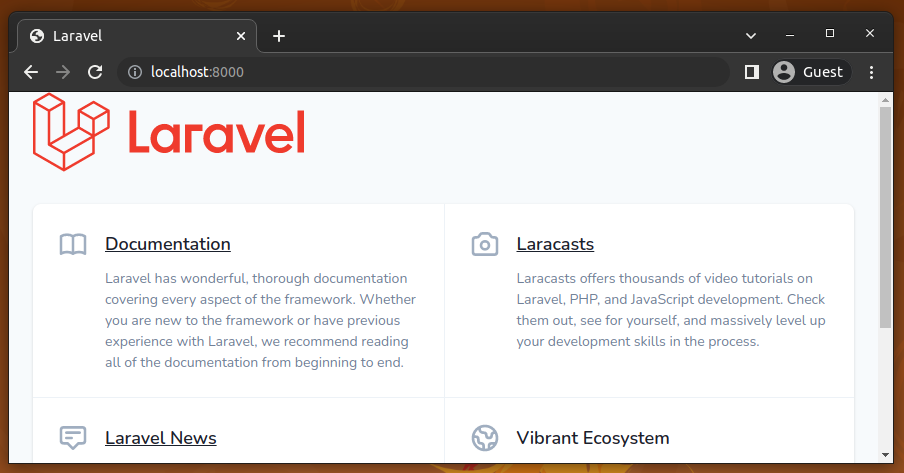
The application should now be running on http://localhost:8000, as shown in the following preview:

We’re going to leave it running for the rest of the tutorial. Let’s install the Sanctum module and configure the Laravel app for authentication.
To set up Sanctum, first install it:
composer require laravel/sanctum
Once it’s installed, you can publish Sanctum vendor files:
php artisan vendor:publish --provider="Laravel\Sanctum\SanctumServiceProvider"
This creates a sanctum.php file inside the config directory, which is used to configure Sanctum. It will also create a migration file for a personal_access_tokens table, which is used to store access tokens.
Before we run the migrations, let’s set up the database for our application. To keep things simple, we’ll use SQLite.
Create a database.sqlite file:
touch database/database.sqlite
Update the .env file to reflect this:
// .env

DB_CONNECTION=sqlite
DB_DATABASE=/absolute/path/to/database.sqlite
Now, we run the database migrations:
php artisan migrate
For Sanctum to generate access tokens for users, the User model needs to use the HasApiTokens trait:
// app/Models/User.php

use Laravel\Sanctum\HasApiTokens;

class User extends Authenticatable
{
  use HasApiTokens, HasFactory, Notifiable;
}
One of the benefits of using Sanctum is that it uses the normal Laravel session cookies for authentication in an SPA.
To configure the domains from which our SPA will make a request, go into the sanctum.php file and update the stateful key accordingly:
// config/sanctum.php

'stateful' => explode(',', env(
  'SANCTUM_STATEFUL_DOMAINS',
  'localhost,localhost:3000,127.0.0.1,127.0.0.1:8000,::1'
)),
Instead of updating the file directly, we’ll use the environment variables:
// .env

SESSION_DRIVER=cookie
SANCTUM_STATEFUL_DOMAINS=localhost:3000
SESSION_DOMAIN=localhost
Typically, the domains should include your local and production domains, which access your API via a SPA. I set it to just localhost:3000 because that’s where the SPA will be running. In addition to the stateful domains, we also set the session driver and domain.
Next, we need to register Sanctum’s middleware in the api middleware group inside the app/Http/Kernel.php file:
// app/Http/Kernel.php

'api' => [
  \Laravel\Sanctum\Http\Middleware\EnsureFrontendRequestsAreStateful::class,
  ...
]
This middleware will ensure that incoming requests from our SPA can authenticate using Laravel’s session cookies.
Lastly, let’s ensure that our application’s CORS configuration is returning the Access-Control-Allow-Credentials header with a value of True. We can do that by updating the cors.php as follows:
// config/cors.php

'supports_credentials' => true
With all the set up out of the way, let’s start building our Laravel API. To keep things simple, the API will only contain endpoints for authenticating users, fetching the authenticated user details, and logging out users.
Of course, users needs to be registered before they can perform authentication. So let’s seed the database with a dummy user that we can use to test the authentication system. Do that directly inside DatabaseSeeder.php:
// database/seeders/DatabaseSeeder.php

use App\Models\User;

User::create([
  'name' => 'John Doe',
  'email' => '[email protected]',
  'password' => bcrypt('password'),
]);
Next, run the seeder:
php artisan db:seed
Now our application’s database contains the above user details with a bcrypt-hashed password. We need these credentials to test our SPA authentication in upcoming steps in the tutorial.
Now, create the /login endpoint inside routes/web.php:
// routes/web.php
use App\Http\Controllers\AuthController;

Route::post('/login', [AuthController::class, 'login']);
Then, create the AuthController:
php artisan make:controller AuthController
Let’s implement the login method:
// app/Http/Controllers/AuthController.php

use Illuminate\Http\Request;
use Illuminate\Support\Facades\Auth;

public function login(Request $request)
{
    if (!Auth::attempt($request->only('email', 'password'))) {
        return response()->json([
            'message' => 'Invalid login details'
        ], 401);
    }
    $request->session()->regenerate();
}
Here, we attempt to authenticate the user with the supplied details. If no match is found, we simply return an appropriate JSON response and HTTP error code. Otherwise, a session is started for the user. Note that, here we regenerate the Laravel session ID after a successful login for better security.
Inside routes/web.php, create the /logout endpoint:
// routes/web.php

Route::post('/logout', [AuthController::class, 'logout']);
To add the logout functionality:
// app/Http/Controllers/AuthController.php

public function logout(Request $request)
{
  Auth::logout();
  $request->session()->invalidate();
  $request->session()->regenerateToken();
}
logout() removes the authenticated user’s details from the session and no longer accepts authenticated requests from the particular client without re-authentication. Then, we invalidate the user’s session and, lastly, regenerate the CSRF token.
Since we’re going to be making requests to these routes from a different domain — that is, from the SPA — let’s make sure cross-origin requests are allowed to /login and /logout by adding them to the paths array inside config/cors.php:
// config/cors.php

'paths' => [
  ...,
  'login',
  'logout',
],
To add the implementation for fetching an authenticated user, create the /api/user endpoint inside routes/api.php:
// routes/api.php
use App\Http\Controllers\AuthController;

Route::get('/user', [AuthController::class, 'me']);
Next, implement the me method:
// app/Http/Controllers/AuthController.php

public function me(Request $request)
{
  return response()->json([
    'data' => $request->user(),
  ]);
}
Here, we simply return a JSON response containing the currently authenticated user.
As you might have guessed, the /api/user endpoint will be accessible to only authenticated users. So let’s make sure of that by making use of the sanctum authenticated guard.
Update the route as follows:
// routes/api.php

Route::get('/user', [AuthController::class, 'me'])->middleware('auth:sanctum');
This will ensure requests to the endpoint contain an authorization header with a valid token.
Now, let’s move on to the SPA itself. We’ll start by creating a new Nuxt.js application.
To create a Nuxt.js application, simply use the command below:
npx create-nuxt-app laravel-sanctum-nuxtjs-app
When prompted, select the options that makes sense to you, but make sure to select the Buefy UI components framework, because we will make interfaces using it soon. Here’s what I selected:

Once everything is done installing, start the application:
cd laravel-sanctum-nuxtjs-app
npm run dev
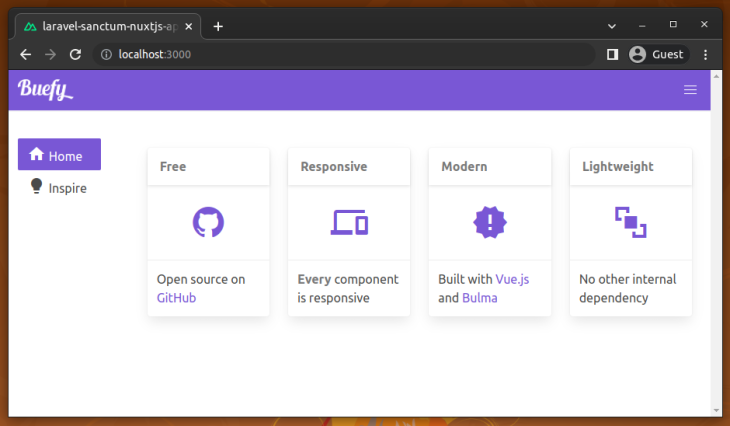
If the Nuxt.js project scaffolding process was successful, you will see the default Buefy app template, as shown below:

For authentication, we’ll use the nuxt/auth module.
Use the following code to install the nuxt/auth module:
npm install --save-exact @nuxtjs/auth-next
Next, add @nuxtjs/auth-next to the modules array of nuxt.config.js:
// nuxt.config.js

{
  modules: [
    ...,
    '@nuxtjs/auth-next',
  ]
}
Finally, update the axios object as shown below:
// nuxt.config.js

axios: {
  credentials: true,
},
To design our login page, we’ll use the Buefy Vue UI component library, which we installed when creating the Nuxt.js application.
Let’s create the login page. Inside the pages directory, create a login.vue file and add the following code:
// pages/login.vue

<template>
  <section class="section">
    <div class="container">
      <div class="columns is-centered">
        <div class="column is-one-third">
          <h2 class="title has-text-centered">Login</h2>

          <form method="post" @submit.prevent="login">
            <b-field label="Email">
              <b-input
                type="email"
                v-model="email"
                required>
              </b-input>
            </b-field>

            <b-field label="Password">
              <b-input
                type="password"
                v-model="password"
                password-reveal
                required>
              </b-input>
            </b-field>

            <b-button type="is-dark is-fullwidth" native-type="submit">
              Login
            </b-button>
          </form>
        </div>
      </div>
    </div>
  </section>
</template>
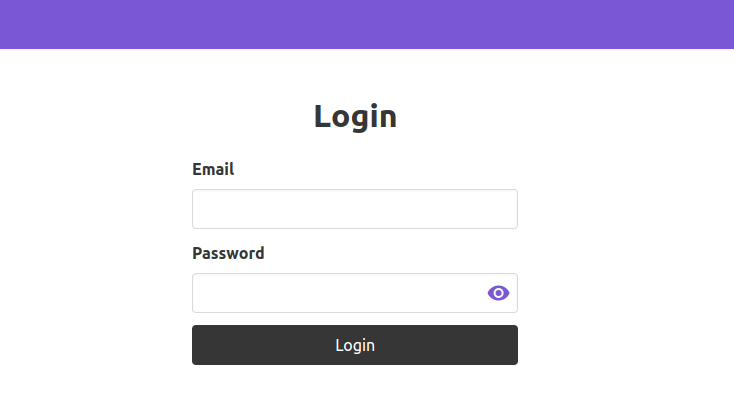
Here, we have a basic login form, which, when submitted, calls a login method:

Before we create the login method, let’s configure nuxt-auth to make use of Laravel Sanctum. We can do that by adding the snippet below inside nuxt.config.js:
// nuxt.config.js

auth: {
  strategies: {
    laravelSanctum: {
      provider: 'laravel/sanctum',
      url: 'http://localhost:8000',
    },
  },
},
Note that the domain set as the url has to be the same as the SPA. Because the SPA is running on http://localhost:3000, the url is set to http://localhost:8000.
We set the Laravel Sanctum provider as the strategy the nuxt-auth module will use for authentication. Under the hood, the Laravel Sanctum provider makes requests to:
/sanctum/csrf-cookie, which issues a XSRF-TOKEN cookie as a header/login, the endpoint we created inside routes/web.php, when logging in/api/user route in our Laravel application when fetching the authenticated user.You may notice that the above requests are repeated twice in the Dev Tools network monitoring tab due to pre-flight HTTP requests. The web browser automatically makes these pre-flight requests because of CORS.
Now, we can add the functionality for the login method inside login.vue:
// pages/login.vue

<script>
export default {
  data() {
    return {
      email: '',
      password: '',
    }
  },
  methods: {
    async login() {
      await this.$auth.loginWith('laravelSanctum', {
        data: {
          email: this.email,
          password: this.password,
        },
      })

     this.$router.push('/')
    },
  },
}
</script>
First, we define some data properties. Then we have the login method, where we are authenticating using the Laravel Sanctum provider.
Under the hood, the provider first makes a request to /sanctum/csrf-cookie to grab a CSRF token and set it as a XSRF-TOKEN cookie, which is used in subsequent requests. Then, it makes a POST request to the login endpoint with user-entered credentials. Upon successful login, the user is redirected to the homepage.
For now, the homepage contains the default content from when we created the Nuxt.js app. Let’s update it to display the authenticated user’s name and a way to log out.
Replace the content of pages/index.vue with the following:
// pages/index.vue

<template>
  <section class="section">
    <div class="container">
      <h1 class="title">Dashboard</h1>

      <p>Hi {{ user.name }}</p>

      <a href="#" @click.prevent="logout">Logout</a>
    </div>
  </section>
</template>

<script>
export default {
  data() {
    return {
      user: this.$auth.user.data,
    }
  },
  methods: {
    async logout() {
      await this.$auth.logout()

      this.$router.push('/login')
    },
  },
}
</script>
Under the hood, the Laravel Sanctum provider makes a request to the /api/user endpoint to fetch the authenticated user. We can get the user’s details through this.$auth.user, which we simply assign to a user data property.
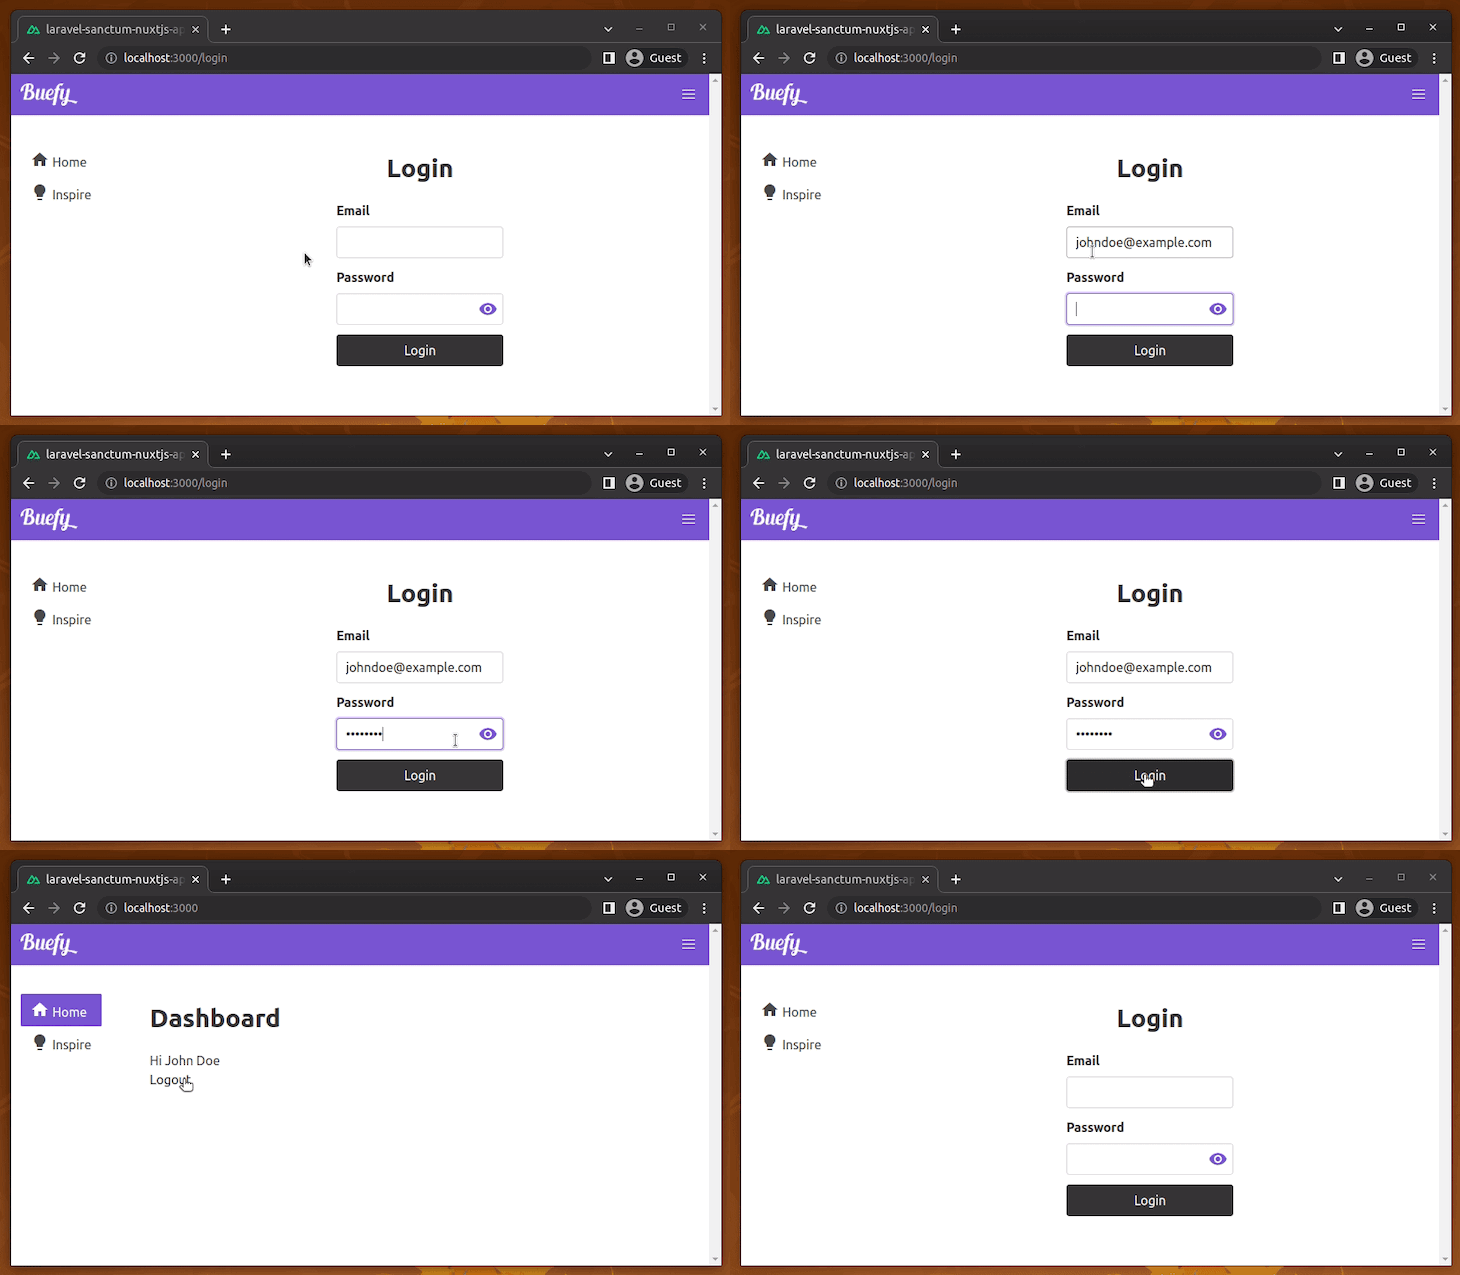
To log out, we simply call the logout method, then redirect to the login page. Upon a successful login, we will get the authenticated dashboard page, as shown in the following preview:

The homepage is serving as the profile page, so let’s make sure only authenticated users can access it. We can do that by making use of the auth middleware provided by the nuxt-auth.
Add the following code inside nuxt.config.js:
// nuxt.config.js

router: {
  middleware: ['auth']
},
>
Now, when unauthenticated users try to access the homepage directly, they’ll be redirected to the login page for authentication; they can access the homepage after a successful login as usual.
In this tutorial, we showed you how to use Laravel Sanctum to implement authentication in a Nuxt.js SPA. As next steps, implement an endpoint to register new users, add more endpoints to your Laravel API and expose only for authenticated users, try to assign roles and permissions for specific users, and deploy your full stack application to your a cloud service.
The Laravel Sanctum package offers a generic secure and lightweight solution for Laravel API authentication – it’s not only for authenticating SPAs! You can use the Sanctum package for mobile applications as well. Sanctum offers a more efficient authentication strategy than the standard OAuth2, but if you need a OAuth2 authentication flow, you can use the Laravel Passport package.
To learn more about Laravel Sanctum, check out the Laravel Sanctum docs. You can get the complete source code for our demo from this GitHub repository.
Install LogRocket via npm or script tag. LogRocket.init() must be called client-side, not
server-side
$ npm i --save logrocket

// Code:

import LogRocket from 'logrocket';
LogRocket.init('app/id');
// Add to your HTML:

<script src="https://cdn.lr-ingest.com/LogRocket.min.js"></script>
<script>window.LogRocket && window.LogRocket.init('app/id');</script>
Hey there, want to help make our blog better?
Join LogRocket’s Content Advisory Board. You’ll help inform the type of content we create and get access to exclusive meetups, social accreditation, and swag.
Sign up now
Discover how the Interface Segregation Principle (ISP) keeps your code lean, modular, and maintainable using real-world analogies and practical examples.

<selectedcontent> element improves dropdowns

Learn how to implement an advanced caching layer in a Node.js app using Valkey, a high-performance, Redis-compatible in-memory datastore.

Learn how to properly handle rejected promises in TypeScript using Angular, with tips for retry logic, typed results, and avoiding unhandled exceptions.
4 Replies to "Laravel Sanctum tutorial: Authenticating Nuxt.js SPAs"
used your same examples, and always return CSRF token mismatch D: i think something can be wrong with my laravel or something like that
Hi, I’m doing the same example but i get the “this.$auth.user” is undefined. can some one help me
SESSION_DOMAIN=.localhost
change to
SESSION_DOMAIN=localhost
to prevent CSRF token mismatch issues
remove the dot
how to validate form login ?