React-gridlist is a virtual-scrolling GridList component based on CSS Grids. The repo lists some of its features and advantages as:

If you are not familiar with virtual scrolling, it is showing a user only a subset of items. If you are trying to display a large dataset and don’t want to paginate the items, rendering all the items at the same can lead to negative app performance. You might be asking yourself how virtual scrolling is different from infinite scroll? In infinite scroll, more items are loaded as you scroll while in virtual scrolling, when the user scrolls past a given list of items, new items are displayed and the old ones are removed. If you would like to learn more, you can take a look at this excellent article about virtual scrolling. React-gridlist enables you to implement virtual scrolling easily and fast.
Let’s go ahead and create our project. You can use any of the three available options highlighted below to create your project.
$ npx create-react-app gridlist
npm init <initializer is available in npm 6+):$ npm init react-app gridlist
yarn create is available in Yarn 0.25+) :$ yarn create react-app gridlist
Once you have finished creating the project folder you can open it and run it:
cd gridlistnpm start //or
yarn start
This will run the app in development mode and you can view it in the browser using the link http://localhost:3000/.
Install react-gridlist by running the following command:
$ yarn add react-gridlist
When you run the app, you should see the following view:
Let’s change this to display a scrollable list of images.
Our GridList app will be fully contained within the app component in src/app.js. The first step is to replace the existing code with our own. Replace the contents of the file with the code below. This will be the skeleton of our app:
import React, { Fragment } from "react";
import GridList from "react-gridlist";

const App = () => {
  return (
    <GridList></div>
  )
}
export default App
Before we can begin working on our scrolling component, we will need images to display. We will be getting our images from Lorem Picsum, the Lorem Ipsum for photos. Since we want to showcase one of the features of this library, displaying images with variable height on the same row, we will want to retrieve images with different heights and widths. You can do this by adding your desired image width and height to the Lorem Piscusm URL to get an image with the defined dimensions:
// Get a random picture of a given width and heigh
https://picsum.photos/200/300

// Get a random square image
https://picsum.photos/200

// Get a given image(append /id/{image} to the start of the url)
https://picsum.photos/id/237/200/300
The GridList component takes an array of images with the following format:
{
  url,
  width,
  height,
}
Create a function to build an array of images in the format above. I am generating 50 images. You can change this to any number you prefer:
const images = Array.from({ length: 50 }, (_, i) => {
  let width = 300
  let height = Math.floor(Math.random() * 300) + 200;
  return {
    url: `https://i.picsum.photos/id/${Math.floor(Math.random() * 100) + 100}/${width}/${height}.jpg`,
    width,
    height,
  }
})
This will create an array of 50 images with a width of 300, variable height, and an ID between 0 and 200.
The GridList component is responsible for doing the actual rendering of the items. It takes the props listed before:
items – receives an array of data to be renderedgetGridGap – function that generates the spacing between grid itemsgetColumnCount – function to calculate how many columns/Items to render per row depending on the width of the items. In our case, this will be 300getWindowMargin – function to determine the height of the container containing itemsgetItemData – function to get adjusted item height to fit within the rowrenderItem – function to render individual itemsAdd the functions to be passed as props to the GridList component:
import React, { Fragment } from "react";
....

const getGridGap = (elementWidth, windowHeight) => (elementWidth > 720 && windowHeight > 480) ? 10 : 5;

const getColumnCount = (elementWidth) => Math.floor(elementWidth / 300);

const getWindowMargin = (windowHeight) => Math.round(windowHeight * 1.5);

const getItemData = (image, columnWidth) => {
  let imageRatio = image.height / image.width
  let adjustedHeight = Math.round(columnWidth * imageRatio)
  return {
    key: image.url,
    height: adjustedHeight,
  }
}
const App = () => {
  ...
}
export default App
Now that we have our images and the prop functions required we can render the images using the GridList component.
Add the following code to your App component:
const App = () => {
  return (
    <div>
      <GridList
        items={images}
        getGridGap={getGridGap}
        getColumnCount={getColumnCount}
        getWindowMargin={getWindowMargin}
        getItemData={getItemData}
        renderItem={(image) => {
          return (
            <img
              src={image.url}
              width={image.width}
              height={image.height}
            />
          )
        }}
      />
    </div>
  )
}
When the app reloads, it should look something like this:
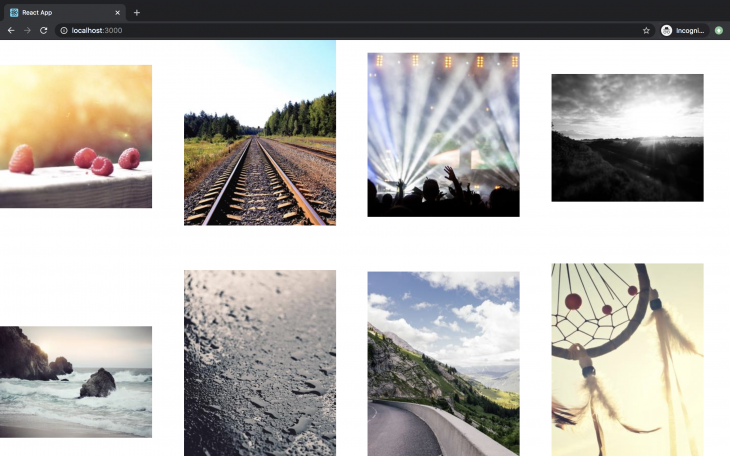
We will need a few styles to make it look a little better. The React-gridlist example has some styles that will make this look fantastic. However, the hover styles will require CSSinJS libraries for selector support:
let styles = {
  container: {
    margin: "20px auto",
    padding: "0 20px"
  },
  image: {
    position: "relative",
    width: "100%",
    height: "auto",
    verticalAlign: "top",
    background: "hsl(0, 0%, 98%)"
  }
}
When we apply the styles to the respective elements, our final code should look something like this:
import React from "react";
import GridList from "react-gridlist";
const images = Array.from({ length: 50 }, (_, i) => {
  let width = 300
  let height = Math.floor(Math.random() * 300) + 200;
  return {
    url: `https://i.picsum.photos/id/${Math.floor(Math.random() * 100) + 100}/${width}/${height}.jpg`,
    width,
    height,
  }
})
let styles = {
  container: {
    margin: "20px auto",
    padding: "0 20px"
  },
  image: {
    position: "relative",
    width: "100%",
    height: "auto",
    verticalAlign: "top",
    background: "hsl(0, 0%, 98%)"
  }
}
const getGridGap = (elementWidth, windowHeight) => (elementWidth > 720 && windowHeight > 480) ? 10 : 5;
const getColumnCount = (elementWidth) => Math.floor(elementWidth / 300);
const getWindowMargin = (windowHeight) => Math.round(windowHeight * 1.5);
const getItemData = (image, columnWidth) => {
  let imageRatio = image.height / image.width
  let adjustedHeight = Math.round(columnWidth * imageRatio)
  return {
    key: image.url,
    height: adjustedHeight,
  }
}
const App = () => {
  return (
    <div style={styles.container}>
      <GridList
        items={images}
        getGridGap={getGridGap}
        getColumnCount={getColumnCount}
        getWindowMargin={getWindowMargin}
        getItemData={getItemData}
        renderItem={(image) => {
          return (
            <img
              src={image.url}
              width={image.width}
              height={image.height}
              style={styles.image}
            />
          )
        }}
      />
    </div>
  )
}
export default App
Our complete app should look like this now:
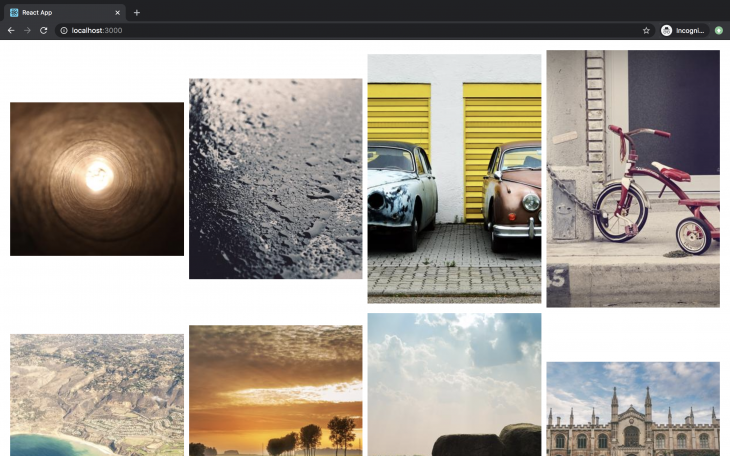
And that’s it. We have built a simple scrollable component using React-gridlist:

Scrollable elements are an integral part of most web applications these days. Getting scroll to work perfectly can often require a significant amount of trial and error to get the CSS just right. This can be especially daunting for people without a lot of experience. React-gridlist provides a painless and fast way to implement scroll in your application. If you would like to take a look at the code for this article, you can find it on GitHub. If you like the library, don’t forget to star it and show some appreciation to the author on Twitter.
Install LogRocket via npm or script tag. LogRocket.init() must be called client-side, not
server-side
$ npm i --save logrocket

// Code:

import LogRocket from 'logrocket';
LogRocket.init('app/id');
// Add to your HTML:

<script src="https://cdn.lr-ingest.com/LogRocket.min.js"></script>
<script>window.LogRocket && window.LogRocket.init('app/id');</script>
Would you be interested in joining LogRocket's developer community?
Join LogRocket’s Content Advisory Board. You’ll help inform the type of content we create and get access to exclusive meetups, social accreditation, and swag.
Sign up now
Learn how OpenAPI can automate API client generation to save time, reduce bugs, and streamline how your frontend app talks to backend APIs.

Discover how the Interface Segregation Principle (ISP) keeps your code lean, modular, and maintainable using real-world analogies and practical examples.

<selectedcontent> element improves dropdowns

Learn how to implement an advanced caching layer in a Node.js app using Valkey, a high-performance, Redis-compatible in-memory datastore.

