Web monetization has been around for decades now, and its popularity continues to gain momentum, especially as new technologies emerge on a daily basis. Aside from earning extra income with your website traffic, another way to earn money is through mobile app monetization via mobile ads.
Monetization on a mobile app is slightly different from website monetization, with the main difference in the placement and configurations of ads.
In this tutorial, I’ll show you how to generate extra income through ads by implementing Google AdMob in React Native. I’ll also demonstrate how AdMob works in React Native by building an example app to display different ads in the app using using Firebase and React Native Firebase.
Here’s what we’ll cover:
To follow along with this React Native styling tutorial, you should have:
AdMob is a mobile advertising company by Google founded in 2016 by Omar Hamoui. The company empowers mobile app developers and companies to leverage mobile app advertising to increase their revenue.
Even though it is exciting to make some extra money, understanding the right ad to display on your app is the key to sustainable monetization. Below are a list of AdMob ads and a description of where to display them.
Now that you are familiar with AdMob and its available ads, let’s create a Firebase project to demonstrate AdMob in action.
Firebase is a fully functional backend technology that is used to build mobile and web applications. It is the go-to for building real time features such as push notifications, real time messaging, and real time databases.
I have chosen to build this tutorial with Firebase because of its support for AdMob out of the box. It is easier to integrate with fewer configurations.
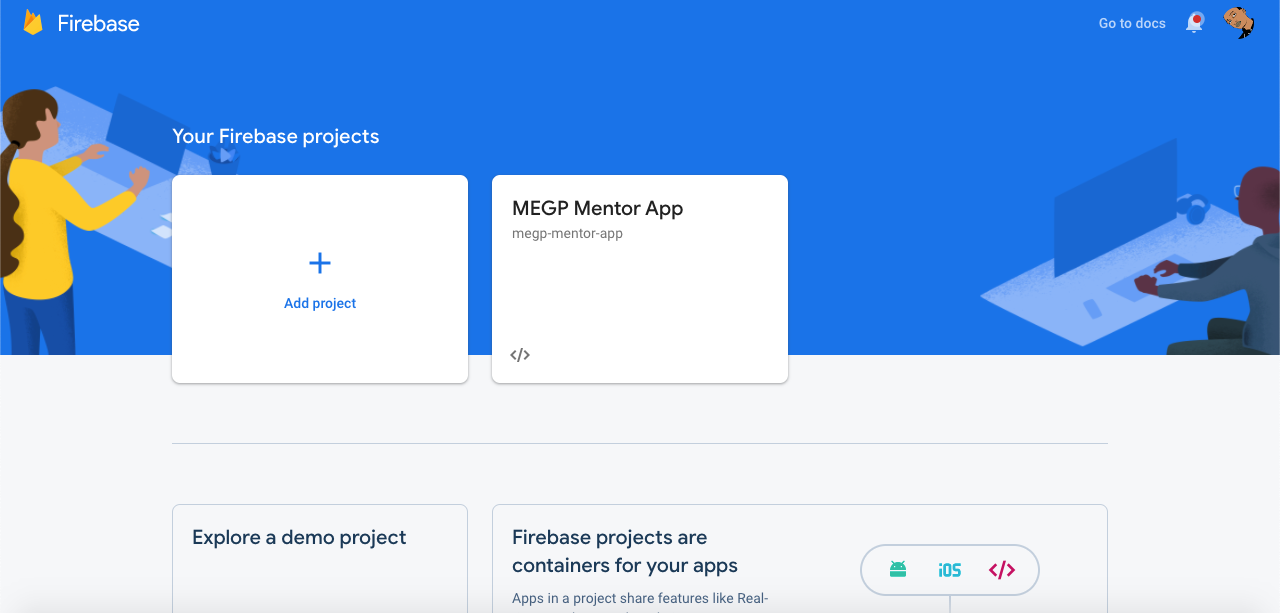
Visit https://firebase.google.com and click the Get started button. Within your console, click Add product, as seen in the screenshot below:
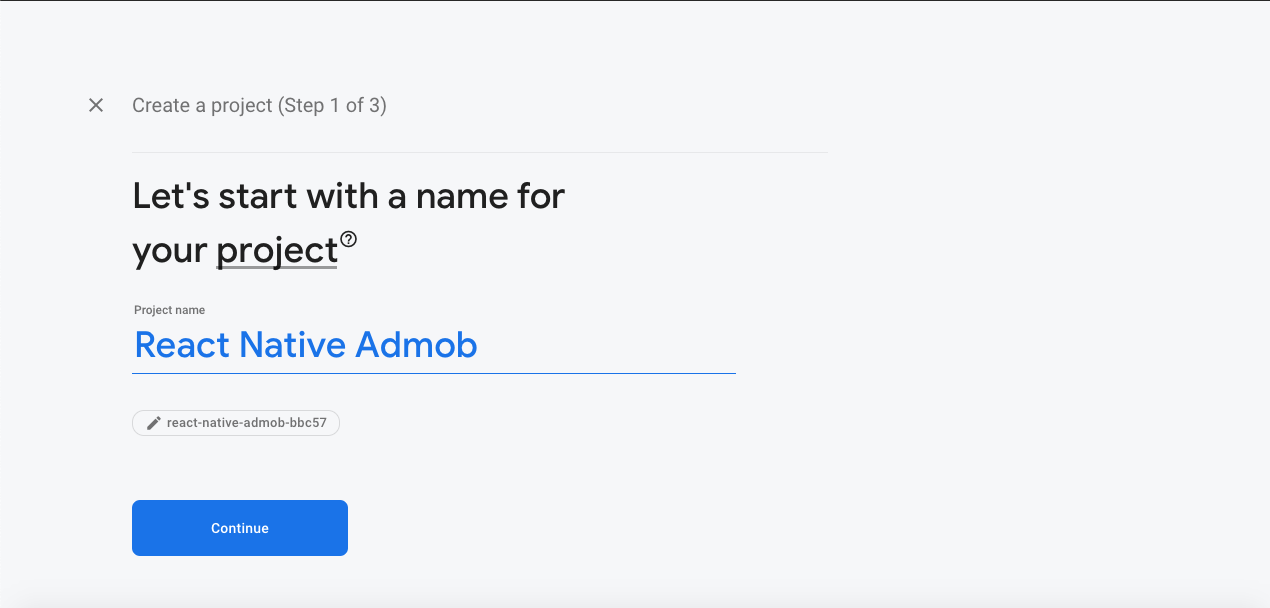
Type in a preferred name for your project. For this tutorial, I am using React Native Admob. Click Continue to move to the next step:
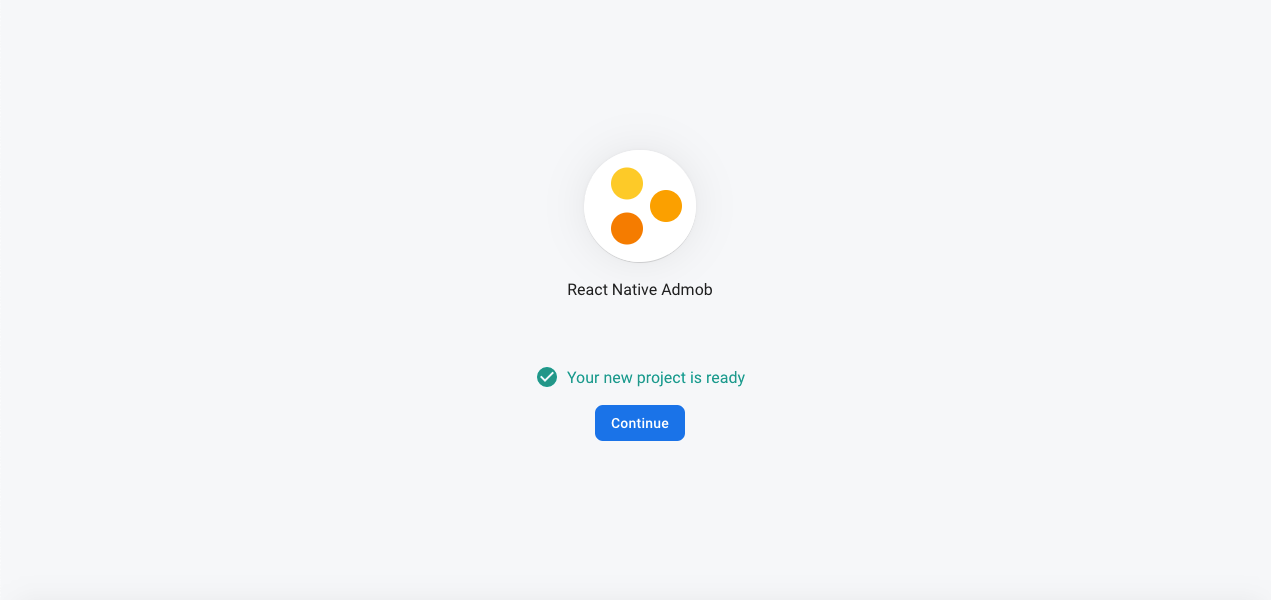
Click Continue until you get to Step 3 of 3, then click on Create a project. Once your project is created you should see a screen like the one below:
To implement AdMob in Firebase, all you need to obtain from Firebase is GoogleService-Info.plist for iOS or google-services.json for Android.
You can do so by adding an iOS or Android file to the project you created in Step 1, as seen in the screenshot below:

Now that you’ve registered an iOS app and obtained the GoogleService-Info.plist, let’s proceed to set up an AdMob account so we can dive into building our first monetized mobile app with React Native.
To create and set up your AdMob account follow the simple steps below.
Visit https://apps.admob.com, log in to your Google account to access AdMob, agree to the terms of service, and click create an AdMob account. Accept special offers and tips if you are interested, and click Continue. You should be redirected to a page similar to the screenshot below:

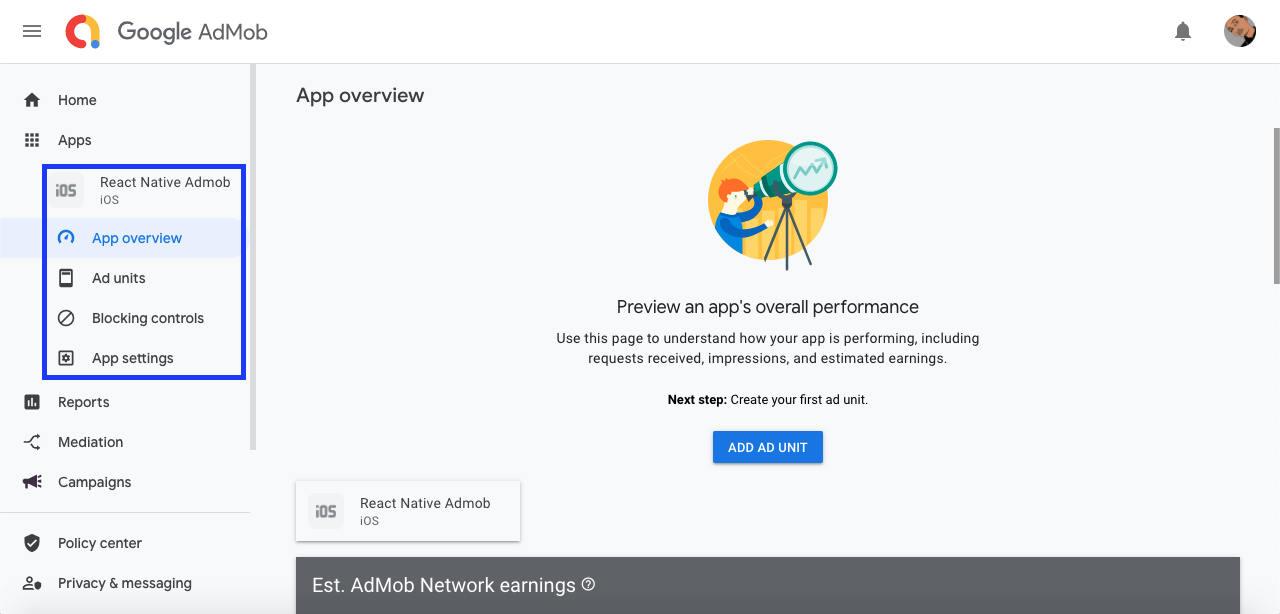
In the sidebar, click Apps (outlined in the screenshot below). If you have previously connected apps to your AdMob account, you should see them listed there. Otherwise, you’ll find a link to create a new app.
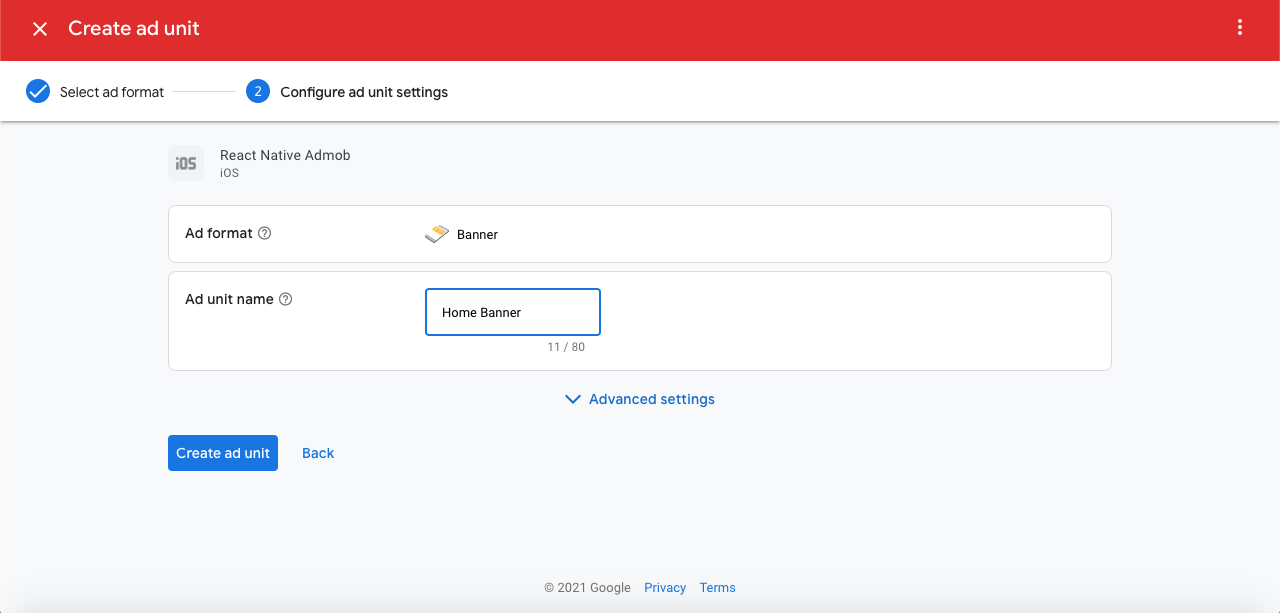
Next, click on the ADD AD UNIT button to create a new ad unit. You need to set up an ad unit in order to display it on your app. Note that you will always need an ad unit ID to display ad units in different parts of your app. See the screenshot below:
Before we proceed, let’s create a new React Native app, install the required dependency, and perform the necessary configurations.
In this tutorial, we will be using React Native Firebase to communicate with AdMob and display the ads.
First let’s initialize a new React Native app. Run the code below to get started:
npx react-native init ReactNativeAdmob
Next, install React Native Firebase with the code below:
npm install --save @react-native-firebase/app
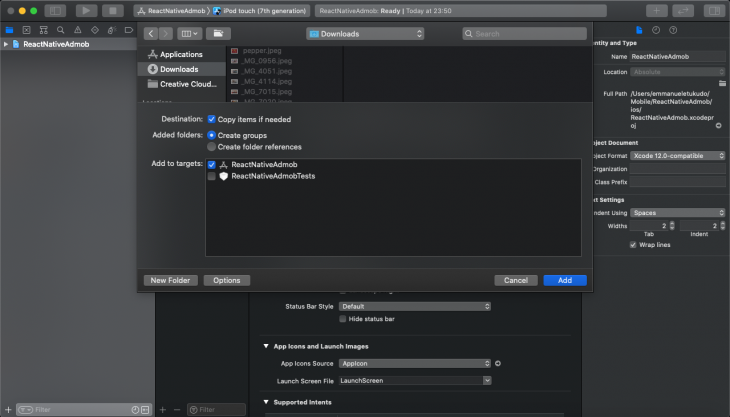
Open Xcode and add the GoogleService-Info.plist you downloaded from Firebase to your iOS project.
Then, we need to initialize Firebase to use our credential from AppDeligate.m. Open AppDelegate.m from your iOS folder and paste the code below at the top of the file to import the Firebase module:
#import <Firebase.h>
Paste the code below within the didFinishLaunchingWithOptions function to configure Firebase:
if ([FIRApp defaultApp] == nil) {
[FIRApp configure];
}
Rebuild the project with the command below:
cd ios/
pod install --repo-update
cd ..
npx react-native run-ios
Next, we need to install the Firebase AdMob dependency with the following code:
npm install @react-native-firebase/admob
Then, create firebase.json within the root directory of the React Native app, paste the code below to configure, and link your app to your AdMob account:
{
"react-native": {
"admob_android_app_id": "ca-app-pub-xxxxxxxx~xxxxxxxx",
"admob_ios_app_id": "ca-app-pub-xxxxxxxx~xxxxxxxx"
}
}
Replace the admob_android_app_id and admob_ios_app_id value with your appropriate app IDs.
Rebuild the app to apply the changes:
cd ios/ && pod install
npx react-native run-ios
We will be using the default test IDs shipped with the Firebase AdMob dependency because it is not advisable to use your app ID during development. Once your app is ready for production, you can replace the app ID.
The Firebase AdMob dependency gives you access to an array of tags used to display different types of ads in React Native.
For a banner ad, we’ll be using the <Banner/> tag. To implement, paste the code below to get started:
import { TestIds, BannerAd, BannerAdSize} from '@react-native-firebase/admob';

<BannerAd
unitId={TestIds.BANNER}
size={BannerAdSize.SMART_BANNER}
requestOptions={{
requestNonPersonalizedAdsOnly: true,}}
onAdLoaded={() => {
console.log('Advert loaded');}}
onAdFailedToLoad={(error) => {
console.error('Advert failed to load: ', error);}}
/>
If you noticed, we used the TestIds.BANNER to inform the AdMob dependency that we want to use the test ID to implement the ad. We also log to the console when the ad loads using the onAdLoaded event handler.
Interstitial ads are often triggered by events, and because they are full page ads, it’s okay to wrap them within an event or alongside a user’s triggered event.
To implement an interstitial ad, we need to import the <InterstitialAd/> class into our App.js:
import { InterstitialAd, TestIds, AdEventType} from '@react-native-firebase/admob';

...
showInterstitialAd = () => {
interstitialAd.onAdEvent((type, error) => {
if (type === AdEventType.LOADED) {
interstitialAd.show();
}});
interstitialAd.load();
}
Since the interstitial ad takes time to load, it is advisable to call the .show() method within the .LOADED event. Note that you may risk a crash if you try to call the .show() method outside the .LOADED event.
A reward ad is shown to your users in exchange for in-app rewards. It also takes a similar approach to the interstitial ad to implement:
import { TestIds, RewardedAd, RewardedAdEventType } from '@react-native-firebase/admob';
....
showRewardAd = () => {
// Create a new instance
const rewardAd = RewardedAd.createForAdRequest(TestIds.REWARDED);
// Add event handlers
rewardAd.onAdEvent((type, error) => {
if (type === RewardedAdEventType.LOADED) {
rewardAd.show();
}

if (type === RewardedAdEventType.EARNED_REWARD) {
console.log('User earned reward of 3 stars');
Alert.alert( 'New Reward', 'You just earned a reward of 3 stars', [ {text: 'OK', onPress: () => console.log('OK Pressed')}, ], { cancelable: true } )
}});

// Load a new advert
rewardAd.load();
}
Similarly, the reward ad also takes time to load, which is the reason why we call the .show() method within the RewardedAdEventType.LOADED handler. You can also use the .EARNED_REWARD to eventually give your user the promised in-app reward.
Whether you have a production-ready React Native app or your app is already deployed to the iOS or Android store with no previous monetization, AdMoetub can serve as the technology to bridge that gap.

LogRocket's Galileo AI watches sessions for you and and surfaces the technical and usability issues holding back your React Native apps.
LogRocket also helps you increase conversion rates and product usage by showing you exactly how users are interacting with your app. LogRocket's product analytics features surface the reasons why users don't complete a particular flow or don't adopt a new feature.
Start proactively monitoring your React Native apps — try LogRocket for free.

Learn how to protect full-stack projects from NPM supply chain attacks with a practical security checklist.

Explore 15 essential MCP servers for web developers to enhance AI workflows with tools, data, and automation.

Learn how contrast-color() automatically picks accessible text colors using native CSS, without JavaScript.

Learn how to build a harness-style AI workflow using Claude Code with specialized Dev, QE, and Ops subagents, gated handoffs, MCP telemetry, and LEARNING.md.
Would you be interested in joining LogRocket's developer community?
Join LogRocket’s Content Advisory Board. You’ll help inform the type of content we create and get access to exclusive meetups, social accreditation, and swag.
Sign up now

