Fonts are the building blocks of a great user experience. Using custom fonts can provide your apps with a unique identity, helping your project stand out in a competitive marketplace.

In this guide, we will explore modern ways to add custom fonts in a React Native app, including Google Fonts integration. To follow along, you should be familiar with the basics of React Native or the Expo SDK, including JSX, components (class and functional), and styling. You can also follow the GitHub repositories for this project to see implementations for both the React Native CLI and Expo.
assets/fonts folder and add your font filesreact-native.config.js file to specify the font assets pathnpx react-native-asset to link the fontsfontFamily in your stylesnpx expo install expo-fontnpx expo install @expo-google-fonts/[font-name]useFonts Hook to load your fontsEditor’s note: This article was updated by Timonwa Akintokun in April 2025 to align the the content with latest best practices for React Native (0.73+) and Expo SDK 50+, replace outdated font linking methods, update Google Fonts integration, enhance dynamic font loading best practices, and introduce system font recommendations for better UX.
For our project, we will add custom fonts to a React Native CLI project by building a basic application using Google Fonts. Google Fonts is a library of free, open source fonts that can be used while designing web and mobile applications.
To bootstrap the React Native CLI project, run the following command in your terminal:
npx @react-native-community/cli@latest init CustomFontCLI
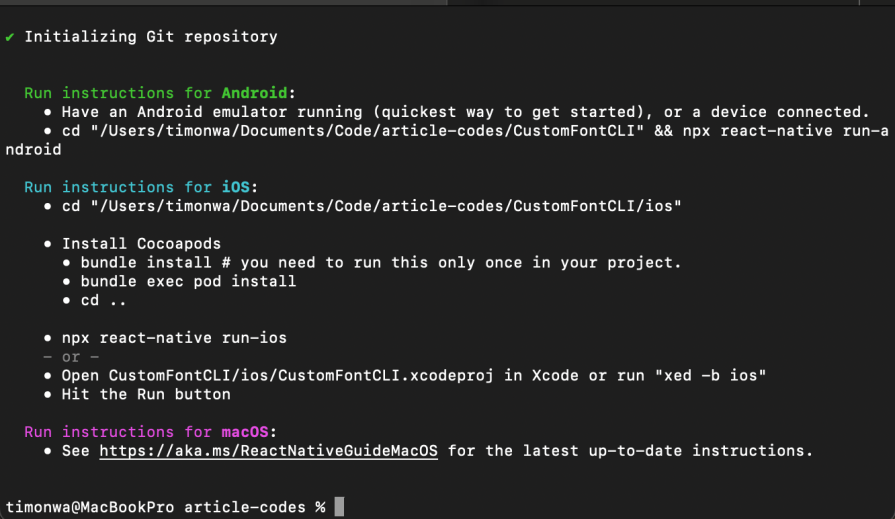
CustomFontCLI is the name of our project folder. Once the project has been successfully installed, you will see the project creation confirmation in your terminal:
Open your project in your preferred IDE to get started. In this tutorial, we will use VS Code.
Once the project has been bootstrapped, we will move on to getting the fonts we want to use. We’ll go over how to import them and use them in our project.
In this project, we will demonstrate custom font integration using two fonts: Quicksand and Raleway, which you can find on Google Fonts.
Find your desired fonts in Google Fonts, select the styles you want (e.g., Light 300, Regular 400, select variable if you want to use the Variable font format), and click on the Download button: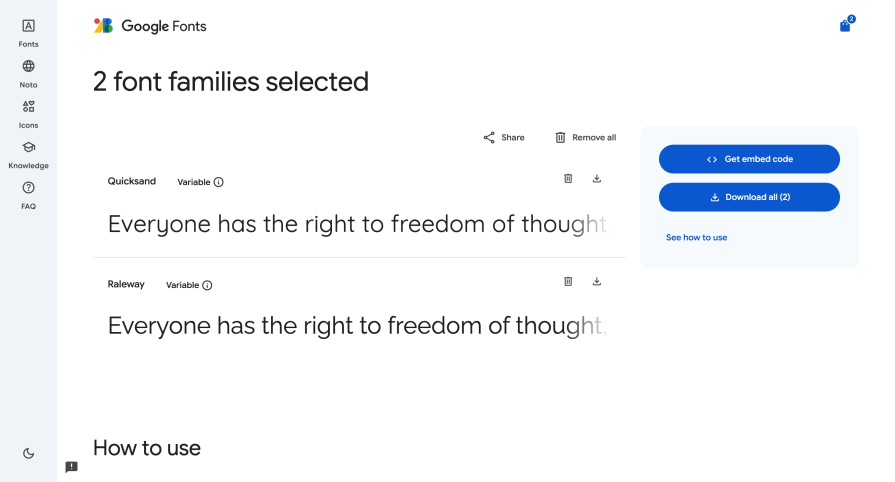
The folder will be downloaded as a ZIP file with a font folder. Inside the folder, there is a static folder where all the TTF files reside. Copy and keep the TTF files.
In the next section, we will go through integrating these fonts’ TTF files into our React Native CLI project.
Create an assets folder in the root directory of your project, with a subfolder called fonts. Then, paste all the TTF files you copied from the static folder earlier into the fonts folder of your project: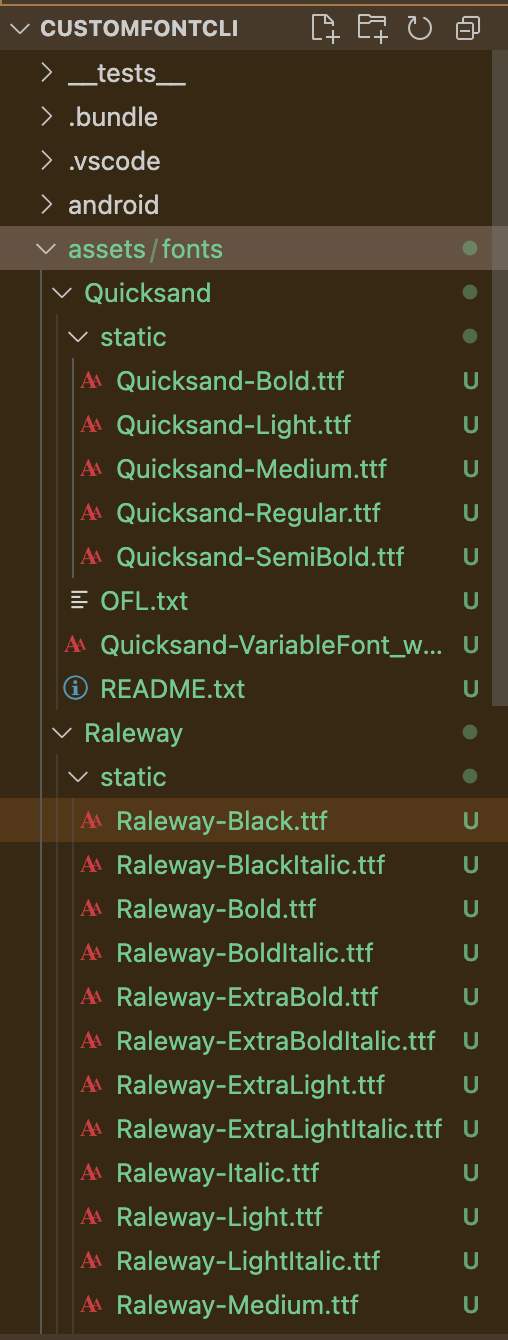
Next, create a react-native.config.js file in the root directory and paste the code below inside it:
module.exports = {
  project: {
    ios: {},
    android: {},
  },
  assets: ['./assets/fonts'],
};
Adjust the assets path according to your font directory. Also, make sure your file is named correctly.
We have successfully integrated the font files into our project. Now we need to link them so we’ll be able to use them in any files inside the project. To do that, run the following command:
npx react-native-asset
Once the assets have been successfully linked, you should see the following message in your terminal:

Then, in your App.tsx file, paste the following code:
import { StyleSheet, Text, View } from "react-native";
import React from "react";

const App = () => {
  return (
    <View style={styles.container}>
      <Text style={styles.quicksandRegular}>
        This text uses a quick sand font
      </Text>
      <Text style={styles.quicksandLight}>
        This text uses a quick sand light font
      </Text>
      <Text style={styles.ralewayThin}>
        This text uses a thin italic raleway font
      </Text>
      <Text style={styles.ralewayItalic}>
        This text uses a thin italic raleway font
      </Text>
    </View>
  );
};
export default App;

const styles = StyleSheet.create({
  container: {
    backgroundColor: "lavender",
    flex: 1,
    justifyContent: "center",
    alignItems: "center",
  },
  quicksandLight: {
    fontFamily: "Quicksand-Light",
    fontSize: 20,
  },
  quicksandRegular: {
    fontFamily: "Quicksand-Regular",
    fontSize: 20,
  },
  ralewayItalic: {
    fontFamily: "Raleway-Italic",
    fontSize: 20,
  },
  ralewayThin: {
    fontFamily: "Raleway-ThinItalic",
    fontSize: 20,
  },
});
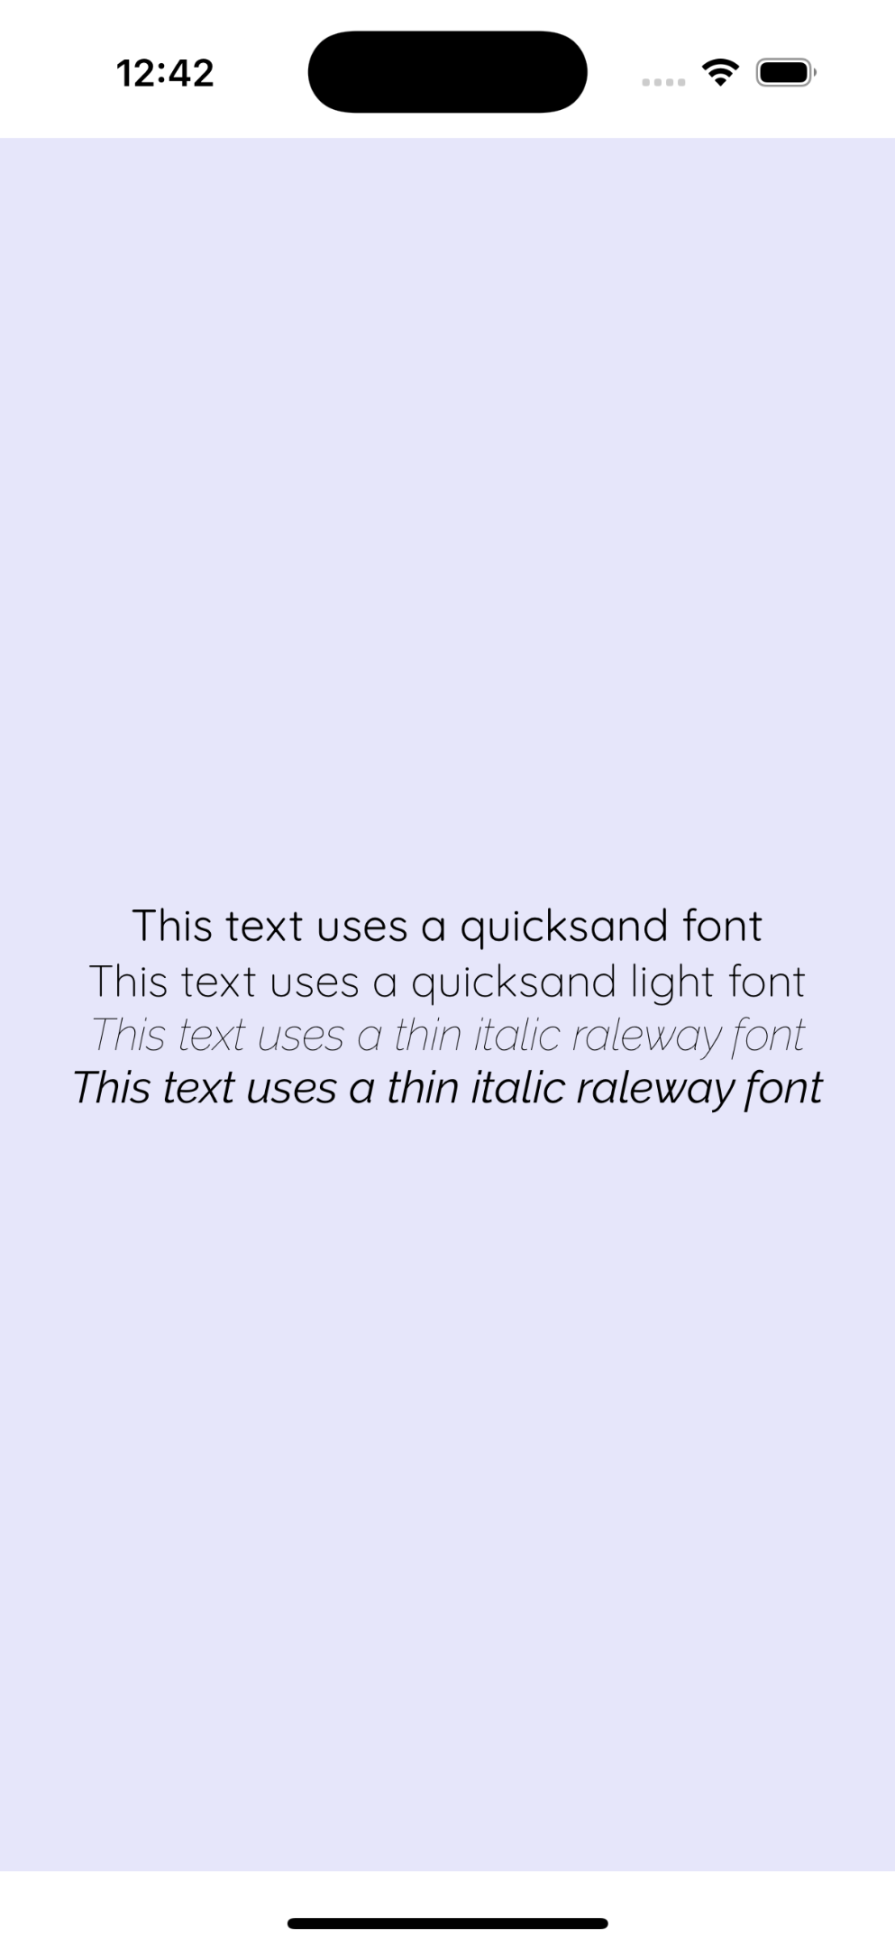
This is a basic App.tsx file with four texts being styled, each by different font styles of Raleway and Quicksand. Essentially, we are rendering the JSX with four texts to display on the screen and React Native’s StyleSheet API to append different fontFamily styles to each of the Text components.
Let’s see the output:
In this section, we will learn how to use custom fonts with Expo. Expo supports two font formats, OTF and TTF, which work consistently on iOS, Android, and the web. If you have your font in another format, you’ll need advanced configurations.
First, create a new Expo project by running this command:
npx create-expo-app@latest my-app
Once the project has been successfully installed, start the development server by running npm run start and choose either the iOS or Android option to open your project.
You should see the default Expo screen in your simulator or device:
useFonts HookIn React Native with Expo, the useFonts Hook is the recommended approach for loading and using custom fonts. It takes an object where the key is the name you want to use to reference the font, and the value is the required statement pointing to the font file.
The syntax looks like this:
import { useFonts } from "expo-font";

const [loaded, error] = useFonts({
  FontName: require("./path/to/font.ttf"),
});
In this section, we will see how to add Google Fonts to our application. The Expo team has created a set of packages that make it easy to use Google Fonts in your Expo project.
To add Google Fonts like Raleway and Quicksand, install these packages using the commands below:
npx expo install expo-font @expo-google-fonts/raleway @expo-google-fonts/quicksand
If you have other Google Fonts you want to use, you can check here for the available fonts with Expo support.
In your App.js file, paste the following code block:
import { useFonts } from "expo-font";
import { StatusBar } from "expo-status-bar";
import { StyleSheet, Text, View, ActivityIndicator } from "react-native";
import { Raleway_200ExtraLight } from "@expo-google-fonts/raleway";
import { Quicksand_300Light } from "@expo-google-fonts/quicksand";

export default function App() {
  const [fontsLoaded] = useFonts({
    Raleway_200ExtraLight,
    Quicksand_300Light,
  });
  if (!fontsLoaded) {
    return (
      <View style={styles.container}>
        <ActivityIndicator size="large" color="#0000ff" />
        <Text>Loading fonts...</Text>
      </View>
    );
  }

  return (
    <View style={styles.container}>
      <Text>This text has default style</Text>
      <Text style={styles.raleway}>This text uses Raleway Font</Text>
      <Text style={styles.quicksand}>This text uses QuickSand Font</Text>
      <StatusBar style="auto" />
    </View>
  );
}

const styles = StyleSheet.create({
  container: {
    flex: 1,
    backgroundColor: "#fff",
    alignItems: "center",
    justifyContent: "center",
  },
  raleway: {
    fontSize: 20,
    fontFamily: "Raleway_200ExtraLight",
  },
  quicksand: {
    fontSize: 20,
    fontFamily: "Quicksand_300Light",
  },
});
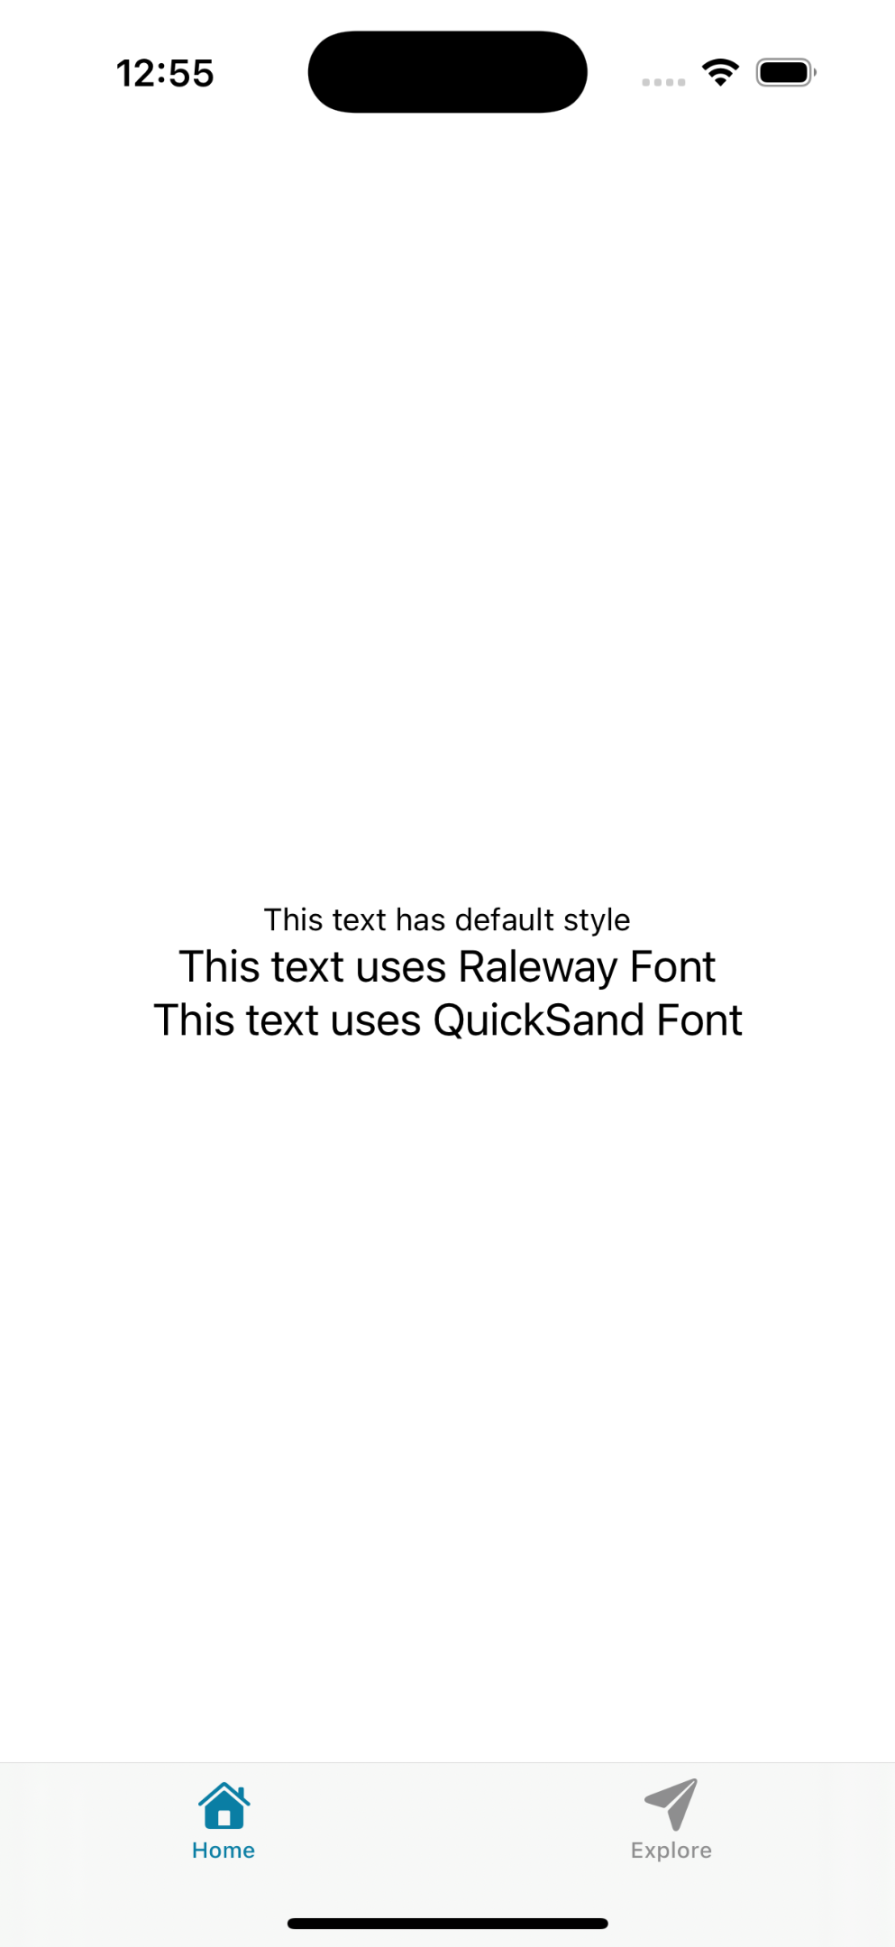
Here, we imported Raleway_200ExtraLight and Quicksand_300Light from their respective packages. We use the useFonts Hook to load these custom fonts asynchronously. The result from the useFonts Hook is an array of Boolean values that was destructured using the syntax const [fontsLoaded] to access the Boolean value that it returns.
If the fonts are successfully loaded, the result will be [true, null] , which means fontsLoaded is true.
We’ve added an ActivityIndicator to provide visual feedback while the fonts are loading, which is a best practice to improve user experience.
Let’s see what this looks like in our simulator:
Let’s say you have a personal React Native project you are building, and you have been given custom fonts that are not among the available Google Fonts supported by Expo.
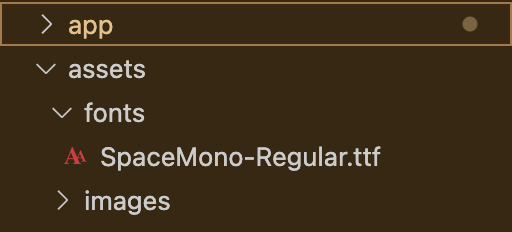
First, you will need to download the font file into your project and install the expo-font package. For this tutorial, I downloaded Space Mono from FontSquirrel as my custom font.
Create a folder called assets and, within it, create a fonts folder, just like you did with the React Native CLI. Then, move the font files from the fonts folder into your project like so:
In your App.js file, update the code to include the Space Mono custom font:
import { useFonts } from "expo-font";
import { StatusBar } from "expo-status-bar";
import { StyleSheet, Text, View, ActivityIndicator } from "react-native";
import { Raleway_200ExtraLight } from "@expo-google-fonts/raleway";
import { Quicksand_300Light } from "@expo-google-fonts/quicksand";

export default function App() {
  const [fontsLoaded] = useFonts({
    Raleway_200ExtraLight,
    Quicksand_300Light,
    SpaceMono: require("../../assets/fonts/SpaceMono-Regular.ttf"),
  });

  if (!fontsLoaded) {
    return (
      <View style={styles.container}>
        <ActivityIndicator size="large" color="#0000ff" />
        <Text>Loading fonts...</Text>
      </View>
    );
  }

  return (
    <View style={styles.container}>
      <Text>This text has default style</Text>
      <Text style={styles.raleway}>This text uses Raleway Font</Text>
      <Text style={styles.quicksand}>This text uses QuickSand Font</Text>
      <Text style={styles.spacemono}>This text uses Space Mono Font</Text>
      <StatusBar style="auto" />
    </View>
  );
}

const styles = StyleSheet.create({
  container: {
    flex: 1,
    backgroundColor: "#fff",
    alignItems: "center",
    justifyContent: "center",
  },
  raleway: {
    fontSize: 20,
    fontFamily: "Raleway_200ExtraLight",
  },
  quicksand: {
    fontSize: 20,
    fontFamily: "Quicksand_300Light",
  },
  spacemono: {
    fontSize: 20,
    fontFamily: "SpaceMono",
  },
});
Then, view the updates in the simulator:
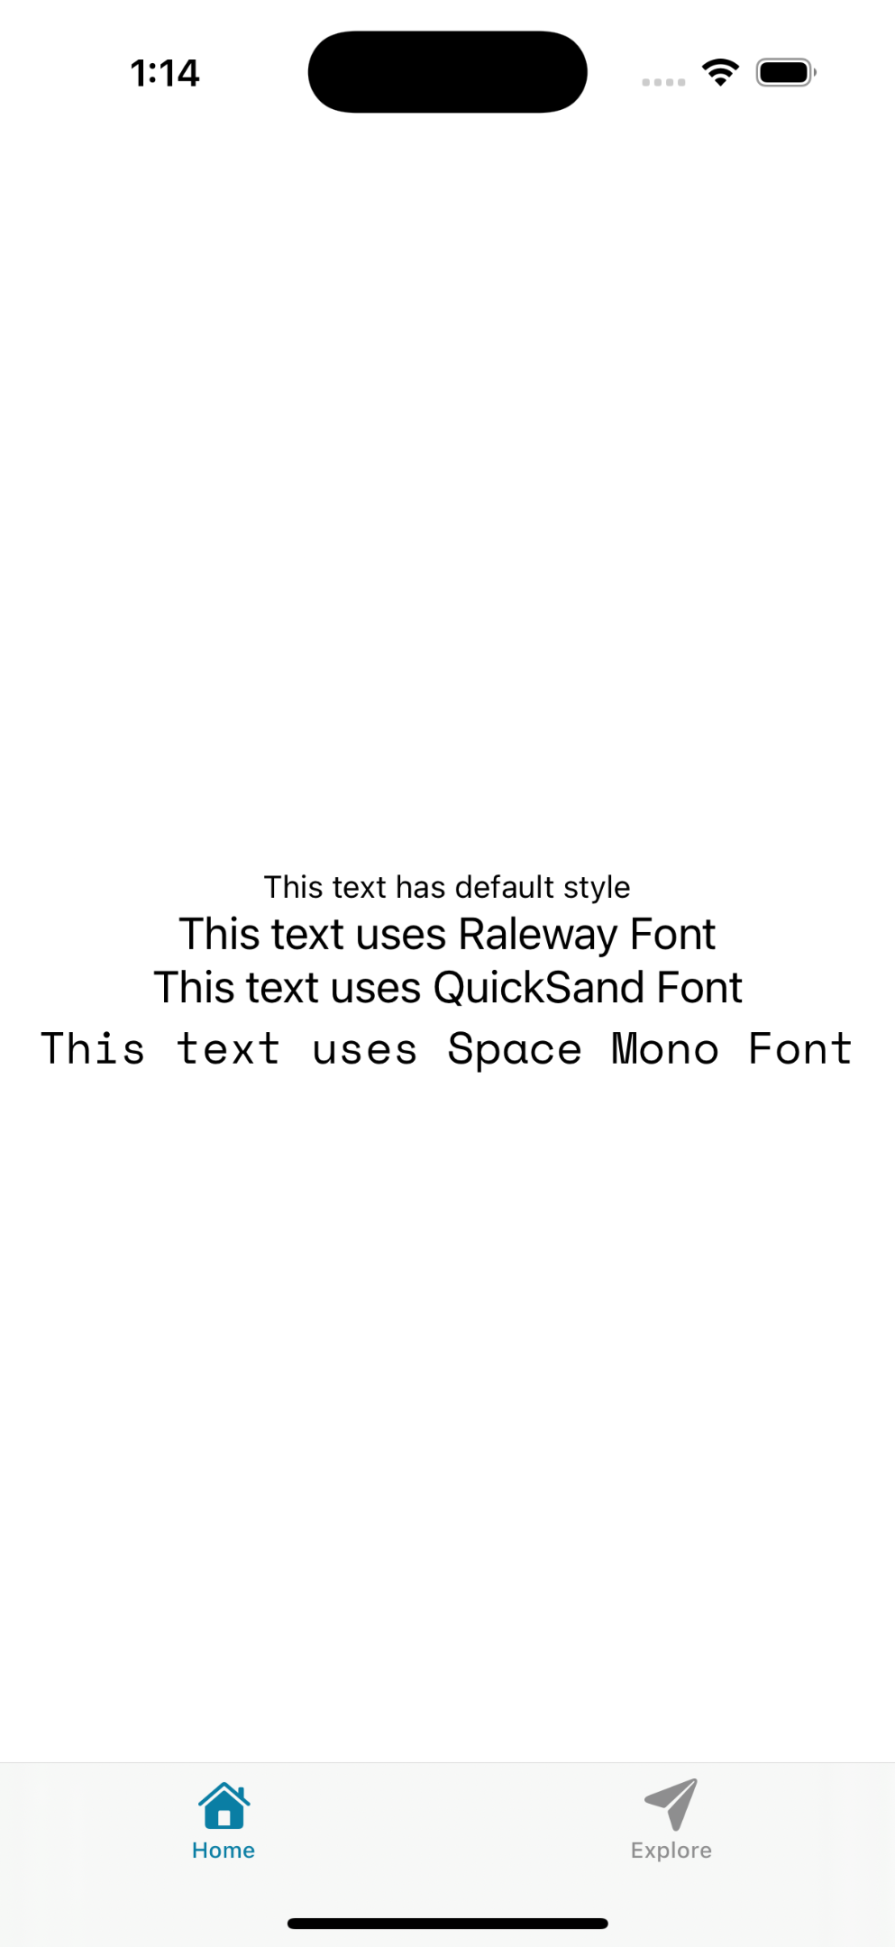
As shown in the simulator output above, the additional text uses the SpaceMono font family that has been used to style the fourth text.
These strategies will help you get the most out of React Native fonts
While custom fonts provide unique branding, system fonts offer several advantages:
To use system fonts effectively, you can use Platform.select() to provide platform-specific font families:
import { StatusBar } from "expo-status-bar";
import { StyleSheet, Text, View, Platform } from "react-native";
export default function App() {
  return (
    <View style={styles.container}>
      <Text>This text has default style</Text>
      <Text>This text no longer uses Raleway Font</Text>
      <Text>This text no longer uses QuickSand Font</Text>
      <Text>This text no longer uses Space Mono Font</Text>
      <StatusBar style="auto" />
    </View>
  );
}
const styles = StyleSheet.create({
  container: {
    flex: 1,
    backgroundColor: "#fff",
    alignItems: "center",
    justifyContent: "center",
  },
  text: {
    fontFamily: Platform.select({
      ios: "System",
      android: "Roboto",
      default: "System",
    }),
    // Optional: You can also switch font weights dynamically
    // fontWeight: "400", // normal
    fontWeight: "900", // black
  },
});
This approach ensures that your text looks native on each platform while still maintaining control over the style:
Flash of invisible text (FOIT) occurs when your UI renders before fonts are loaded. To prevent this, always implement proper loading states like we did in the examples above.
You can also use a splash screen or skeleton UI to improve the user experience while fonts are loading.
When implementing custom fonts, always ensure that they work well with the device accessibility settings. Users with visual impairments often increase the font size on their devices. You can support these preferences by using useWindowDimensions:
import { StyleSheet, Text, useWindowDimensions } from 'react-native';
export default function AccessibleText() {
  const { fontScale } = useWindowDimensions();

  return (
    <Text style={[styles.text, { fontSize: 16 * fontScale }]}>
      This text will respect the user's font size preferences
    </Text>
  );
}
const styles = StyleSheet.create({
  text: {
    fontFamily: 'CustomFont-Regular',
  },
});
This approach ensures your app’s typography remains accessible regardless of the custom fonts you implement.
Font rendering can vary significantly across different devices, operating systems, and screen resolutions. Before releasing your app:
This thorough validation process helps identify font rendering inconsistencies early, ensuring your typography looks professional across all supported devices.
When working with custom fonts in React Native, there might be some drawbacks you’ll encounter.
This happens when the UI or page is rendered before the fonts are loaded. This leads to fallback fonts appearing, i.e., the default font of your mobile device. To fix this issue, use conditional rendering to render the app only after the fonts are loaded. We can see this applied throughout this article.
If the fonts are not ready, render a loading screen or an ActivityIndicator:
import { useFonts } from "expo-font";

export default function App() {
  const [fontsLoaded] = useFonts({
    SpaceMono: require("../../assets/fonts/SpaceMono-Regular.ttf"),
  });

  if (!fontsLoaded) {
    return <Text>Loading fonts...</Text>;
  }

  return (
    <View style={styles.container}>
      // application codes
    </View>
  );
}
As discussed in earlier sections, it’s crucial that font family names are consistent. For example, if you import a font as SourceCodePro-ExtraLight.otf but then load it into the application under a different path or file name, such as /assets/fonts/SourceCodePro-ExtraLight.ttf, this will cause the application to throw an error because there has been a fontFamily name mismatch.
Using the wrong path for your font file will also cause the application to throw an error. Double-check the file structure and ensure the paths match the exact location of the font file. Place your fonts in a /assets/fonts/ folder for easy matches, like /assets/fonts/SourceCodePro-ExtraLight.ttf.
When working with custom fonts, it’s important to verify that the system you’re working on (iOS, Android, or web) supports the font format you are using (e.g., .ttf, .otf). If not, unexpected errors may occur during development.
When adding custom fonts to your React Native applications, be mindful of their file size (measured in kb/mb). Large font files can significantly increase an app’s loading time, especially when custom fonts are being loaded.
Minimize the number of custom fonts you load by using a single font family with different weights (regular, bold, italic, etc.) rather than multiple unrelated ones or using a full zip folder.
This is when the fontWeight or fontStyle properties do not apply because the loaded font doesn’t support the variations (bold, italic, regular).
Let’s say you downloaded a zip file of SpaceMono font. It comes in different variations such as SpaceMono-Bold.ttf, SpaceMono-Regular.ttf, SpaceMono-Light.ttf, and so on. If you need a bold weight of the font, then you need to use the SpaceMono-Bold.ttf font or you will run into this issue. Most custom fonts are explicitly named with their weights or styles, so use the one you need to avoid this issue.
When building standalone apps (for Google PlayStore or Apple’s App Store), it is good to include the expo-font plugin in app.json. This is because the expo configuration helps ensure that Expo knows how to handle the fonts and bundle them properly. To do that, add the code below to your app.json config file:
// app.json

{
  "expo": {
    "plugins": [
      [
        "expo-font",
        {
          "fonts": ["./assets/fonts/Inter-Black.otf"] // your font's path
        }
      ]
    ]
  }
}
react-native-asset errorsIf you use the React Native CLI, you might encounter some issues with the npx react-native-asset command, like error Assets destination folder is not defined.
This usually occurs when your react-native.config.js file is missing, is incorrectly configured, or is placed in the wrong location. To resolve this:
Ensure your react-native.config.js file exists in the root directory of your project.
Then, verify it has the correct format:
module.exports = {
  project: {
    ios: {},
    android: {},
  },
  assets: ['./assets/fonts'],
};
Conclude by double-checking that the path to your fonts folder is correct.
Another common issue is when assets appear to be linked successfully, but the fonts are still not rendered. In this case:
Integrating custom fonts in React Native applications is not just a technical enhancement but a strategic approach to improving user experience. The modern approach using the useFonts Hook for Expo projects and npx react-native-asset for React Native CLI projects significantly simplifies the process compared to older methods.
Remember these key takeaways:
useFonts Hook from expo-fontreact-native.config.js file and npx react-native-assetBy following these best practices, you’ll be able to integrate custom fonts seamlessly while maintaining optimal performance in your React Native applications.
Check out the GitHub repo for this project using the React Native CLI and Expo.

LogRocket's Galileo AI watches sessions for you and and surfaces the technical and usability issues holding back your React Native apps.
LogRocket also helps you increase conversion rates and product usage by showing you exactly how users are interacting with your app. LogRocket's product analytics features surface the reasons why users don't complete a particular flow or don't adopt a new feature.
Start proactively monitoring your React Native apps — try LogRocket for free.

Learn how to build smooth staggered animations in CSS using modern features like sibling-index(), complete with practical examples, fallbacks, and accessibility tips.

Compare the top AI development tools and models of July 2026. View updated rankings, feature breakdowns, and find the best fit for you.

Learn how to detect unused and ghost dependencies in JavaScript projects using Knip, a project-level linter that keeps your dependency graph accurate.

Learn how Storybook MCP enables AI agents to understand your component library, generate accurate UI, and validate code using documentation, stories, and automated tests.
Hey there, want to help make our blog better?
Join LogRocket’s Content Advisory Board. You’ll help inform the type of content we create and get access to exclusive meetups, social accreditation, and swag.
Sign up now

