The Replay is a weekly newsletter for dev and engineering leaders.
Delivered once a week, it's your curated guide to the most important conversations around frontend dev, emerging AI tools, and the state of modern software.
Vendure is a headless ecommerce framework built with TypeScript and Node.js.

You might have heard the term “API first” or “headless”. To sum it up, it provides your content (blog posts, products, etc.) as data over an API. This provides a lot of flexibility because it allows you to use the technology stack of your choice. Compared to a traditional CMS (content management system) which would require you to install a software and make you use a certain subset of technologies.
In this tutorial, I’m going to be using Next.js, GraphQL, and Apollo Client. Here’s a little bit about each:
npm install --global --production windows-build-tools# NPM npx @vendure/create name-of-your-app # Yarn yarn create @vendure my-app
This will run Vendure Create and it will ask you a couple of questions regarding your project. For this, I have chosen not to use TypeScript and I chose SQLite for the database. Vendure recommends that you use SQLite if you just want to test out Vendure because it doesn’t require any external requirements.
After the installation, cd (change directory) into your project and run the following command:
npm run start
After running that command, let’s head on over to http://localhost:3000/admin/ to log in as an admin and add/view our products.
Login with the admin username and password that you created during installation. If you forgot what those were, open the application in a text editor and head into the src > vendure-config.js file and under authOptions, you should see your username and password.
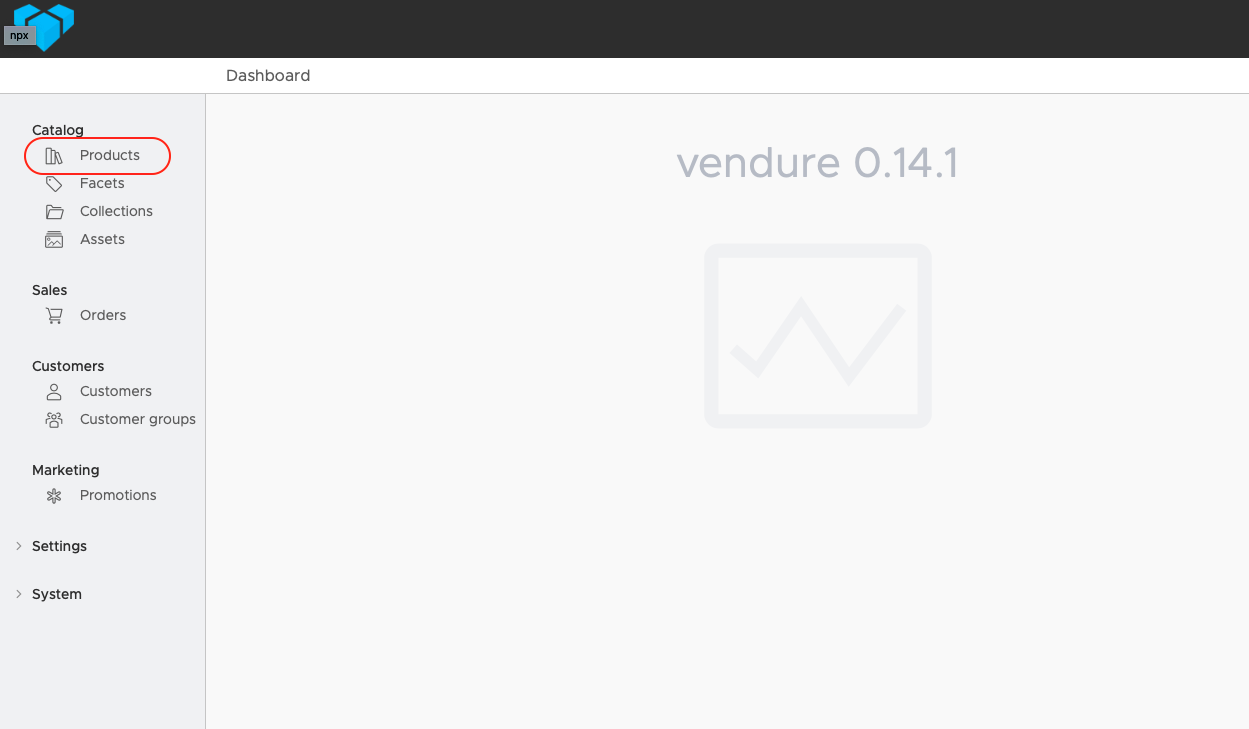
Once logged in, you should see the dashboard. Now let’s add some products.
In the dashboard, under catalog, click on Products:
If you chose the option to populate with data then it should look something like this:
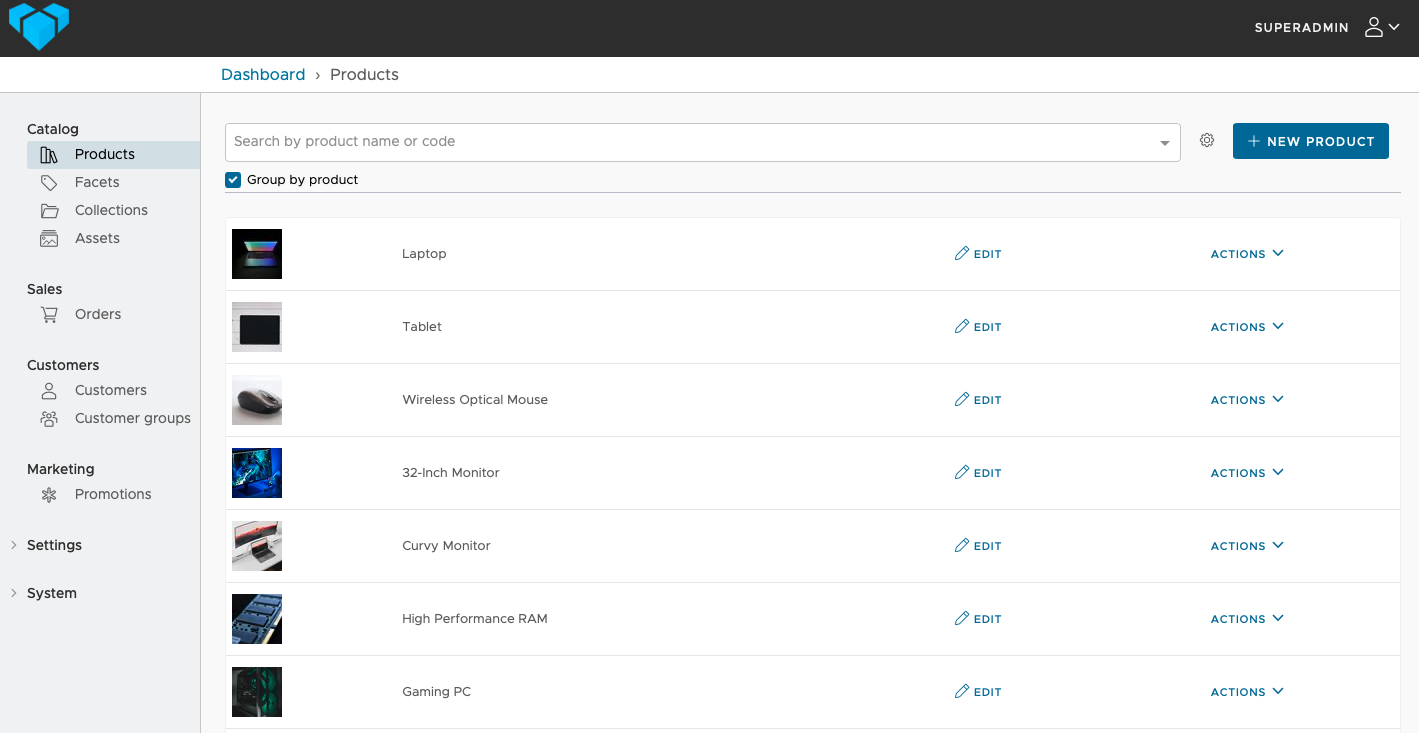
If not, then go ahead and click the button that says New Product and fill in the information.
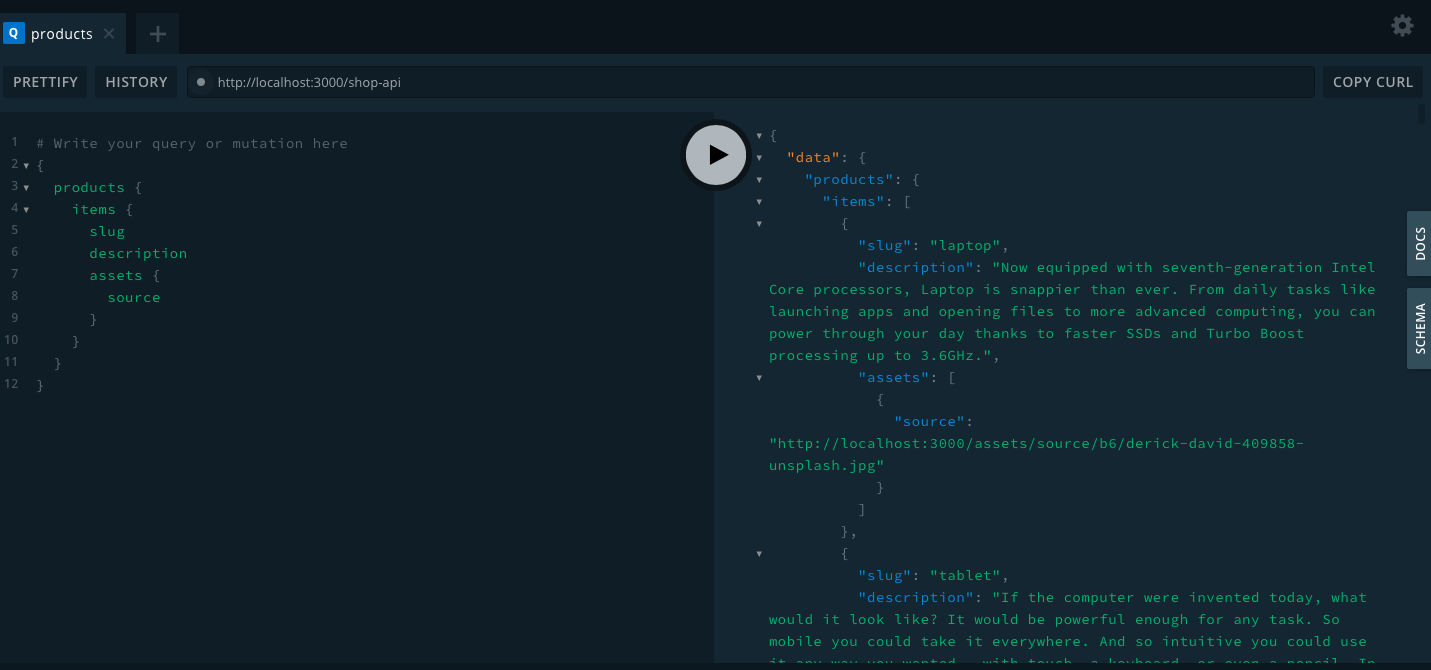
First, let’s take a look at the data. To do that, head over to http://localhost:3000/shop-api.
This will bring up the GraphQL playground which is a place to view all the available queries and mutations.
npx create-next-app
# or
yarn create next-app
After installation, when you try to run the command npm run dev, you will get an error in the terminal saying that “Port 3000 is already in use.”
Open your project in a text editor and head into the package.json file and under scripts > dev, add the following:
next -p 8080
Now back in the terminal, run the following:
npm run dev
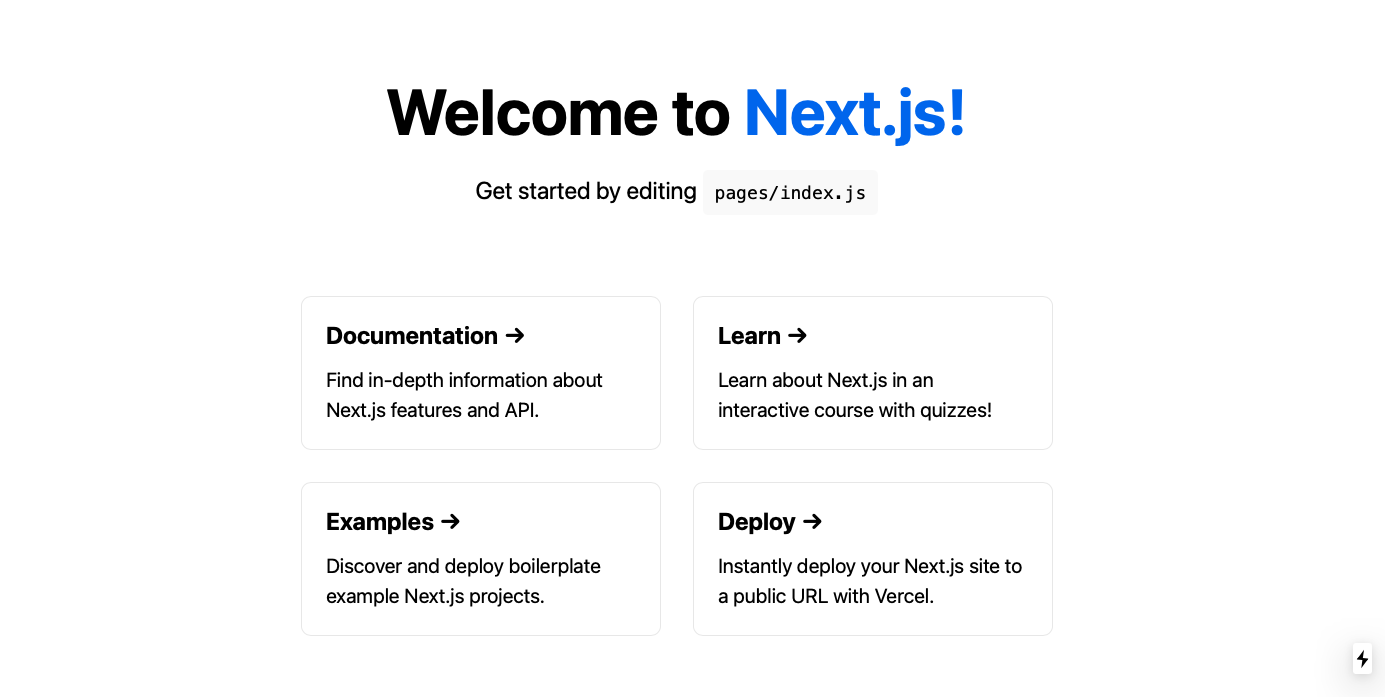
Go to localhost:8080 and you should see this:
Let’s install everything we need for GraphQL and Apollo:
npm i apollo-boost graphql react-apollo @apollo/react-hooks -S
We’re going to be using next-with-apollo which is a high order component for Next.js:
npm install next-with-apollo
# or with yarn:
yarn add next-with-apollo
In the root of your project, create a folder called lib and a file called apollo.js and add the following:
lib > apollo.js

import withApollo from 'next-with-apollo';
import ApolloClient, { InMemoryCache } from 'apollo-boost';
import { ApolloProvider } from '@apollo/react-hooks';

export default withApollo(
  ({ initialState }) => {
    return new ApolloClient({
      uri: '<http://localhost:3000/shop-api>',
      cache: new InMemoryCache().restore(initialState || {})
    });
  },
  {
    render: ({ Page, props }) => {
      return (
        <ApolloProvider client={props.apollo}>
          <Page {...props} />
        </ApolloProvider>
      );
    }
  }
);
Now, we need to wrap the whole app in Apollo’s high order component. In pages, head into _app.js and add the following:
import '../styles/globals.css';
import withApollo from '../lib/apollo';
function MyApp({ Component, pageProps }) {
  return <Component {...pageProps} />;
}
export default withApollo(MyApp);
With this, we can now query for all of our products. In the pages > index.js file, delete the contents, and add the following:
pages > index.js

import Head from 'next/head';
import styles from '../styles/Home.module.css';

import gql from 'graphql-tag';
import { useQuery } from '@apollo/react-hooks';

const QUERY = gql`
  {
    products {
      items {
        slug
        description
        assets {
          source
        }
      }
    }
  }
`;

function Home() {
  const { loading, data } = useQuery(QUERY);
  console.log(data);
  return <div className={styles.container}>home</div>;
}

export default Home;
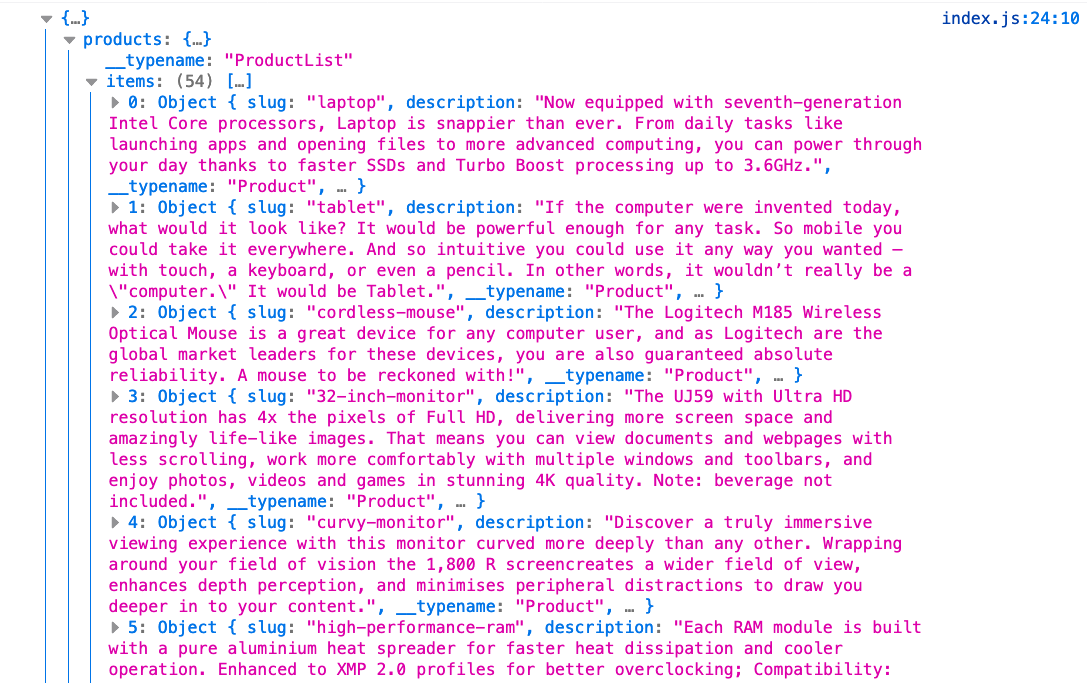
In your browser’s console, you should see something that looks like this:
In this tutorial, I will be using Material-UI. Let’s go ahead and install that:
# NPM
npm install @material-ui/core
# Yarn
yarn add @material-ui/core
At the root of the project, create a folder called components and add a file calledProductCard.js.
This will allow us to use Material UI components and our own stylesheet to center everything.
Add the following:
import styles from '../styles/ProductCard.module.css';

import { makeStyles } from '@material-ui/core/styles';
import Card from '@material-ui/core/Card';
import CardActionArea from '@material-ui/core/CardActionArea';
import CardActions from '@material-ui/core/CardActions';
import CardContent from '@material-ui/core/CardContent';
import CardMedia from '@material-ui/core/CardMedia';
import Button from '@material-ui/core/Button';
import Typography from '@material-ui/core/Typography';
This will control the CSS for the Material UI components. Here we are defining the maximum width and the height for the images in the card component:
const useStyles = makeStyles({
  root: {
    maxWidth: 345,
  },
  media: {
    height: 140,
  },
});
Here we‘re destructuring the prop called data that we passed in through the Home component in pages > index.js:
function ProductCard({ data }) {
  const classes = useStyles();
  const { items } = data.products;
  . . .
}
Here we are looping through our items array and creating our product card in which we are passing the image URL, product name, etc., to our Material UI components:
return (
    <section className={styles.container}>
      {items.map((item) => {
        const imgUrl = item.assets[0].source;

        return (
          <div key={item.slug}>
            <Card className={classes.root}>
              <CardActionArea>
                <CardMedia
                  className={classes.media}
                  image={imgUrl}
                  title={item.slug}
                />
                <CardContent>
                  <Typography gutterBottom variant='h5' component='h2'>
                    {item.name}
                  </Typography>
                  <Typography
                    variant='body2'
                    color='textSecondary'
                    component='p'
                  >
                    {item.description}
                  </Typography>
                </CardContent>
              </CardActionArea>
              <CardActions>
                <Button variant='outlined' color='primary'>
                  Add To Cart
                </Button>
                <Button variant='outlined' color='secondary'>
                  Details
                </Button>
              </CardActions>
            </Card>
          </div>
        );
      })}
    </section>
  );

export default ProductCard;
Now, let’s center our product card and make it responsive. In thestyles folder, create a file called ProductCard.module.css and add the following:
styles > ProductCard.module.css

.container {
  display: grid;
  grid-template-columns: repeat(auto-fit, minmax(300px, 1fr));
  grid-gap: 1rem;
}
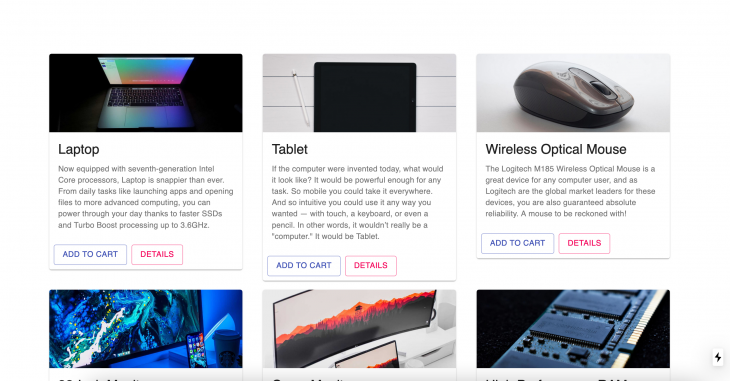
If you save it, it should now look like this:
A cool thing about GraphQL is that it allows us to not only query our data but also update our data. We can do this with something called mutations. In Apollo Client, we’re going to use the useMutation hook to update our data and get the loading state, error, and success state.
To use it, we provide the useMutation hook a GraphQL query and in turn, it returns two of the following:
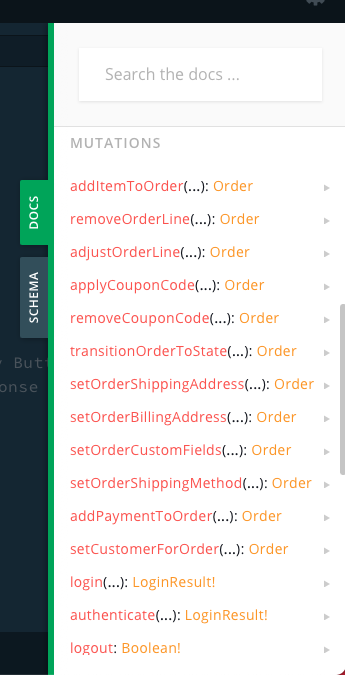
If we head back to http://localhost:3000/shop-api and click on DOCS > Mutations, you can see all the available mutations you can use:
To start, I’m going to take a look at the addItemToOrder mutation to start building out our checkout process.
In the GraphQL playground, open a new tab and paste in the following mutation:
mutation {
  addItemToOrder(productVariantId: 3 quantity: 1) {
    lines {
      productVariant {
        id
        name
      }
      unitPrice
      quantity
      totalPrice
    }
  }
}
This will add a product to being an active order. If we query for activeOrder, we should see the recently added product:
{
  activeOrder {
    // Details you want to see
  }
}
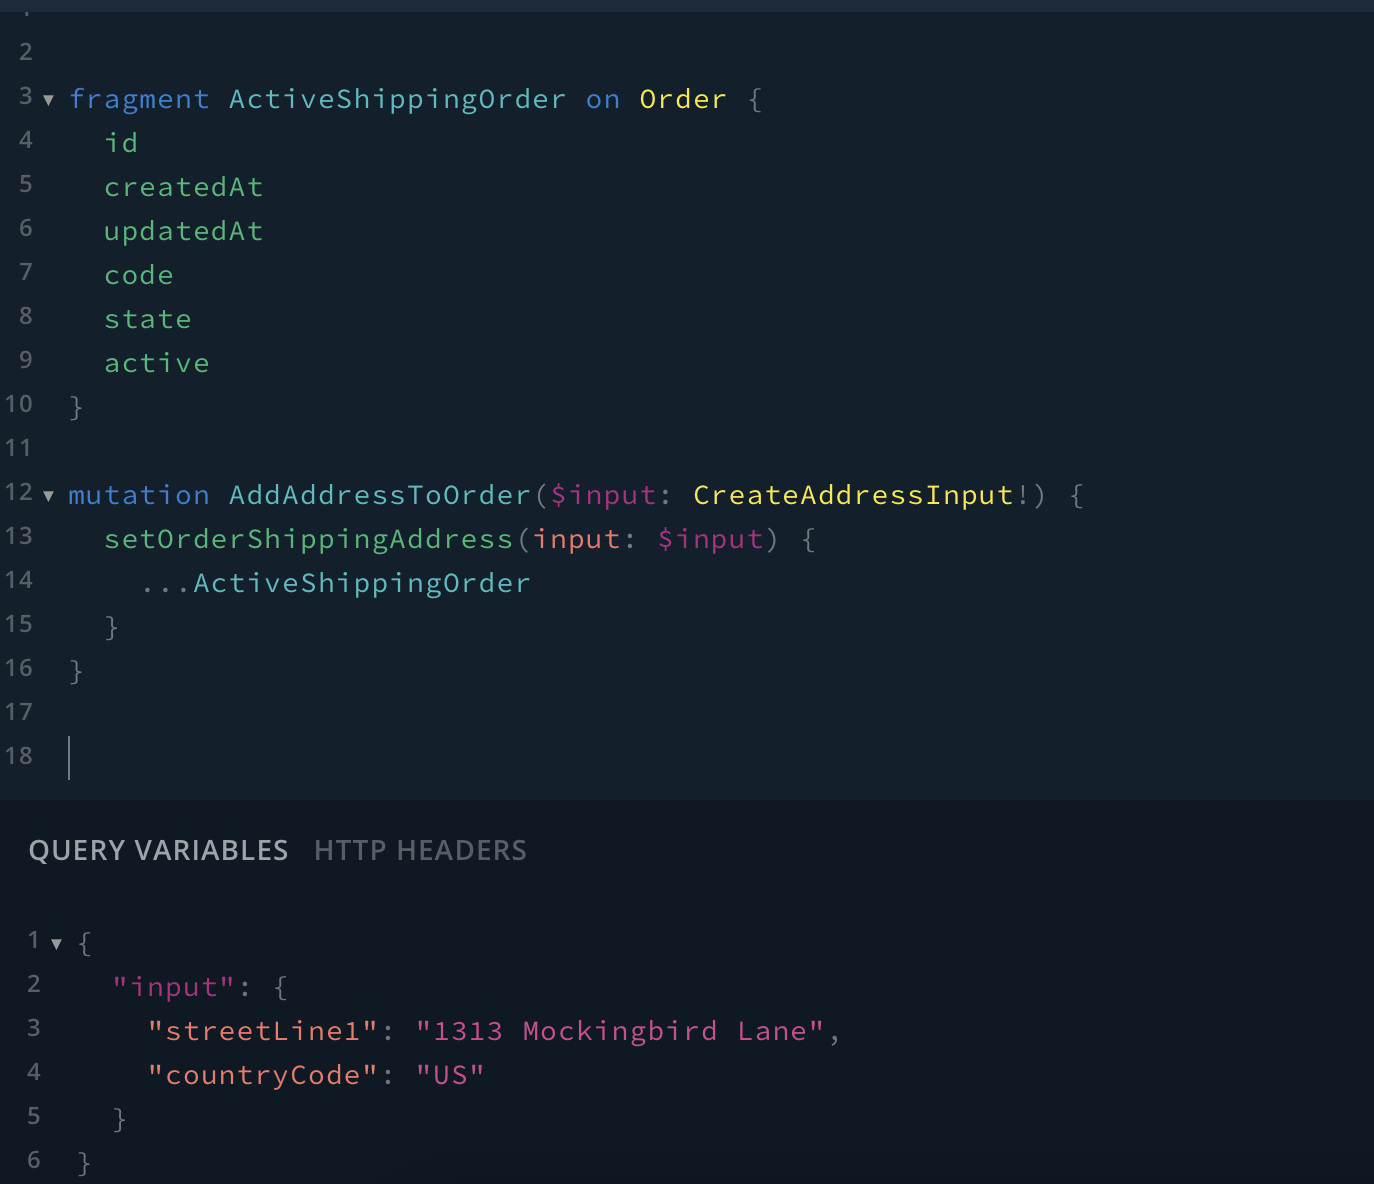
Now, let’s take a look at shipping and how we can use the setOrderShippingAddress mutation:
fragment ActiveShippingOrder on Order {
  id
  createdAt
  updatedAt
  code
  state
  active
}

mutation AddAddressToOrder($input: CreateAddressInput!) {
  setOrderShippingAddress(input: $input) {
    ...ActiveShippingOrder
  }
}
A fragment is like a function, it’s reusable logic. In ActiveShippingOrder, we’re defining what data we want back when we invoke the setOrderShippingAddress function. In the AddAddressToOrder mutation, we’re creating a query variable called input and passing that to our setOrderShippingAddress function. Then, in the query variables tab, I’m only passing in an object with the two required parameters. The input parameter only requires a street address and a country code. To check out the full list of parameters you view them at DOCS > setOrderShippingAddress > input.
To see the results, you need to add a product to the active order state. To do this, you can open up a new tab in your GraphQL playground and write the addItemToOrder mutation then head back to your setOrderShippingAddress mutation and run it and you should see the following:
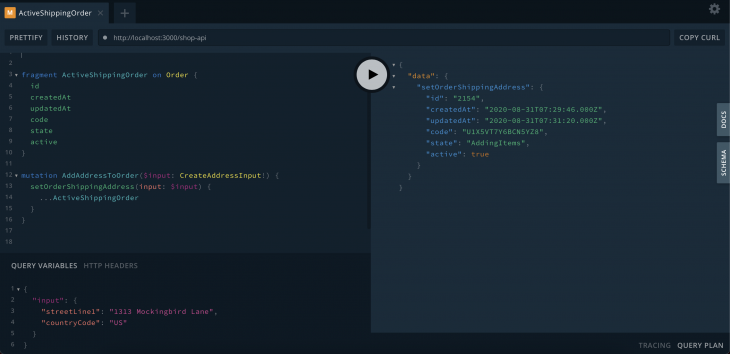
If you didn’t add a product to the active order state, then when you try to run your setOrderShippingAddress mutation, it will return null.
Lastly, we’ll take a look at payment. For this, we will use the addPaymentToOrder mutation:
mutation {
 addPaymentToOrder(method: "", metadata: {})
}
Note:
method:— this field should correspond to thecodeproperty of aPaymentMethodHandler
metadata:— this field should contain arbitrary data passed to the specifiedPaymentMethodHandler‘screatePayment()method as the “metadata” argument. For example, it could contain an ID for the payment and other data generated by the payment provider
In Next.js, we can use the useMutation hook to apply our mutations. For example, let’s try adding a product. First, we define the mutation gql:
const ORDER_FRAGMENT = gql`
  fragment ActiveOrder on Order {
    id
    code
    state
    total
    currencyCode
    lines {
      id
      productVariant {
        id
        name
        currencyCode
      }
      unitPriceWithTax
      quantity
      totalPrice
      featuredAsset {
        id
        preview
      }
    }
  }
`;
const ADD_TO_CART = gql`
  mutation AddItemToOrder($productVariantId: ID!, $quantity: Int!) {
    addItemToOrder(productVariantId: $productVariantId, quantity: $quantity) {
      ...ActiveOrder
    }
  }
  ${ORDER_FRAGMENT}
`;
Similar to the GraphQL playground, we’re using query variables to pass that into our addItemToOrder mutation and using the ActiveOrder fragment to define what data we want back.
In addition, we also need a query to get all the active orders so let’s define that:
const GET_ACTIVE_ORDER = gql`
  {
    activeOrder {
      ...ActiveOrder
    }
  }
  ${ORDER_FRAGMENT}
`;
Now, we pass both gql to our useMutation hook:
const [addItemToOrder] = useMutation(ADD_TO_CART, {
    update: (cache, mutationResult) => {
      const { activeOrder } = cache.readQuery({
        query: GET_ACTIVE_ORDER,
      });
      cache.writeQuery({
        query: GET_ACTIVE_ORDER,
        data: {
          activeOrder: mutationResult.data.addItemToOrder,
        },
      });
    },
  });
We want to be able to update our query so when we try to query the GET_ACTIVE_ORDER, it won’t return null. To do this, you can provide a second argument to the useMutation hook. The update property accepts a method with two parameters to get the cache and the results. We’re going to use a method on the cache called writeQuery that will add our results from mutationResults to our GET_ACTIVE_ORDER query.
Now, we can call the addItemToOrder function on a onClick handler. This could be used when a user clicks on our “add to cart” button. It will move our selected product to the active state and then we can query for all active orders.
To add a shipping address, it’s similar to the addItemToOrder process in which you pass the gql to the useMutation hook and then to the onSubmit handler. Then, you can pass the data from your form to your mutation function.
To add payment, similar to addItemToOrder process, you would use the addPaymentToOrder mutation and depending on how you want to handle payments, i.e if you want to use Stripe or another service, then you would configure that in the method parameter.
Essentially, a Vendure application is simply just a Node.js application and it can be deployed anywhere Node.js is supported.
The docs recommend this article if you want to run it on the server and use nginx as a reverse proxy to direct requests to your Vendure application.
In conclusion, Vendure offers another perspective on being the next modern headless GraphQL-based ecommerce framework. It’s decoupled and flexible which means it chooses to focus on developer productivity and ease of customization. Although it’s still in beta, Vendure offers a wide range of features out of the box such as guest checkout, built-in admin interface, integrations with payment and shipping providers, and much more. A perfect choice for any small business that needs to get an ecommerce site up and running.
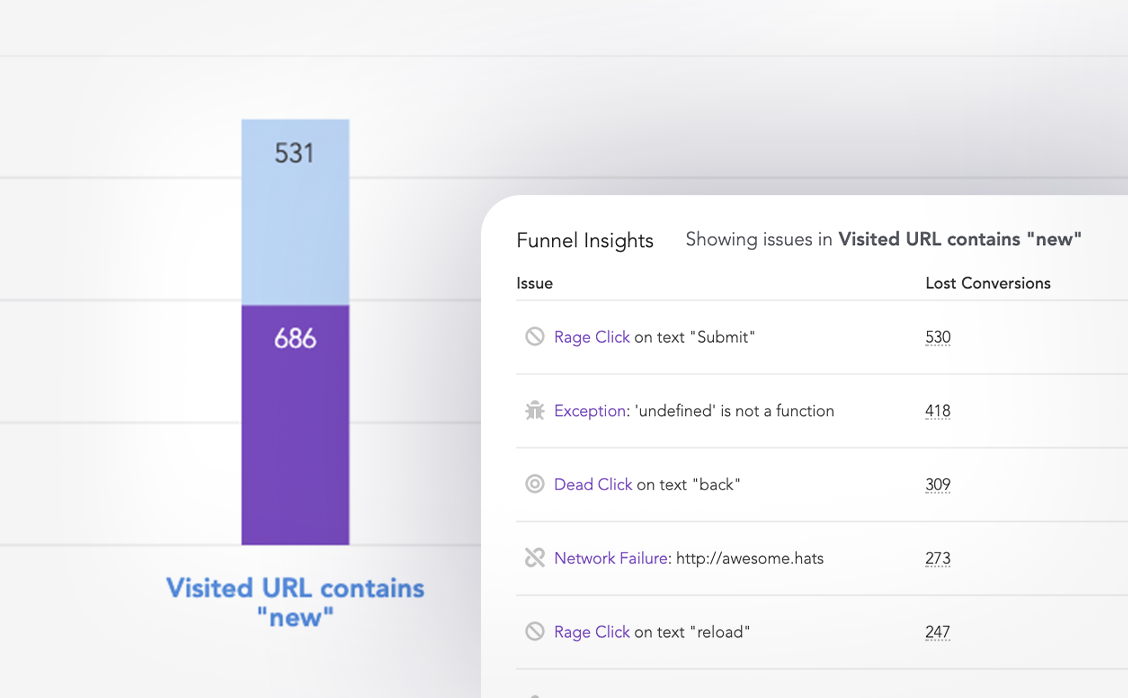
LogRocket lets you replay user sessions, eliminating guesswork around why users don't convert by showing exactly what users experienced. It captures console logs, errors, network requests, and pixel-perfect DOM recordings — compatible with all frameworks.
LogRocket's Galileo AI watches sessions for you, instantly identifying and explaining user struggles with automated monitoring of your entire product experience.
Start proactively monitoring your ecommerce apps — try LogRocket for free.
There’s no doubt that frontends are getting more complex. As you add new JavaScript libraries and other dependencies to your app, you’ll need more visibility to ensure your users don’t run into unknown issues.
LogRocket is a frontend application monitoring solution that lets you replay JavaScript errors as if they happened in your own browser so you can react to bugs more effectively.

LogRocket works perfectly with any app, regardless of framework, and has plugins to log additional context from Redux, Vuex, and @ngrx/store. Instead of guessing why problems happen, you can aggregate and report on what state your application was in when an issue occurred. LogRocket also monitors your app’s performance, reporting metrics like client CPU load, client memory usage, and more.
Build confidently — start monitoring for free.

Learn how to build advanced Next.js forms with rule engines, client-side previews, Server Actions, and server-validated form logic.

AI is reshaping engineering teams emotionally as well as technically. A CTO shares insights on fear, trust, burnout, identity, and leading through AI change.

Learn what context rot is, why AI agent sessions degrade over time, and how to fix it with compaction, prompt anchoring, context files, plan files, and RAG.

Learn about TypeScript v6’s breaking changes, new ES2025 features, and deprecated options. A complete migration guide from v5 to prepare for v7.
Hey there, want to help make our blog better?
Join LogRocket’s Content Advisory Board. You’ll help inform the type of content we create and get access to exclusive meetups, social accreditation, and swag.
Sign up now

