Businesses are adopting cloud hosting services more and more every day. Especially, because they offer cost-effective solutions with better reliability. Firebase and Netlify are two of the easiest and most powerful tools in this category.
Both of them are packed with features that help us deploy our applications with ease. So, in this guide, we will learn their use cases, pros, cons, and when you should prefer one over the other. We’ll also set up and deploy a project on both Firebase and Netlify. It will help us understand the technical details of how to use each service.
Firebase offers a robust Backend as a Service (BaaS). It helps us develop feature-rich apps in no time. It is backed by the tech giant Google so, you can safely rely on their infrastructure.
Netlify became popular due to the massive success of JamStack among the developer community. It is mostly used to host static websites that are generated using static site generators like Hugo, Jekyll, etc.
First of all, login to your Gmail account and then go to the Firebase console.
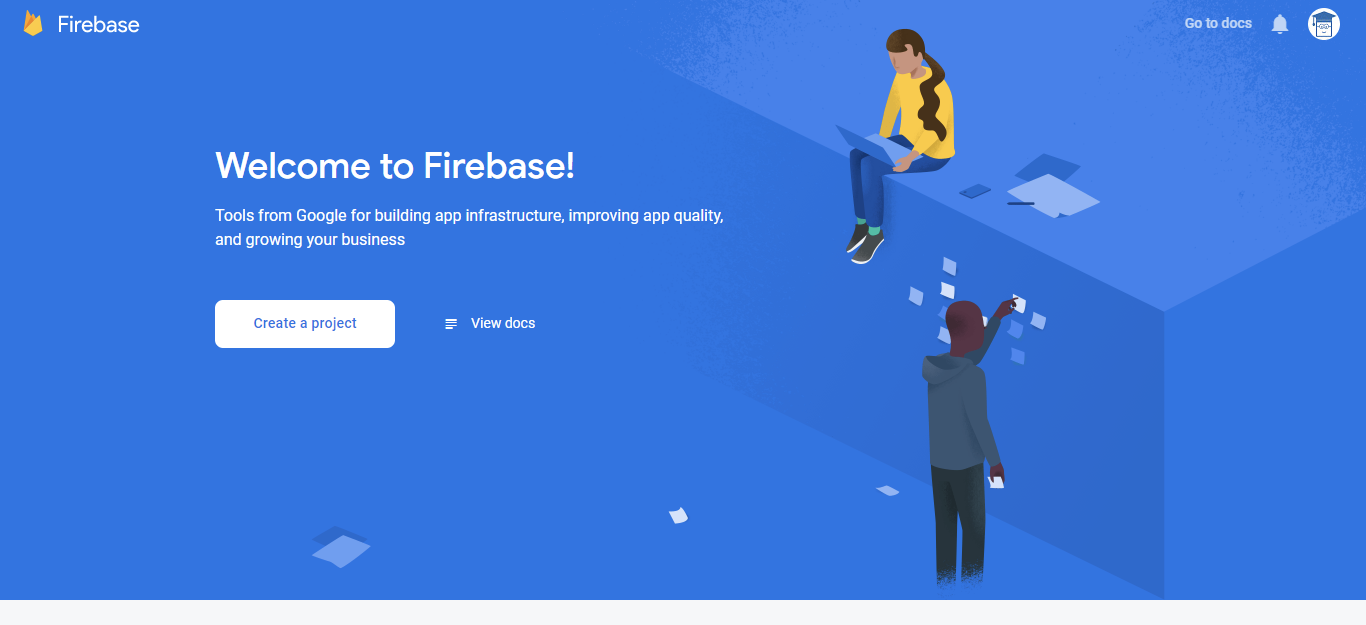
Click the “Create a project” button to proceed.
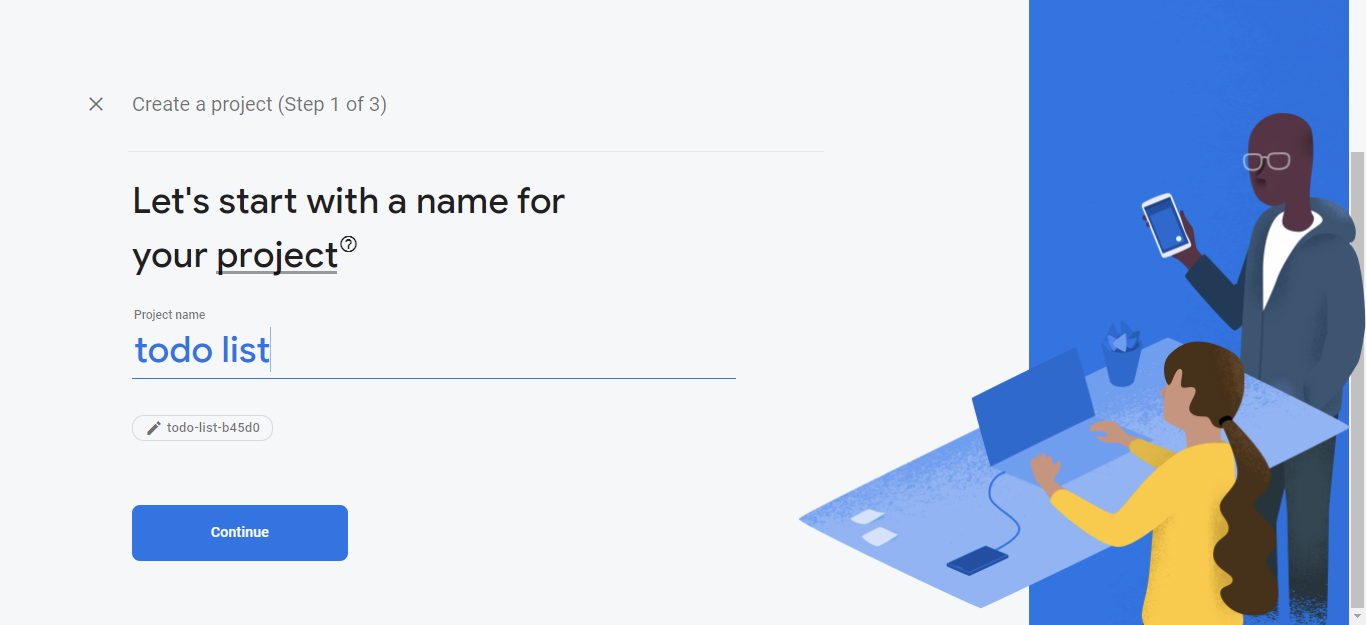
You’ll be asked to enter the project name. Type anything you like, but for the sake of this tutorial, I’ll enter the “todo list”.
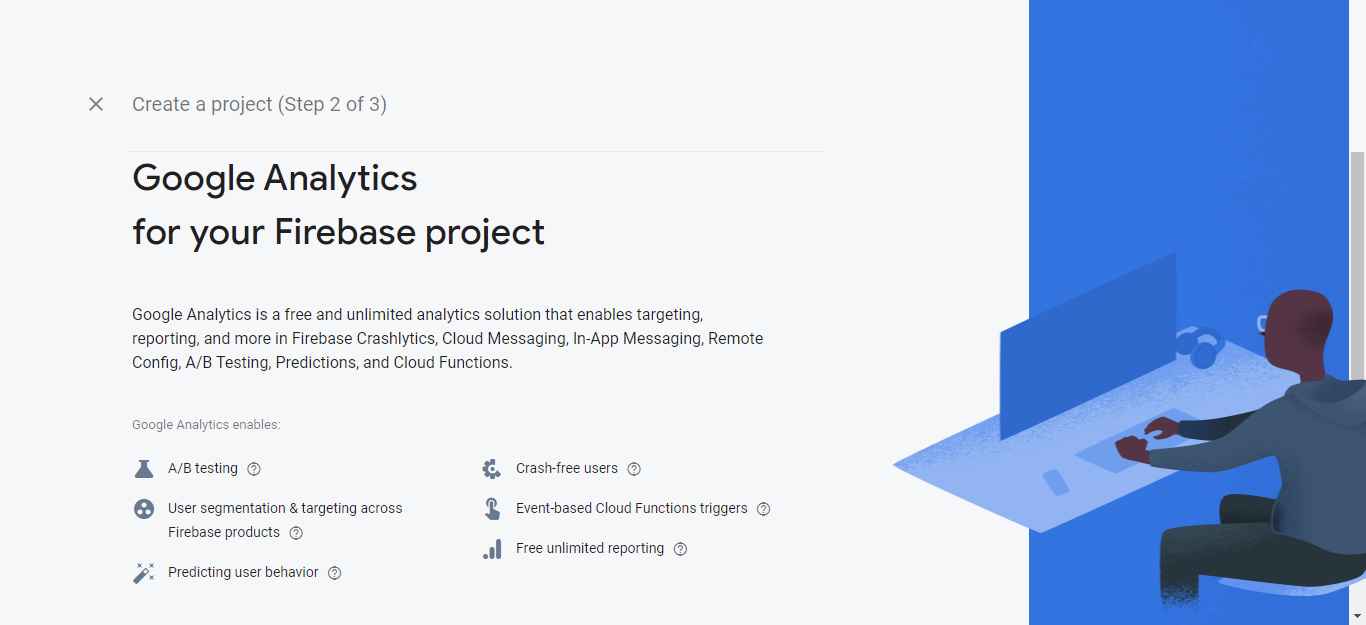
Firebase can easily integrate with Google Analytics. In the production environment, it is recommended to enable it. But, for now, we don’t really need that. So, simply turn it off as mentioned in the below screenshot.
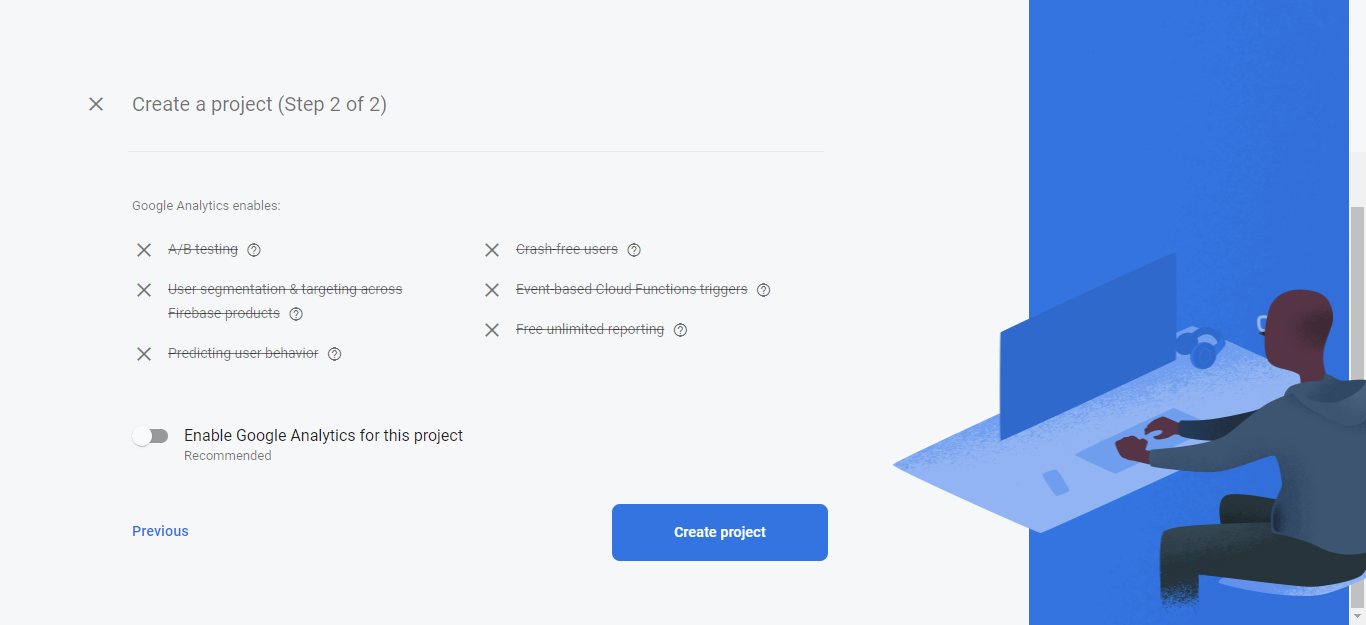
Now, simply press the “Create project” button to let Firebase set up a brand new project for you.
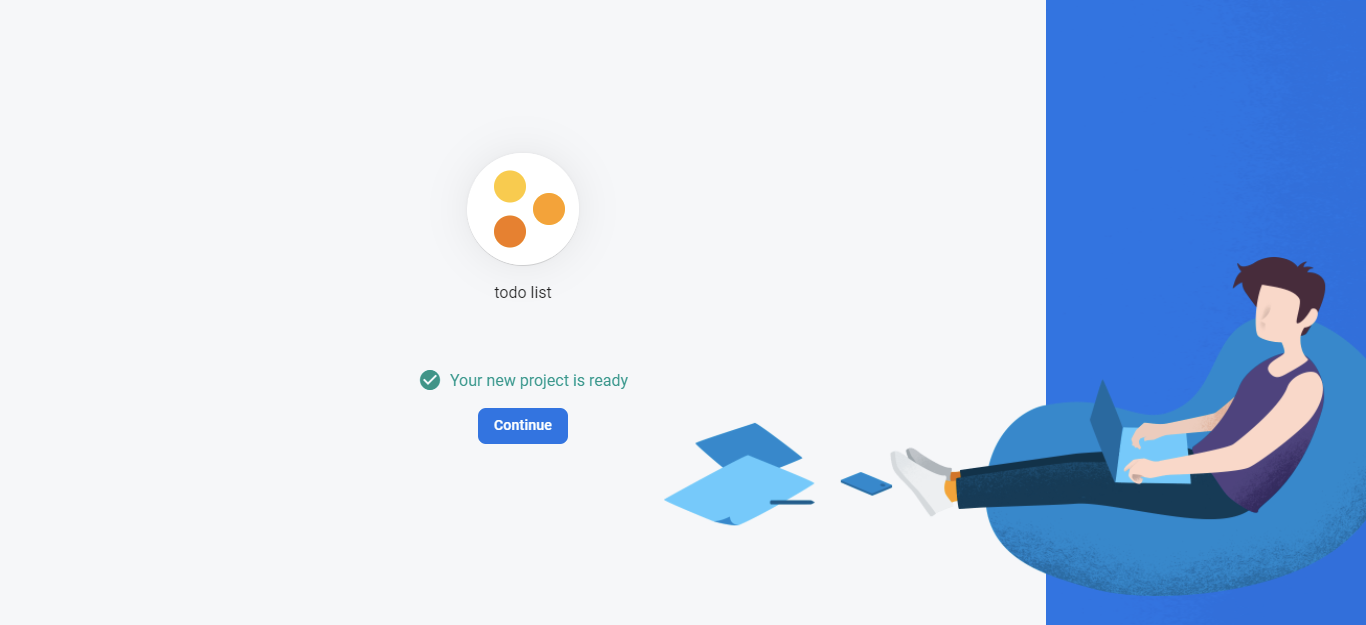
Click “Continue” to see the project’s overview.
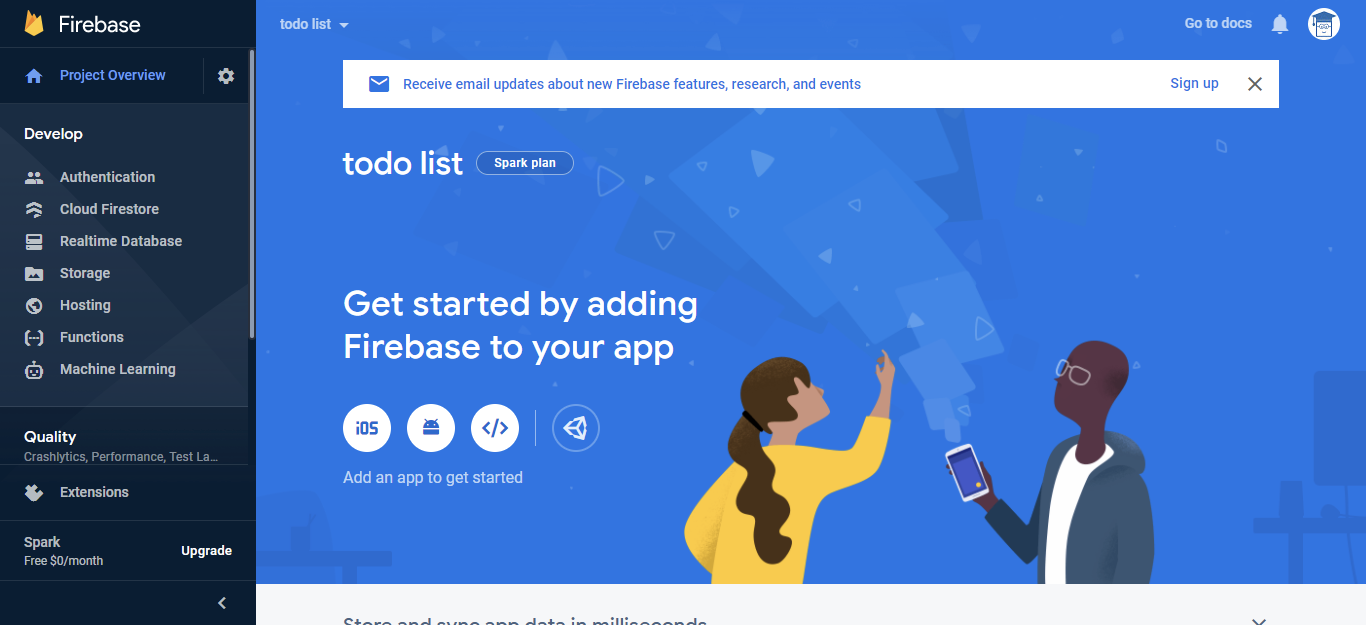
We will be creating a website, so click the code icon.

Here, you need to register an app. To do so, enter a user-friendly name and press “Register app”.
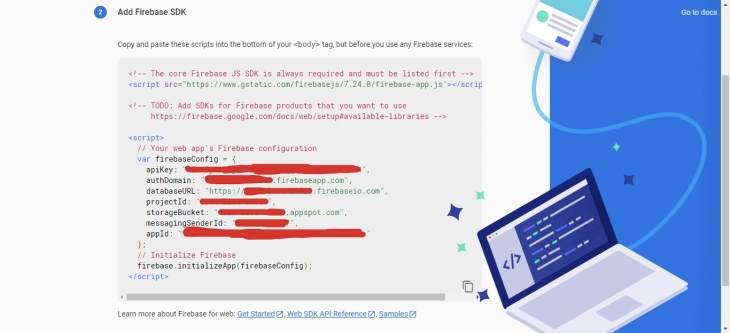
You will now see a code-snippet that is automatically generated by the Firebase. Copy it on your computer because we will need it later. I have hidden some sensitive details that are unique for each app.
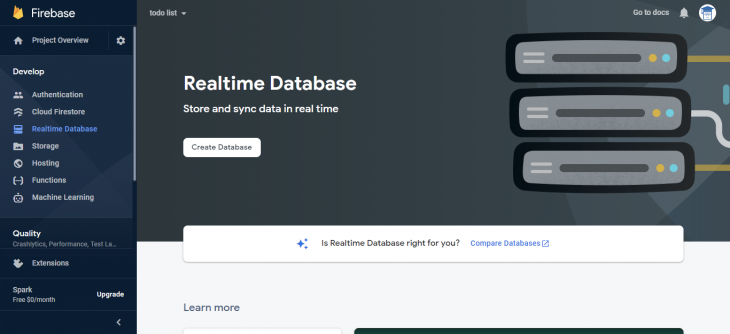
Once you register an app, open the “Realtime Database” page from the left menu and click the “Create Database” button.
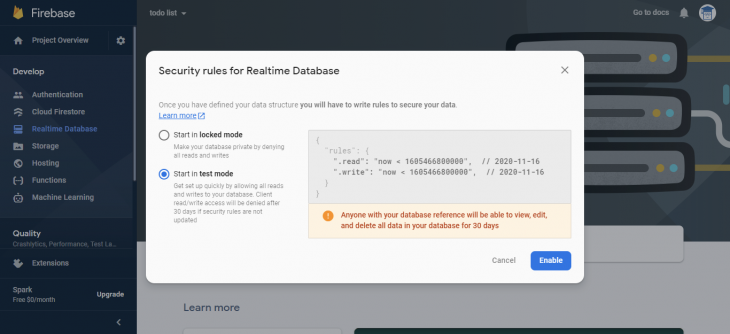
A popup will open, simply select “Start in test mode” and press “Enable”.
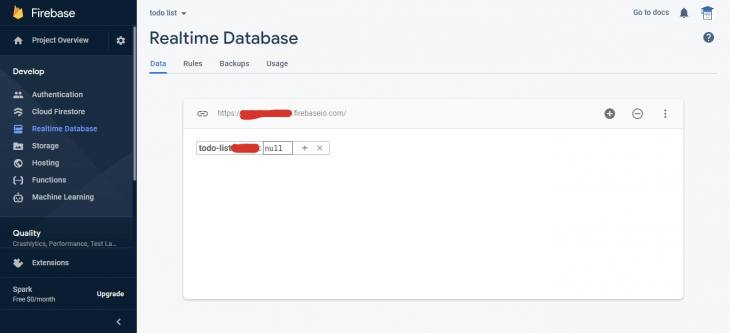
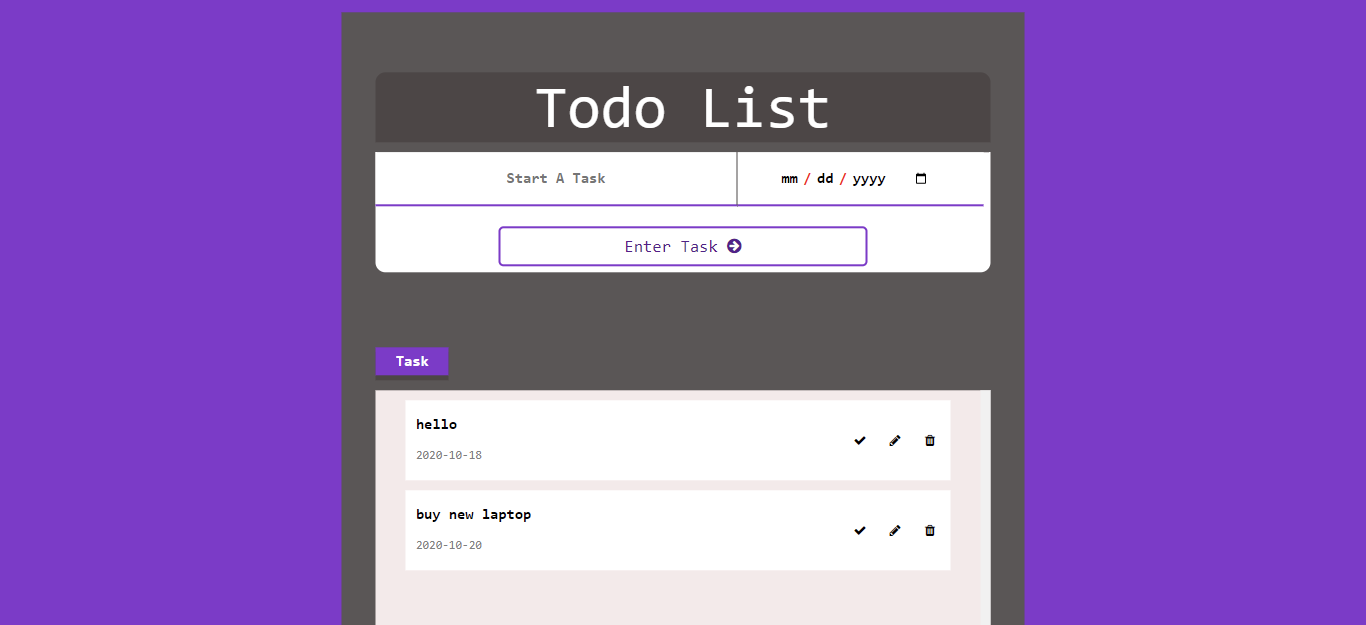
At this point, we can easily access this NoSQL database using a source code. So, let’s go ahead and write the source code for our “Todo list” app.
You can find the code here.
Simply open the index.html file inside any web browser. You can now try adding/removing todo list items.
In this section, we will create a simple HTML landing page and then deploy it on Netlify. We will be using Bootstrap, jQuery, font awesome, and Google Fonts to improve the UI and UX.
You can find the code here.
At this point, the source code for our static web page is ready to deploy. Simply create an account on Netlify and verify your email to proceed. After that, you will land on the dashboard where you can upload the project.
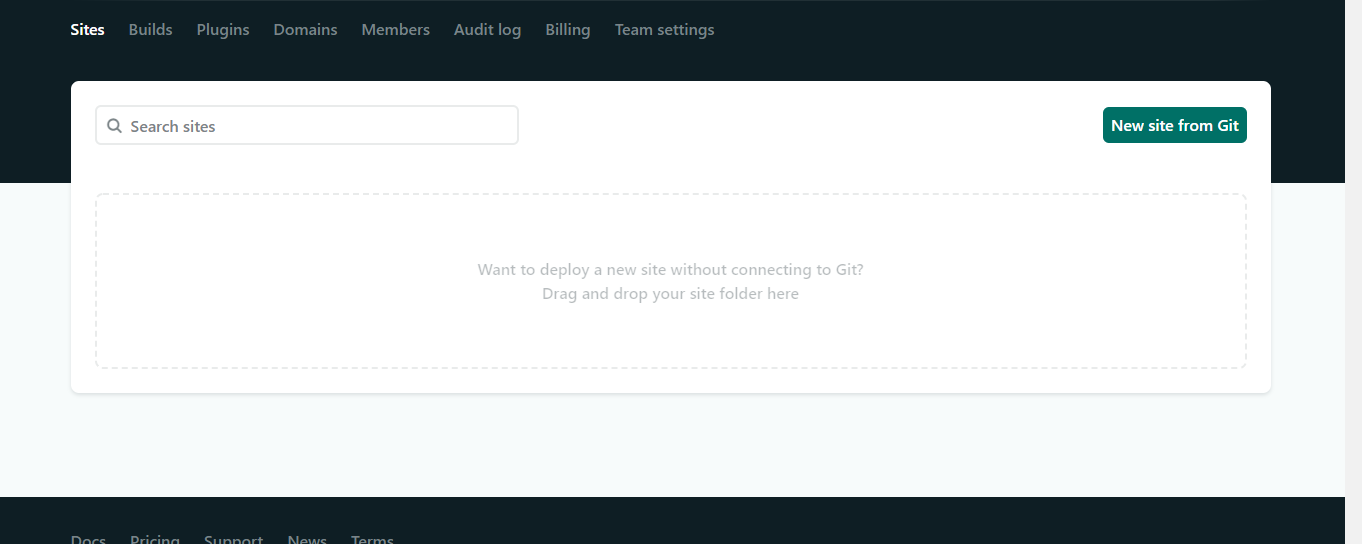
It is interesting to note that Nelify has made this process even simpler by adding the functionality of drag and drop. You just need to drag the project’s root folder and drop it inside the mentioned section. It will automatically start the upload/build process and then finally your website will be live in no time.
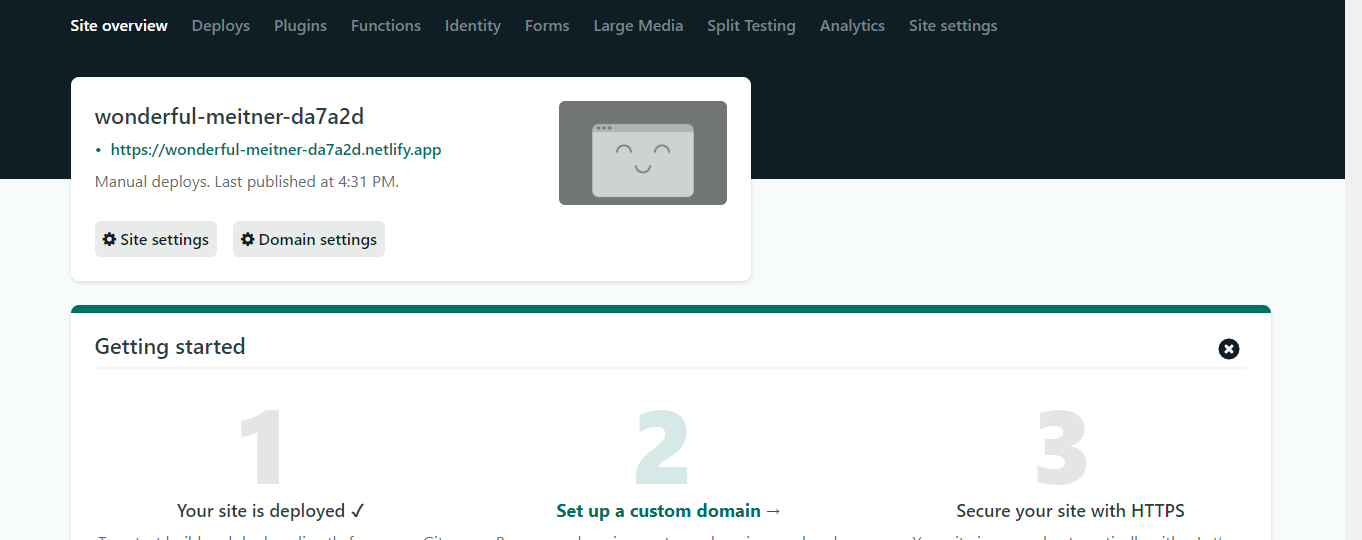
By default, Netlify will automatically assign you a subdomain.
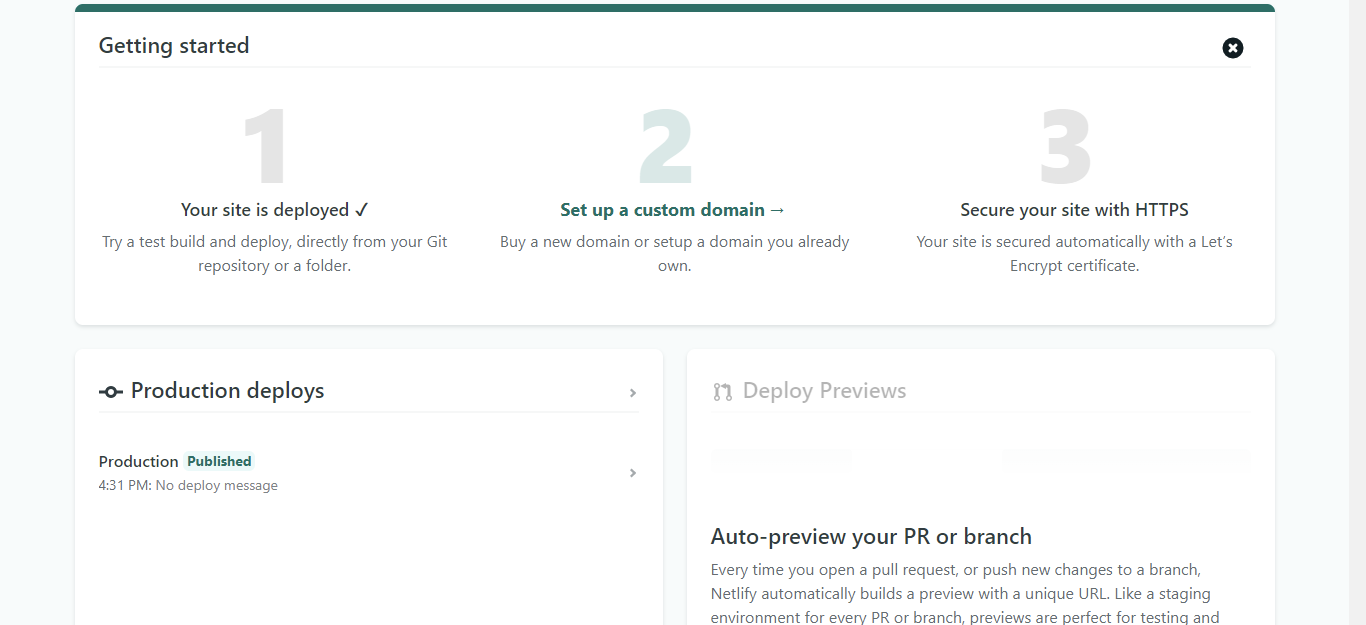
As you can see in the “Production deploys” section, our website is successfully published and can be seen online.
Simply open the subdomain we just saved. In this tutorial, I used my own name to set up the subdomain. So, we can visit this URL.
Firebase is recommended if you want to create a dynamic website or app. Whereas, Netlify is more suitable to host static websites. A lot of startups use Firebase for rapid application development. It helps them quickly test their idea without writing everything from scratch. Similarly, Netlify is a new hot and trending service that provides a seamless build workflow. We can easily connect it with source control systems like GitHub to automate the deployment of static websites with each commit.
Netlify has separate packages according to the size of businesses. For example, it offers these packages.
STARTER package is completely free for everyone. It is mostly suitable for personal/open-source projects. Some of its key features include:
PRO package is specifically designed for small business websites or blogs. It can slightly boost the performance as well as handle a bit more traffic than the STARTER package. You can select this package if you need:
Similarly, the BUSINESS and ENTERPRISE plans are recommended for well-established websites. They offer a lot more features and control. For example, you can easily add single sign-on functionality using SAML, add role-based access control (RBAC), and even use a self-hosted Git repository.
On the other hand, Firebase has a really simple pricing model compared to Netlify. It offers only two plans.
As usual, the Spark Plan is there to help you try the features of Firebase for free. It helps you get familiar with this Backend as a Service (BaaS) platform. Later on, you may upgrade to Blaze Plan to access advanced features.
Based on the above learnings, let’s compare Firebase with Nelify to determine which one is more suitable for your specific needs.
Use Firebase for:
Use Netlify for:
That’s it for now, I hope you are now familiar with both Firebase and Netlify. If you have followed along with me until the end then you probably know when to use them and how to set up a website with each of these services. Now, it’s your turn to try both platforms and explore their rich set of features.
Install LogRocket via npm or script tag. LogRocket.init() must be called client-side, not
server-side
$ npm i --save logrocket

// Code:

import LogRocket from 'logrocket';
LogRocket.init('app/id');
// Add to your HTML:

<script src="https://cdn.lr-ingest.com/LogRocket.min.js"></script>
<script>window.LogRocket && window.LogRocket.init('app/id');</script>

Learn how to protect full-stack projects from NPM supply chain attacks with a practical security checklist.

Explore 15 essential MCP servers for web developers to enhance AI workflows with tools, data, and automation.

Learn how contrast-color() automatically picks accessible text colors using native CSS, without JavaScript.

Learn how to build a harness-style AI workflow using Claude Code with specialized Dev, QE, and Ops subagents, gated handoffs, MCP telemetry, and LEARNING.md.
Hey there, want to help make our blog better?
Join LogRocket’s Content Advisory Board. You’ll help inform the type of content we create and get access to exclusive meetups, social accreditation, and swag.
Sign up now

