Cloudflare is primarily known as a third layer that secures HTTP requests, CDN firewalls, and other user-facing web infrastructures specifically related to web securities. However, Cloudflare is a multi-vested company that has been investing heavily in developer platform solutions like pages, workers, video streaming, and more.

As companies across the globe rapidly adopt headless and serverless deployment for both frontend and backend projects, there is a wide array of options available for your Jamstack application. Choosing the right tools can be overwhelming, but a few parameters to consider may include cost, accessibility, and the developer ecosystem.
If you’re a frontend or a full-stack developer looking to deploy your Jamstack application with limited workflow setup and configuration, Cloudflare is a great choice that will have your application up and running within minutes. Cloudflare Pages is one of the company’s most popular developer platforms, allowing developers to deploy frontend applications directly from GitHub. At the time of writing, Cloudflare Pages has support for almost all frontend frameworks.
In November 2021, full-stack Cloudflare Pages was launched, offering tools to build and deploy full-stack applications with Cloudflare. Developers can now deploy full-stack applications with Cloudflare Pages via a single git commit, using Cloudflare workers to deploy serverless functions.
In this tutorial, you’ll learn how to create and deploy a React app with full-stack Cloudflare Pages. To follow along with this tutorial, you’ll need:
Let’s get started!
Cloudflare Pages empowers developers to deploy frontend applications directly from their GitHub or GitLab repositories. Cloudflare Pages was previously designed to support the deployment of static sites.
However, Cloudflare announced official support for full-stack Cloudflare Pages with the introduction of Cloudflare Workers, which implies that developers can now build and deploy both static and server-side rendered applications via a single git commit.
Full-stack Cloudflare Pages works exactly the same way as Cloudflare Pages, with no changes in the deployment workflow involving git commit and git push. The difference is that Cloudflare Pages now has support for server-side rendering using Cloudflare Workers out of the box.
Full-stack Cloudflare Pages leverages your repository filesystem, exposing function handlers you’ve added to the ./functions folder and turning them into serverless functions using Cloudflare Workers. To start writing a Cloudflare serverless function, you need to first add a ./functions folder to the root directory of your project. Any file in the folder will be treated as a serverless function.
For example, consider the code below:
// GET requests to /filename would return "Hello, world!"
export const onRequestGet = () => {
  return new Response("Hello, world!")
}

// POST requests to /filename with a JSON-encoded body would return "Hello, <name>!"
export const onRequestPost = async ({ request }) => {
  const { name } = await request.json()
  return new Response(`Hello, ${name}!`)
}
Adding the code snippet above to the greetings.js file will send a GET request to project-url/greetings.js.
In this tutorial, we’ll generate a React application using Create React App, deploy the application to GitHub, and finally deploy it to Cloudflare Pages. Run the code below to initialize a new project using npx:
npx create-react-app cloudflare-project
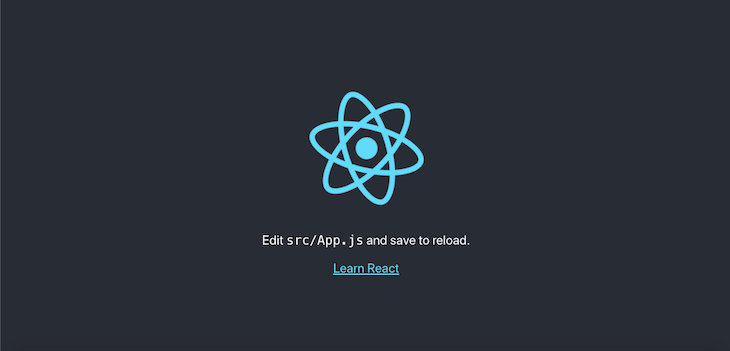
Once initialization is complete, we’ll test our application by navigating into the Cloudflare-project folder and running the code below:
npm start
Your app should look similar to the screenshot below:
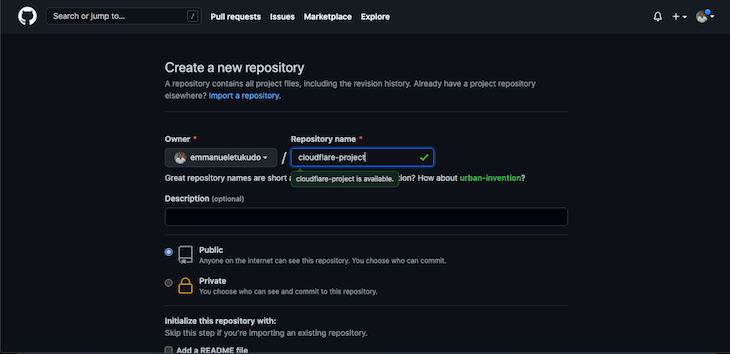
Next, we’ll create a new GitHub repository to host the Cloudflare-project files and source code. Visit new repo, and you’ll see a screen like the one below:
To prepare and push your local source files to GitHub, run the following commands:
git remote add origin https://github.com/yourusername/cloudflare-project.git
git branch -M main
git push -u origin main
Now that we’ve pushed our project to GitHub, let’s deploy our application to Cloudflare Pages from GitHub.
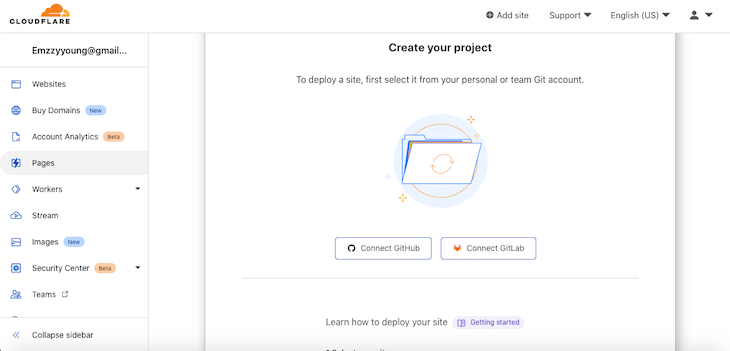
To begin, log into your Cloudflare dashboard, navigate to Account Home, then click Pages. If you haven’t connected your GitHub account to Cloudflare, you should have a screen similar to the screenshot below:
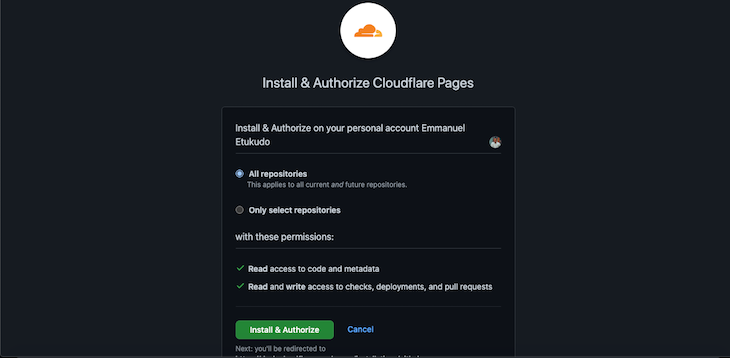
To proceed, click on Connect GitHub to link GitHub to your Cloudflare account. Click Install & Authorize to proceed, then enter your GitHub password to authorize the action. See the screenshot below for reference:
Once your GitHub is successfully linked to Cloudflare, you’ll have a list of all the repositories from your GitHub listed on your Cloudflare dashboard like in the following screenshot:
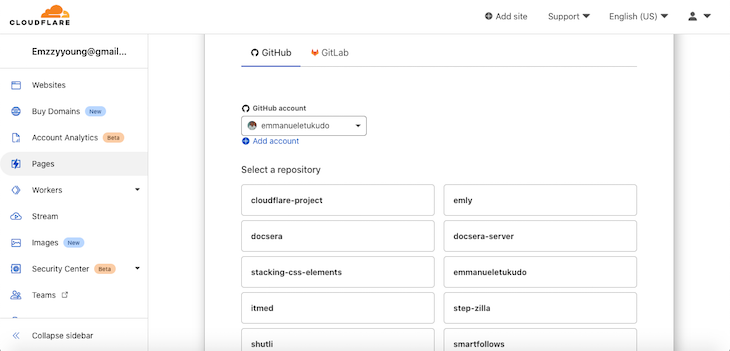
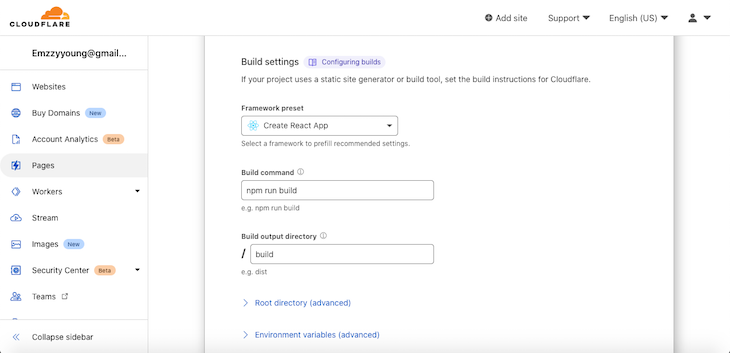
Notice the first repo on the list is the one we created in the previous section. Select the cloudflare-project repo, then scroll down and click on Begin setup. Scroll down to Build settings and add the following configuration:
create-react-app, which will automatically set the build command and build outputnpm run build/buildSee the screenshot below:
To complete the build process, click on Save and Deploy. After the build process is completed, you should have a success message similar to the screenshot below:
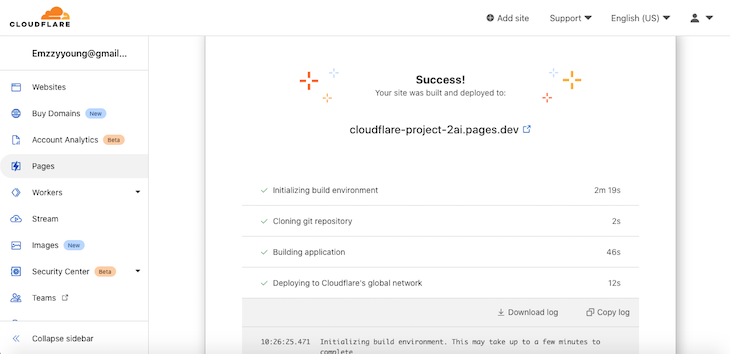
To preview your project, you can click on the unique link. Yours will differ from https://cloudflare-project-2ai.pages.dev/, however, you’ll get the same result. Now, we’ve successfully deployed our React application with Cloudflare Pages!
As mentioned in the previous section, we first need to create a ./functions folder in the root directory of our cloudflare-project project. Next, create a new folder named api, navigate into the folder, add a file called greetings.js, and add the code below:
// GET requests to /filename would return "Hello, world!"
export const onRequestGet = () => {
  return new Response("Hello, world!")
}

// POST requests to /filename with a JSON-encoded body would return "Hello, <name>!"
export const onRequestPost = async ({ request }) => {
  const { name } = await request.json()
  return new Response(`Hello, ${name}!`)
}
Next, commit and push your changes to GitHub as follows:
git add .
git commit -m "Added serverless functions"
git push
Navigate to https://cloudflare-project-2ai.pages.dev/api/greatings to test run the project. You should receive a response similar to the screenshot below:

Like other deployment platforms, Cloudflare also has support for adding custom domains to your sites. Before you continue, you’ll need to purchase a domain name from your preferred accredited registrar, like Google Domains, Namecheap, or Cloudflare Registrar.
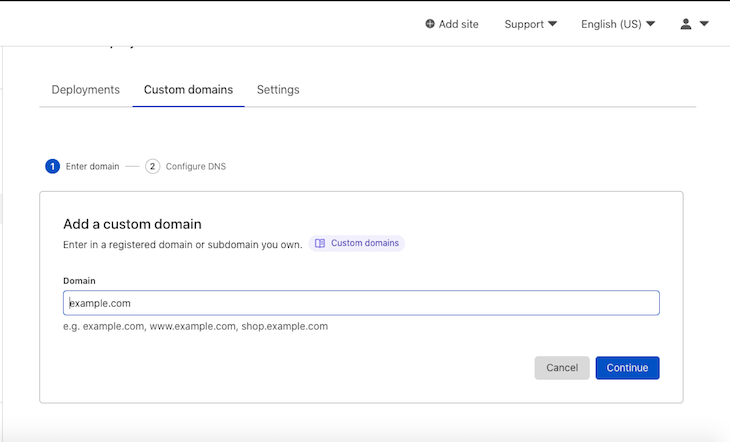
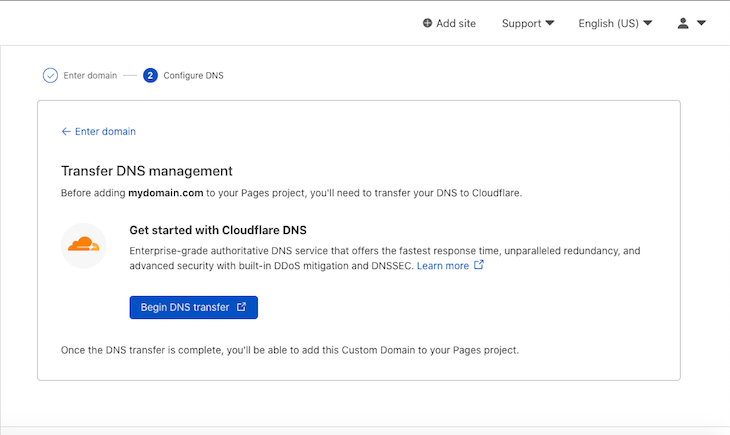
Next, log into your Cloudflare dashboard, click Pages, then select the cloudflare-project you deployed in the previous section. Select custom domain and click on set up a custom domain. Type in your domain name and click continue:
Next, obtain your DNS records from your domain registrar and update the records on Cloudflare, as seen in the screenshot below:
Cloudflare also offers free Secure Socket Layer (SSL) services to all its users. The SSL feature is optional, however, it is important that you always protect your web application’s content and visitors against malicious attacks. Visit get started and select your choice certificate type, then follow the instructions.
If you want to delete your published project hosted on the Cloudflare pages.dev subdomain, navigate to the setting section of your project as follows:
For projects with custom domains, make sure to delete the CNAME record associated with your project.
Cloudflare full-stack Pages are a great choice for developers looking to deploy full-stack applications via a single git commit. I think full-stack Cloudflare Pages will be a revolution in full-stack application deployment.
In this article, we covered how full-stack Cloudflare Pages works, how to deploy our application to Cloudflare Pages from GitHub, creating serverless functions, and finally, deleting a project. I hope you enjoyed this tutorial!
Install LogRocket via npm or script tag. LogRocket.init() must be called client-side, not
server-side
$ npm i --save logrocket

// Code:

import LogRocket from 'logrocket';
LogRocket.init('app/id');
// Add to your HTML:

<script src="https://cdn.lr-ingest.com/LogRocket.min.js"></script>
<script>window.LogRocket && window.LogRocket.init('app/id');</script>

Learn how to set up Meilisearch, index documents, and build keyword, semantic, and hybrid search with AI-powered retrieval.

Compare pnpm and npm across security defaults, disk usage, dependency strictness, and workspace policy to decide which package manager fits your project.

I migrated 20 production-style components from Tailwind to StyleX. Here’s what the data showed about LOC, CSS bundle size, build time, and type safety.

A guide for using JWT authentication to prevent basic security issues while understanding the shortcomings of JWTs.
Would you be interested in joining LogRocket's developer community?
Join LogRocket’s Content Advisory Board. You’ll help inform the type of content we create and get access to exclusive meetups, social accreditation, and swag.
Sign up now

