Next.js is a React framework for creating prerendered React websites. This is all done via server-side rendering or static site generation.

In server-side rendering, or SSR, Next.js renders React components into HTML pages on the server after a page request comes from the browser. While in static site generation, or SSG, Next.js renders React components into HTML pages at build time. We simply deploy the web pages and JavaScript bundles to the server.
Whether you are using SSR or SSG in Next.js, your React components are already rendered into HTML pages by the time they reach the browser. Consequently, all routing is handled in the browser and the app behaves like a single-page application (SPA). In contrast to this, React renders components in the browser through client-side rendering.
With Next.js, we get both SSG and SSR benefits, such as improved performance and better SEO.
In this article, we’ll learn about another great feature of Next.js — Serverless Functions. We’ll learn how to run Serverless Functions on Vercel, a platform designed specifically for Next applications. We will begin by discussing Next.js page routes and dynamic routes and later build on our knowledge to learn about Next.js API and dynamic API routes.
The term “serverless functions” is just a naming convention. AWS calls them Lambda functions, but Vercel calls them their Serverless Functions — they’re the same thing.
Serverless Functions are not directly a part of the Next.js API. However, Next.js provides developers with API routes that can be deployed as Vercel Serverless Functions. And this is the crux of this article.
To benefit the most from this article, the following prerequisites are required:
We will start by bootstrapping a Next.js application and use create-next-app to automatically set everything up. To create a Next.js project, run the following command:
yarn create next-app
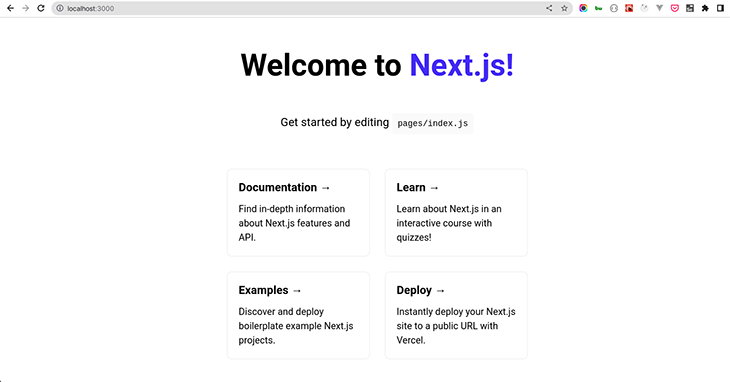
After the installation is complete, start your app by running yarn dev. When you visit localhost:3000, you will get:
Before talking about API Routes, let’s learn about page routes.
In Next.js, each page is driven by a component. For example, an “About” page will have an About component and a “Contact” page will have a Contact component. Each page component has a file inside the pages folder, thus, the file name and location of each page component are tied to the particular page’s route.
To elaborate on this, navigate your browser to localhost:3000/about and you will get:
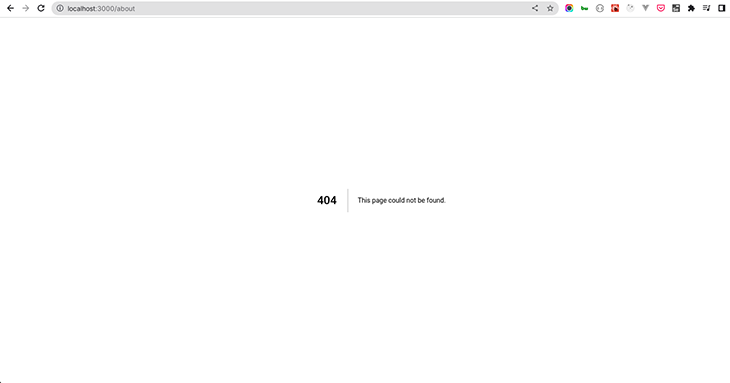
The 404 page shown above simply means that Next.js cannot find a component in the page folder called about. This is because we have not created an about component in the pages folder.
To resolve this, create an about.js file inside the pages directory and add the following code:
const About = () => {
    return (
        <div>
            <h1>Hello World!</h1>
        </div>
    )
};
export default About;
Now, revisit localhost:3000/about and you get:
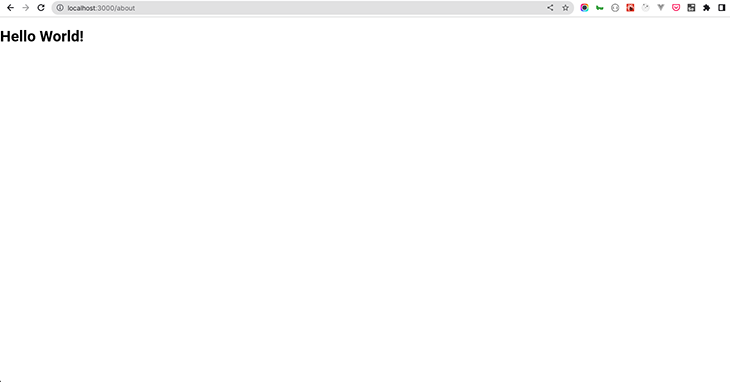
When we created the About component in the pages folder, Next.js automatically created a route to serve the About component. Thus, the route name is tied to the file name.
Next.js pages support dynamic routes. This is useful because complex applications require more than just defining routes by using predefined paths.
In Next.js, you can add brackets to a page component name, [param].js, to create a dynamic route for example. The page can be accessed via its dynamic route: pages/users/[param].js. Here, [param] is the page’s id, slug, pretty URLs, etc. Any route like /users/1 or /users/abcdef can be matched.
Next.js will send the matched path parameter as a query parameter to the page. And if there are other query parameters, Next.js will link the matched path parameter with them.
To elaborate on this, the matched route /users/abcdef of a dynamic route pages/users/[param].js, will have the query object:
{ "param": "abcdef" }
Similarly, the matched route /users/abcdef?foo=bar of a dynamic route, pages/users/[param].js, will have the following query object:
{ "foo": "bar", "pid": "abc" }
In your application, create a user folder, and inside it create a component named [username.js. Add the following code to the component:
import { useRouter } from "next/router";
const User = () => {
    const router = useRouter();
    const username = router.query["username"];
    return (
        <div>
            <h1>Hello! Welcome {username} </h1>
        </div>
    );
};
export default User;
Now, when you visit http://localhost:3000/users/lawrenceagles, you get:
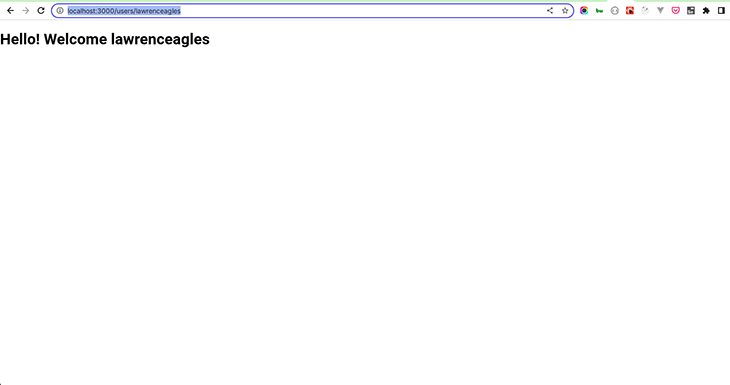
From our demonstration above, you see that Next automatically matched /users/lawrenceagles with the dynamic route pages/users/[username].js. Thus, whatever username is passed in the route will be displayed on the page. You can try out different usernames.
In addition to creating and serving pages with the page routes, Next.js can create APIs with the API routes. Building upon our knowledge so far, let’s learn about Next.js API routes in the next section.
API routes were introduced in Next.js v9. They enable us to build backend application endpoints, leveraging hot reloading and a unified build pipeline in the process.
What this means is that Next ≥v9 encapsulates both the frontend and backend. We can rapidly develop full-stack React and Node.js applications that scale effortlessly.
While the page routes serve Next.js pages as web pages, Next.js API routes are treated as an endpoint. The API routes live inside the /pages/api folder and Next.js maps any file inside that folder to /api/* as an endpoint.
This feature is very interesting because it enables Next.js to render data on the frontend that is stored in the Next.js app or render data that is fetched using Next.js API routes.
By bootstrapping your application with create-next-app, Next.js automatically creates an example API route, the /pages/api/hello.js file, for you. Inside /pages/api/hello.js, Next.js creates and exports a function named handler that returns a JSON object.
You can access this endpoint via the browser by navigating to http://localhost:3000/api/hello and the following JSON is returned:
{
  "name": "John Doe"
}
As seen above, to create a Next.js API route, you need to export a request handler function as default. The request handler function receives two parameters:
req: an object that is an instance of http.IncomingMessage, and some prebuilt middlewaresres: an object that is an instance of http.ServerResponse, plus some helper functionsTo build an API with the API route, create a folder called data in the root directory. Create a post.json file inside the data folder with the following code:
[
    {
        "Title": "I am title 1",
        "Body": "Hello from post 1"
    },
    {
        "Title": "I am title 2",
        "Body": "Hello from post 2"
    },
    {
        "Title": "I am title 3",
        "Body": "Hello from post 3"
    },
    {
        "Title": "I am title 4",
        "Body": "Hello from post 4"
    },
    {
        "Title": "I am title 5",
        "Body": "Hello from post 5"
    }
]
Now, in the pages/api/ folder, create a new file called posts.js with the following code:
// Next.js API route support: https://nextjs.org/docs/api-routes/introduction
import posts from "../../data/posts.json"
export default function handler(req, res) {
    res.status(200).json(posts)
}
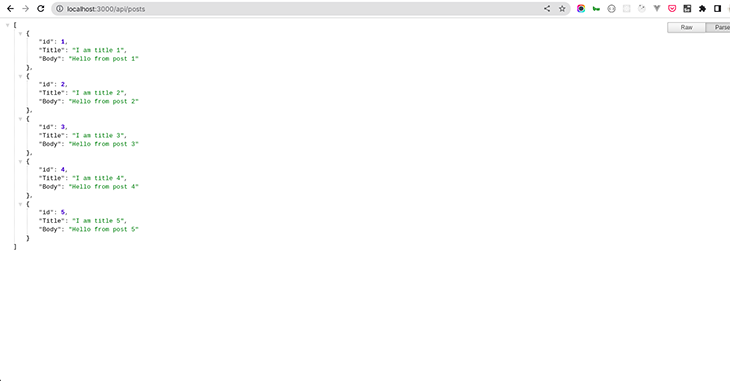
In the API route above, the handler function imports the JSON data, posts, and returns it as a response to a GET request. When you query for this data by visiting http://localhost:3000/api/posts from the browser, you get:
You can use the request.method object as seen below to handle other HTTP requests:
export default (req, res) => {
  switch (req.method) {
    case 'GET':
      //...
      break
    case 'POST':
      //...
      break
    case 'PUT':
      //...
      break
    case 'DELETE':
      //...
      break
    default:
      res.status(405).end() // Method not allowed
      break
  }
}
Like page routes, Next API routes support dynamic routes. And dynamic API routes follow the same file naming rules used for page routes.
To elaborate on this, create a posts folder inside the pages/api/ folder. Create a file named [postid.js] inside the posts folder and the following code to it:
// Next.js API route support: https://nextjs.org/docs/api-routes/introduction
import posts from "../../../data/posts.json"
export default function handler(req, res) {
    const { postid } = req.query;
    const post = posts.find((post => post.id === parseInt(postid)));
    res.status(200).json(post)
}
In the code above, Next automatically matched the /posts/1 path with the dynamic route pages/posts/[postid].js. Whichever post id is passed to the route /posts/[postid]: /post/2, /post/3, /post/4, etc. will be available in the req.query object.
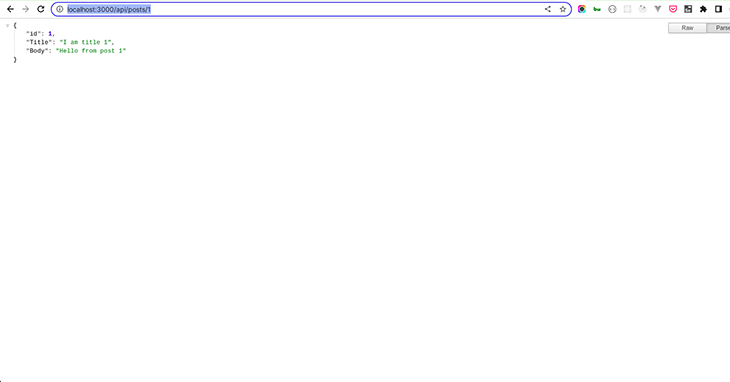
The request handler function above retrieves the passed post id from the req.query object, finds the post in the posts array, and sends it to the client.
So to get the post with an id of 1, navigate your browser to http://localhost:3000/api/posts/1. You will get:
Next.js API routes are deployed as Serverless Functions in Vercel. This means they can be deployed to many regions across the world to improve latency and availability.
Also, as Serverless Functions, they are cost-effective and enable you to run your code on demand. This removes the need to manage infrastructure, provision servers, or upgrade hardware.
Another benefit of API routes is that they scale very well. Finally, they do not specify CORS by default because they are same-origin, however, you can customize this behavior by using the CORS request helper.
In this article, we learned about an interesting and powerful Next.js feature — API routes. We began by learning about the Next.js page route and delved into API routes. We also learned how to build an API using Next API routes, deployed as Vercel’s Serverless Functions.
I do hope that at the end of this article, you can build APIs using Next.js APIs Route!
Debugging Next applications can be difficult, especially when users experience issues that are difficult to reproduce. If you’re interested in monitoring and tracking state, automatically surfacing JavaScript errors, and tracking slow network requests and component load time, try LogRocket.
LogRocket captures console logs, errors, network requests, and pixel-perfect DOM recordings from user sessions and lets you replay them as users saw it, eliminating guesswork around why bugs happen — compatible with all frameworks.
LogRocket's Galileo AI watches sessions for you, instantly identifying and explaining user struggles with automated monitoring of your entire product experience.
The LogRocket Redux middleware package adds an extra layer of visibility into your user sessions. LogRocket logs all actions and state from your Redux stores.


Modernize how you debug your Next.js apps — start monitoring for free.
Hey there, want to help make our blog better?
Join LogRocket’s Content Advisory Board. You’ll help inform the type of content we create and get access to exclusive meetups, social accreditation, and swag.
Sign up now
Discover how to use Gemini CLI, Google’s new open-source AI agent that brings Gemini directly to your terminal.

This article explores several proven patterns for writing safer, cleaner, and more readable code in React and TypeScript.

A breakdown of the wrapper and container CSS classes, how they’re used in real-world code, and when it makes sense to use one over the other.

This guide walks you through creating a web UI for an AI agent that browses, clicks, and extracts info from websites powered by Stagehand and Gemini.
5 Replies to "Build an API with Serverless Functions in Next.js"
Talk about a misleading headline! This is not how to run nextjs on AWS Lambda, but how to run it on Vercel, aka the hosting platform designed for nextjs. Should probably make that clearer in the first paragraph or two.
We clarify the terminology in the first subsection, but this is still a fair point. We’ve made some edits for clarity. Thanks for reading
Maybe this is more what you’re looking for.
https://blog.logrocket.com/deploying-nextjs-aws-serverless-next-js/
I would still use some rubust backend framework for providing APIs as they offer more features out of the box. They might become more pricey if I use php or python but I usually use some node framework integrated with nextjs so they could be deployed on the same server.
For anyone having trouble with the Dynamic API routes section, here is a small snippet I wrote to make it work in place.
(() => {
posts.map((post, index) => post.id = index + 1);
})()