Particle effects are cool, they add a pleasant visual experience to your application. With the react-particles component, you can achieve a slew of effects easily, without having to set up the canvas yourself as well as handle the interaction between particles, animations, and appearance. It just works!

Developers can use the react-particles component to create stunning particle effects in React apps faster and easier than ever before. From subtle snowing effects to jaw-dropping fireworks displays, this powerful component offers a wide range of customization — right at your fingertips. Say goodbye to complex coding and hello to impressive visuals!
In this article, we’ll explore the awesome features of the react-particles component and demonstrate just how fun and effortless it is to use the component to unleash captivating effects.
Jump ahead:
react-particles?react-particles work?
tsParticles instanceemitters objectParticles component
The Replay is a weekly newsletter for dev and engineering leaders.
Delivered once a week, it's your curated guide to the most important conversations around frontend dev, emerging AI tools, and the state of modern software.
To follow along with the demo portion of this article, you should have Node.js and npm installed on your system.
react-particles?react-particles is a component of the tsParticles library built for React. The library also provides ready-to-use components for Vue.js (v.2 and v.3), Angular, Svelte, jQuery, Preact, Inferno, Solid, Riot, and Web Components.
The tsParticles library offers a convenient method for effortlessly crafting JavaScript particle effects, confetti explosions, and fireworks animations. These captivating visual elements can be used as animated backgrounds for your website.
Here’s an example that demonstrates the react-particles component from the tsParticles library:
jovial-lederberg-lfhdn0
jovial-lederberg-lfhdn0 by matteobruni using react, react-dom, react-particles, react-scripts, tsparticles, tsparticles-demo-configs, tsparticles-plugin-polygon-mask
react-particles work?The react-particles component is a React wrapper around the tsParticles library, which provides a powerful and flexible way to create and manage particle effects.
When we use the react-particles component, we provide it with a configuration options object passed to the options prop containing various properties that define the behavior and appearance of the particles. Let’s take a closer look at some key properties to better understand how they work:
const options = {
  background: {},
  interactivity: {},
  particles:{}
}

// usage
<Particles options={options}/>
backgroundThe background property allows us to define the background properties for the particle animation and customize the appearance and behavior of the background on which the particles are rendered. With this property, we can specify different aspects of the background like color, image, opacity, position, repetition, and size.
interactivityThe interactivity property enables us to specify how users will interact with the particles. We can define events such as onclick, onhover, or ondiv. Each event can have its own set of properties to control the interaction behavior.
particlesWe can use the particles property to define various properties and behaviors of the particles themselves. This property allows us to customize the appearance, movement, and other characteristics of the particles in the particle animation. We can also define different aspects of the particles like their number, size, shape, and color.
To start, let’s open the project folder in the terminal and run either of the following commands to install react-particles and tsparticles:
npm install react-particles
npm install tsparticles

// or

yarn add react-particles
yarn add react-particles
Two official create-react-app templates have been introduced since v.1.17.0:
cra-template-particles: provides a simple ReactJS setup with full-screen particle effects, using JavaScriptcra-template-particles-typescript: offers a similar setup as cra-template-particles but with the added benefit of using TypeScript for enhanced type checking and developmentWe can install these templates using the create-react-app command followed by the template name, like so:
create-react-app your_app --template particles

// or

create-react-app your_app --template particles-typescript
tsParticles instanceNow, let’s explore how we can bring this stunning fireworks effect to life in our project:

Before we begin, we need to establish some foundational steps. First, we need to initialize the tsParticles instance in the component where we intend to use react-particles,
This initialization step enables us to incorporate custom shapes or presets, which I’ll demonstrate shortly. Another benefit of the initialization step is that it grants us the flexibility to include only the specific features we require, resulting in a smaller bundle size.
We can also choose to handle the loaded state of the particle container which can be used to perform any necessary actions or additional configurations once the particle container has been loaded.
However, in our sample project, we only need to initialize the tsParticles engine; we don’t have to handle the load state.
Here’s what that looks like:
import { useCallback } from "react";
import { loadFull } from "tsparticles";

const App = () => {
// Here we initialize the tsParticle engine
    const particlesInit = useCallback(async (engine) => {
        await loadFull(engine);
    }, []);
// and we use this to handle the load state
    const particlesLoaded = useCallback(async (container) => {
        await console.log(container);
    }, []);

};
Now that we’re done setting up, let’s explore the implementation of particle effects by creating a fireworks background effect using react-particles.
Let’s explore the code so that we can better understand exactly what’s going on.
N.B., we’ll cover only the most important configurations in this article; here’s a full list of all available options
emitters objectThe emitters object in our configuration is responsible for showcasing particles (or fireworks). By default, the particles will appear against a black background. Using the emitters object, we gain control over various properties such as the direction, lifespan (life), emission rate, size, and position of each individual particle:
 emitters: {
      direction: "top",
      life: {
        count: 0,
        duration: 0.1,
        delay: 0.1,
       },
      rate: {
         delay: 0.03,
         quantity: 1,
          },
      size: {
         width: 100,
         height: 0,
          },
      position: {
         y: 100,
         x: 50,
      },
  }
Let’s look at the emitters object properties in more detail:
direction: establishes the trajectory that the fireworks will follow. In this example, we’ve specified a direction of "top" to create a visually explosive effectlife: defined as an object that includes the count property, which we intentionally set to its default value of 0 to ensure that the fireworks persist and continue their display without coming to a quick endduration: sets the maximum length of time that a firework will lastdelay: specifies the length of time between explosive effectsrate: consists of two key-value pairs, for delay and quantity, and provides the ability to configure specific properties for individual particles. The quantity property determines the number of fireworks we desire to appear simultaneously in a single frame. To prevent overlapping particles, it is recommended to retain its default value of 1. In this example, we’ve designated a value of 0.05 for delay to control the timing between each firework’s displaysize: defines the extent to which we want the particles to expand across the device’s screen. In this example, we have specified a width of 100 and a height of 0, to ensure the particles will spread horizontallyposition: specifies the starting point of our fireworks using x and y coordinates. Here, we‘ve set the x and y coordinates to 50 and 100, respectivelyParticles componentThe Particles component behaves just like the HTML Canvas element; it grants us the ability to create and manipulate diverse animations using JavaScript. We’ll fully leverage this feature to our advantage to unleash the full potential of our animations!
Let’s customize the Particles component to create the actual fireworks effect:
Particles{
  number:{},
  life:{},
  shape:{},
  size:{},
  stroke:{},
  rotate:{},
  move:{}
  destroy:{},
}
The above code has all the properties we need to create fireworks effects. Each property has its own set of key-value pairs, so let’s take a closer look.
numberThe number property specifies the number of particles we want:
number: {
  value: 0
},
Here, we’ve set the number property to 0, which randomizes it.
lifeThe life property specifies the amount of time after which the particle will disappear:
life: {
    count: 1
},
Here, we’ve used a value of 1, which is the recommended value to avoid multiple collisions and also to maintain the fireworks effect.
shapeThe shape property defines the type of shape for our particles:
shape:{
type: "line"
}
We’ve specified line for the shape property of our particles to achieve a trailing effect.
sizeThe size property defines the size of the particles along with a variety of animation-related settings:
size: {
    value: { min: 1, max: 100 },
    animation: {
    enable: true,
    sync: true,
    speed: 150,
    destroy: "min"
  }
},
Here’s a summary of each available configuration option:
value: specifies the minimum and maximum size values for the particles. In this case, the particles’ size can range from a minimum size of 1 to a maximum size of 100animation: configures the animation settings for the particle size
sync: specifies whether the size animation should be synchronized across all particles; if this property is set to true, all particles will have the same size animation behaviorspeed: sets the speed of the size animation. In this example, the size animation will have a speed of 150msdestroy: specifies the behavior when the particle size reaches the minimum value. In this case, the particle will be destroyed or removed when it reaches the minimum value of 1strokeThe stroke property defines the stroke color and width for the particles:
stroke: {
  color: {
      value: "#303030"
  },
      width: 3
},
rotateThe rotate property enables the rotation of particles along their movement path:
rotate: {
    path: true
},
moveThe move property defines the movement behavior of the particles:
move: {
    enable: true,
    speed: { min: 10, max: 20 },
    outModes: {
        default: "destroy",
        top: "none"
      },
    trail: {
        fillColor: "#000",
        enable: true,
        length: 10
      }
}
There are several configuration options for this property:
speed: sets the speed range for particle movementoutModes: defines the behavior of particles when they move outside the canvas or viewport boundaries
default: specifies the default behavior for particles moving outside the canvas or viewport. In this example, particles will be destroyed or removed when they move outsidetop: specifies the behavior for particles moving outside the top boundary. In this example, particles moving outside the top boundary will have no specific behavior (the option is set to "none")trail: configures the trail effect for particles
fillColor: sets the color of the particle trail. In this example, the trail color is set to black (#000)length: specifies the length, or duration, of the particle trail. In this example, the trail will last for 10 frames or iterationsdestroyThe destroy property provides an explosive effect:
destroy: {
        mode: "split",
        split: {
          count: 1,
          factor: { value: 1 / 3 },
          rate: {
            value: 100
          },
          particles: {
            color: {
              value: [ "#FF0000","#FFD700","#00FF00","#00BFFF", "#FF1493"]
            },
            stroke: {
              width: 0
            },
            number: {
              value: 0
            },
            collisions: {
              enable: false
            },
            opacity: {
              value: 1,
              animation: {
                enable: true,
                speed: 0.6,
                minimumValue: 0.1,
                sync: false,
                startValue: "max",
                destroy: "min"
              }
            },
            shape: {
              type: "circle"
            },
            size: {
              value: { min: 2, max: 3 },
              animation: {
                enable: false
              }
            }
Here we set mode to "split", Then, we specify a value of 100 for the number of splits to create a beautiful, bursting visual display. mode specifies the mode of destruction for the particles.
When mode is set to "split", particles will be split or broken into smaller fragments when destroyed. There is also a split proeprty that configures the slitting behavior of the particles.
There are several options for this property:
Install LogRocket via npm or script tag. LogRocket.init() must be called client-side, not
server-side
$ npm i --save logrocket

// Code:

import LogRocket from 'logrocket';
LogRocket.init('app/id');
// Add to your HTML:

<script src="https://cdn.lr-ingest.com/LogRocket.min.js"></script>
<script>window.LogRocket && window.LogRocket.init('app/id');</script>
count: specifies the number of fragments created when a particle is split. In this example, a particle will be split into 1 fragmentfactor: defines the size factor of the fragments compared to the original particle size. In this case, the fragments will have a size equal to one-third (1/3) of the original particle sizerate: specifies the rate at which particles are split
value: sets the splitting rate value. In this example, particles will be split at a rate of 100 particles per secondparticles: configures the appearance of the fragments created when a particle is split
color: sets the color of the fragments. In this case, the fragments will have an array of colors: [ "#FF0000","#FFD700","#00FF00","#00BFFF", "#FF1493"]stroke: specifies the stroke appearance of the fragments. In this example, the stroke width is set to 0number: sets the number of fragments created when a particle is split. In this case, no fragments (0) will be createdcollisions: defines whether collisions between fragments are enabled or disabled. In this example, collisions are disabledopacity: configures the opacity of the fragments
value: sets the initial opacity value for the fragments. In this case, the initial opacity is set to 1animation: Specifies the animation settings for the opacity of the fragments
enable: determines whether opacity animation is enabled. If set to true, the opacity of the fragments will be animatedspeed: sets the speed of the opacity animation. In this example, the speed is set to 0.6minimumValue: defines the minimum opacity value for the fragments during animation. In this case, the minimum opacity is set to 0.1sync: specifies whether the opacity animation should be synchronized across all fragments. When sync is set to false, each fragment can have independent opacity animationstartValue: sets the starting opacity value for the animation. In this case, the starting opacity is set to the maximum valuedestroy: specifies the behavior of the fragments when the animation reaches its end. In this example, the fragments will be destroyed or removed when the opacity animation reaches the minimum valueshape: defines the shape of the fragments. In this case, the fragments will have a circular shapesize: configures the size appearance of the fragments
value: specifies the minimum and maximum size values for the fragments. In this example, the fragments’ size can range from a minimum size of 2 to a maximum size of 3animation: determines whether size animation is enabled for the fragments. In this example, the size animation is disabled
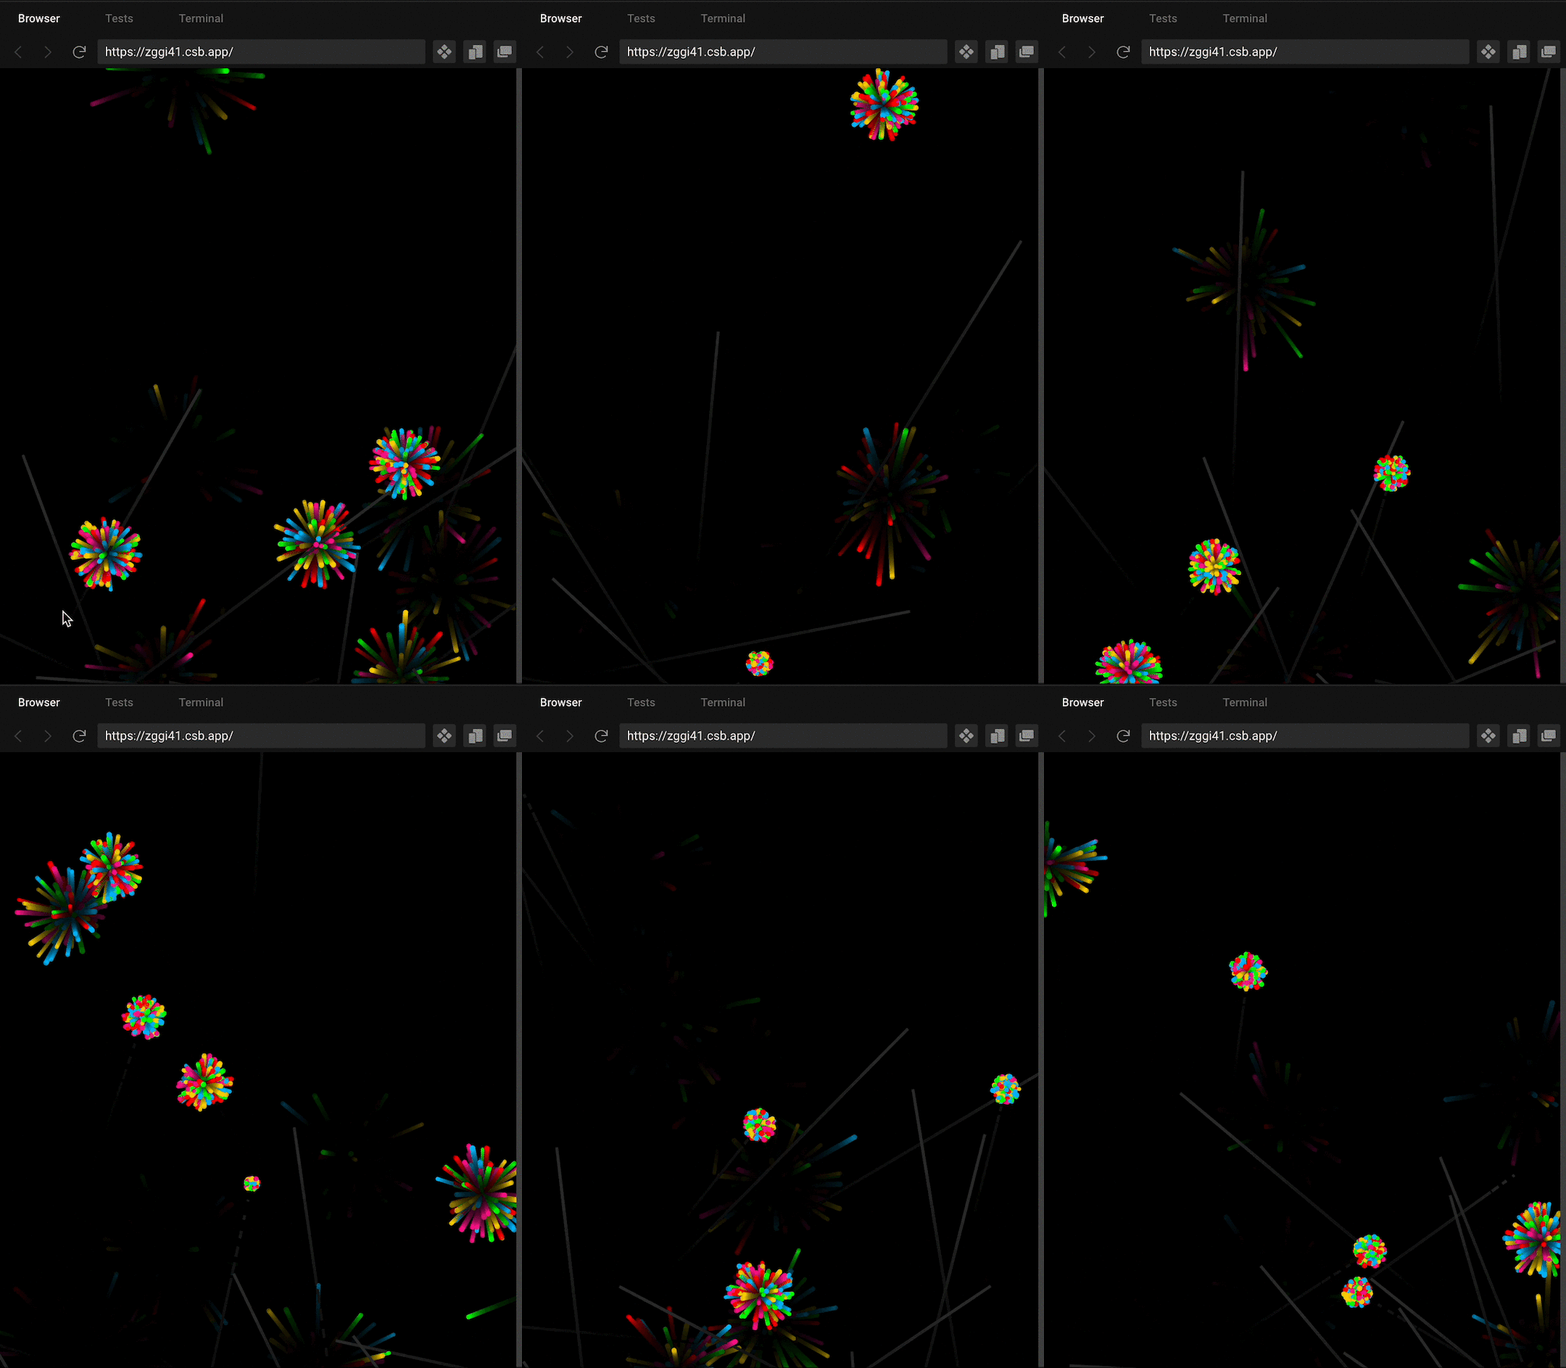
Here’s what our final project looks like:
priceless-lamport-zggi41
priceless-lamport-zggi41 by Nelson Michael using loader-utils, react, react-dom, react-particles, react-scripts, tsparticles, tsparticles-preset-fireworks
Now that we’ve seen how to create a stunning fireworks effect using react-particles, and have a better understanding of the inner workings of the component’s configurations, let’s take a look at how to create more exciting visual effects.
We can use react-particles to unleash our creativity and bring captivating animations to life on our web applications. Let’s explore some other mesmerizing effects that we can achieve with the react-particles component.
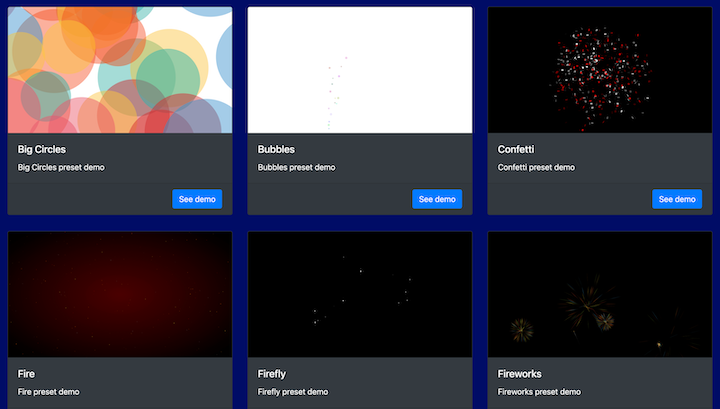
The react-particles component from tsParticles offers an exciting collection of presets by the creators of react-particles. These presets provide a convenient way to implement stunning effects without the need for extensive customization:

Let’s explore how we can leverage this fantastic feature to effortlessly incorporate eye-catching visuals into our projects. With these ready-made presets at our disposal, we can save valuable time and still achieve impressive results.
Using a preset is a breeze with the Particles component provided by the library. To get started, we simply need to install the desired preset, import it, and use that preset to initialize the tsParticles engine.
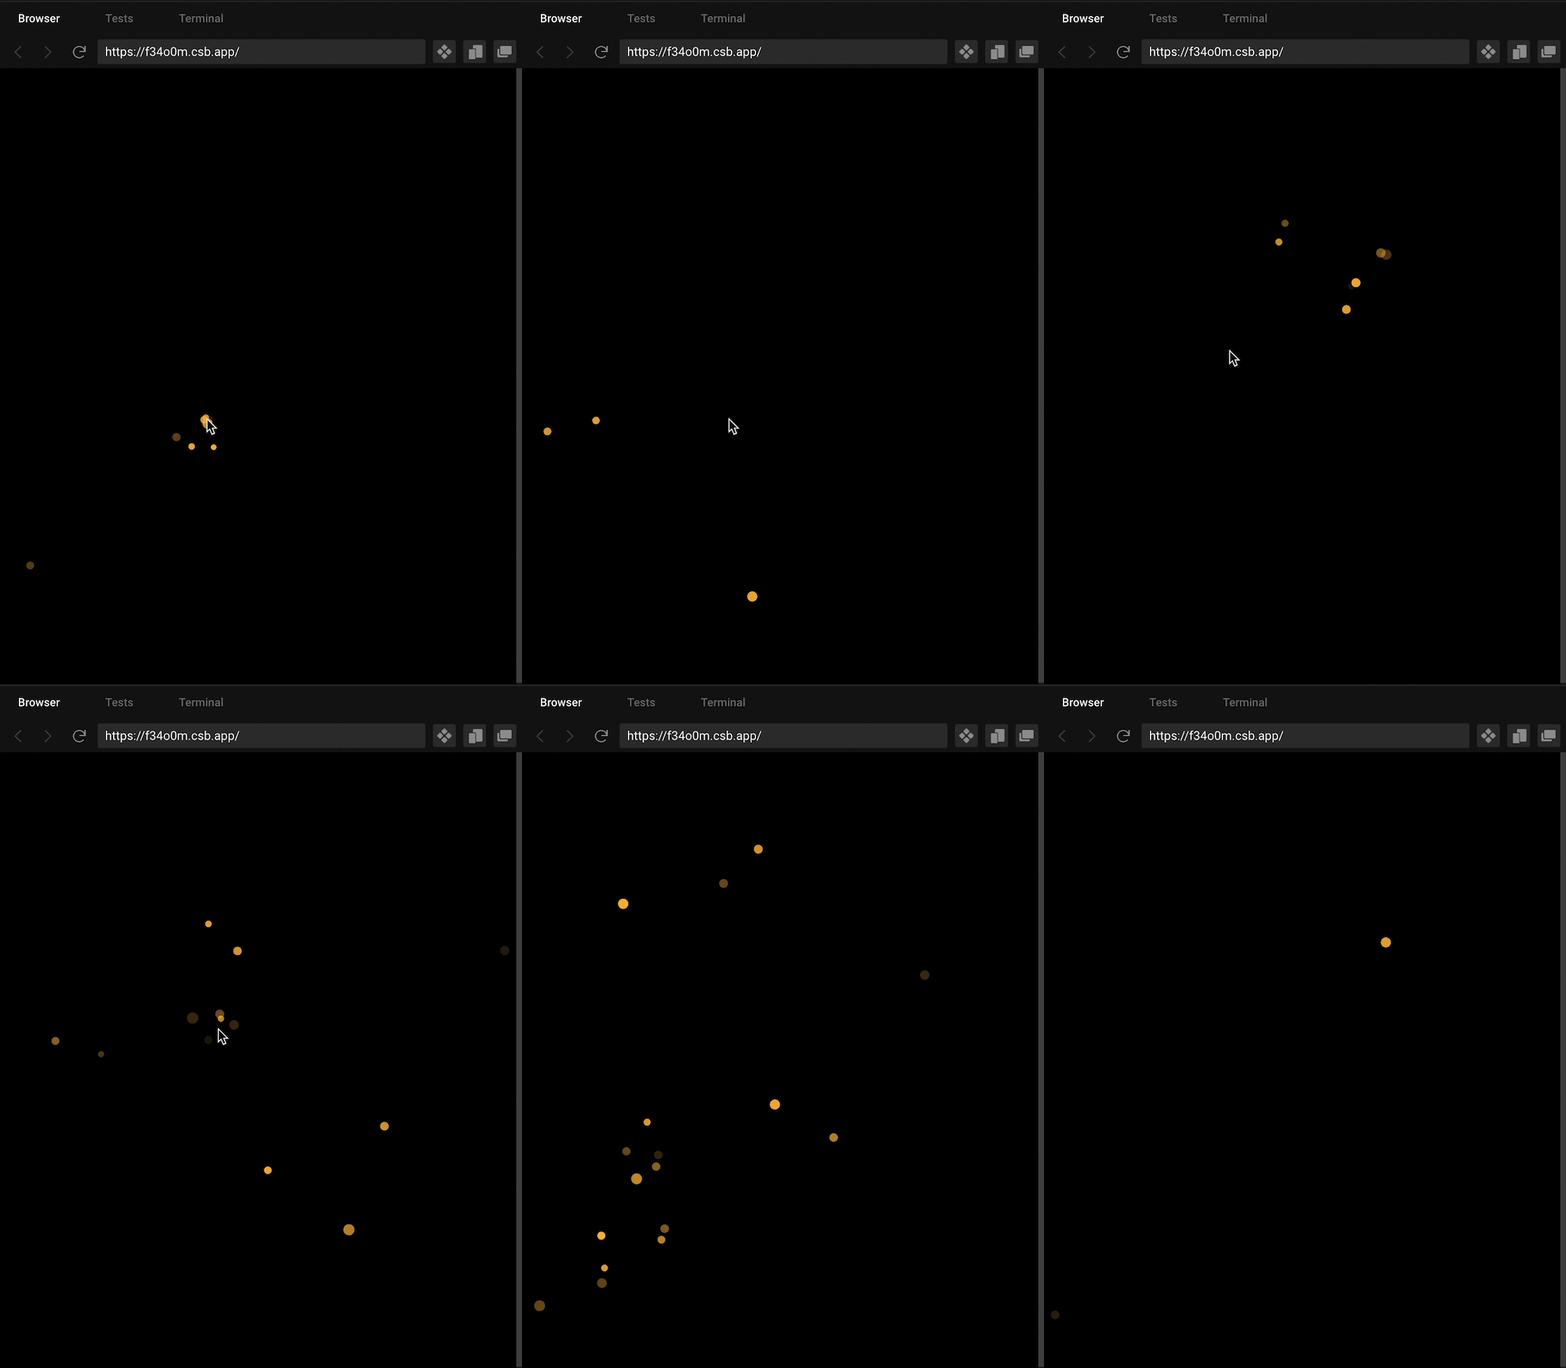
Here’s an example with the "firefly" preset:

import Particles from "react-particles";
import { loadFireflyPreset } from "tsparticles-preset-firefly";

const Home = () =>{
    const particlesInit = useCallback(async (engine) => {
        await loadFireflyPreset(engine);
    }, [])

    const particlesConfig={
        preset: "firefly",
    }
    return <Particles options={particlesConfig} init={particlesInit} />
}
/pre>
react-particles-firefly-preset-example
react-particles-firefly-preset-example by Nelson Michael using loader-utils, react, react-dom, react-particles, react-scripts, tsparticles-preset-firefly
That’s how easy it is to work with presets, we only need to install and set it up, and we can get amazing effects with little configuration.
We can also override all the options defining the properties like in any standard tsParticles installation to suit our exact needs. Here’s a simple example of how to do that:
 const particlesConfig = {
    preset: "firefly",
    particles:{
      color:{
        value: "#ffba39"
      }
    }
  };
Here we define a different color for our particles. You can do the same for any of the properties that you’d like to override.
react-particles is an amazing tool that you can leverage to unleash your creativity and add mesmerizing particle effects to your application. It’s incredibly easy to set up and offers a wide range of customization options, allowing you to create particles that perfectly match your unique vision. Whether you want to create a stunning fireworks spectacle or beautiful interactive animated backgrounds, you can do so with react-particles.

@container scroll-state: Replace JS scroll listeners nowCSS @container scroll-state lets you build sticky headers, snapping carousels, and scroll indicators without JavaScript. Here’s how to replace scroll listeners with clean, declarative state queries.

Explore 10 Web APIs that replace common JavaScript libraries and reduce npm dependencies, bundle size, and performance overhead.

Russ Miles, a software development expert and educator, joins the show to unpack why “developer productivity” platforms so often disappoint.

Discover what’s new in The Replay, LogRocket’s newsletter for dev and engineering leaders, in the February 18th issue.
Would you be interested in joining LogRocket's developer community?
Join LogRocket’s Content Advisory Board. You’ll help inform the type of content we create and get access to exclusive meetups, social accreditation, and swag.
Sign up now