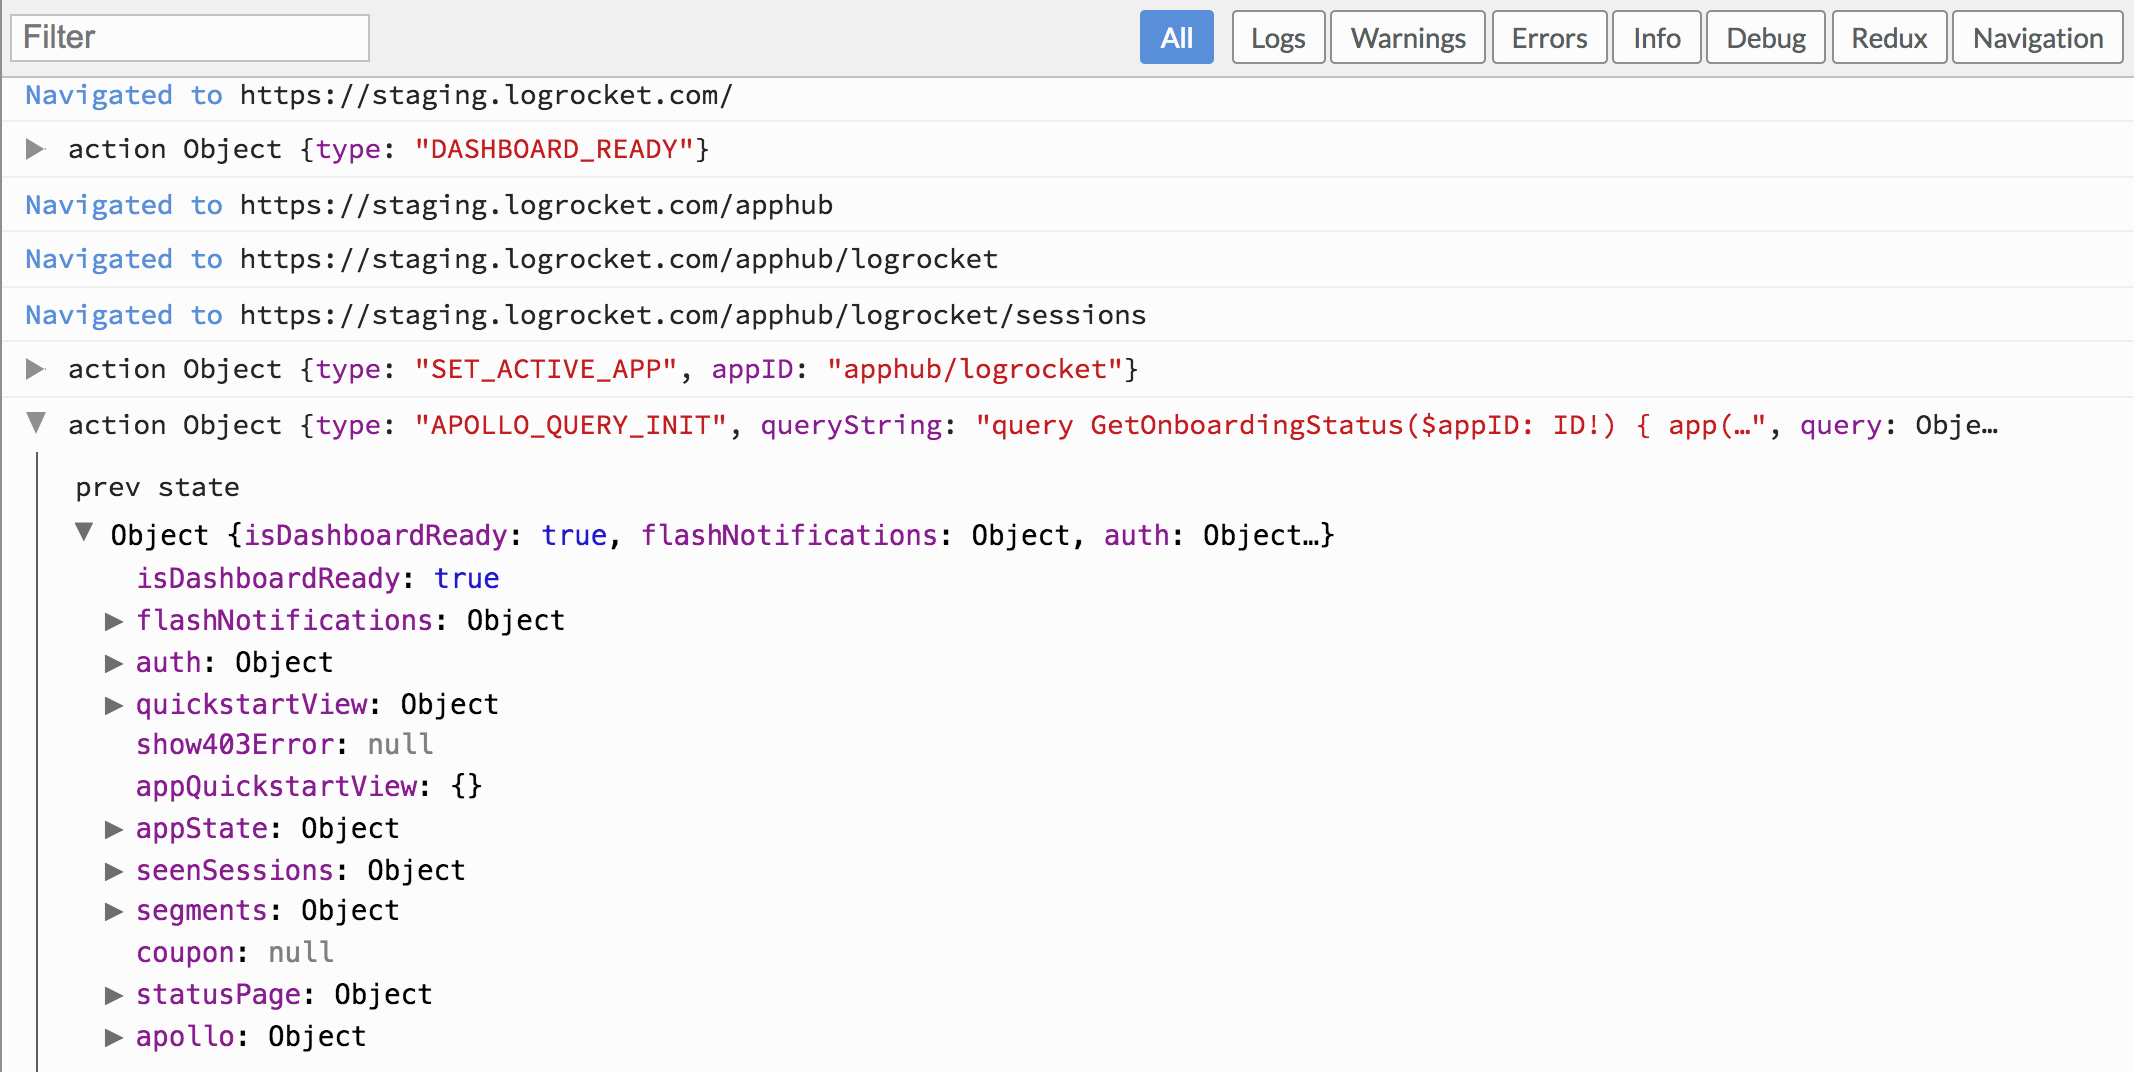
One of the core features of LogRocket is the replay of console and Redux logs in production web apps. To do this, you add the LogRocket SDK to your app which sends logs to LogRocket. Then, when triaging a bug or user issue, you can replay the logs in LogRocket to see what went wrong.
When we first designed the log viewer, we went through a number of design iterations, but eventually settled on replicating the look and feel of the Chrome console. After all, developers are already used to working with this interface, so why reinvent the wheel?
It turns out that re-building the Chrome console for LogRocket was no simple task, since our use case involved a number of complexities not present in Chrome’s implementation. In this piece, I’ll discuss how we used apollo-client,react-virtualized and react-measure to build a performant and maintainable log viewer.
The high-level design concerns for our log viewer were as follows:
Smooth scroll performance
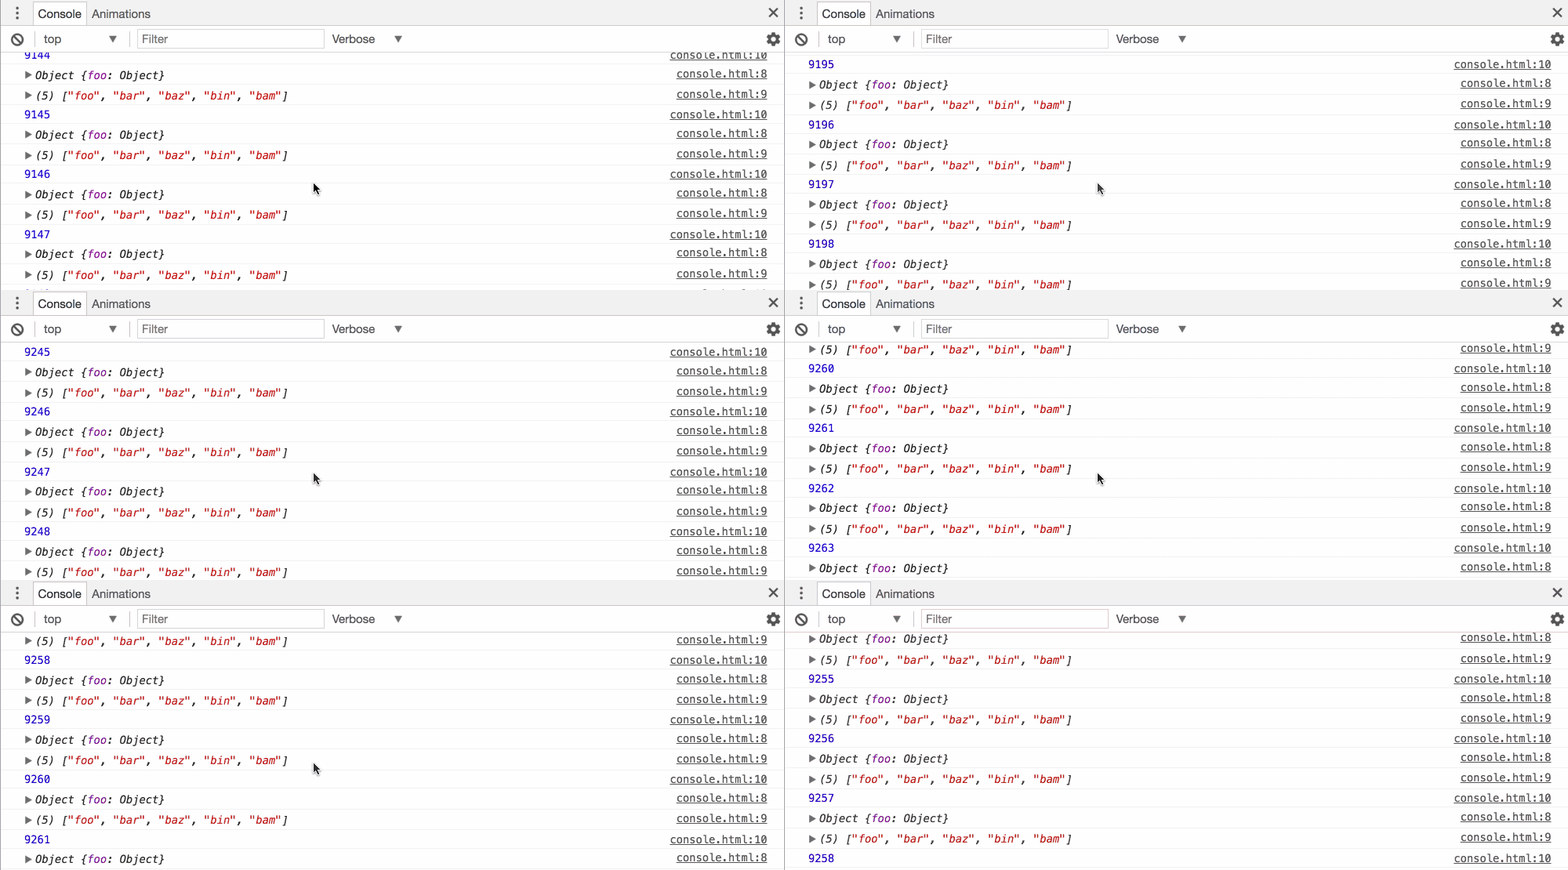
Building a long list that scrolls smoothly isn’t trivial, but it’s crucial for a pleasant user experience. Since a session could potentially have thousands of logs, we knew that we’d need to build a virtual list where DOM nodes are unmounted when they leave the viewport.
User-interactive JSON tree
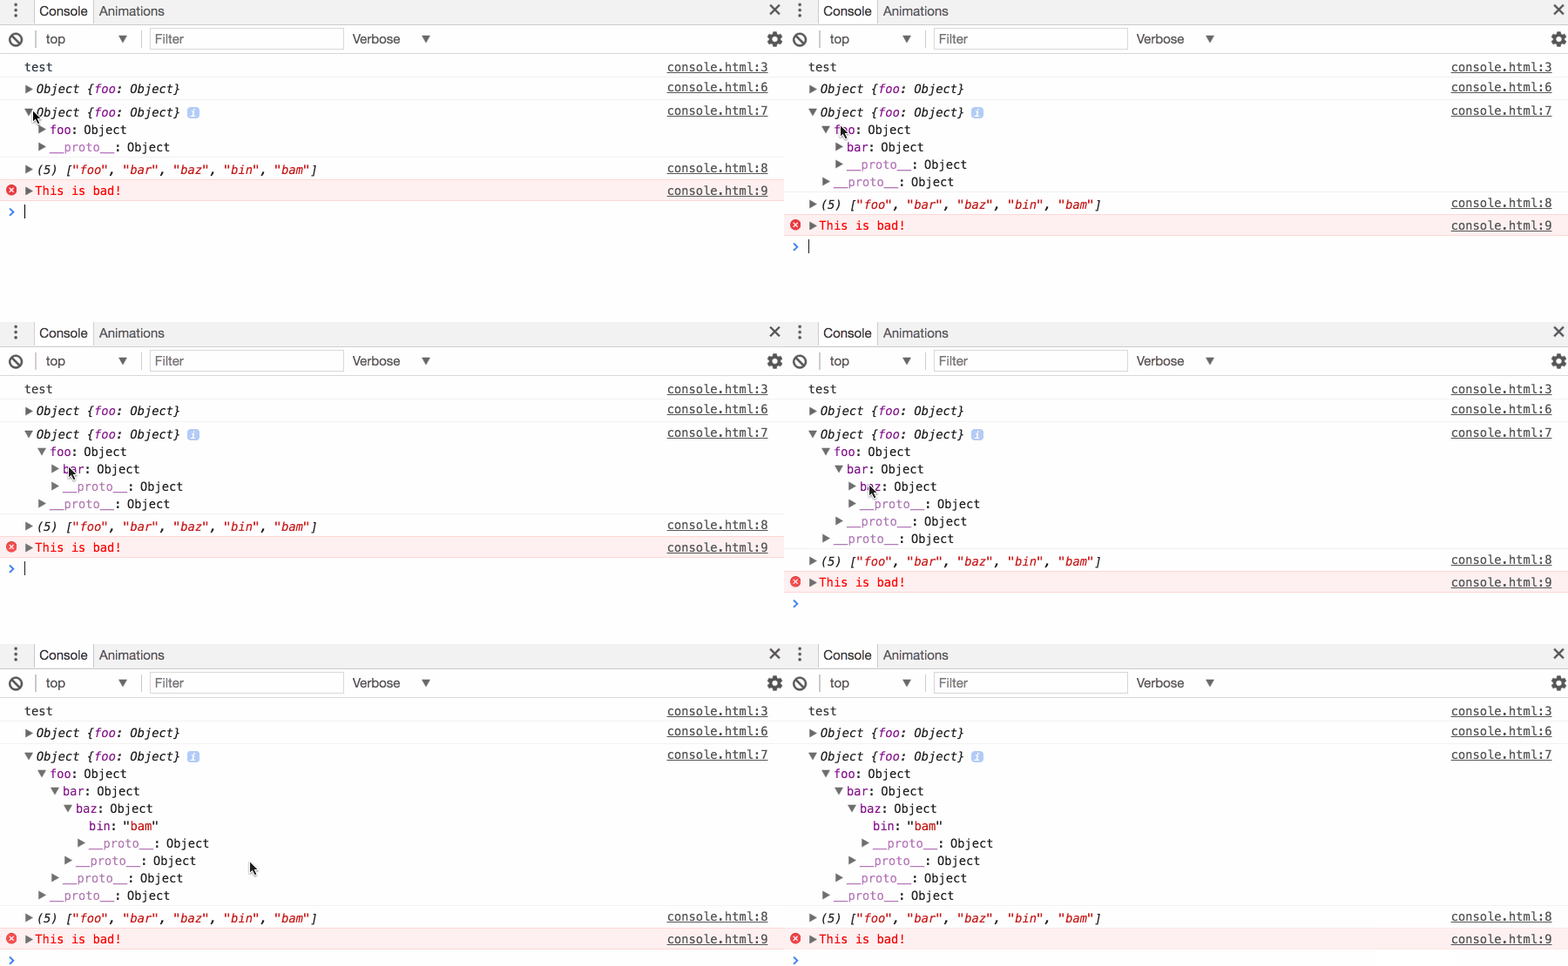
Like the Chrome javascript console, users should be able to expand objects that were logged. This was an important interaction to get right since developers are used to the mechanics of the Chrome console.
Lazy-loaded object expansion
Like the console API, LogRocket makes it possible to log anything in JavaScript. This means that we needed to support arbitrarily large objects or arrays. It was clear that we couldn’t load all of a session’s logs at once, since this query could be massive. Instead, we have to load log data on demand when a user expands a log entry.
This is a departure from how the Chrome console works (where all data is already in memory), which meant that we would need a loading state and error handling for failed queries.
Persisted State
The state of the log viewer should be persisted when the component unmounts and re-mounts. Basically, the state can’t be kept at the component level and should be stored in Redux.
When rendering a very long list, it is often prohibitively expensive to keep all items in the DOM, since each node requires a fixed amount of memory. To solve this problem, you can build a virtual list, where each item is only rendered when it is actually visible.
There are a number of React libraries that facilitate this, but the most feature-rich and robust is react-virtualized. It provides a host of utility components for building virtual lists, grids, and tables. It has an active community of contributors and a slack group that is very helpful for discussing issues.
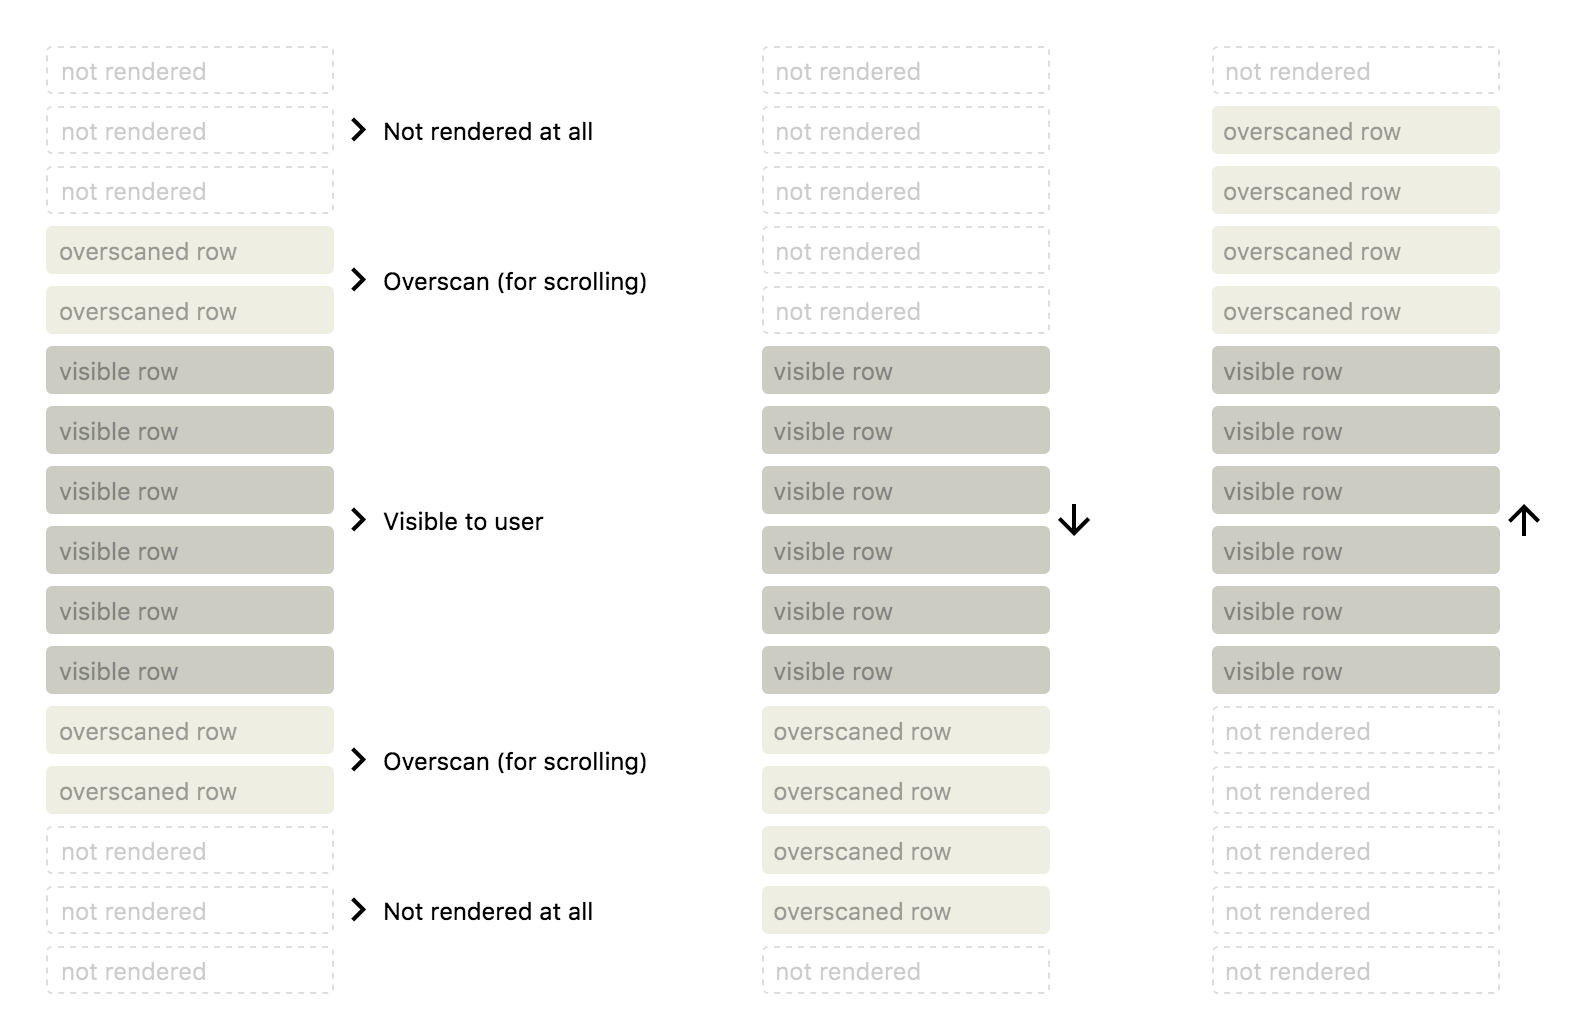
react-virtualized bypasses the browser’s layout engine to determine where to arrange items. As you scroll through a list, it looks at the current scroll position, and determines which items are in the viewport. It then renders those items, and uses absolute positioning to place each row in the correct place. As such, it can freely mount and unmount rows without affecting the positioning of subsequent rows.
One caveat of this approach is that rows with dynamic height are a bit tricky to implement. In a standard flow-based layout, or with Flexbox, if an item in a list grows in height, the browser will push down the subsequent items to make room.react-virtualized, however, needs to be notified whenever an element’s height changes so it can adjust the absolute positioning of subsequent items.
Lets take a look at the basic props of the <List /> component:

width, height
react-virtualized needs to know the width and height of the list viewport in order to do its calculations. If your list isn’t fixed in width or height, there are helper components for hydrating these values.
rowCount
The number of rows in the list.
rowHeight
If all rows in the list have a fixed height, this value can be a number. If the height of each row is different, rowHeight can be a function which returns the height of a given row by index. More on this later.
rowRenderer
This is a function that takes in index (and some other non-essential props) and returns the row to render. A simple implementation might look like this:
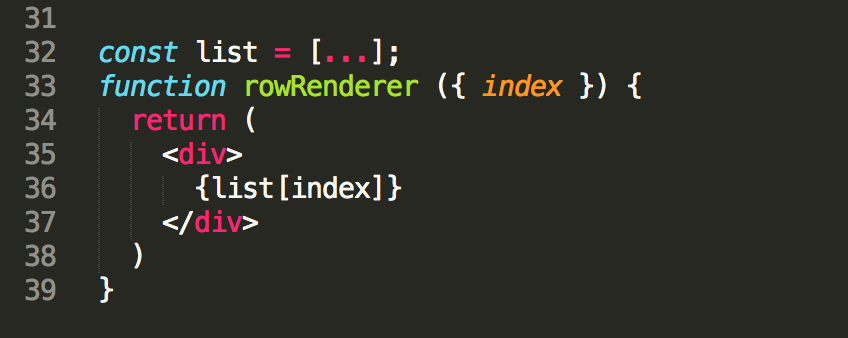
Notice that react-virtualized doesn’t actually take in the list itself as a prop. Simply knowing the length of the list and having a rowRenderer function that can render a given row is all it needs!
I’m not going to describe every detail of our console implementation since much of it is a standard application of react-virtualized, but there are a few bits where we diverged that are interesting.
As I described earlier, react-virtualized takes a prop rowHeight which is a function that returns the height of a row at a given index.

In this screenshot of the LogRocket log viewer, notice that there are 2 states for each row: default, and expanded. When a row is in the default pre-expanded state, it’s height is fixed at 22px tall. However, when a row is expanded, its height varies as the user expands different subtrees of the object.
We needed a way to write a rowHeight function that handles dynamic height rows- something like this:

In order to implement getExpandedRowHeight in the above psuedo-code, there were two potential options.
Guarantee deterministic height of an expanded object
To achieve this, we would have needed to design the object tree view component from the ground up to make its height a pure function of the subtrees that are expanded. Put another way, we could write a function that takes in a list of the expanded subtrees in an object, and have it return the height.
In theory this is doable, but there are number of complications. It is difficult to account for text that overflows to the next line, as this increases the height of the object. Also, making this guarantee would make it difficult to iterate on the look and feel of the log viewer since changes to things like margins and padding would need to be adjusted for.
Use react-measure
Instead, we opted to use a library called react-measure which provides a helpful abstraction for writing components that are aware of their own height.

react-measure wraps a given component and takes a prop, onResize which is a function that is called whenever the component’s size changes.
In our case, whenever the size of a given row changes, we dispatch a Redux action which stores the height of that row in Redux. Then in our rowHeight function, we simply get the height of the row from Redux, and react-virtualized can render it properly.
There is a small performance penalty to this approach, since react-measure uses the DOM resize-observer API which isn’t implemented natively in all browsers, but in practice this is fairly minimal.
To handle data fetching, we use apollo-client which is a GraphQL client that works nicely in React apps. When a user clicks on a log entry to see the full object, the log entry goes into a loading state which has a fixed height.

Apollo makes a request to the backend and then populates the data in the Redux store. This then triggers react-virtualized to update and the row height changes when the data is filled in.
To let users explore logged objects, we looked at a few different off-the-shelf components, but eventually chose react-inspector. This library includes a host of components for logging objects and DOM nodes. We did, however, end up forking the library in order to build a controlled version (so we could keep state in Redux).
Install LogRocket via npm or script tag. LogRocket.init() must be called client-side, not
server-side
$ npm i --save logrocket

// Code:

import LogRocket from 'logrocket';
LogRocket.init('app/id');
// Add to your HTML:

<script src="https://cdn.lr-ingest.com/LogRocket.min.js"></script>
<script>window.LogRocket && window.LogRocket.init('app/id');</script>
Hey there, want to help make our blog better?
Join LogRocket’s Content Advisory Board. You’ll help inform the type of content we create and get access to exclusive meetups, social accreditation, and swag.
Sign up now
This guide walks you through creating a web UI for an AI agent that browses, clicks, and extracts info from websites powered by Stagehand and Gemini.

This guide explores how to use Anthropic’s Claude 4 models, including Opus 4 and Sonnet 4, to build AI-powered applications.

Which AI frontend dev tool reigns supreme in July 2025? Check out our power rankings and use our interactive comparison tool to find out.

Learn how OpenAPI can automate API client generation to save time, reduce bugs, and streamline how your frontend app talks to backend APIs.