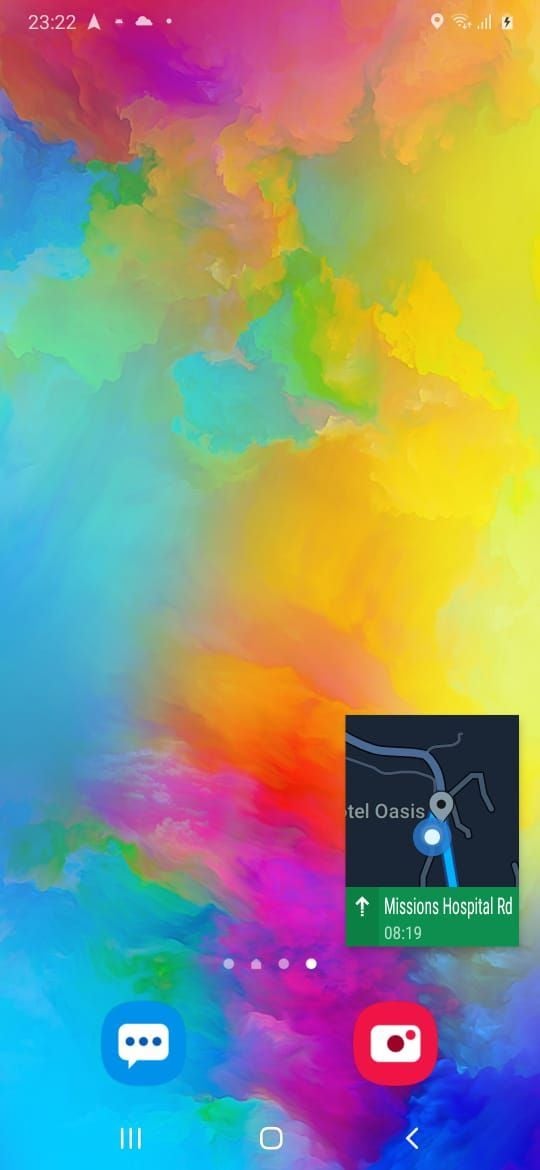
Implementing Picture-in-Picture (PiP) mode in your mobile apps is extremely beneficial for your users, especially when your app displays data or content of high priority. For example, your app can display navigation directions, sports updates, or run a video call in the PiP window even when the user navigates away from the app.
In this tutorial, we will learn to implement Picture-in-Picture mode to enhance our users’ experience.
The Replay is a weekly newsletter for dev and engineering leaders.
Delivered once a week, it's your curated guide to the most important conversations around frontend dev, emerging AI tools, and the state of modern software.
PiP mode allows users to open multiple applications simultaneously leveraging Android’s multi-window APIs. If a user is running an app and presses the home button, the app doesn’t fully close and can continue running in PiP mode, hovering on the screen while the user interacts with other applications.
PiP mode is only supported on devices starting from Android 8.0 (API level 26) and above. Go to your app’s build.gradle file and set the minSdk version to 26, like so:
defaultConfig {
    applicationId "com.example.pip"
    minSdk 26
    targetSdk 30
    ...
}
Next, decide what screen in your app requires PiP mode. It is not imperative that all screens in your application require PiP mode, as Android lets you set PiP mode for only specific screens of the app.
To enable PiP mode for any activity, go to the AndroidManifest.xml file and make the following changes for that activity:
<activity
    android:name=".MainActivity"
    android:exported="true"
    //Add the following line
    android:supportsPictureInPicture="true">
</activity>
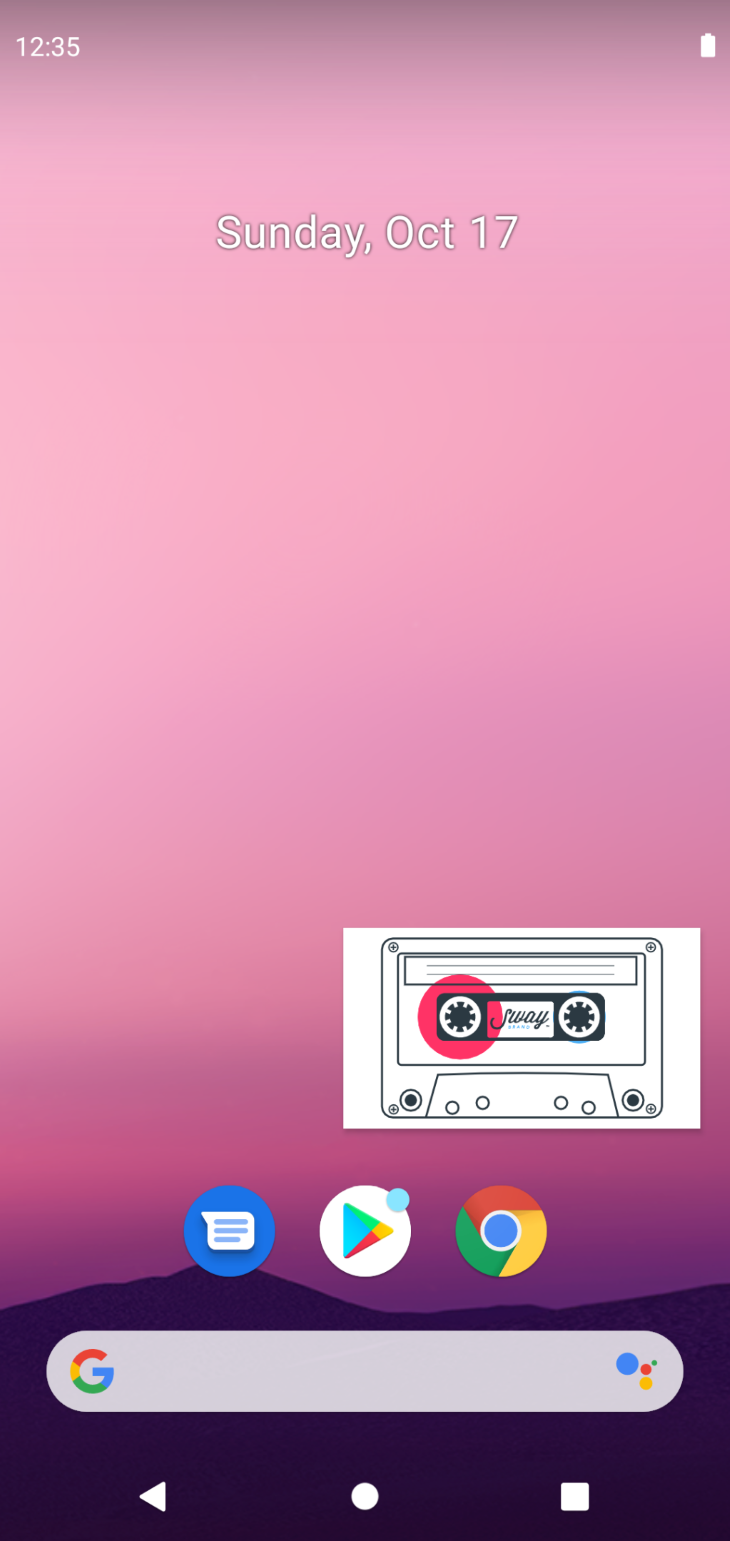
For brevity in this tutorial, the main screen in our app plays a simple animation loop. We want it to be displayed in PiP mode while the user interacts with other apps.
Currently, if the user presses the home button, our app disappears. Let’s now incorporate PiP mode for our app.
We want to trigger PiP mode in our Android app for two scenarios:
To implement PiP mode, go to the MainActivity file and make the following changes:
override fun onCreate(savedInstanceState: Bundle?) {
    //listener for button click
    button.setOnClickListener {
        enterPipMode()
    }
}
  //This method is triggered when
  //Home button is pressed.
override fun onUserLeaveHint() {
    enterPipMode()
}

private fun enterPipMode() {
    val params = PictureInPictureParams.Builder().build();
    enterPictureInPictureMode(params)
}
After making the above changes in our code block, we can transition into PiP mode correctly.
Depending upon your application, you can also customize the aspect ratio of the PiP window. If your application screen shows important content in a landscape view, such as a video, you might want to show the PiP window with a 16:9 aspect ratio.
This will help crop out unnecessary information from the PiP window so that only the important content you want to be displayed occupies the entire width and height of the PiP window.
We can also modify the aspect ratio of the PiP window by using the setAspectRatio() method. The aspect ratio can be set to the PictureInPictureParams, as shown below.
private fun enterPipMode() {
    val aspectRatio = Rational(16, 9)
    val params = PictureInPictureParams
        .Builder()
        .setAspectRatio(aspectRatio)
        .build()
    enterPictureInPictureMode(params)
}
The above code sets the aspect ratio to 16:9, so our app should now look like this in PiP mode:
To make the PiP widow square, you can set the aspect ratio to 1:1 by making the following changes:
val aspectRatio = Rational(1, 1)
val params = PictureInPictureParams
    .Builder()
    .setAspectRatio(aspectRatio)
    .build()
enterPictureInPictureMode(params)

Now it’s a square!
Now that we’ve learned how to implement PiP mode and adjust the window’s aspect ratio, we need to consider the app’s PiP window size.
In PiP mode, notice that the window size is much smaller than a normal activity screen. This means that the user might not be able to interact with or even see smaller details on the screen.
It is a good idea to only show details in the app that are crucial in PiP mode and hide all unimportant details. It’s also critical to restore the views when the user switches to normal full-screen activity.
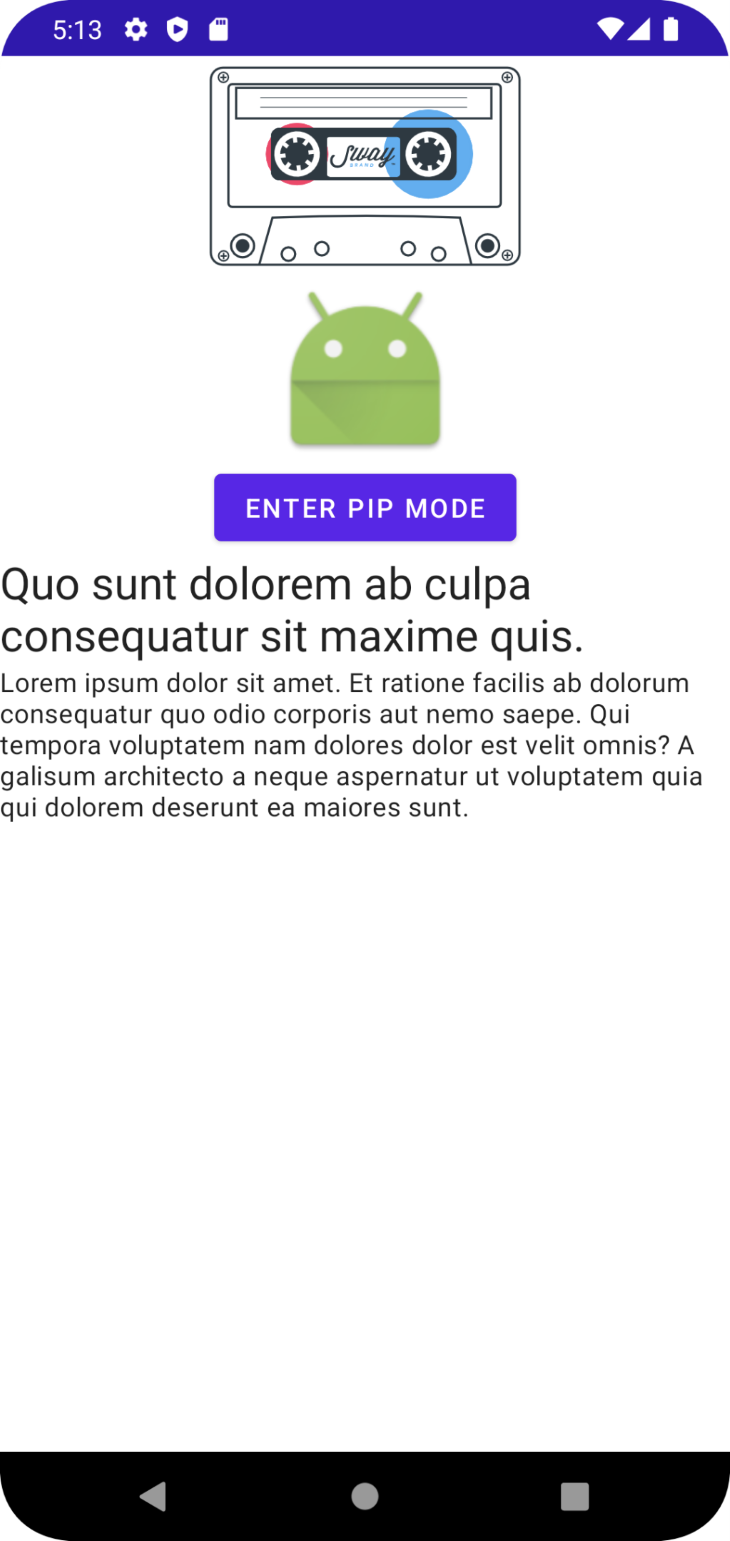
Let’s check out an example. Below, our Android app contains a ton of unimportant details that are not usable or applicable in PiP mode, such as the Android icon, the button, and excess text.
We need to hide this text when the user enters PiP mode, but reveal it when the user views the screen in fullscreen.
To hide and restore these views, go to the MainActivity file and add the following code:
override fun onPictureInPictureModeChanged(isInPictureInPictureMode: Boolean, newConfig: Configuration) {
    if (isInPictureInPictureMode) {
        //hide all unimportant views
        image.visibility = GONE
        button.visibility = GONE
        heading.visibility = GONE
        description.visibility = GONE
    } else {
        //show all unimportant views
        image.visibility = VISIBLE
        button.visibility = VISIBLE
        heading.visibility = VISIBLE
        description.visibility = VISIBLE
    }
}
As you can see, now only the important aspects of our app are shown in PiP mode. When a user clicks on our app, it expands to full-screen and reveals the text.
PiP mode does provide a way for the user to interact with the app. You can set a list of custom actions that are available for users while the app is in PiP mode using RemoteAction.
A remote action is defined by the following properties:
- Icon
- Title
- Content description
- Pending intent
You can add a list of remote actions to be taken in the PiP window. For this example, we will add an information button in the PiP window, which, when clicked, opens a web browser.
To add this action, make the following changes to the MainActivity file.
private fun enterPipMode() {
    val actions: ArrayList<RemoteAction> = ArrayList()
    val remoteAction = RemoteAction(
        Icon.createWithResource(this@MainActivity,
          android.R.drawable.ic_menu_info_details),
          "Info","Info Details",
        PendingIntent.getActivity(this@MainActivity, 0,
        Intent(Intent.ACTION_VIEW, Uri.parse("http://www.google.com")), 0)
    )
    //Add the above action to the List
    actions.add(remoteAction)
    val aspectRatio = Rational(16, 9)
    val params = PictureInPictureParams
        .Builder()
        .setAspectRatio(aspectRatio)
    //Set the list of actions to the params
        .setActions(actions)
        .build()
    enterPictureInPictureMode(params)
}
Now, when the info button in the window is pressed, a custom action opens the web browser. With this code, you can add several varied actions for the use cases in your app.
🗒️ Note: If an app has a video playing, then play, pause, next, and previous controls will appear by default.
To make sure that there are no multiple instances of the same activity running, we need to set the launch mode of the PiP activities to singleTask in the AndroidManifest file.
android:launchMode="singleTask"
Once we do, the same instance of the activity will be maintained whether in full-screen mode or in PiP mode.
We also need to ensure that the activity does not lose any data when the configuration of an activity is changed. To do this, add this code to the AndroidManifest file:
android:configChanges="screenSize|smallestScreenSize|screenLayout|orientation"
Now the AndroidManifest file should look like this:
<activity
    android:name=".MainActivity"
    android:configChanges="screenSize|smallestScreenSize|screenLayout|orientation"
    android:exported="true"
    android:launchMode="singleTask"
    android:supportsPictureInPicture="true">
    <intent-filter>
        <action android:name="android.intent.action.MAIN" />
        <category android:name="android.intent.category.LAUNCHER" />
    </intent-filter>
</activity>
In this tutorial, we have successfully implemented PiP mode within an Android application, including how to add PiP to an Android activity, set the PiP window’s aspect ratio and size, and detect a transition from an activity to PiP and vice versa.
PiP mode should only be used when your app needs to display critical information to the user, as it can become obtrusive otherwise. Check out the final code for our app on GitHub.
LogRocket is an Android monitoring solution that helps you reproduce issues instantly, prioritize bugs, and understand performance in your Android apps.
LogRocket's Galileo AI watches sessions for you, instantly identifying and explaining user struggles with automated monitoring of your entire product experience.
LogRocket also helps you increase conversion rates and product usage by showing you exactly how users are interacting with your app. LogRocket's product analytics features surface the reasons why users don't complete a particular flow or don't adopt a new feature.
Start proactively monitoring your Android apps — try LogRocket for free.
Install LogRocket via npm or script tag. LogRocket.init() must be called client-side, not
server-side
$ npm i --save logrocket

// Code:

import LogRocket from 'logrocket';
LogRocket.init('app/id');
// Add to your HTML:

<script src="https://cdn.lr-ingest.com/LogRocket.min.js"></script>
<script>window.LogRocket && window.LogRocket.init('app/id');</script>

Learn about TypeScript v6’s breaking changes, new ES2025 features, and deprecated options. A complete migration guide from v5 to prepare for v7.

Learn how Vite+ unifies Vite, Vitest, Oxlint, Oxfmt, Rolldown, and Node.js management in one CLI.

AI companies are buying developer tools as coding agents turn runtimes, package managers, and linters into strategic infrastructure.

Learn how AI-assisted development governance uses rules, agents, hooks, and protocols to help AI coding tools produce safer, more consistent code.
Hey there, want to help make our blog better?
Join LogRocket’s Content Advisory Board. You’ll help inform the type of content we create and get access to exclusive meetups, social accreditation, and swag.
Sign up now

