
Editor’s note: This article was last updated by Shalitha Suranga on 27 March 2024 to include new sections for Next.js rewrites vs. redirects, solving CORS issues, advanced proxy mappings, and dynamic proxy mappings.

Proxies, or proxy servers, are intermediary components between a client request and server response. Proxies act as digital middlemen, providing security benefits by allowing users to engage with servers without revealing their true identities.
When you try to do anything on the internet, your machine (client) sends data directly to the server. For example, when you register on Facebook or X, the form fields (traffic) you fill in are sent and processed by a server.
Unlike VPNs, which establish a secure tunnel with a VPN server, and replacing your local ISP routing, encrypting and securing all network traffic, proxy servers specifically manage HTTP requests.
Next.js, the open source development framework built on top of Node.js, offers a way to use a proxy for HTTP requests. In this tutorial, we’ll discuss the concept of proxies and their practical application within Next.js by creating a sample application.
The Replay is a weekly newsletter for dev and engineering leaders.
Delivered once a week, it's your curated guide to the most important conversations around frontend dev, emerging AI tools, and the state of modern software.
In today’s cybersecurity environment, visiting a website without using a proxy is not considered secure; it leaves you open and vulnerable to anyone who has access to the server. Using a proxy helps to protect client information from being breached.
Most companies or homes set up a firewall to restrict network users from accessing certain websites. A proxy server can be used to bypass blocked websites. It’s common for organizations to have blocked or blacklisted websites that are deemed dangerous for their employees’ data security.
In addition, many websites have geographic restrictions. In those cases, if access to restricted websites is necessary, a proxy server helps you access unavailable websites by requesting HTTP messages through the proxy server implementation.
Sending your traffic through a gateway creates a certain level of anonymity. It removes your identity (especially the IP address) from the client-server equation and achieves this by handing over only certain data to the middleman, which is the only information the server receives about you. A user can keep their personal information and browsing habits anonymous this way.
In general web development activities, we don’t typically use general-purpose, remote proxy server implementations that offer better security and anonymity for web browsing; we often need to use simple URL proxies within web servers to map incoming request URLs to various target URLs.
A URL proxy fetches content from target in-app endpoints or external web services based on a URL mapping configuration. For example, a URL-mapping configuration can instruct a URL proxy to fetch content from https://api.example.com when a client makes a request to the in-app /example-api endpoint.
URL proxies often come as server-side libraries/middleware (i.e., http-proxy and http-proxy-middleware for Node.js) or inbuilt features of web app development frameworks. URL proxies are used in the following popular use cases:
NODE_ENV environment variable for all api/* wildcard path requestsNext.js app configuration lets you define URL mappings for its inbuilt URL proxy via the rewrites configuration property and also lets you define traditional HTTP redirects via the redirects configuration property.
The Next.js rewrites feature proxies requests based on URL mappings in the Next.js configuration file. For example, the following rewrites property setup enables proxied requests for the GitHub official website via the /github-web Next.js API endpoint:
const nextConfig = {
  async rewrites() {
    return [
      {
        source: '/github-web',
        destination: 'https://github.com',
      },
    ]
  },
};
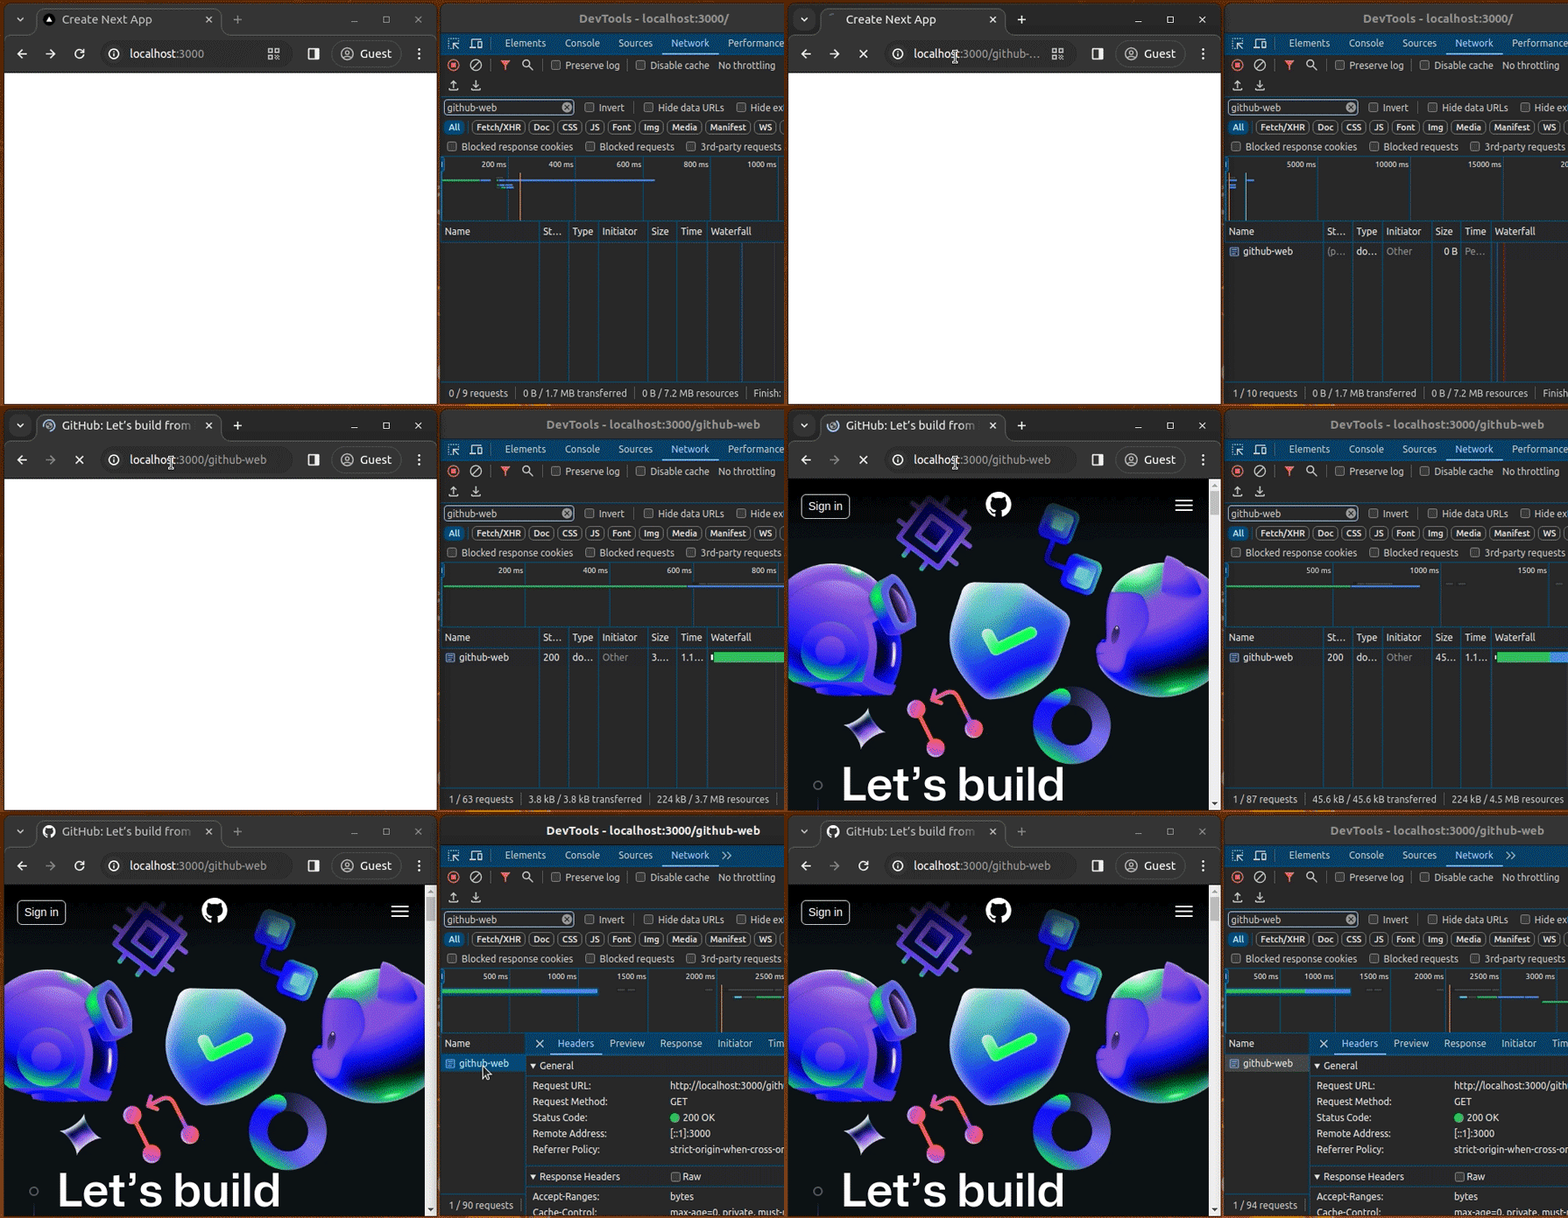
The above setup won’t redirect requests to the GitHub website, but it instructs the Next.js server to fetch and return the GitHub website’s content whenever a client requests the /github-web endpoint:
Meanwhile, the redirects configuration property lets you activate URL redirects. For example, the following configuration object implements a permanent redirection (using an HTTP 308 response) for the /github-web endpoint:
const nextConfig = {
  async redirects() {
    return [
      {
        source: '/github-web',
        destination: 'https://github.com',
        permanent: true
      },
    ]
  },
};
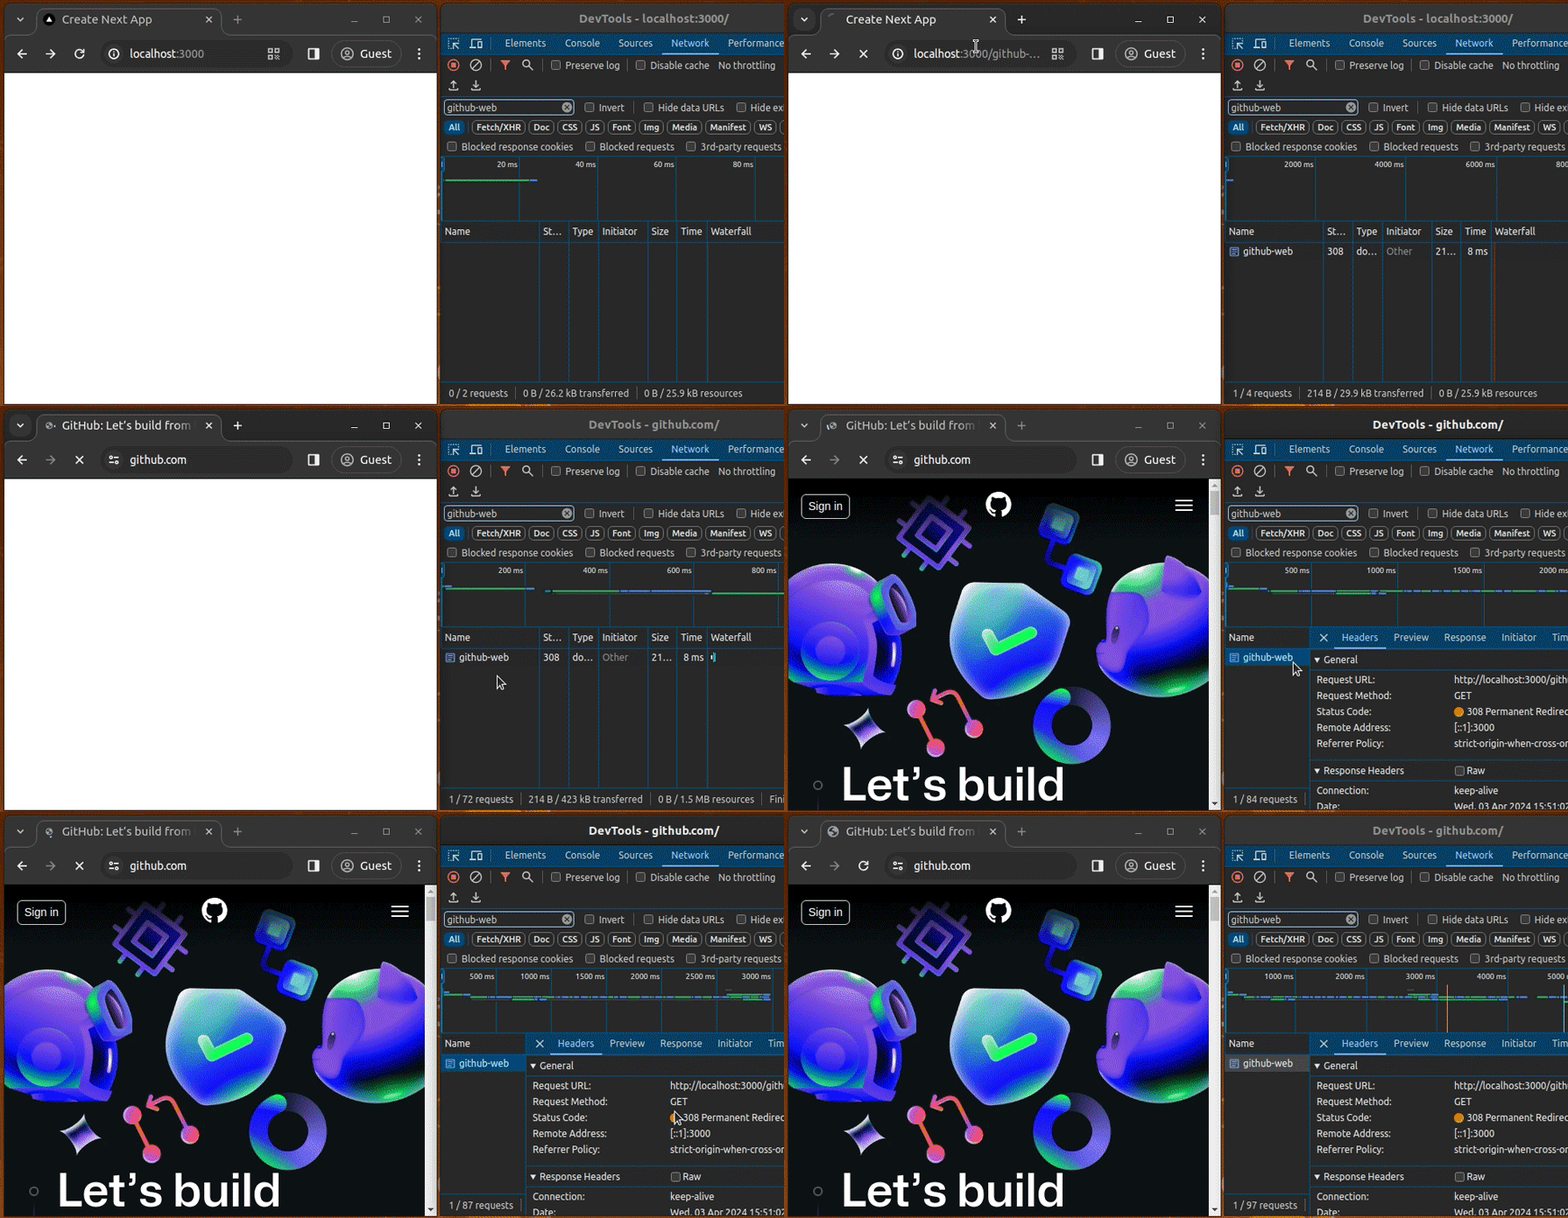
The redirects property instructs the Next.js server to redirect instead of proxying:
Let’s learn how to work with Next.js URL proxies by creating a new app.
Now, we are going to apply our understanding of proxy servers by incorporating them into a simple Next.js application.
Make sure you have at least Node.js version 18.17 installed on your machine. Having Node.js on your machine comes with npm (Node package manager), which also comes with npx (Node Package Execute), which will be used to install Next.js.
Some developers prefer Yarn instead of npm — install it if that is what you want to use.
Input the following command on your machine to create a new Next.js project using the Create Next App package:
npx create-next-app@latest
# --- or ---
yarn create next-app
Regardless of the package manager you have installed, you will get a project creation CLI wizard, as shown in the following screen recording:
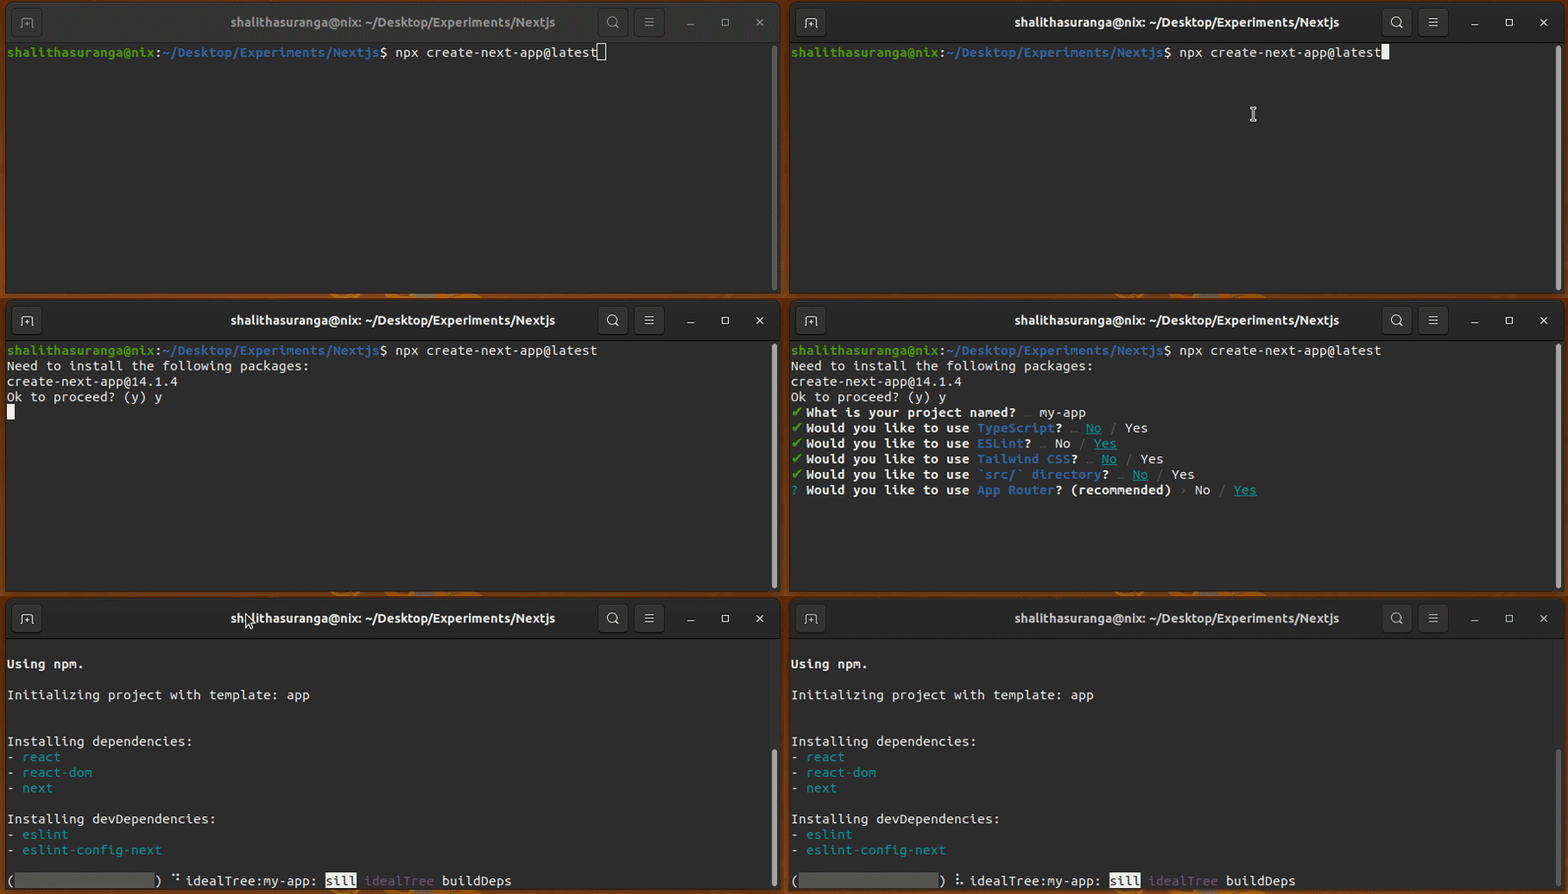
Hit Enter, after which you will be prompted to input the project folder’s name. If you hit Enter again, the project’s name will be “my-app“. Next, the CLI will ask a variety of questions about configuring the Next.js project. Create a minimal, JavaScript-based project with only the required modules, as shown in the above screen recording.
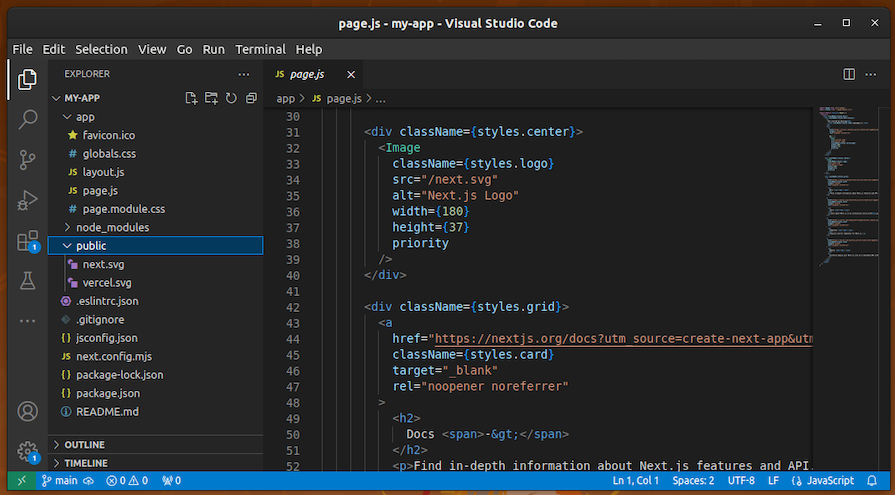
After the installation is complete, move into your project directory. This is what your Next.js fresh installation looks like:
To start it, run this:
npm run dev
#--- or ---
yarn dev
It will start at http://localhost:3000:
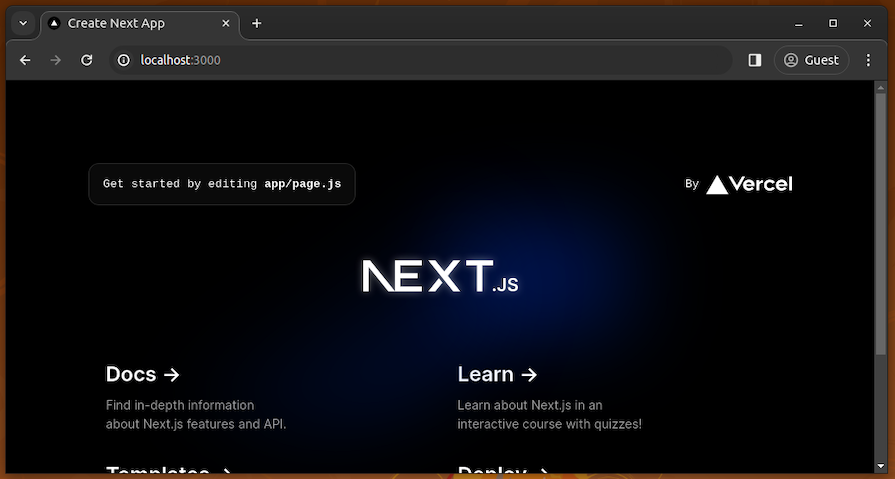
You will see something like this image. This is the app that we will use. Note that it is running at port 3000 by default — you can always reconfigure this.
I am going to create a cat API endpoint in our Next.js app by creating a proxy mapping for an external API. I will be incorporating random facts about cats from https://meowfacts.herokuapp.com, a simple API that displays facts about cats. Next.js provides an easy way to do this using the rewrites feature in the configuration.
In next.config.mjs, replace the code inside with this:
const nextConfig = {
  async rewrites() {
    return [
      {
          source: '/cats',
          destination: 'https://meowfacts.herokuapp.com',
      },
    ];
  }
};

export default nextConfig;
The Next.js rewrites feature allows you to map an incoming request path to a different destination path. Rewrites act as a URL proxy and masks the destination path, making it appear as though the user hasn’t changed their location on the site. In contrast, the Next.js redirects feature will reroute to a new page and show the URL changes.
What we did in the code above is simply configure our Next.js application so that when we go to /cats, it gets the data from the destination without revealing it.
Now, go to the http://localhost:3000/cats endpoint. You will see random cat facts from the external API:
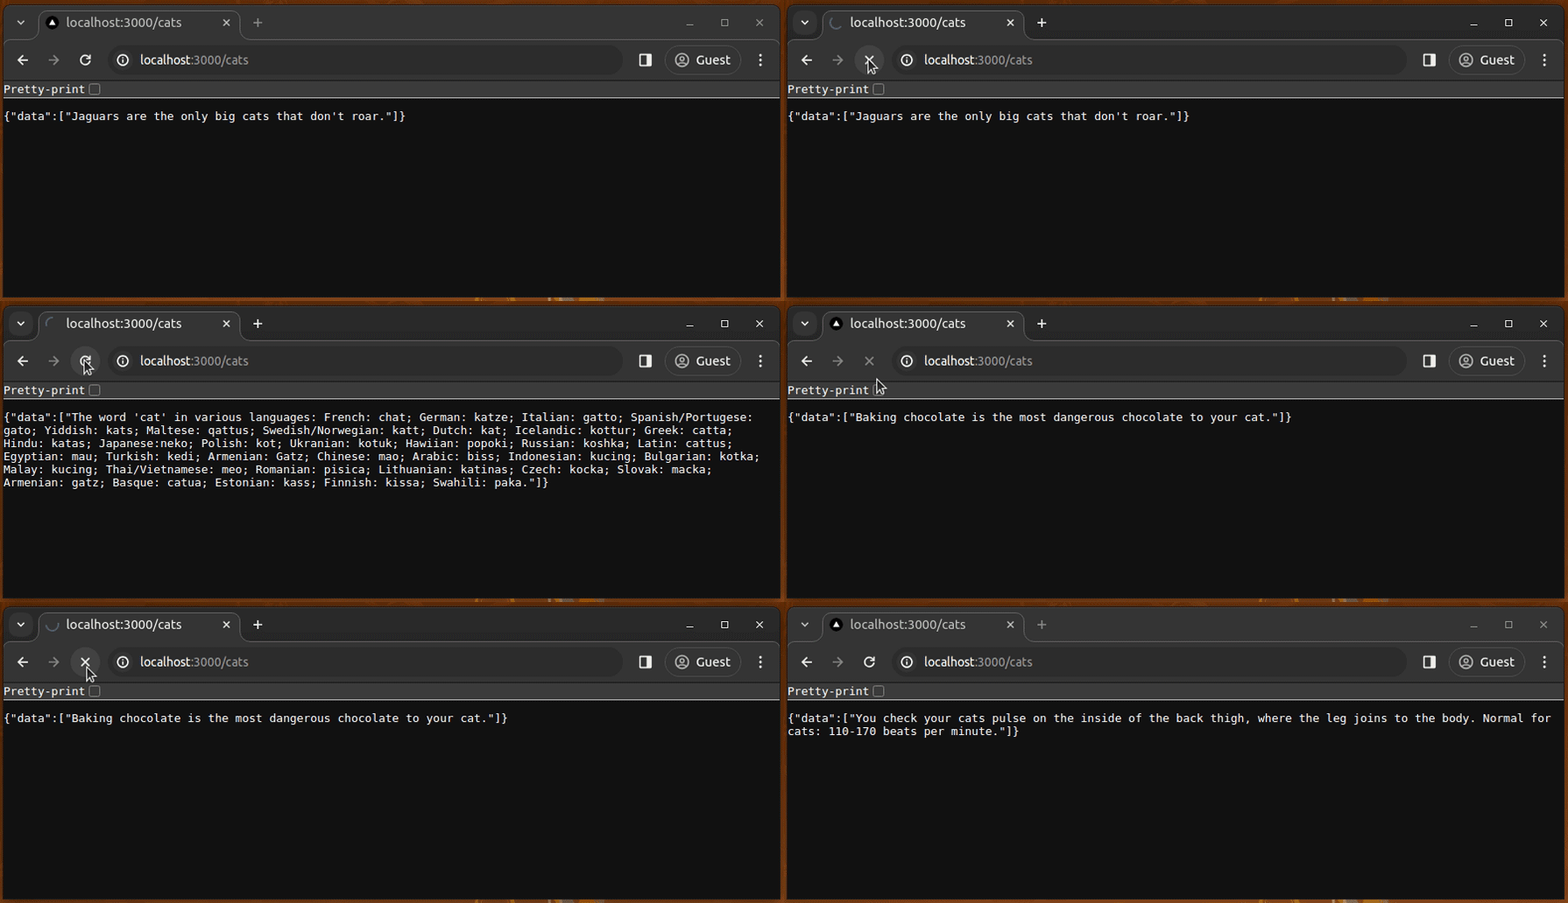
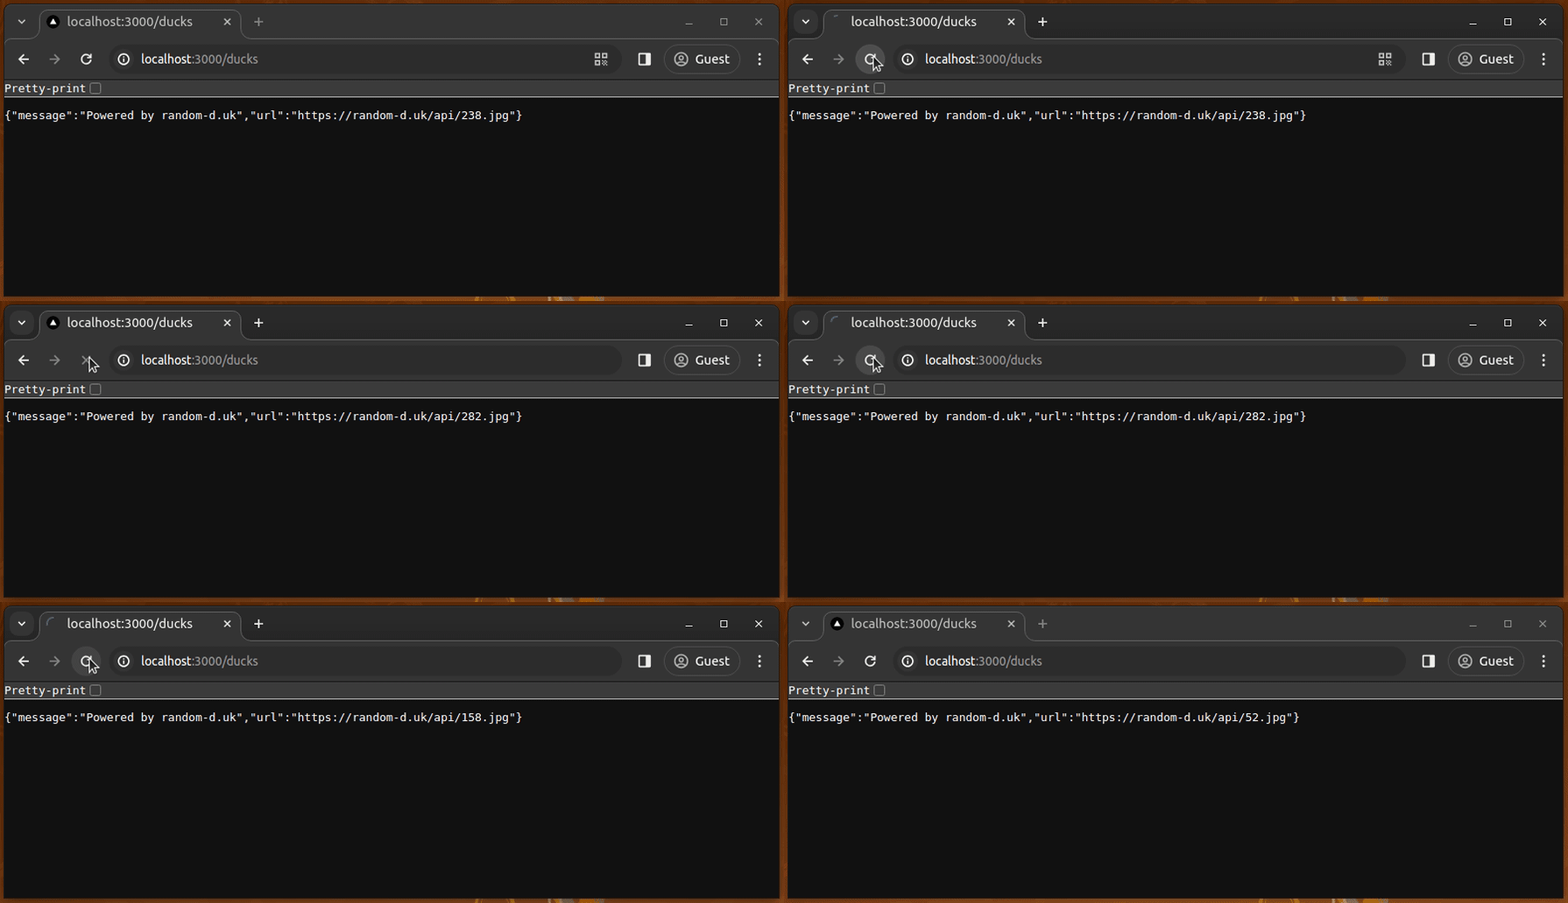
Now, I will add another route that will fetch its data (a random duck image) from https://random-d.uk/api/random. To do so, I will simply need to add another object, like so:
{
  source: '/ducks',
  destination: 'https://random-d.uk/api/random',
},
Now, the configuration object looks like this:
const nextConfig = {
  async rewrites() {
    return [
      {
          source: '/cats',
          destination: 'https://meowfacts.herokuapp.com',
      },
      {
        source: '/ducks',
        destination: 'https://random-d.uk/api/random',
      },
    ];
  }
};
With this, when we go to /ducks in our Next.js application, it will fetch data from https://random-d.uk/api/random without ever revealing its URL. See the following preview:
You can also create proxy mappings for in-app paths as demonstrated in the following configuration:
const nextConfig = {
  async rewrites() {
    return [
      {
          source: '/about-us',
          destination: '/about',
      }
    ];
  }
};
The above configuration maps create a proxy mapping that fetches /about content when a client requests /about-us.
In the previous example, we created several proxied endpoints by doing simple URL mappings. Next.js lets you configure advanced proxy mappings with parameters, wildcards, and Regex definitions.
Look at the following rewrite setup:
{
  source: '/api/repos/:username/:repo',
  destination: 'https://api.github.com/repos/:username/:repo'
}
The above rewrite creates a proxy for the GitHub API repository endpoint and retrieves content without exposing the GitHub API URL. Use the following code snippet in a Next.js client component:
useEffect(() => {
  fetch('/api/repos/facebook/react')
    .then((res) => res.json())
    .then((data) => {
      console.log(data.stargazers_count);
    })
}, []);
Now, you’ll see the GitHub stargazers count for the official React GitHub repository via the proxied GitHub API.
You can use wildcard mapping to create many proxied URLs at once. For example, the following rewrite creates a proxy for the entire GitHub API:
{
  source: '/github-api/:path*',
  destination: 'https://api.github.com/:path*'
}
Now, you can send an HTTP request to the /github-api/orgs/facebook/repos?sort=updated
Next.js API URL to fetch all sorted repositories of the Facebook GitHub organization via a proxy.
The Next.js rewrites feature creates a proxy for all URL mappings and makes HTTP requests from the server side. The proxied URL targets are never called from the client side, so the browser won’t complain about CORS issues. Thanks to this, we can solve external API CORS issues by creating a proxy.
Consider running the following code snippet on one of your Next.js components:
useEffect(() => {
  fetch('https://github.com')
    .then((res) => res.text())
    .then((data) => {
      console.log(data);
    })
}, []);
This will trigger a CORS error on the browser console as the GitHub homepage blocks localhost requests via CORS:

We can’t modify the server response headers in this scenario because the GitHub website runs on an external web server, so we can create a proxy for the GitHub homepage as follows to fetch HTML content through the Next.js server:
{
  source: '/github-web',
  destination: 'https://github.com',
},
Now, we can request the GitHub website homepage’s HTML content through the proxied endpoint:
useEffect(() => {
  fetch('/github-web')
    .then((res) => res.text())
    .then((data) => {
      console.log(data);
    })
}, []);
The above code snippet helps us fetch HTML content and avoid the CORS issue:
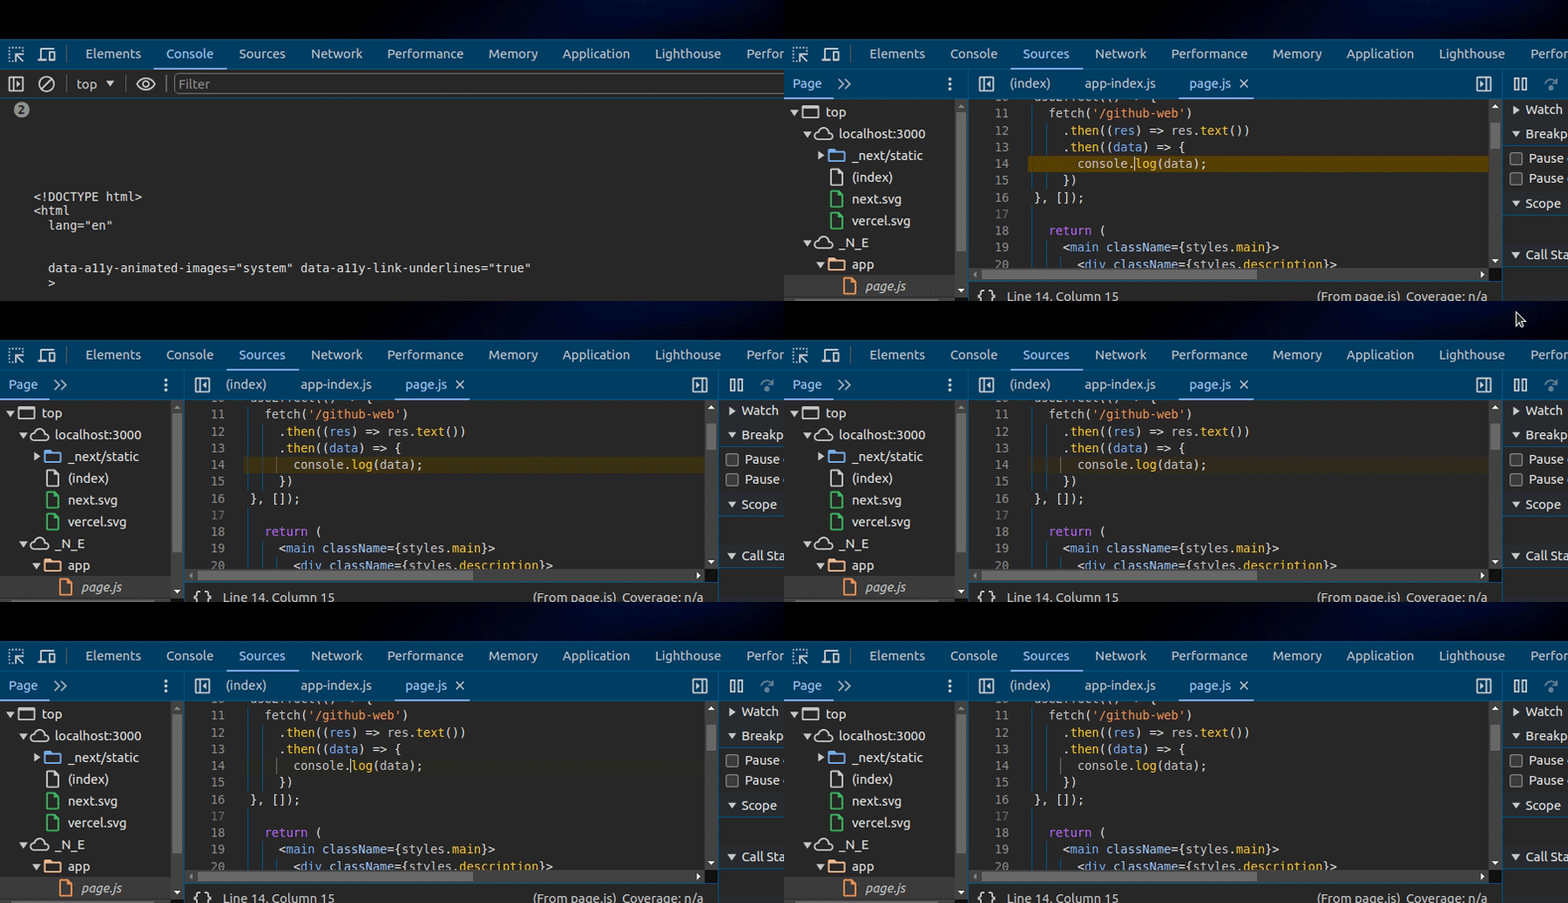
Using this technique, you can solve CORS issues where you can’t update server headers.
In previous examples, we created fixed proxy URL mappings using the rewrites feature. In some development scenarios, we have to create dynamic proxy mappings based on environment variables.
Next.js evaluates the rewrites property during the build time, so we can’t properly implement dynamic proxy mappings within the app configuration file. However, Next.js internally sets the NODE_ENV environment variable, so we can use it to create dynamic proxy mappings within the app configuration.
Let’s test how NODE_ENV works with the Next.js proxy. Add the following logic to your rewrites function:
async rewrites() {
  console.log(`NODE_ENV: ${process.env.NODE_ENV}`);
  return [
    {
      source: '/proxy-web',
      destination: process.env.NODE_ENV === 'production' ?
         'https://nextjs.org' : 'https://github.com'
    }
  ];
}
Now, start your app in development mode:
npm run dev
#--- or ---
yarn dev
This command will print NODE_ENV: development on your terminal and map /proxy-web with https://github.com.
Next, build your app:
npm run build
#--- or ---
yarn build
This command will print NODE_ENV: production on your terminal and map /proxy-web with https://nextjs.org. Once you run the production build with npm start or yarn start, we won’t see the result of the log statement, as rewrites are evaluated at build time.
If you need to create dynamic proxy mappings based on other environment variables, you have to enable runtime proxy mappings by creating a middleware.
Let’s create a dynamic proxy mapping using the EXTERNAL_API environment variable. Create a new file named middleware.js inside the root directory of your Next.js project and add the following code:
import { NextResponse } from 'next/server';

export function middleware(request) {
  if(request.nextUrl.pathname.startsWith('/external-api')) {
    let newUrl = new URL(request.nextUrl.pathname.replace(/^\/external-api/, '') +
                    request.nextUrl.search,
                  process.env.EXTERNAL_API);
    return NextResponse.rewrite(newUrl);
  }
}
The simple middleware above creates a proxy for EXTERNAL_API through the /external-api path. Run your project by providing the GitHub API as the external API as follows:
EXTERNAL_API=https://api.github.com npm run dev
#--- or ---
EXTERNAL_API=https://api.github.com yarn dev
Now, you can use the /external-api path to use the GitHub API:
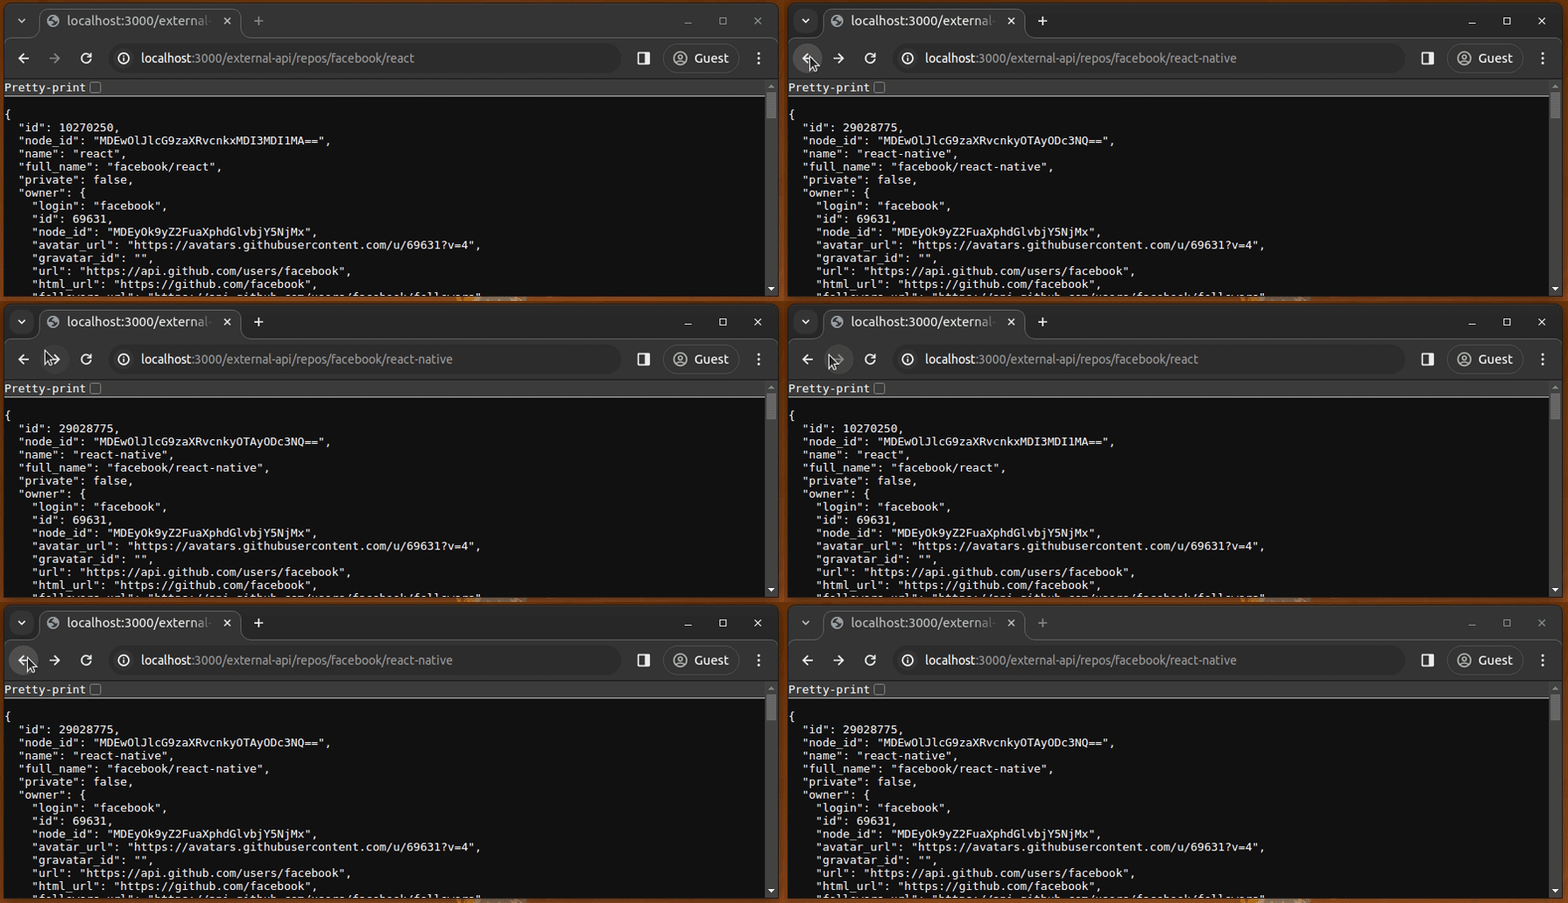
Start the Next.js app with the following command to use the external cat facts API via the /external-api path:
EXTERNAL_API=https://meowfacts.herokuapp.com npm run dev
#--- or ---
EXTERNAL_API=https://meowfacts.herokuapp.com yarn dev
Now, you can use cat facts from the proxied path:
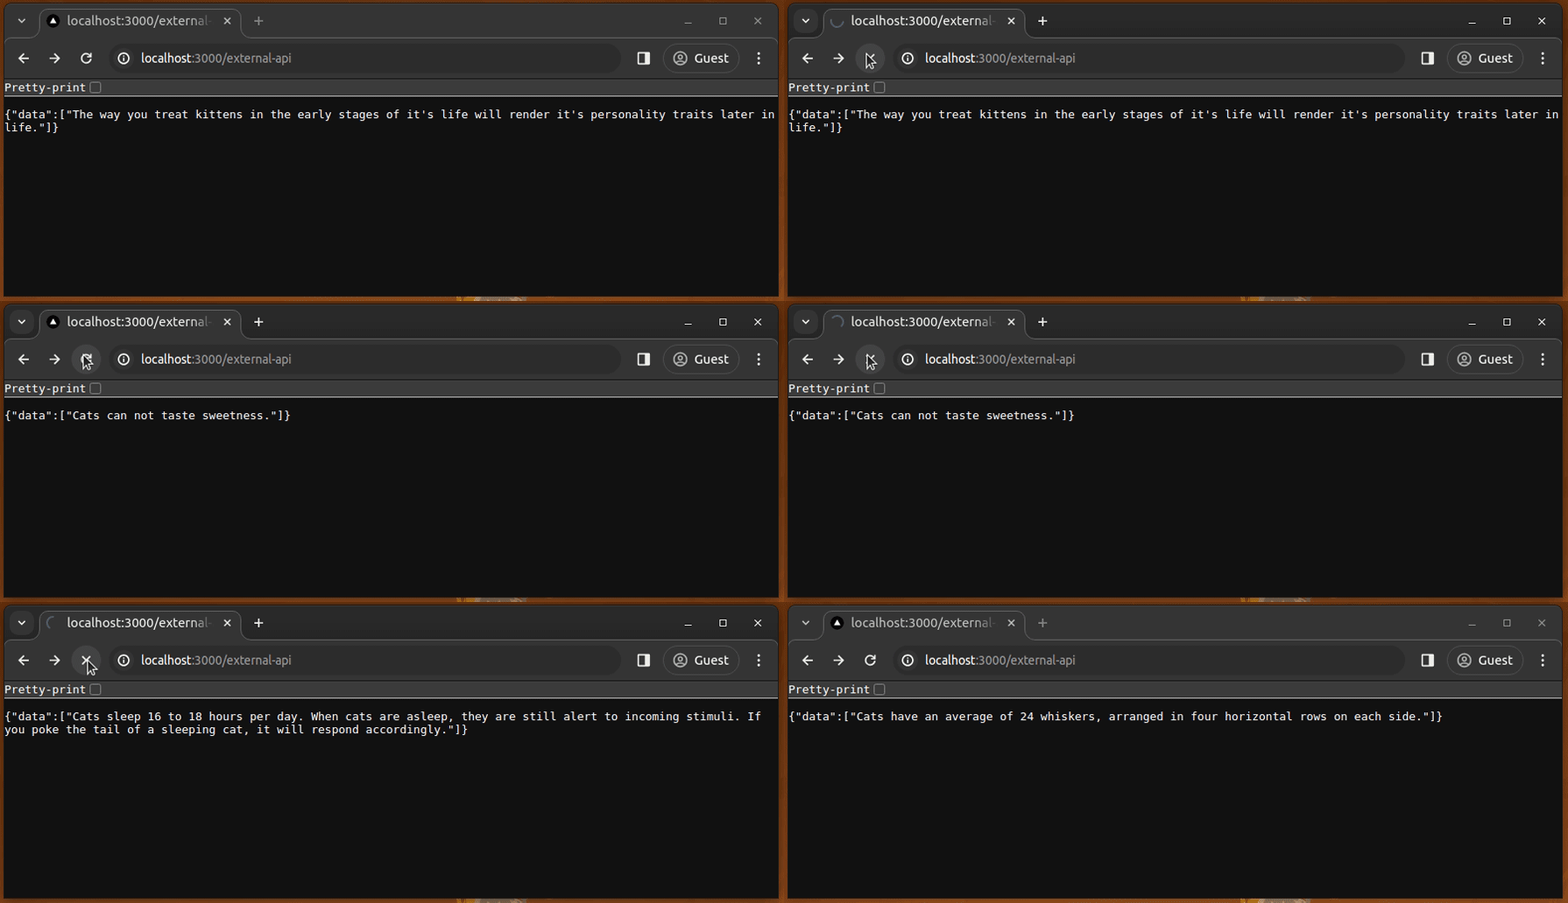
Similarly, you can create any dynamic proxy mapping logic using any environment variable during runtime.
The popular http-proxy-middleware package and other Node.js proxy libraries let you implement dynamic proxy mappings for Next.js apps, but the inbuilt NextResponse.rewrite() method supports basic proxying out-of-the-box without using external packages.
Congratulations! You have reached the end of this tutorial where we looked at what a proxy is and implemented one in Next.js. With Next.js rewrites, we can map an incoming request path to a different destination path, test this out with some external APIs, and correct the feed on our local machine. The rewrites feature supports wildcard path matching, so you can create a mapping that proxies multiple endpoints. As we discussed in this tutorial, you can use Next.js middleware to create run-time, dynamic proxy mappings.
Debugging Next applications can be difficult, especially when users experience issues that are difficult to reproduce. If you’re interested in monitoring and tracking state, automatically surfacing JavaScript errors, and tracking slow network requests and component load time, try LogRocket.
LogRocket captures console logs, errors, network requests, and pixel-perfect DOM recordings from user sessions and lets you replay them as users saw it, eliminating guesswork around why bugs happen — compatible with all frameworks.
LogRocket's Galileo AI watches sessions for you, instantly identifying and explaining user struggles with automated monitoring of your entire product experience.
The LogRocket Redux middleware package adds an extra layer of visibility into your user sessions. LogRocket logs all actions and state from your Redux stores.


Modernize how you debug your Next.js apps — start monitoring for free.

Russ Miles, a software development expert and educator, joins the show to unpack why “developer productivity” platforms so often disappoint.

Discover what’s new in The Replay, LogRocket’s newsletter for dev and engineering leaders, in the February 18th issue.

Learn how to recreate Claude Skills–style workflows in GitHub Copilot using custom instruction files and smarter context management.

Claude Code is deceptively capable. Point it at a codebase, describe what you need, and it’ll autonomously navigate files, write […]
Hey there, want to help make our blog better?
Join LogRocket’s Content Advisory Board. You’ll help inform the type of content we create and get access to exclusive meetups, social accreditation, and swag.
Sign up now
One Reply to "How to use a proxy in Next.js"
How can I pass the token found in http/only cookies to an authorization header when directed to the destination?