
Nowadays, it’s common for developers to work on both frontend and backend projects. According to a recent developer survey, React Native is one of the most popular frameworks worldwide for building cross-platform mobile apps. Laravel is a PHP web framework with an elegant code structure that developers can use to create REST APIs. Laravel currently has 71k GitHub stars, demonstrating its popularity in the developer community.

This article will cover the details of uploading images from React Native app to a Laravel API.
The Replay is a weekly newsletter for dev and engineering leaders.
Delivered once a week, it's your curated guide to the most important conversations around frontend dev, emerging AI tools, and the state of modern software.
Uploading images from a React Native app seems straightforward. However, React Native does not provide a direct way to connect the app with Laravel’s endpoint.
Therefore, you’ll need to take a few steps and use an HTTP library like Axios to upload the images from your app. You’ll also need to store the public URL of each image in the database.
Let’s start by creating the Laravel project using composer.
> composer create-project laravel/laravel image-upload
Run the following command to create an Image model class along with migration.
> php artisan make:model Image -m
Then, specify the required columns in the up() function of the generated migration class, like so:
public function up()
{
    Schema::create('images', function (Blueprint $table) {
        $table->id();
        $table->string('url');
        $table->timestamps();
    });
}
Next, run the following command to perform the database changes.
> php artisan migrate
Now that the database is ready, let’s set up the API code.
Let’s create a POST API to handle the image upload request from the React Native app.
Run the following command to create a controller to handle the incoming requests.
php artisan make:controller ImageUploadController
Next, in the ImageUploadController class, create a handler class method, uploadImage, as shown below.
use App\Models\Image;
use Illuminate\Http\Request;
use Illuminate\Support\Facades\URL;
use Illuminate\Support\Facades\Validator;
use Illuminate\Validation\Rules\File;

class ImageUploadController extends Controller
{
    public function uploadImage(Request $request)
    {
        $validator = Validator::make($request->all(), ['image' => ['required', File::image()->max(2 * 1024)]]);
        if ($validator->fails()) return response()->json($validator->messages());
        $image = new Image();
        $file = $request->file('image');
        $filename = uniqid() . "_" . $file->getClientOriginalName();
        $file->move(public_path('public/images'), $filename);
        $url = URL::to('/') . '/public/images/' . $filename;
        $image['url'] = $url;
        $image->save();
        return response()->json(['isSuccess' => true, 'url' => $url]);
    }
}
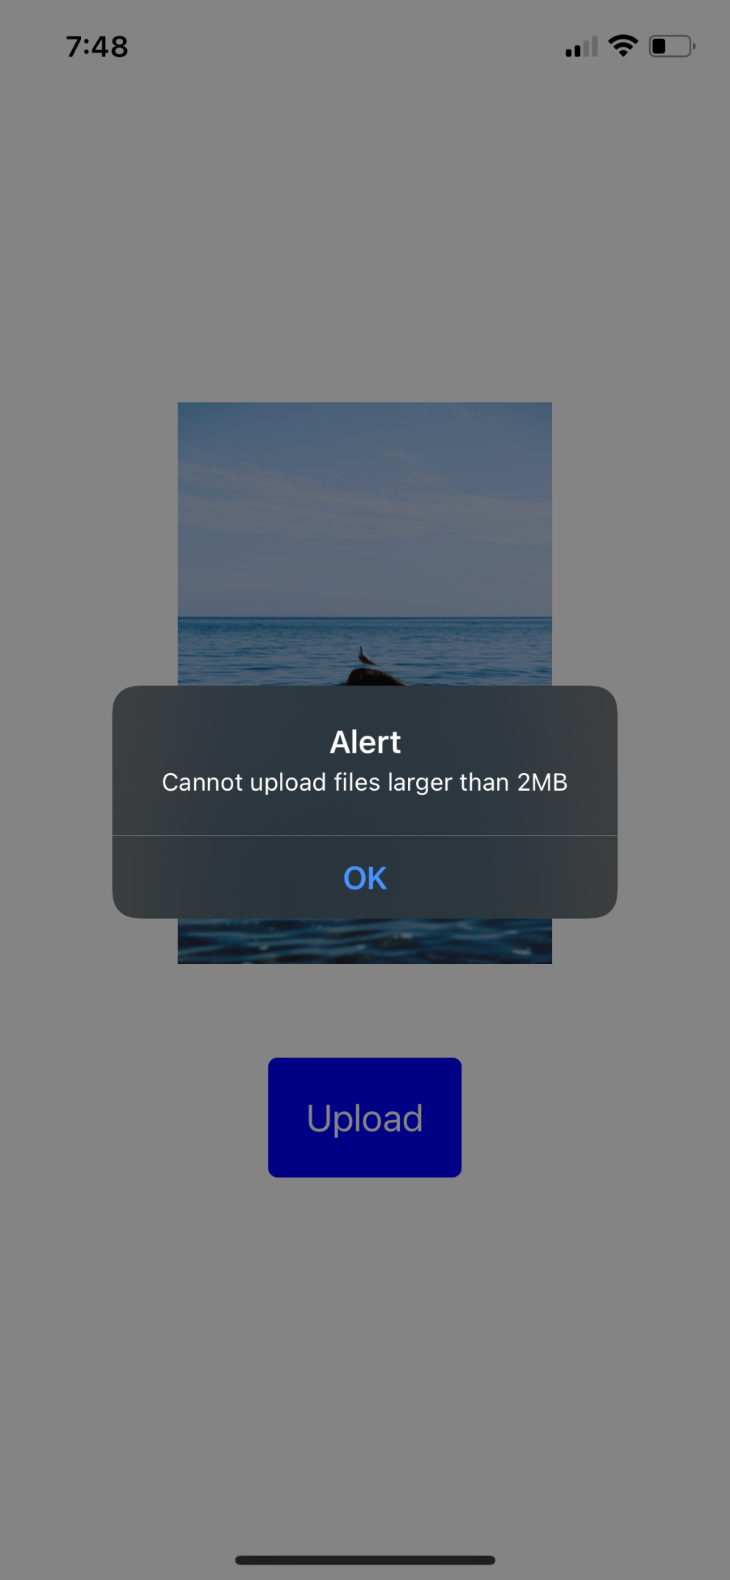
In the uploadImage method, we use the Validator utility class to validate that there’s an image in the request and that the file size is less than 2MB. If the validation fails, we return the validation error message as the response.
In the above code, we store the image in the public path so that it is accessible by the URL. To make the filenames unique, you can prepend the original filename with a unique ID using the uniqid() function.
Next, attach the controller method to an API endpoint by adding the following code snippet to the routes/api.php file:
use App\Http\Controllers\ImageUploadController;

Route::post('/upload', [ImageUploadController::class, 'uploadImage'])
    ->name('images.upload');
Now, run the API server on your system using the following command:
> php artisan serve --host 0.0.0.0
To enable API access from a local IP address, use the --host 0.0.0.0 option. You’ll need this as the React Native app will make the HTTP request to the local IP address.
To find the local IP address on Windows, run the following command:
> ipconfig
To find the local IP address on macOS, check the network settings. Alternatively, you can use ngrok to make your localhost publicly accessible using a URL.
In this guide, we’ll use Expo to create the React Native project. Expo is a development tool that lets you run your React Native app on any device without using an emulator.
> npx create-expo-app ImageUploaderApp
Next, let’s install some dependencies that we’ll use in the project. We’ll use the expo-image-picker library to select images from the device’s gallery and the axios library to upload the photos to our Laravel API.
To install these libraries, open up a terminal and navigate to your project’s directory. Then, run the following commands:
> npm i expo-image-picker axios
Now that those dependencies are installed, we can get to work on our code!
Let’s work on creating the UI for the React Native app.
Start by creating a custom Button component, like so:
import React from "react";
import { TouchableOpacity, Text, StyleSheet } from "react-native";

interface ButtonProps {
  onPress: () => void;
  text: string;
}

export const Button = ({ onPress, text }: ButtonProps) => (
  <TouchableOpacity onPress={onPress} style={styles.button}>
    <Text style={styles.buttonText}>{text}</Text>
  </TouchableOpacity>
);

const styles = StyleSheet.create({
  button: {
    backgroundColor: "blue",
    padding: 20,
    borderRadius: 5,
  },
  buttonText: {
    fontSize: 20,
    color: "#fff",
  },
});
Next, create a Thumbnail component that will preview the image selected from the gallery.
import React from "react";
import { View, Image, StyleSheet } from "react-native";

interface ThumbnailProps {
  uri: string;
}

export const Thumbnail = ({ uri }: ThumbnailProps) => (
  <View>
    <Image source={{ uri }} style={styles.thumbnail} />
  </View>
);

const styles = StyleSheet.create({
  thumbnail: {
    width: 300,
    height: 300,
    resizeMode: "contain",
    marginBottom: 50,
  },
});
We can use these components together in the main App.js file to create the app’s user interface.
Next, create a function openImagePickerAsync() in the App.js file that will check and ask for gallery permission. When the user grants permission, set the selected image in the state and display the image using the Thumbnail component.
import * as ImagePicker from "expo-image-picker";
import React, { useState } from "react";
import { Button } from "./components/Button";
import { Thumbnail } from "./components/Thumbnail";
import { StatusBar } from "expo-status-bar";
import { StyleSheet, View, Platform } from "react-native";

...

export default function App() {

  const [selectedImage, setSelectedImage] = useState<ImagePicker.ImageInfo>();

  const openImagePickerAsync = async () => {
    let permissionResult =
      await ImagePicker.requestMediaLibraryPermissionsAsync();
    if (permissionResult.granted === false) {
      alert("Permission to access camera roll is required!");
      return;
    }
    let pickerResult = await ImagePicker.launchImageLibraryAsync({
      quality: 1,
      mediaTypes: ImagePicker.MediaTypeOptions.Images,
    });
    if (pickerResult.cancelled === true) return;
    setSelectedImage(pickerResult);
  };

  const uploadImage = async () => {
    // upload logic will go here
  }

  return (
    <View style={styles.container}>
      {selectedImage ? (
        <>
          <Thumbnail uri={selectedImage.uri} />
          <Button onPress={uploadImage} text="Upload" />
        </>
      ) : (
        <Button onPress={openImagePickerAsync} text="Pick a photo" />
      )}
      <StatusBar style="auto" />
    </View>
  );
}
At this point, the app’s UI should look something like this:

Once the image is selected from the gallery, we want to display an upload button that will make an API request to the Laravel server.
In the uploadImage() function, create a FormData object and append the image data. Call the axios.post() method to make the POST request to the upload endpoint. In the headers, add Content-Type: multipart/form-data to enable file upload to the server.
const API_BASE = 'YOUR LOCAL IP ADDRESS' // 192.168.1.1;

const uploadImage = async () => {
    if (!selectedImage) return;
    const canUpload = await checkFileSize(selectedImage.uri);
    if (!canUpload) {
      alert("Cannot upload files larger than 2MB");
      setSelectedImage(undefined);
      return;
    }
    const uri =
      Platform.OS === "android"
        ? selectedImage.uri
        : selectedImage.uri.replace("file://", "");
    const filename = selectedImage.uri.split("/").pop();
    const match = /\.(\w+)$/.exec(filename as string);
    const ext = match?.[1];
    const type = match ? `image/${match[1]}` : `image`;
    const formData = new FormData();
    formData.append("image", {
      uri,
      name: `image.${ext}`,
      type,
    } as any);
    try {
      const { data } = await axios.post(`${API_BASE}/api/upload`, formData, {
        headers: { "Content-Type": "multipart/form-data" },
      });
      if (!data.isSuccess) {
        alert("Image upload failed!");
        return;
      }
      alert("Image Uploaded");
    } catch (err) {
      console.log(err);
      alert("Something went wrong");
    } finally {
      setSelectedImage(undefined);
    }
};
Here’s the sample app with the upload button:
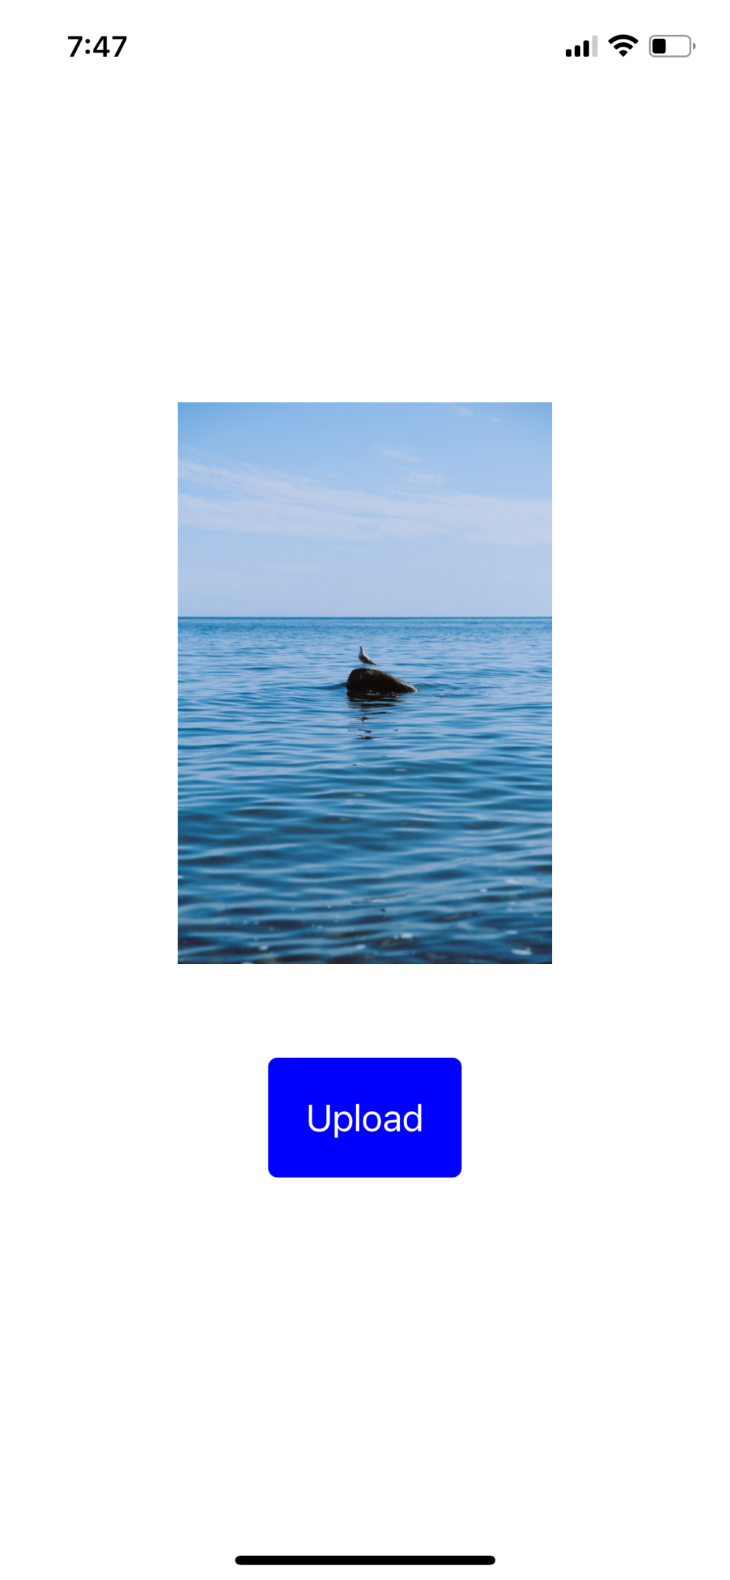
It is a good practice to check for files for size before uploading them to the server. Let’s do this by installing the expo-file-system library.
> npm i expo-file-system
import * as FileSystem from "expo-file-system";
...

const checkFileSize = async (
  fileURI: string,
  maxSize = 2
): Promise<boolean> => {
  const fileInfo = await FileSystem.getInfoAsync(fileURI);
  if (!fileInfo.size) return false;
  const sizeInMb = fileInfo.size / 1024 / 1024;
  return sizeInMb < maxSize;
};
In the above code, the FileSystem.getInfoAsync() method accepts the file URI as the parameter and returns the file size in bytes.
Now, run the npm run start command to build the React Native app.
> npm run start
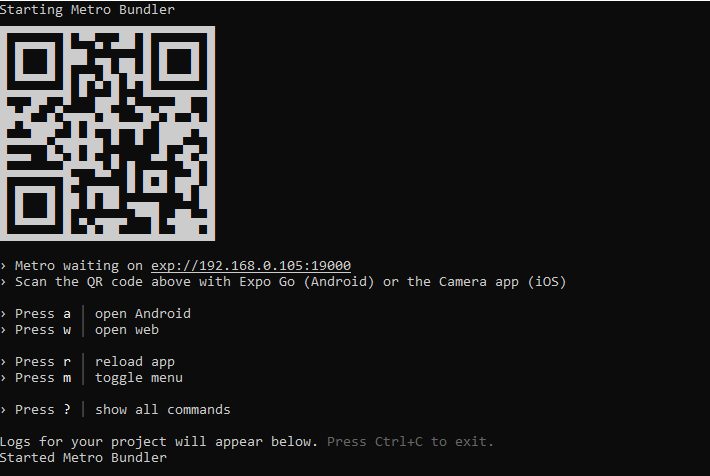
Youll need the Expo App on your device to install and run your React Native app. Once it’s installed, scan the QR code displayed on your terminal. You can learn more about Expo from the official documentation.
Once your app is running on the device, try to upload an image that’s greater than 2MB. You should see an error message like that shown below:
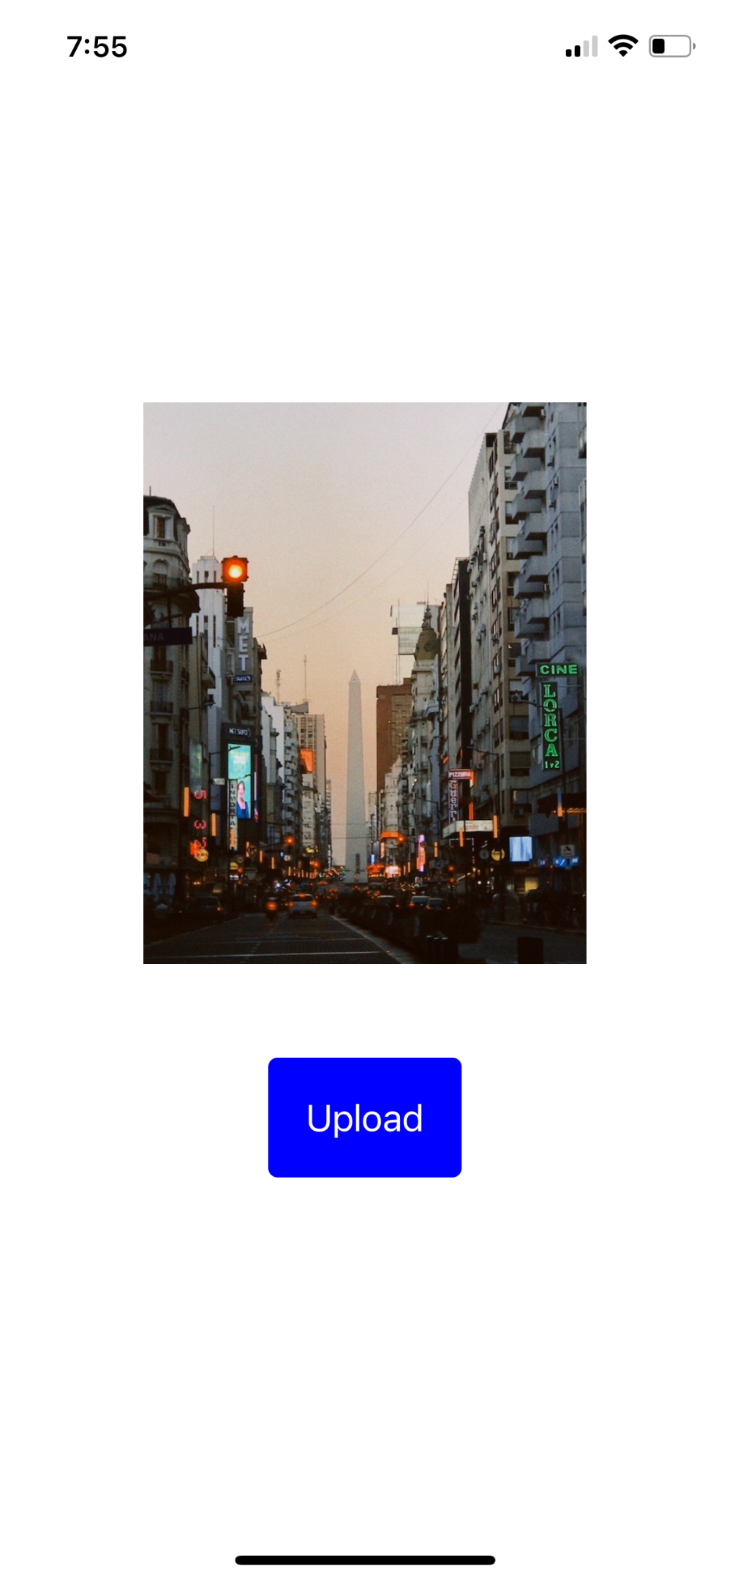
Now, try uploading a smaller image; you should see a message indicating the image was successfully uploaded.

In this article, we demonstrated how to upload images from a React Native app to a Laravel API.
We started by setting up our Laravel API and creating an endpoint for image uploads. Then, we configured the React Native project using Expo and created UI components for previewing and uploading the image. Finally, we used Axios to upload the image to the Laravel API.
Uploading images from React Native to a Laravel API is a pretty simple process. Just follow the steps outlined in this article, and you should be able to complete it in no time. If you have any questions or run into any issues, feel free to leave a comment below.
Cheers and happy coding!

LogRocket's Galileo AI watches sessions for you and and surfaces the technical and usability issues holding back your React Native apps.
LogRocket also helps you increase conversion rates and product usage by showing you exactly how users are interacting with your app. LogRocket's product analytics features surface the reasons why users don't complete a particular flow or don't adopt a new feature.
Start proactively monitoring your React Native apps — try LogRocket for free.

Learn how LLM routing works in production, when it’s worth the complexity, and how teams choose the right model for each request.

Compare key features of popular meta-frameworks Remix, Next.js, and SvelteKit, from project setup to styling.

Discover what’s new in The Replay, LogRocket’s newsletter for dev and engineering leaders, in the February 4th issue.

AI-first isn’t about tools; it’s about how teams think, build, and decide. Ken Pickering, CTO at Scripta Insights, shares how engineering leaders can adapt.
Would you be interested in joining LogRocket's developer community?
Join LogRocket’s Content Advisory Board. You’ll help inform the type of content we create and get access to exclusive meetups, social accreditation, and swag.
Sign up now
One Reply to "How to upload images from React Native to a Laravel API"
Thanks Ail, very helpful