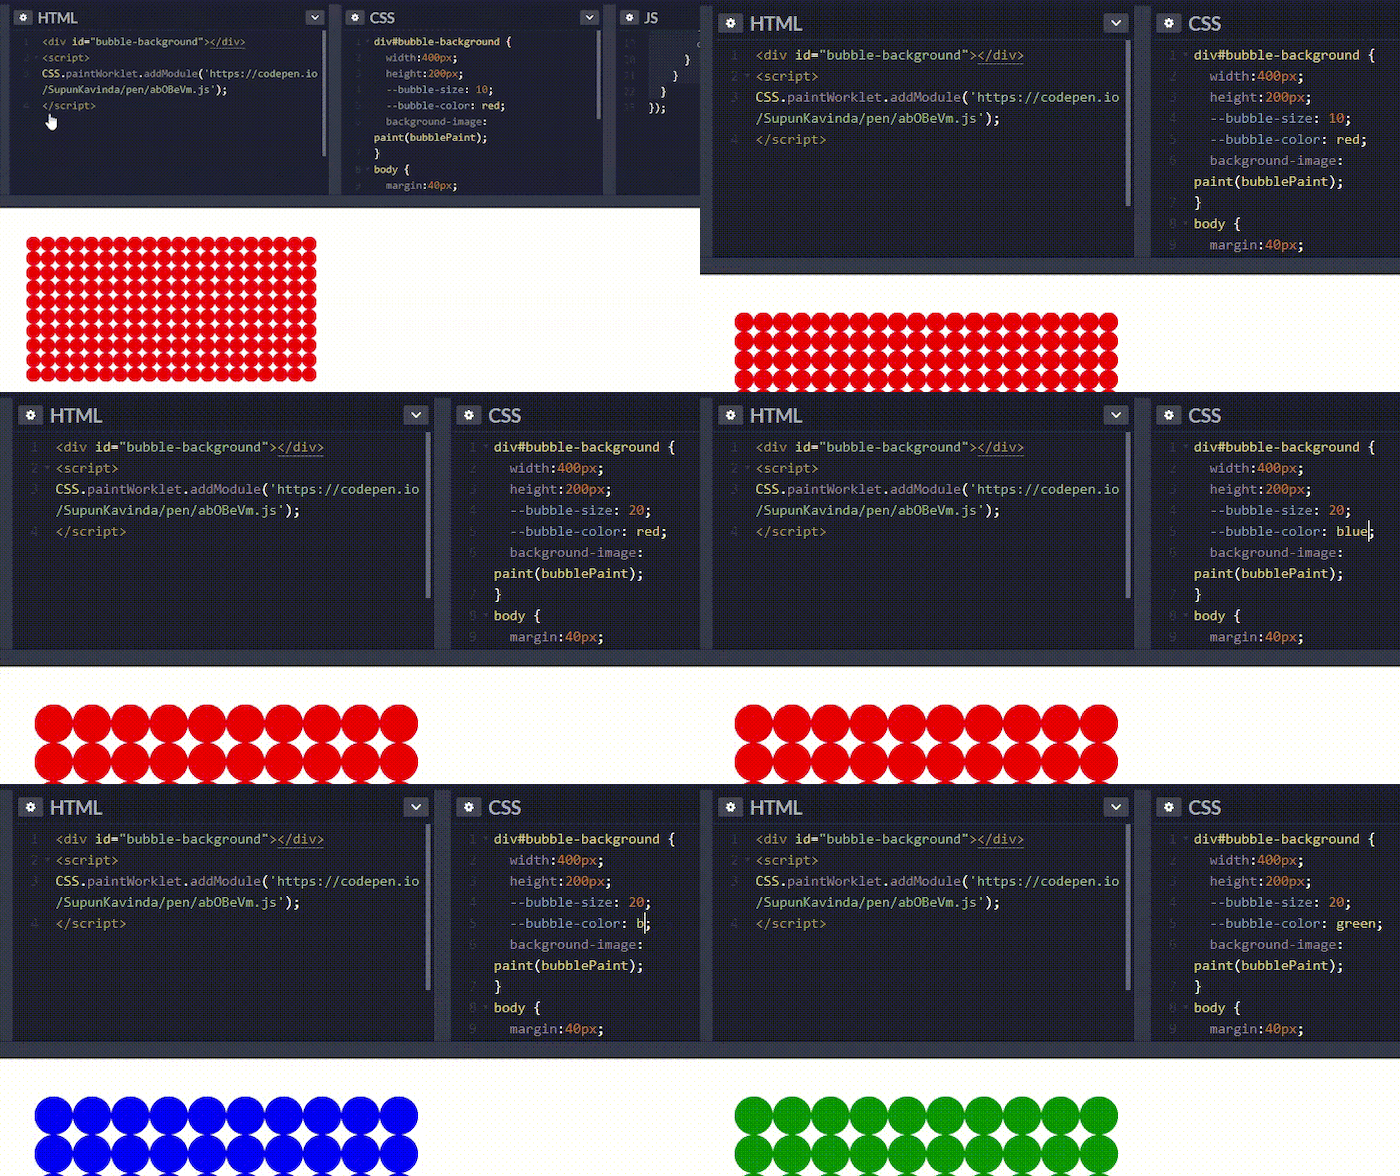
The CSS Paint API (aka CSS Custom Paint) enables developers to write JavaScript functions to draw images into CSS properties such as background-image, border-image, etc. In this article, we’ll discuss the basics of the CSS Paint API and, specifically, how to create randomly generated backgrounds.

The Replay is a weekly newsletter for dev and engineering leaders.
Delivered once a week, it's your curated guide to the most important conversations around frontend dev, emerging AI tools, and the state of modern software.
The CSS Paint API is part of CSS Houdini, a set of low-level APIs that give developers direct access to the CSS Object Model (CSSOM). With Houdini, developers can create their own CSS features, even they are not implemented in the browsers.
Typically, we would add a background image to an element like this:
body {
  background-image: url('path/to/image.jpg');
}
This image is static. If you think technically, when the browser parses this CSS code, it sends an HTTP request to the URL and fetches the image. It then displays the image as the background image of body.
Unlike static images, you can use the CSS Paint API to create dynamic backgrounds. Keep reading to see how.
To begin using the CSS Paint API, start with the following steps.
paint() functionBefore creating a dynamic background, let’s start with a simple static background composed of bubbles.

First, we need to establish an element to style. We’ll use a simple <div> element.
<!-- index.html -->
<div id="bubble-background"></div>
paint() functionTo use CSS Paint API for the background, add the paint() function to the background-image property of an element.
div#bubble-background {
  width:400px;
  height:200px;
  background-image: paint(bubblePaint);
}
bubblePaint is the worklet we’ll create in the next steps.
We need to keep the worklets in an external JavaScript file — we’ll call it bubble-paint.js.
// bubble-paint.js
registerPaint('bubblePaint', class {
  paint(ctx, geom) {
    const circleSize = 10;
    const bodyWidth = geom.width;
    const bodyHeight = geom.height;

    const maxX = Math.floor(bodyWidth / circleSize);
    const maxY = Math.floor(bodyHeight / circleSize);

    for (let y = 0; y < maxY; y++) {
      for (let x = 0; x < maxX; x++) {
        ctx.fillStyle = '#eee';
        ctx.beginPath();
        ctx.arc(x * circleSize * 2 + circleSize, y * circleSize * 2 + circleSize, circleSize, 0, 2 * Math.PI, true);
        ctx.closePath();
        ctx.fill();
      }
    }
  }
});
In this file, the registerPaint() function registers a paint worklet. The first parameter is the name of the worklet (same as the one we used in paint(bubblePaint)). The next parameter should be a class with the paint() method.
The paint() method is where we write the JavaScript code to render the image. Here we’ve used two arguments:
ctx is similar to CanvasRenderingContext2D (the return value of canvas.getContext("2d")), though not identical. According to Google:A paint worklet’s context is not 100% the same as a
<canvas>context. As of now, text rendering methods are missing and for security reasons you cannot read back pixels from the canvas.
geom contains two elements: the width and height of the painting elementInside the function, there is some logic to create the pattern. The ctx. functions are what we use to create canvases. If you are not familiar with canvases, I’d suggest you to go through this Canvas API tutorial.
The next step is to invoke the worklet in the main JavaScript thread (usually in the HTML file).
See the Pen
JjdbQZj by Supun Kavinda (@SupunKavinda)
on CodePen.
Let’s make the color and size of the above bubbles dynamic. It’s pretty simple with CSS variables.
div#bubble-background {
  --bubble-size: 40;
  --bubble-color: #eee;

  // other styles
}
To use those CSS variables in the paint() method, we must first tell the browser we’re going to use it. This is done by adding the inputProperties() static attribute to the class.
// bubble-paint.js
registerPaint('bubblePaint', class {
  static get inputProperties() { return ['--bubble-size', '--bubble-color']; }

  paint() { /* */ }
});
We can access those properties from the third parameter of the paint() function.
paint(ctx, geom, properties) {
    const circleSize = parseInt(properties.get('--bubble-size').toString());
    const circleColor = properties.get('--bubble-color').toString();

    const bodyWidth = geom.width;
    const bodyHeight = geom.height;

    const maxX = Math.floor(bodyWidth / circleSize);
    const maxY = Math.floor(bodyHeight / circleSize);

    for (let y = 0; y < maxY; y++) {
      for (let x = 0; x < maxX; x++) {
        ctx.fillStyle = circleColor;
        ctx.beginPath();
        ctx.arc(x * circleSize * 2 + circleSize, y * circleSize * 2 + circleSize, circleSize, 0, 2 * Math.PI, true);
        ctx.closePath();
        ctx.fill();
      }
    }
}

That’s how easy it is to create dynamic backgrounds using the CSS Paint API.
This example on CodePen has two different backgrounds for desktop and mobile devices.
The trick is to change the variable values inside a media query.
@media screen and (max-width:600px) {
  div#bubble-background {
    --bubble-size: 20;
    --bubble-color: green;
  }
}
Isn’t that cool? Imagine having static images — you need to have two different images hosted on a server to create those backgrounds. With the CSS Paint API, we can create an endless number of beautiful graphics.
Now that you’re comfortable using the CSS Paint API, let’s explore how we can create randomly generated backgrounds using the CSS Paint API.
The Math.random() function is the key to making randomly generated backgrounds.
Math.random()
// returns a float number inclusive of 0 and exclusive of 1
Here we are carrying out roughly the same process as we did earlier; the only difference is that we are using the Math.random function in the paint() method.
Let’s create a background with a random gradient.
body {
  width:100%;
  height:100%;
  background-image: paint(randomBackground);
}


registerPaint('randomBackground', class {
  paint(ctx, geom) {
    const color1 = getRandomHexColor();
    const color2 = getRandomHexColor();

    const gradient = ctx.createLinearGradient(0, 0, geom.width, 0);
    gradient.addColorStop(0, color1);
    gradient.addColorStop(1, color2);

    ctx.fillStyle = gradient;
    ctx.fillRect(0, 0, geom.width, geom.height);
  }
})

function getRandomHexColor() {
  return '#'+ Math.floor(Math.random() * 16777215).toString(16)
}
The getRandomHexColor function does the math part to create a random hex color. See this helpful tutorial for more details about how this works.
Here’s the final result of our random background. If you reload the page, you’ll see random gradients, which you can use to make unique and interesting webpages.
See the Pen
MWwEXaX by Supun Kavinda (@SupunKavinda)
on CodePen.
You’ll also notice that the colors change when you resize the browser window. That’s because the browser rerenders the background by calling the paint() method with different geom values upon resizing.
Although Math.random merely generates a simple, random number, it’s the most important function to know when creating any random background. The range of awesome things you can build using this method is limited only by your imagination.
As amazing as the CSS Paint API is, browser compatibility can be an issue. Only the most recent browser versions support it. Here’s the browser compatibility data from Is Houdini Ready Yet? as of this writing.

Judging by this data, it’s not yet a good idea to use Houdini in production. However, the Google Chrome Labs team created a polyfill that makes the CSS Paint API work in most browsers. Nevertheless, be sure to test dynamic backgrounds on all major browsers before using it in production.
Here’s how to detect browser support in JavaScript:
if ('paintWorklet' in CSS) {
  CSS.paintWorklet.addModule('bubble-paint.js');
}
And in CSS:
@supports (background: paint(id)) {
  div#bubble-background {
    width:400px;
    height:200px;
    background-image: paint(bubblePaint);
  }
}
>
CSS fallback properties help improve browser support.
aside {
  background-image: url('/path/to/static/image');
  background-image: paint(bubblePaint);
}
Browsers that don’t support the paint() function won’t recognize that syntax. Therefore, it will ignore the second one and load the URL. Browsers that support it will understand both syntaxes, but the second one will override the first.
Below are some other useful and exciting ways to use the CSS Paint API.
With the CSS Paint API, we can draw a placeholder to display while an image is loading. This requires both Houdini’s new CSS Properties and the CSS Paint API.
Note that only a few browsers support the <image> syntax for CSS Properties, so it might not work in your browser.
See the Pen
RwPKYBQ by Supun Kavinda (@SupunKavinda)
on CodePen.
I’ve seen countless business websites that use brush strokes to emphasis their marketing keywords. While it’s possible to create brush strokes using canvas, it’s much easier with the CSS Paint API.
See the Pen
VwLPEmd by Supun Kavinda (@SupunKavinda)
on CodePen.
Since it’s only CSS, you can change the variable and reuse the brush stroke as needed.
.another-brushstroke {
  --brush-color: #fff;
  background-image: paint(brushstroke);
}
In this guide, we covered the basics of the CSS Paint API and explored how to use it with some examples. You should now have the background you need to create more creative and dynamic images with this new API. Although we focused on background-image, you can use the paint() function in other properties too (e.g., border-image). The CSS Paint API, along with the other CSS Houdini features, represents the future of CSS, so now’s the time to get started.
Once you’ve mastered the basics, learn more about Houdini and check out this gallery of tweakable and downloadable CSS Paint worklets.
As web frontends get increasingly complex, resource-greedy features demand more and more from the browser. If you’re interested in monitoring and tracking client-side CPU usage, memory usage, and more for all of your users in production, try LogRocket.

LogRocket lets you replay user sessions, eliminating guesswork around why bugs happen by showing exactly what users experienced. It captures console logs, errors, network requests, and pixel-perfect DOM recordings — compatible with all frameworks.
LogRocket's Galileo AI watches sessions for you, instantly identifying and explaining user struggles with automated monitoring of your entire product experience.
Modernize how you debug web and mobile apps — start monitoring for free.

@container scroll-state: Replace JS scroll listeners nowCSS @container scroll-state lets you build sticky headers, snapping carousels, and scroll indicators without JavaScript. Here’s how to replace scroll listeners with clean, declarative state queries.

Explore 10 Web APIs that replace common JavaScript libraries and reduce npm dependencies, bundle size, and performance overhead.

Russ Miles, a software development expert and educator, joins the show to unpack why “developer productivity” platforms so often disappoint.

Discover what’s new in The Replay, LogRocket’s newsletter for dev and engineering leaders, in the February 18th issue.
Hey there, want to help make our blog better?
Join LogRocket’s Content Advisory Board. You’ll help inform the type of content we create and get access to exclusive meetups, social accreditation, and swag.
Sign up now
2 Replies to "How to create randomly generated backgrounds with the CSS Paint API"
This is cool! But where’s the randomly generated part??
ok, this is very good! but how could I instead of the gradient being random to be based on the margins of an image?