Helm is a package manager for Kubernetes. Similar to Debian’s Apt and Python’s pip, Helm provides a way to find, share, and manage Kubernetes applications.

Helm charts helps you define, install, and upgrade Kubernetes applications without having to directly manage a Kubernetes manifest. They are easy to create, version, share, and publish.
Helm packages are charts that are preconfigured in Kubernetes and ready to be deployed. Charts consist of configuration files (mostly in YAML), which include metadata that describes the application, the infrastructure needed to operate it in terms of the standard Kubernetes manifest, and custom configuration files.
To follow along with this tutorial, you’ll need:
The Helm client is a command line interface (CLI) that enables you to develop charts; manage repositories, releases, and charts on a cluster; and interface with Kubernetes API server.
We’ll use Helm3 for this tutorial.
We would use Helm3 in this article, you can learn more about what it offers here.
To install Helm, execute the following commands.
$ curl https://raw.githubusercontent.com/kubernetes/helm/master/scripts/get-helm-3 > get_helm.sh
$ chmod 700 get_helm.sh
$ ./get_helm.sh
You can test the installation by executing the following.
$ helm version

Once Helm is installed, you can add chart repositories, which is required to install Kubernetes applications available on the charts.
To add the official Helm stable chart, execute the following.
helm repo add stable https://kubernetes-charts.storage.googleapis.com/
You can list charts on a repository using:
helm search repo stable
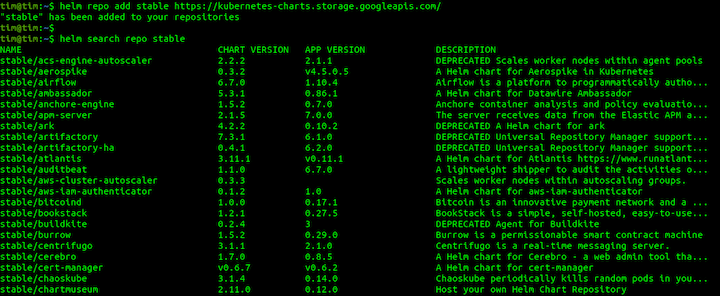
This lists all the charts available in the stable repo that can be installed to the cluster.
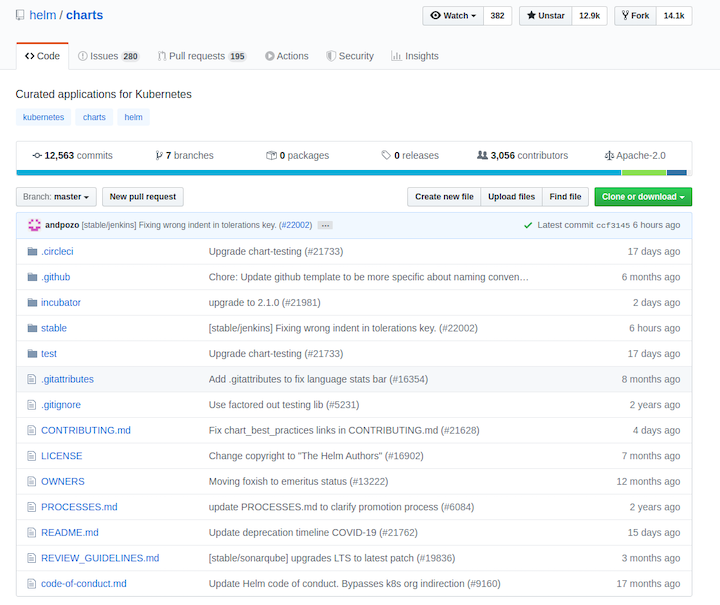
You can also discover awesome Helm charts that represent Kubernetes applications on Helm Hub.
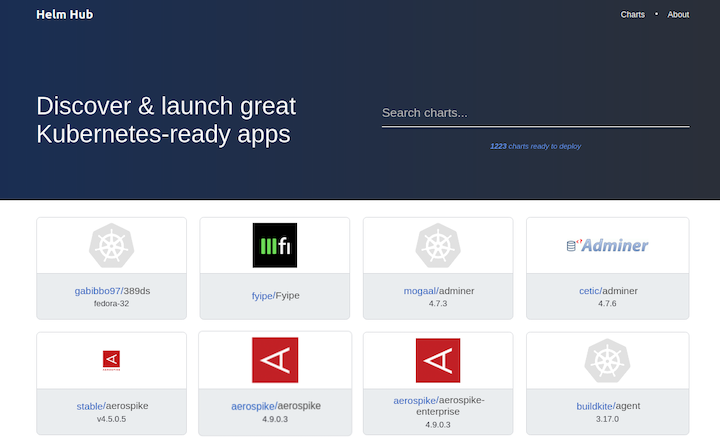
Click on any chart to see instructions on how to use it and other details.
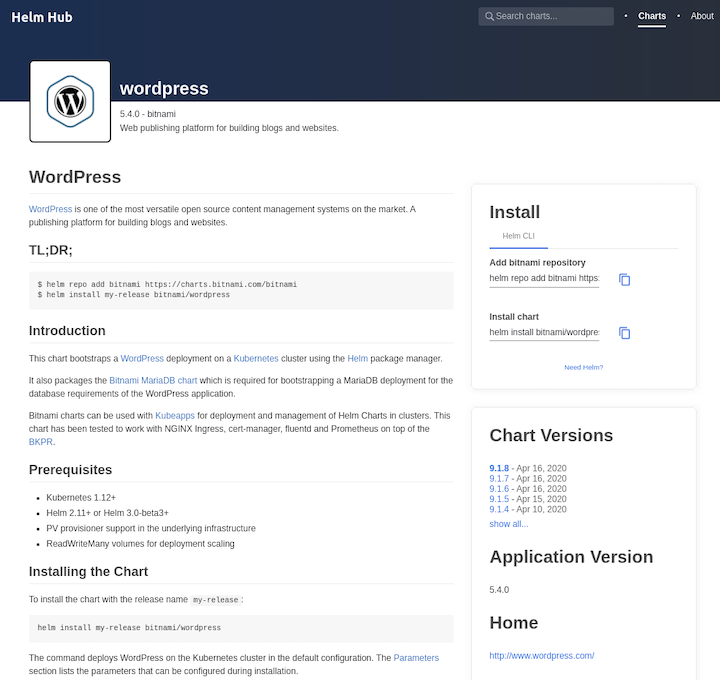
You can install any existing chart from public charts. For this exercise, we’ll install a WordPress application using the Bitnami Helm Chart repository. This also packages the Bitnami MariaDB chart, which is required to bootstrap a MariaDB deployment for the database requirements of the WordPress application.
First, add the repository by executing:
helm repo add bitnami https://charts.bitnami.com/bitnami
Next, install the WordPress application with a release name of choice. We’ll call our project myblog and pass custom values for the WordPress username and password.
helm install myblog bitnami/wordpress --version 8.1.4 --set wordpressUsername=admin,wordpressPassword=password
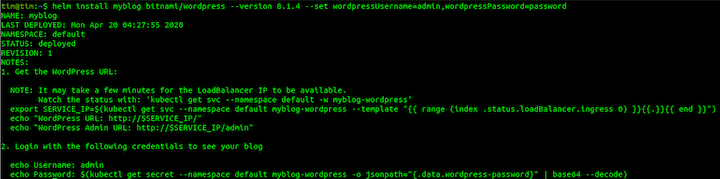
This chart bootstraps a WordPress deployment on your Kubernetes cluster using the Helm package manager.
The above command also sets the WordPress administrator account username and password to admin and password, respectively. Note that this is in the form of -wordpress. You can read more about the Bitnami WordPress chart and its configuration parameters on HelmHub.
To get the running pods of the Kubernetes application, execute the following.
kubectl get pods

Run the following to get the IP address of the Kubernetes application.
kubectl get service myblog-wordpress
![]()
To get a list of all Kubernetes objects created when you installed the chart, execute:
kubectl get all
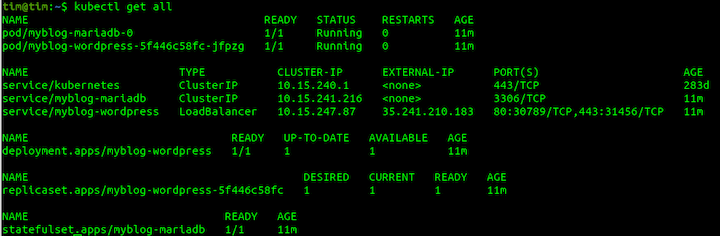
Remember, we installed the chart with the release name myblog. This is a running instance of the chart. It can be installed multiple times with different release names.
Use helm ls to get a list of all releases installed.
![]()
Head to the official docs for more Helm commands.
Helm also allows you to delete, upgrade, or roll back a chart release.
To uninstall an application and delete all Kubernetes objects tied to it, execute the following.
helm delete myblog
Helm enables you to scaffold the creation of a chart, which creates the basic files required for a chart.
To create a chart, run the following command.
helm create samplechart
Helm chart files are structured in the following format.
samplechart/
  Chart.yaml
  values.yaml
  charts/
  templates/
    deployment.yaml
    ingress.yaml
    serviceaccount.yaml
    _helpers.tpl
    NOTES.txt
    service.yaml
    tests/
      test-connection.yaml
Chart.yaml contains a detailed description of the chart. It can be accessed within templates.
charts/ contains other charts, called subcharts.
values.yaml contains the default values for a chart. You can override these values during helm install or helm upgrade by passing a custom values file or using the set command.
The templates/ directory contains template files. Helm sends all the files in the templates/ directory through the template rendering engine. It then collects the results of those templates and sends them to Kubernetes as manifests.
Other files in the templates/ directory include:
NOTES.txt — The “help text” for your chart. This will be displayed to your users when they run helm install.deployment.yaml — A basic manifest for creating a Kubernetes deploymentservice.yaml — A basic manifest for creating a service endpoint for your deployment_helpers.tpl — A place to put template helpers that you can re-use throughout the chartThe docs outline some best practices for creating your own Helm chart.
Install the local chart as-is by executing:
helm install sample-app ./samplechart

If you follow the information that displays after you install the chart, you’ll see a default Nginx page when you visit the running forwarded pod.
Helm is a useful tool for your Kubernetes workflow because it helps you avoid having to directly write or modify Kubernetes manifests. It also abstracts a lot of complexity and helps you deploy and manage applications more efficiently.
For a deeper dive deeper into Helm, check out the following resources.
Install LogRocket via npm or script tag. LogRocket.init() must be called client-side, not
server-side
$ npm i --save logrocket

// Code:

import LogRocket from 'logrocket';
LogRocket.init('app/id');
// Add to your HTML:

<script src="https://cdn.lr-ingest.com/LogRocket.min.js"></script>
<script>window.LogRocket && window.LogRocket.init('app/id');</script>
Hey there, want to help make our blog better?
Join LogRocket’s Content Advisory Board. You’ll help inform the type of content we create and get access to exclusive meetups, social accreditation, and swag.
Sign up now
Discover how the Interface Segregation Principle (ISP) keeps your code lean, modular, and maintainable using real-world analogies and practical examples.

<selectedcontent> element improves dropdowns

Learn how to implement an advanced caching layer in a Node.js app using Valkey, a high-performance, Redis-compatible in-memory datastore.

Learn how to properly handle rejected promises in TypeScript using Angular, with tips for retry logic, typed results, and avoiding unhandled exceptions.


