
In modern app development, designers and developers working on the same project often need to find ways to bridge the gap between their work. Figma has emerged as the preferred design tool for UI/UX designers, but connecting design and programming can be difficult.

Fortunately, Figma recently introduced Dev Mode, which can help developers translate designs efficiently and accurately into code. Together with plugins like Locofy, Figma to React Native, and Figma → React Native, Figma’s Dev Mode makes it easier to close the gap between designers and developers.
In this guide, you will explore various plugins and techniques developers can use to facilitate exporting UI components created in Figma for usage in a React Native project. We will cover:
Before diving into the plugins, ensure you have an active Figma account to access and use the plugins, along with a React Native project set up and ready to integrate Figma components. You’ll also need a basic understanding of React Native and JavaScript.
The Replay is a weekly newsletter for dev and engineering leaders.
Delivered once a week, it's your curated guide to the most important conversations around frontend dev, emerging AI tools, and the state of modern software.
Figma’s Dev Mode streamlines the design-to-development process by developers by providing a live connection between design assets and the development environment. Dev Mode in Figma comes packed with features that make developing UI components hassle-free:
Once designers share assets and specifications via Figma’s Dev Mode, developers can use these assets to generate code. This helps reduce manual coding errors, ensures that the app’s UI closely matches the design, and speeds up the development process.
Let’s see how you can use Dev Mode in Figma. Go to your Figma account and switch to Dev Mode by clicking the toggle button marked with a closing tag </> icon so that it turns green as shown below:

If this is your first time switching to Dev Mode, Figma will prompt you to select the preferred language in which you would like your code generated. The options given are mainly for styling purposes as shown below:
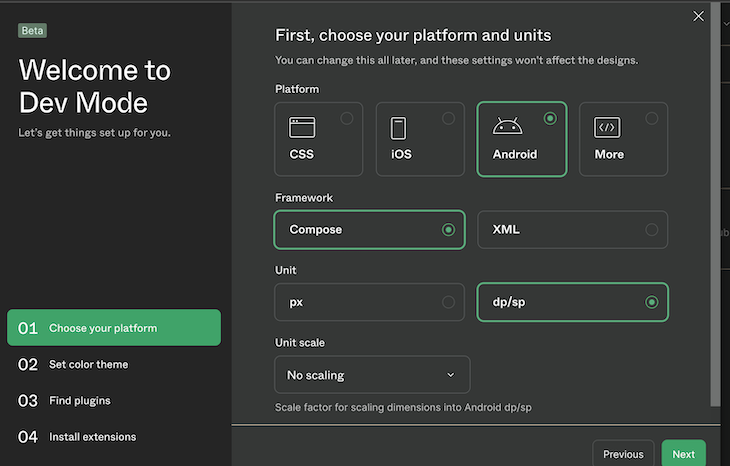
Next, Figma will ask you to choose between light mode, dark mode, and your system’s theme. You will then have the option to find and install plugins and extensions, but you can skip over these for now. Click the Done button when you are satisfied with your choices.
With Dev Mode set up, you can navigate to the component for which you would like to generate code. When you select the component, you’ll see some code generated for you. However, that’s where we start to see some limitations of using Dev Mode alone:
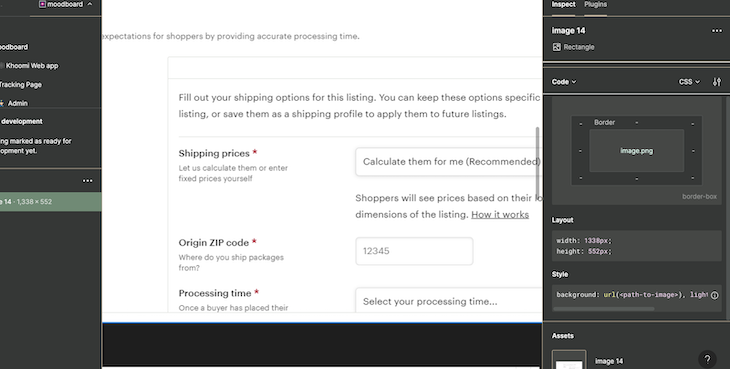
From the image above, you can see that Dev Mode generates code that can be used for styling only, such as the width, height, and background URL. However, we can choose to show the styles for different languages like SwiftUI or Compose for Android.
This limitation now leads us to search for plugins that can be used to extend the functionalities of Dev Mode in Figma.
Figma comes with various plugins that make it easier to export your designs to React Native code. We will explore three popular Figma plugins for Dev Mode: Locofy, Figma to React Native, and Figma → React Native.
Locofy is an AI tool that aids both designers and developers in generating responsive, component-based React Native and live design prototypes from Figma designs. You can design and prototype your application and then export the React Native code for it, saving a substantial amount of time.
To get started using Locofy in Figma, you must first install it as a Figma plugin. Navigate to the Figma website and open your Figma project. Ensure you’re in Dev Mode as described earlier. Then click on the Plugins menu and select the search box:

Search for Locofy and select it. Once you do, you should see a green button labeled Run. Click this button and then the Connect Account button that comes up next.
You will be prompted to create a Locofy account. I’ll be connecting with my Google account, but you can use whichever option works for you:
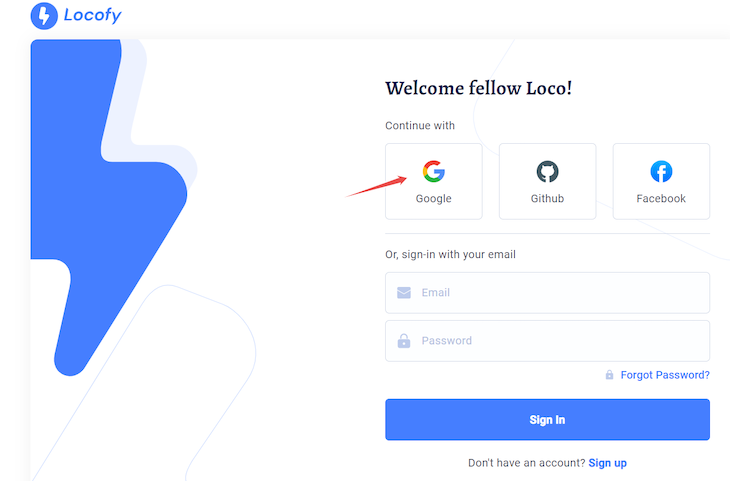
Locofy will guide you through setting up your account, including setting up your primary role, selecting the design tool you’re using, and then selecting the frameworks you’re building on. For each of these, I chose Mobile App Developer, Figma, and React Native, respectively.
After, Locofy will ask you to create your first project. However, you can select the I’ll set it up later option for now:
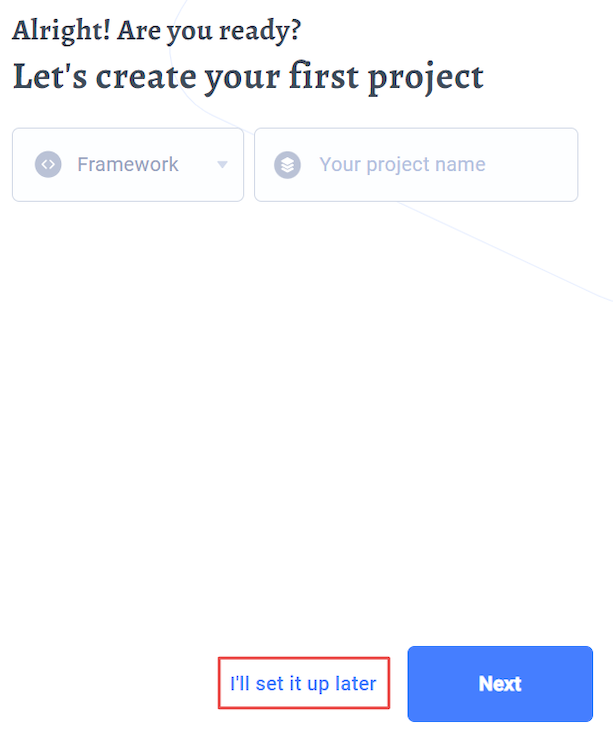
With that done, you have successfully set up your Locofy profile. Now navigate to your Figma project, where you should see the following:
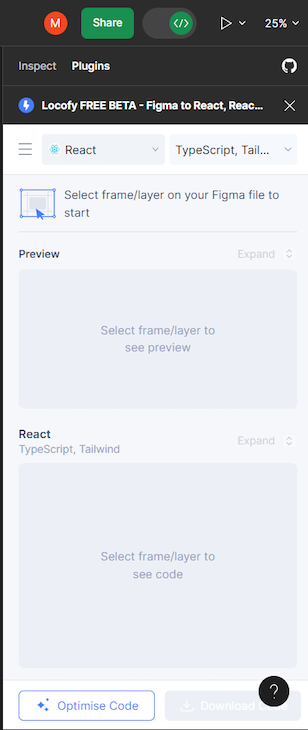
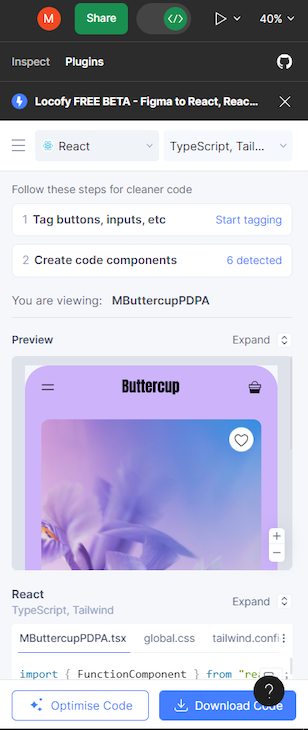
To use Locofy with your Figma project, simply select your desired element or component. Locofy will generate the necessary code and show you a preview, like so:
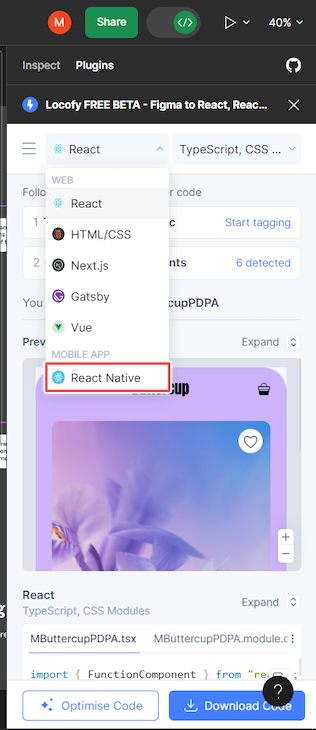
Before you download your code, ensure that you’ve selected React Native on the Locofy plugin menu:
Then you can select Download Code to generate a zip file containing the React Native code for your desired component. You can save the generated zip file into your device and paste its contents into your React Native project.
The Optimise Code button next to the Download Code button applies best practices to your code. However, the code that the plugin generates should be optimized already, so when you click this button, you shouldn’t see any changes to your code.
The next plugin on the list is the Figma to React Native plugin. This is a unique Figma plugin designed by the community with a wide range of functions, such as:
To get started using the Figma to React plugin, navigate to your Figma account and select the Resources option from the toolbar. In the resulting dropdown, click on the Plugins menu and select the search box:
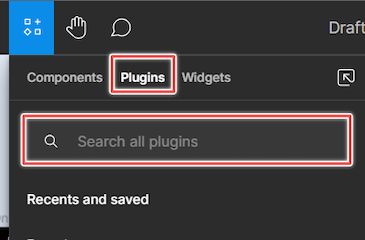
Search for “Figma to React Native” and select it:
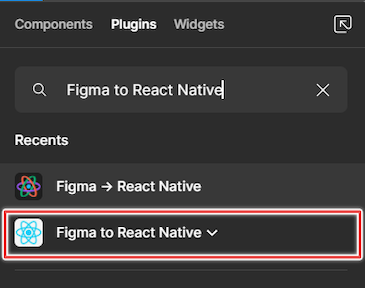
You should notice another plugin called “Figma → React Native,” with an arrow instead of “to” in the name. We’ll discuss that plugin later in this article.
For now, with the correct plugin selected, click Run and then Open Plugin to install the plugin. Once it’s successfully installed, you should see the below:
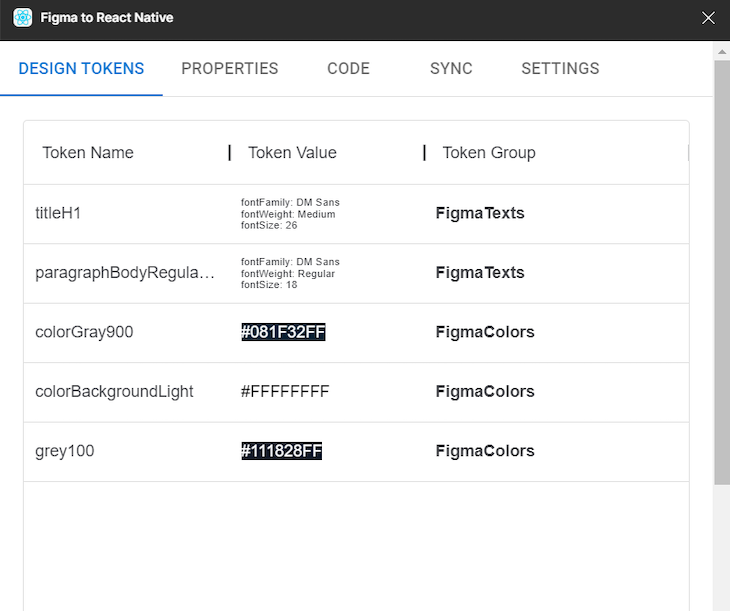
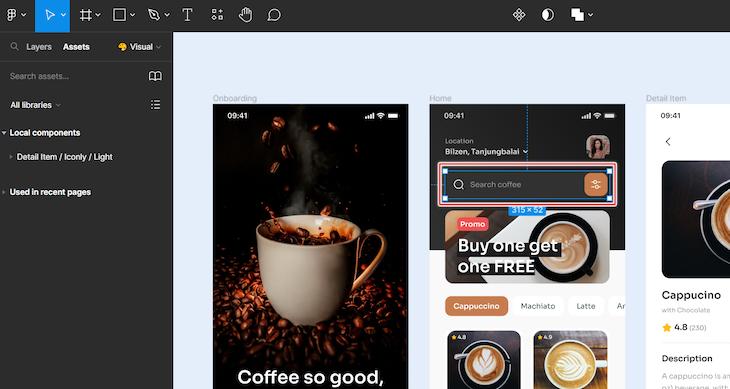
On your Figma project, select your desired element or component. For this example, I’ll select the search box:
Then return to the Figma to React Native plugin and click the CODE tab. The plugin will automatically generate the necessary code depending on your preferred settings and the selected component:
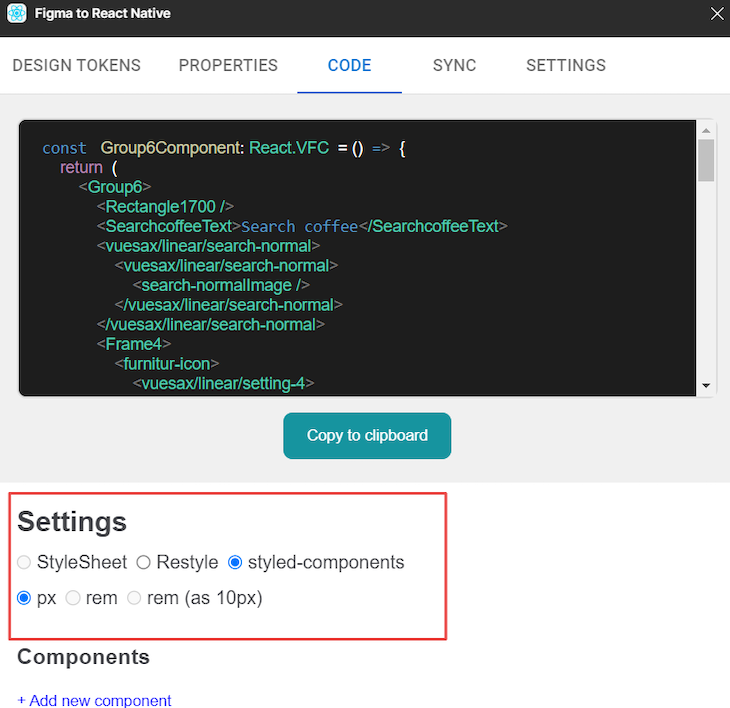
Click Copy to clipboard to copy the generated code, which you can now paste into your project. As always when using code generator tools, you should review the generated code yourself to identify any areas that need a little reformatting to align more closely with your project’s specifications.
The next plugin on the list is the Figma → React Native plugin, a community-created plugin for converting Figma components to React Native components. Some functionalities of this plugin include:
As with the previous plugin, you first need to navigate to your Figma account and select the Resources option from the toolbar. Then click on the Plugins menu item and select the search box. Search for “Figma → React Native” and select the plugin:
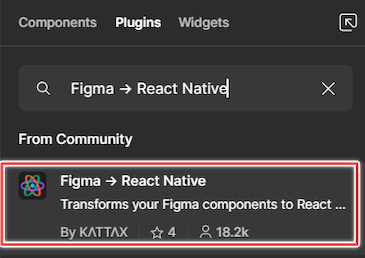
Click Run to install the plugin. You should see the below once it’s successfully installed:
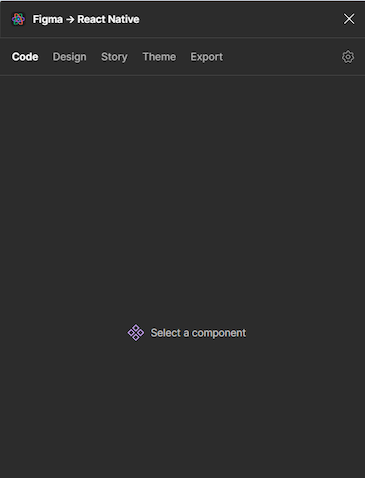
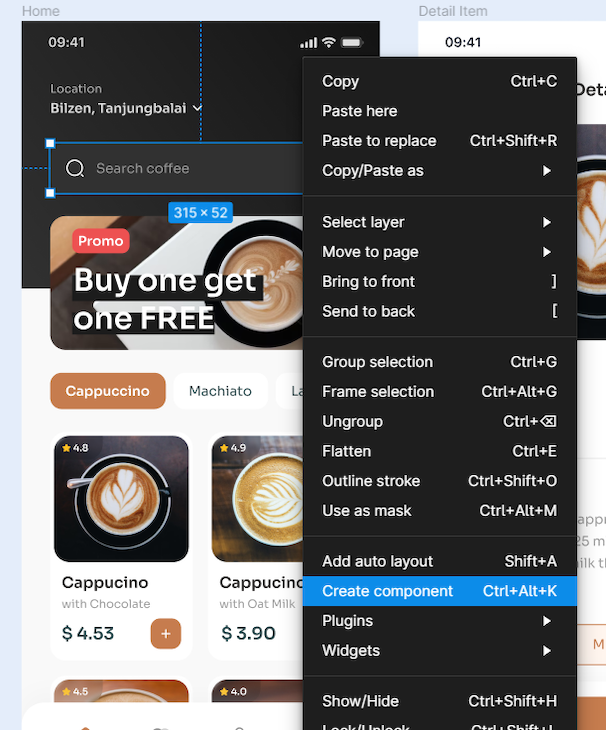
On your Figma project, select your desired element or component. Once again, I’ll use the search box for this example. However, with this plugin, you simply need to right-click on the element and select Create component:
When you do this with the plugin running, it will generate code for the target component in a popup plugin window. In this window, click Export from the menu:
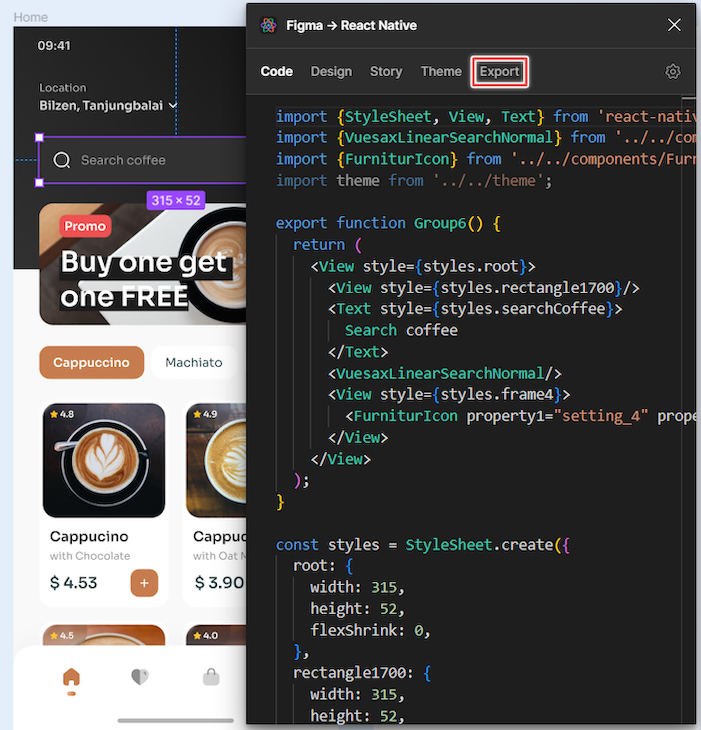
Select your desired export preferences and click Export Components:
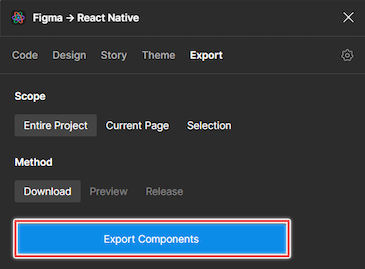
The plugin will generate a zip file for you containing the React Native code for your desired component. You can save the generated zip file to your device and paste its contents into your React Native project.
The table below may be a helpful resource when choosing between the plugins covered above:
| Locofy | Figma to React Native | Figma → React Native | |
|---|---|---|---|
| Type of plugin | An AI plugin | A community plugin | A community plugin |
| Conversion type | Converts design layers and elements | Converts selected design layers | Only converts Figma components |
| Sign-in method | Requires user to create and sign into a Locofy account | Does not require sign-in | Does not require sign-in |
| Functionalities | Auto-optimize your design file with Figma best practices, tag your interactive layers manually or auto-tag with LocoAI | Provide design tokens, generate code, sync with GitHub | Batch-exporting components and assets, real-time code and preview rendering, Storybook syncing, generating JSDoc code |
| Developer experience | Nice developer experience | Nice developer experience | Nice developer experience |
Note that the code generated by the plugins varied slightly in the way that the code was written. Apart from that, the generated code worked the same way.
Although Figma plugins are helpful for exporting UI components for React Native development, it’s important to be aware of the limitations associated with these methods. Some of these limitations include:
Keep these in mind to inform your decisions and avoid potential obstacles while exporting Figma designs to React Native.
There are some best practices you should follow when using these plugins. For example, you should review and optimize the generated code to align with your project’s architecture and coding standards.
It also helps to use a consistent naming convention to make your codebase more organized and maintainable. Also, ensure you regularly update your components if the Figma design changes after you have exported them.
In this article, we discussed how to effortlessly export UI components created with Figma into your React Native applications. If this was a helpful resource, check out our article on converting Figma components to Next.js with Tailwind CSS for further reading.
A successful development process depends on effectively converting design ideas into code. You can speed up the process of turning Figma designs into React Native components, save time, and guarantee design quality by using the plugins listed above.

LogRocket's Galileo AI watches sessions for you and and surfaces the technical and usability issues holding back your React Native apps.
LogRocket also helps you increase conversion rates and product usage by showing you exactly how users are interacting with your app. LogRocket's product analytics features surface the reasons why users don't complete a particular flow or don't adopt a new feature.
Start proactively monitoring your React Native apps — try LogRocket for free.

React Server Components and the Next.js App Router enable streaming and smaller client bundles, but only when used correctly. This article explores six common mistakes that block streaming, bloat hydration, and create stale UI in production.

Gil Fink (SparXis CEO) joins PodRocket to break down today’s most common web rendering patterns: SSR, CSR, static rednering, and islands/resumability.

@container scroll-state: Replace JS scroll listeners nowCSS @container scroll-state lets you build sticky headers, snapping carousels, and scroll indicators without JavaScript. Here’s how to replace scroll listeners with clean, declarative state queries.

Explore 10 Web APIs that replace common JavaScript libraries and reduce npm dependencies, bundle size, and performance overhead.
Hey there, want to help make our blog better?
Join LogRocket’s Content Advisory Board. You’ll help inform the type of content we create and get access to exclusive meetups, social accreditation, and swag.
Sign up now