If you’re looking for an alternative to your current deployment service, Deno Deploy could be the platform for you.

For those just getting started with deploying their first application, Deno Deploy’s simplicity might be exactly what you need; no complex configuration files to wrestle with or cloud concepts to master before getting your app live.
The Deno Deploy team recently announced its new tolerance for server-side-rendered Next.js applications. In this article, we will provide a guide to deploying your server-side-rendered Next.js application using Deno Deploy.
To follow along with this article, you will want to ensure that you have the following:
We will briefly discuss the reasons for choosing Deno Deploy and touch on some of its current limitations. We’ll also see how it measures up with similar tools like Vercel, one of the other top options in this space.
Next offers both static site-generated app pages and server-side rendered applications. But up until late 2024, Deno Deploy only supported Next static-generated sites.
With the latest updates, users can now easily deploy SSR Next apps in less than seven minutes. (Note: This is from my observation, and could vary from user to user).
Key benefits of Deno Deploy include:
You can easily deploy through repository linking or the command line. This will be elaborated on later in the deployment section.
npm compatibilityDeno recognizes package.json files, which means you can bring your existing Node.js projects without any major changes.
Deno Deploy is a “globally distributed serverless JavaScript platform.” For example: this means when someone in Tokyo visits your app, it loads from a nearby server, making it faster for everyone, wherever they are.
After deployment, you can easily integrate services such as database storage options, ORM support (Drizzle, Prisma), queue management for async tasks, and cron job support.
To spin up a simple Next SSR application, we must know the kind of applications that are referred to as “server-side rendered”.
According to the docs, Next is server-side-rendered by default, unless explicitly tagged client-side using the "use client" directive.
You should note that the SSR benefits are best seen when used in content-heavy applications, such as:
Most of these applications will not need much interaction. Sites like these benefit from SSR because they require fast initial page loads to help with SEO and user experience.
Having this in mind, we will spin a basic SSR Next.js application, that fetches a random Chuck Norris joke from an API and displays it. To do that we will install Next 15 using the command below:
npx create-next-app@latest
Now create a page directory. Inside this directory, create an index.tsx file. Your component tree should look like this:
Next SSR APP/
├── pages/
│   ├── index.js
│   └── _app.tsx
├── public/
└── styles/
Inside the index.tsx file, paste the code below:
// pages/index.tsx


export async function getServerSideProps() {
  const res = await fetch('https://api.chucknorris.io/jokes/random');
  const data = await res.json();

  return {
    props: {
      joke: data.value,
    },
  };
}

export default function Page({ joke }: { joke: string }) {
  return (
    <div className="min-h-screen bg-gray-100 flex items-center justify-center p-4">
      <div className="max-w-2xl w-full bg-white rounded-lg shadow-lg p-8">
        <p className="text-xl text-gray-800 text-center font-medium leading-relaxed">
          {joke}
        </p>
      </div>
    </div>
  );
}
The code above fetches a random joke from the Chuck Norris API and returns a prop accessible on our page. For our styles, Tailwind CSS, and lucid-react were used in the _app.tsx component like this:
import type { AppProps } from 'next/app'
import { Laugh } from 'lucide-react'
import Head from 'next/head'
import '../styles/globals.css'

export default function App({ Component, pageProps }: AppProps) {
  return (
    <>
      <Head>
        <title>Logrocket Powered Jokes</title>
        <meta name="description" content="Random Chuck Norris jokes served with SSR" />
      </Head>
      <div>
        <nav className="bg-white shadow-sm">
          <div className="max-w-7xl mx-auto px-4 sm:px-6 lg:px-8">
            <div className="flex justify-between h-16 items-center">
              <div className="flex items-center">
                <Laugh className="text-blue-500" size={32} />
                <span className="ml-2 text-xl font-bold">Chuck Jokes</span>
              </div>
            </div>
          </div>
        </nav>
        <Component {...pageProps} />
      </div>
    </>
  )
}
If you are a fan of very straightforward steps, Deno Deploy has you covered. Within Deno Deploy, you can easily deploy your application by simply connecting a GitHub repo. But don’t worry if you’re like me (and many other developers) who prefer using our command line interface.
In this section, we will cover both steps. But prior to that, you will need to navigate to your next.config.ts file in your application and configure output: "standalone. Your next.config.ts should look like this:
import type { NextConfig } from "next";

const nextConfig: NextConfig = {
  output: "standalone",

};

export default nextConfig;
According to the Deno Deploy docs, when we deploy an SSR Next.js app without specifying an output type in next.config.js, as we just did above, the platform automatically uses a standardized package (jsr:@deno/nextjs-start) to run your application with configurable environment variables.
After the next.js config we will push our application to GitHub. Now, we can connect our GitHub repository and deploy our SSR application.
At this point, if you do not have a Deno Deploy account, you will be prompted to sign up with your GitHub account. This is what your dashboard should look like after signing up:
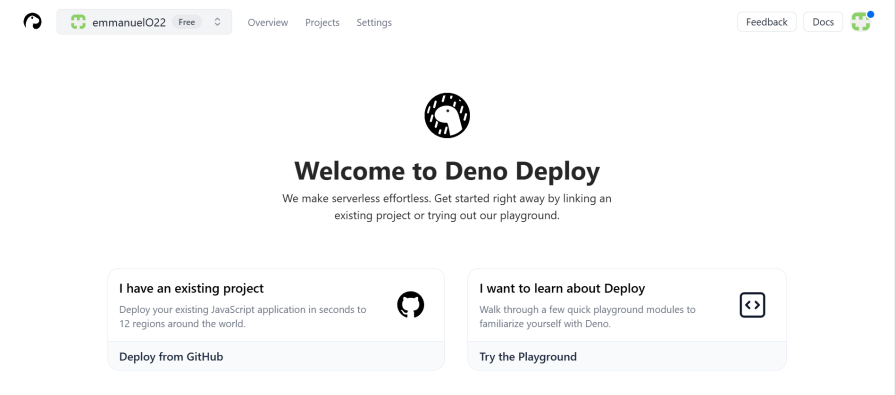
You could ignore the welcome if that pisses you off and pay attention to the two sections below; deploying an existing project or learning about Deploy.
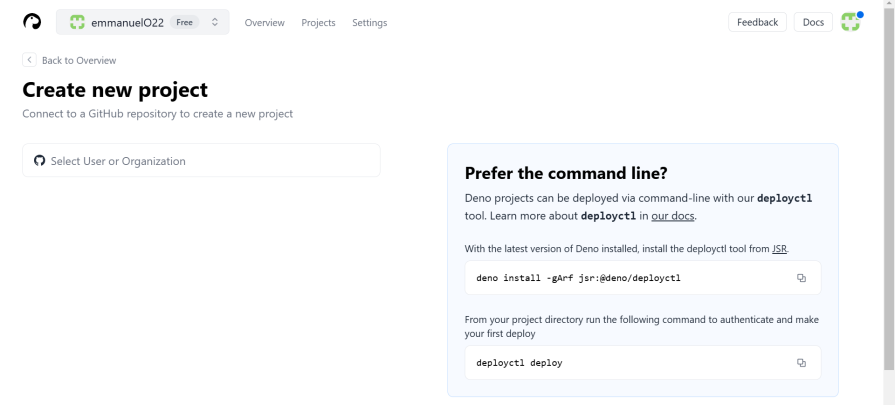
By selecting I have an existing project, you will be routed to the page below, where you will give Deno Deploy access, to either all your repositories, which will be a great idea if you only want to be using Deno Deploy going forward:
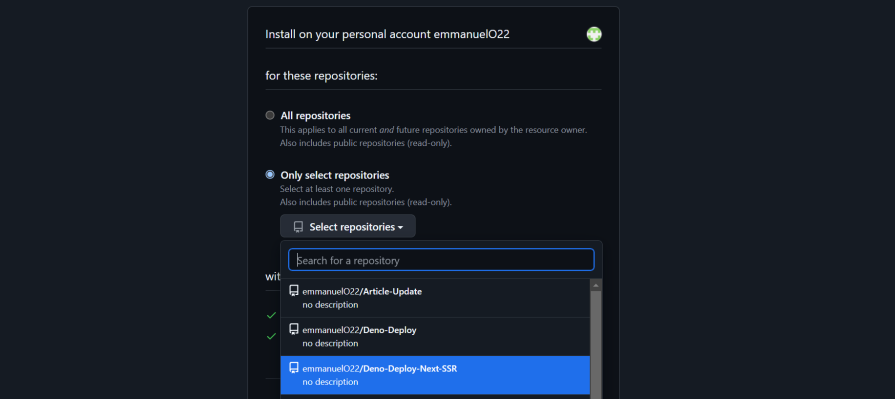
I typically opt for the second option, which is to only give Deno Deploy access to the specific repository I will want to deploy:
We will go ahead to click the Deploy Project button:
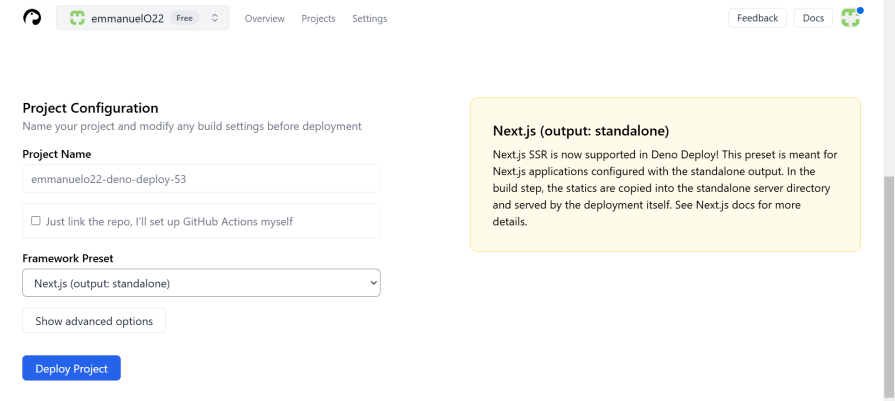
By clicking Deploy Project, your Next.js project will automatically be detected. Deno Deploy will prepare the necessary build configuration, one of which will be the deploy.yml action file. Afterward, the changes will be committed to your existing repo.
The new deploy.yml will then be responsible for building and deploying your project on every recent push.
Feel free to customize the action to your taste by editing the .github/workflows/deploy.yml file. At this point the project is live:
This is a simpler way to deploy an application with Deno; you’re done in fewer than five commands. We will use deployct. If you don’t have it installed yet, use the command below:
deno install -gArf jsr:@deno/deployctl
According to the Deno Deploy team, this command line interface comes with its own benefits. These include managing the entire deployment lifecycle of your Next projects from the start, watching live updates in real-time, switching back to older versions for production, and more.
It also lets you work with Deno Deploy from automated systems like continuous integration platforms. Now in the root of your Next.js project, run:
deno task build
To build your application. Deno will automatically recognize your package.json, then finally run the command to deploy your application:
deployctl deploy --include=.next --include=public jsr:@deno/nextjs-start/v15
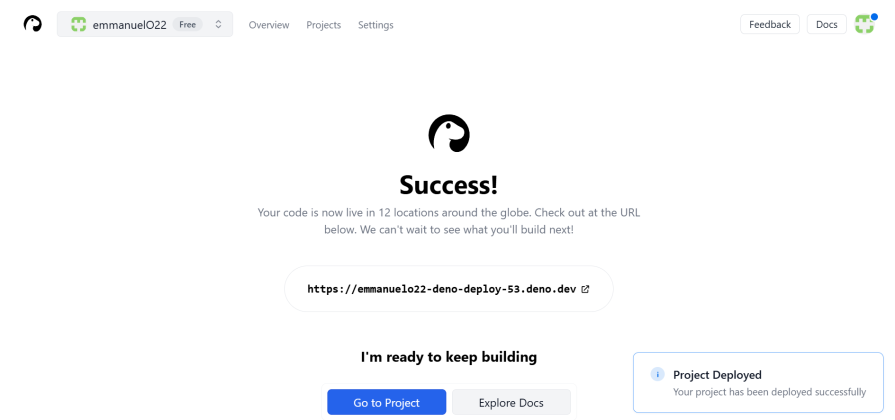
In the terminal, you should see this success log below:
√ Found 101 assets.
√ Uploaded 102 new assets.
√ Production deployment complete.
√ Created config file 'deno.json'.

View at:
 - https://emmanuelo22-deno-deploy-53-yy9z56s1z2de.deno.dev/
 - https://emmanuelo22-deno-deploy-53.deno.dev/
Our application looks like this:
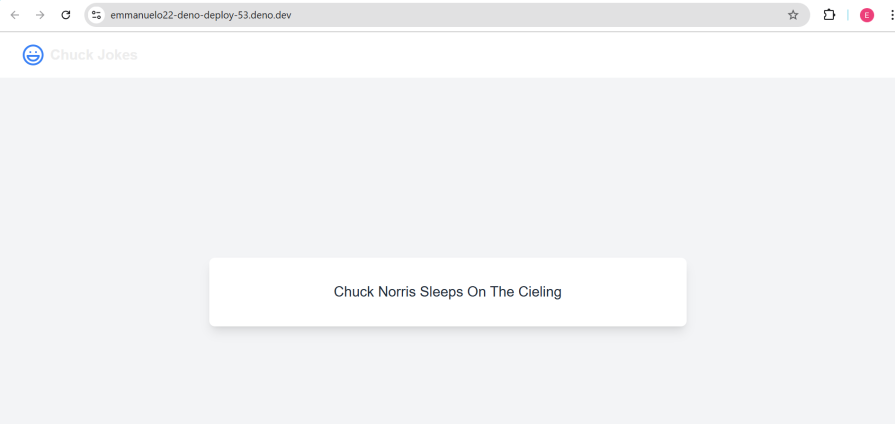
You can now view the deployed version.
Vercel is currently one of the most popular platforms for deploying your Next.js applications. If you’re building with Next.js, there’s a good chance you’re already using Vercel — or you’ve at least heard of it.
Vercel was created by the same team behind Next.js and offers a seamless deployment experience specifically optimized for Next.js apps.
We’re comparing these two platforms because while Vercel is the go-to choice for Next.js developers, Deno Deploy is emerging as a good alternative with its simpler approach and cost-effective pricing. Below is a detailed comparison of both platforms:
| Feature | Deno Deploy | Vercel |
| Primary focus | Deploying JavaScript, TypeScript, and WebAssembly server-side applications | Building and deploying web applications, supporting various frontend frameworks |
| Ease of setup | Supports direct deployments from repositories | Straightforward GitHub, GitLab, and Bitbucket integrations |
| Supported languages | JavaScript, TypeScript, WebAssembly | JavaScript, TypeScript, Python, Go, Ruby, PHP, etc |
| Serverless functions | Built-in runtime for JavaScript and TypeScript | Supports serverless functions in various languages |
| Edge functionality | Edge-first, optimized for global low-latency applications | Edge middleware for custom logic |
| Pricing | Usage-based, with a free tier available | Usage-based, with a free tier available |
| Community support | An active growing community, with official documentation and community discussions | A very large developer community and great documentation |
| CI/CD | Continuous deployment via GitHub | Integrated CI/CD pipelines for GitHub, GitLab, and Bitbucket |
The detailed comparison above helps highlight the strengths and focus areas of both platforms. One thing worth mentioning is that deploying SSR Next.js apps with Deno Deploy is relatively new.
It’s possible you’ll run into server errors, which I’ve experienced when deploying the latest Next.js version. However, this issue is likely a temporary bug and should not deter you from exploring, You can also submit an issue on GitHub.
This article provided a detailed, step-by-step guide to deploying your first Next.js SSR application on Deno Deploy. I hope you had a successful deployment!
For further reading check out our Deno adoption guide and this post on building a server-rendered Next app with Next.js and Express.

Learn how to set up Meilisearch, index documents, and build keyword, semantic, and hybrid search with AI-powered retrieval.

Compare pnpm and npm across security defaults, disk usage, dependency strictness, and workspace policy to decide which package manager fits your project.

I migrated 20 production-style components from Tailwind to StyleX. Here’s what the data showed about LOC, CSS bundle size, build time, and type safety.

A guide for using JWT authentication to prevent basic security issues while understanding the shortcomings of JWTs.
Hey there, want to help make our blog better?
Join LogRocket’s Content Advisory Board. You’ll help inform the type of content we create and get access to exclusive meetups, social accreditation, and swag.
Sign up now

