Editor’s note: This post has been updated on 15 August 2022 to reflect the most recent version of Flutter, including the new Flutter for Windows update announced in February 2022, as well as how to get set up for Flutter desktop apps on Windows or macOS.
Developers can choose to write several different types of applications: console applications, mobile applications, web applications, and desktop applications.
Desktop applications run inside a system window with various UI elements. If you are going to make a desktop application, there are multiple different frameworks, UI-toolkits, and programming languages to choose from.
There are two types of desktop application development APIs: platform-specific and cross-platform. The platform-specific APIs only support one targeted operating system. For example, Cocoa API provides interfaces for developing desktop apps for the macOS platform.
On the other hand, cross-platform APIs let developers make desktop applications for multiple operating systems with a single generic API.
Nowadays, cross-platform development frameworks are popular for various reasons.
For example, developers can maintain a single codebase for multiple platforms, because the cross-platform framework’s API provides a good abstraction for platform-specific APIs.
Additionally, cross-platform development frameworks enable rapid feature delivery. In other words, there is no need to implement the same feature for different operating systems by writing platform-specific code, so new features can be delivered efficiently.
In this article, I will explain how to create, build, and release native cross-platform desktop applications with Flutter. We are also going to discuss the reason behind Flutter’s popularity.
We will cover:
Flutter is a cross-platform application development framework that we can use to build natively compiled applications for multiple platforms: mobile, desktop, and web.
The known supported output targets are Android, iOS, HTML, HTML Canvas, Linux, Windows, macOS, and Fushia. Flutter uses Dart as the application development language.
Flutter currently focuses more on mobile application development, but supports desktop-based targets as well.
This framework comes with its own widgets toolkit. When a particular Flutter application is launched, Flutter will render the application’s UI controls via the Skia graphics library.
Plus, as of February 2022, Flutter is now stable for Windows! This means that you can start creating production apps using Flutter. If you already have a Flutter app that runs on Android or iOS, and you were considering bringing that app to Windows, now would be a great time to do so.
In the cross-platform framework development field, the most critical problem is how to place the abstraction layer for all platforms. In other words, how to offer a generic API for developers without creating performance issues for the application.
Desktop application development frameworks such as Electron introduced a web browser for rendering. Apache Cordova and Ionic mobile application development frameworks solved the problem in the same way.
Even though those frameworks gave simple cross-platform APIs for developers, there are critical performance issues due to the web browser-based rendering.
Flutter offers simple, cross-platform APIs via Dart libraries while also maintaining superb performance.
In this tutorial, I will show how to make a simple cross-platform desktop application with Flutter.
Because Flutter is now considered stable for Windows and Linux, we’ll consider how we can get started on these operating systems before creating a desktop app that would work in any of these three environments.
Setting up Flutter on Windows is a pretty easy process. You just need to download the Flutter app package, extract it somewhere, and then add it to your system’s PATH variable. To do that:
username” section, double-click on the “Path” entrybin suffix on the end
c:\flutter, you should add c:\flutter\bin to your pathAfter this, you should be able to open up a command prompt and run flutter doctor to check that your configuration is all complete.
Setting up Flutter on Ubuntu is a piece of cake because it’s all about entering some terminal commands.
To install Flutter SDK, use the following command:
$ sudo snap install flutter --classic
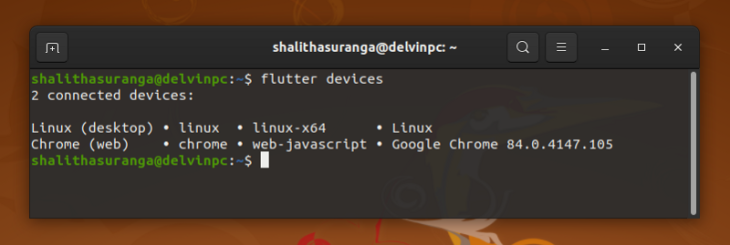
If the desktop mode is enabled, the flutter devices command should list down your current operating system. This screenshot is on Ubuntu, but on Windows you should see similar results.
Like any other typical CLI, we can create a new application with the create command as shown below:
$ flutter create desktop-app
The above command will scaffold a simple starter project for us. The starter project contains minimal code with comments to help us understand how Flutter works.
The lib/main.dart file contains the main source code of your application. Let’s modify the main source code as shown below to create a simple “Hello World” application:
import 'package:flutter/material.dart';

void main() {
  runApp(MyApp());
}

class MyApp extends StatelessWidget {

  @override
  Widget build(BuildContext context) {
    return MaterialApp(
      title: 'TextPad',
      theme: ThemeData(
        primarySwatch: Colors.green,
      ),
      home: Scaffold(
        body: Center(
          child: Text('Hello World')
        ),
      ),
    );
  }
}
You can view this project on Github here.
After editing the main source file, enter the following command to run your application:
$ flutter run -d <platform>
// <platform> = linux, windows, macos
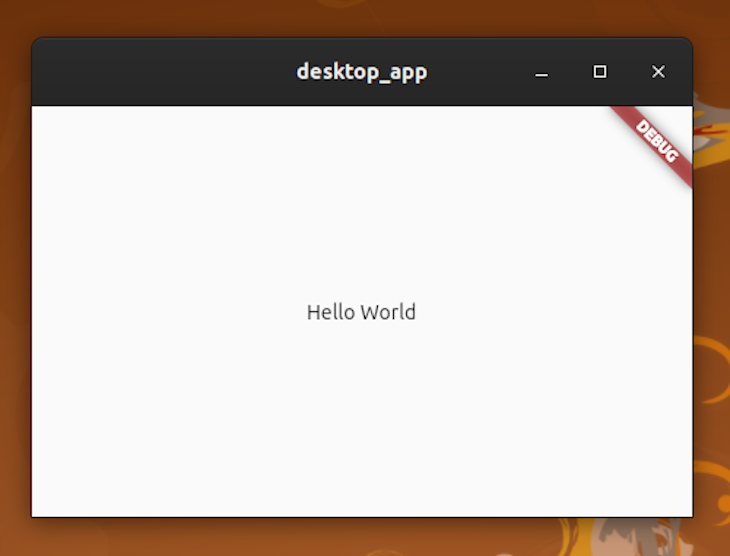
The above command will open the Flutter “Hello World” app in a native window. The native window will be styled according to the current operating system and system theme configuration.
The Flutter development environment supports the hot reloading feature. Therefore, we can press r key in the console where you entered the flutter run command to trigger hot reloading. Try changing the text widget’s content while the application is running in debug mode.
Let’s implement a small cross-platform desktop application with Flutter.
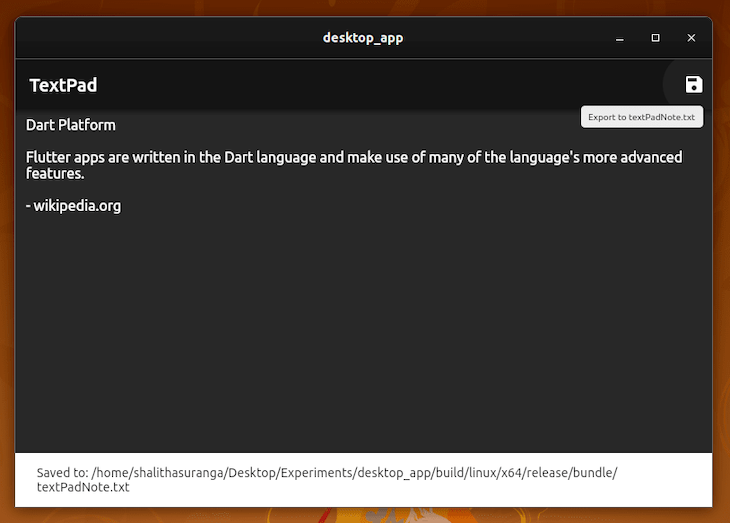
We are going to make a small text editor application called “TextPad” and learn how to build it for Windows as well. TextPad has a large, multi-line text field where we can type our notes. It also has an action button to save the current note to a file.
A screenshot of TextPad is shown below.
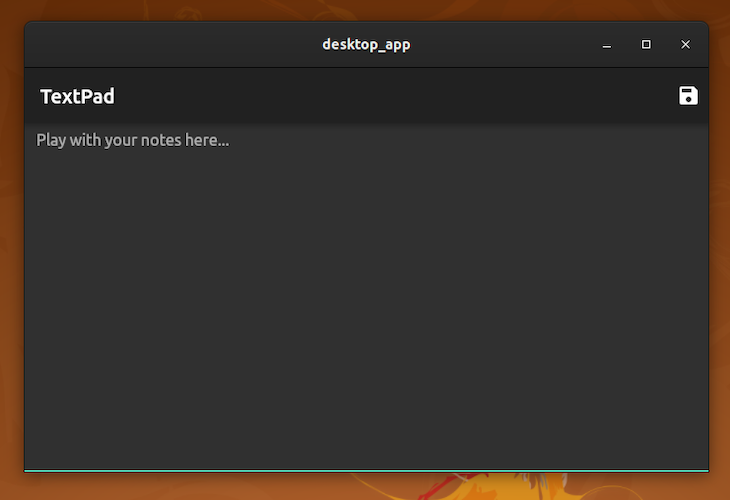
As mentioned, the save button on the top right will write the current note into a text file. After saving the file, TextPad will display a notification message about the task’s completion.
Similar to the previous “Hello World” application, add the following source code into the main application source file:
import 'dart:io';
import 'package:flutter/material.dart';


void main() => runApp(MyApp());

class MyApp extends StatelessWidget {

    final textController = new TextEditingController();
    final globalKey = GlobalKey<ScaffoldState>();
    final String fileName = 'textPadNote.txt';

     Future<void> _exportToFile(BuildContext context) async {
       final File file = File('${Directory.current.absolute.path}/${fileName}');
       final snackBar = SnackBar(content: Text('Saved to: ${file.path}'));

       await file.writeAsString(textController.text);
       globalKey.currentState.showSnackBar(snackBar);
    }
  @override
  Widget build(BuildContext context) {

    return MaterialApp(
      title: 'TextPad',
      theme: ThemeData(
                brightness: Brightness.dark,
           ),
      home: Scaffold(
        key: globalKey,
        appBar: AppBar(
          title: Text('TextPad'),
          actions: <Widget>[
              IconButton(
                    icon: const Icon(Icons.save),
                    tooltip: 'Export to ${fileName}',
                    onPressed: () {_exportToFile(context);}
                  )]
        ),
        body: Center(
          child: TextField(
                controller: textController,
                maxLines: null,
                keyboardType: TextInputType.multiline,
                expands: true,
                  decoration: InputDecoration(
    hintText: 'Play with your notes here...',
    contentPadding: EdgeInsets.all(12.0)
  ),
          ),
        ),
      ),
    );
  }
}
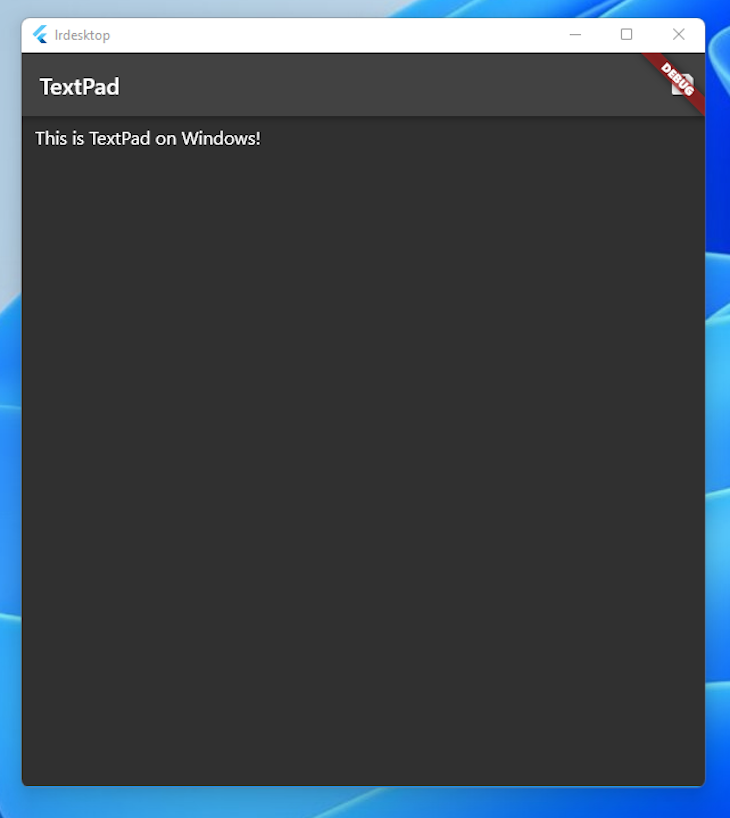
Because Flutter is a cross-platform solution, we can pick up this code and run it on a Windows computer. If we copy the folder with our code to it to a Windows computer and then run flutter run windows, this will be the result:
Because we’re running on Windows, let’s bring in some Windows functionality, like Aero themes. First, we need to bring in the flutter_acrylic package. We can do that by opening a command window where our project is located, and then running the following command:
flutter pub add flutter_acrylic
Next, we’ll need to replace the main function within our Flutter app with the following code, which will initialize the flutter_acrylic package within our application.
Future<void> main() async {
  WidgetsFlutterBinding.ensureInitialized();
  if (Platform.isWindows) { // only apply Aero theming on Windows.
    await Window.initialize();
    await Window.setEffect(
      effect: WindowEffect.aero,
      color: Colors.black.withOpacity(0.6),
    );
  }

  runApp(MyApp());
}
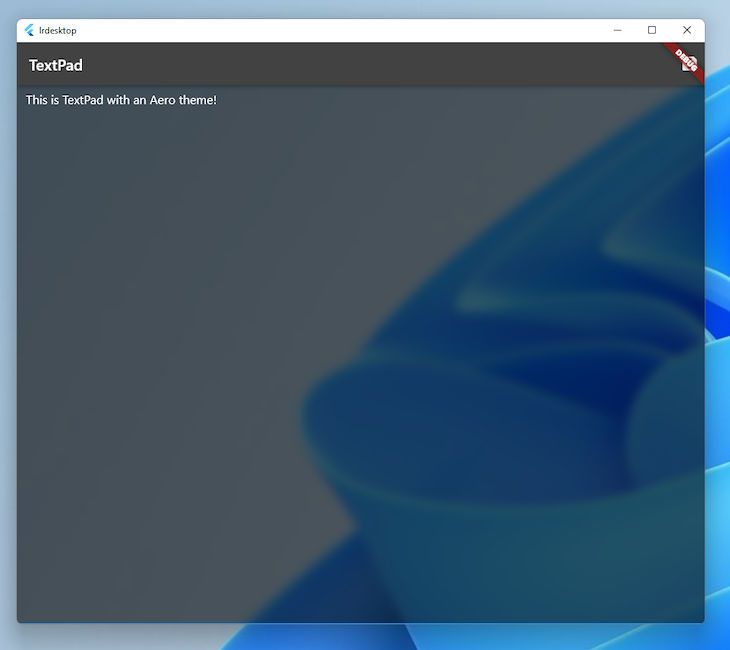
Finally, we need to set the color property of our MaterialApp and Scaffold to Colors.transparent. This is so we can “see through” the layers of our app to the transparent background.
The result of this is that our app has a great-looking background, which lightly blurs the windows behind the application, which leads to a native feel.
View this project on Github here.
Before releasing your application to the internet, you can build Flutter applications to obtain portable binaries. These binaries also can be shared with users or testers. Moreover, you can make installable binaries with your favorite installer tools.
When we are debugging the application, debuggable binaries will be created. However, debuggable binaries are not optimized for a release. Execute the following command on the terminal to make optimized binaries:
$ flutter build <platform>
// <platform> = linux, windows, macos
There are different ways to release your Flutter applications, but the deployment method depends on the type of operating system.
For example, if you are going to release your application for Linux users, you can deploy your Flutter application to the Snapcraft software store.
If you need to deploy your application for Windows users, you can make a Windows Installer Package (MSI) or a new Windows app package (MSIX) with the help of a third-party tool. More detail on how to achieve that can be seen on pub.dev.
Flutter for Windows, Linux, and macOS is now considered stable, so you can start to produce production apps this way. There is still a little bit of feature disparity, but this is shrinking with every new feature release for Flutter.
Nowadays, Electron is very popular for desktop application development because it allows developers to make desktop apps with web technologies.
However, Electron applications often become bloatware due to high physical resource usage. Flutter is performing better than Electron because it doesn’t perform the application’s GUI logic on a web browser.
Flutter does have some pain points for developers. It comes with an unfamiliar programming language and a brand new widgets toolkit. Still, release binaries for desktop platforms are not lightweight.
Flutter continues to impress with its overall impressive performance and features compared to other frameworks such as React Native, Ionic, and Electron. Which cross-platform mobile app development framework do you prefer?
Install LogRocket via npm or script tag. LogRocket.init() must be called client-side, not
server-side
$ npm i --save logrocket

// Code:

import LogRocket from 'logrocket';
LogRocket.init('app/id');
// Add to your HTML:

<script src="https://cdn.lr-ingest.com/LogRocket.min.js"></script>
<script>window.LogRocket && window.LogRocket.init('app/id');</script>

A guide for using JWT authentication to prevent basic security issues while understanding the shortcomings of JWTs.

Discover how to build, render, and automate product demo videos with Remotion, replacing traditional screen recordings with reusable React code.

Chrome’s Modern Web Guidance embeds modern web platform skills into AI coding agents, helping them choose native HTML, CSS, and browser APIs over legacy patterns.

Learn how to use Fallow to analyze AI-generated code, detect dead code, duplicate logic, and complexity issues, and integrate automated code quality checks into your AI-assisted development workflow.
Hey there, want to help make our blog better?
Join LogRocket’s Content Advisory Board. You’ll help inform the type of content we create and get access to exclusive meetups, social accreditation, and swag.
Sign up now

