An image picker is one of the most widely used components in any app. Many popular apps, such as Facebook, Twitter, Instagram, WhatsApp, etc., have an image picker that enables users to select files from their device to use as a profile picture or share with their friends.

The most common use case for an image picker in a mobile app is to set an avatar for the user profile. In this tutorial, we’ll show you how to create an image picker in Flutter. We’ll build an example Flutter app that enables the user to either select a photo from the gallery or take a photo from the device’s camera.
Here’s what we’ll cover:
image_picker?image_picker pluginimage_picker?Coding an image picker widget in Flutter from scratch would be tedious. Flutter comes with an image picker plugin for picking images from the device gallery or taking new pictures from the camera.
The image_picker plugin exposes some helpful methods from the ImagePicker class it exports:
import 'package:image_picker/image_picker.dart';

ImagePicker picker = ImagePicker();
The picker instance has public methods that we’ll call to open the image selection dialog. Let’s look at these methods.
pickImageXFile? image = await picker.pickImage(source: ImageSource.gallery);
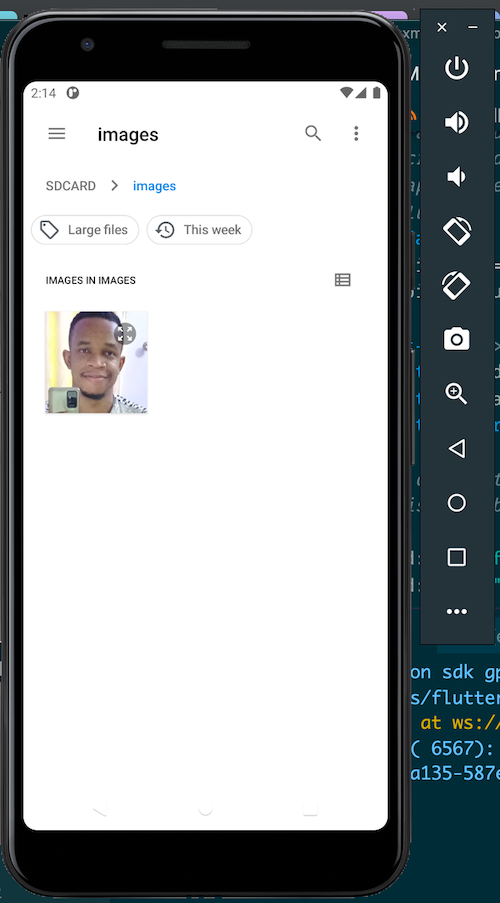
The pickImage method opens the choose dialog and displays the phone’s gallery from which to select the image. The source arg states where the image is to be picked from.
Here, the source is set to ImageSource.gallery, so the image is selected from the user’s gallery.
XFile? image = await picker.pickImage(source: ImageSource.camera);
In the example above, the image is taken from the device camera. This method opens the camera and picks the picture snapped by the user. The source: ImageSource.camera arg is what opens the device camera.
pickVideoXFile? image = await picker.pickVideo(source: ImageSource.gallery);
This method opens a choose dialog to pick a video from the phone’s gallery. You would use the pickVideo method when you want a video to be picked either from the gallery or from the phone’s video camera. The arg source: ImageSource.gallery causes the video to be picked from the phone’s gallery.
XFile? photo = await picker.pickVideo(source: ImageSource.camera);
This method allows the user to pick a video from the camera. The arg source: ImageSource.camera opens the phone’s video camera so the user can record the video. The recorded video is then used as the picked video.
pickMultiImageList<XFile>? images = await picker.pickMultiImage(source: ImageSource.gallery);
pickMultiImage enables the user to pick multiple images. The arg source: ImageSource.gallery allows us to pick the images from the phone’s gallery.
List<XFile>? photos = await picker.pickMultiImage(source: ImageSource.camera);
Now that we’ve reviewed the methods in the image_picker plugin, let’s build an example Flutter image picker app to see how they work in practice.
Before we start, make sure you have the following tools and binaries already installed in your machine.
flutter, which enables us to do these things from the terminalNow that we’re done installing the necessary tools and binaries, it’s time to build our Flutter image picker example app.
First, let’s scaffold a Flutter project:
flutter create imagepickerprj
This creates a Flutter project in a folder called imagepickerprj. A series of commands will cascade down our terminal. At the end of the terminal, you’ll see instructions for running the newly generated project:
In order to run your application, type:

  $ cd imagepickerprj
  $ flutter run

To enable null safety, type:

  $ cd imagepickerprj
  $ dart migrate --apply-changes

Your application code is in imagepickerprj/lib/main.dart.
We won’t run it now, but let’s move it inside the folder:
cd imagepickerprj
image_picker pluginThe next step is to add the image_picker plugin to our Flutter project.
Open the pubspec.yaml file and add the image_picker to the dependencies section:
dependencies:
  flutter:
    sdk: flutter
  image_picker: ^0.8.2
If you’re using VS Code, it will automatically pull in the image_picker once you save the pubspec.yaml file. If you’re not using VS Code run the following command to pull in the latest added dependency:
flutter pub get
In our imagepickerprj project, our main file resides in the lib/ folder. This is the main.dart file, which is the entry point of any Flutter project/app. So that is where we’ll start to add most of our code.
Flutter has some code set for us already, but we won’t need it except in the MyApp widget. Let’s start there:
void main() {
  runApp(MyApp());
}

class MyApp extends StatelessWidget {
  // This widget is the root of your application.
  @override
  Widget build(BuildContext context) {
    return MaterialApp(
      title: 'Flutter Demo',
      theme: ThemeData(
        primarySwatch: Colors.blue,
      ),
      home: HomePage(),
    );
  }
}
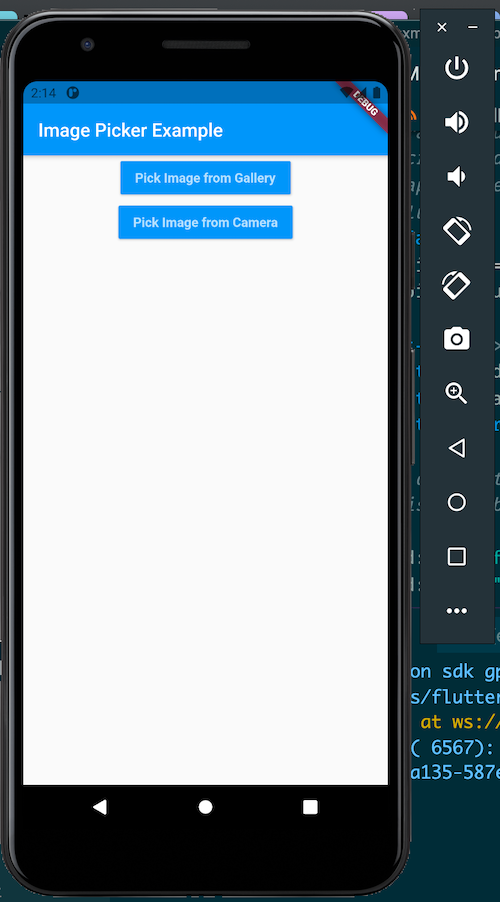
Our Flutter image picker app will have two screens:
HomePage will list two buttons: Pick Image from Gallery, and Pick Image from Camera. The Pick Image from Gallery will open an ImageFromGalleryEx screen where we can pick an image from our gallery, while Pick Image from Camera will open an ImageFromGalleryEx screen where we can take a picture from our camera and use the image as the picked imageImageFromGalleryEx will handle picking images from both the gallery and the camera. It will know what to handle based on the source type sent to it. It will also display the picked imageNow let’s code them.
HomePageenum ImageSourceType { gallery, camera }
class HomePage extends StatelessWidget {
void _handleURLButtonPress(BuildContext context, var type) {
Navigator.push(context,
MaterialPageRoute(builder: (context) => ImageFromGalleryEx(type)));
}
@override
Widget build(BuildContext context) {
return Scaffold(
appBar: AppBar(
title: Text("Image Picker Example"),
),
body: Center(
child: Column(
children: [
MaterialButton(
color: Colors.blue,
child: Text(
"Pick Image from Gallery",
style: TextStyle(
color: Colors.white70, fontWeight: FontWeight.bold),
),
onPressed: () {
_handleURLButtonPress(context, ImageSourceType.gallery);
},
),
MaterialButton(
color: Colors.blue,
child: Text(
"Pick Image from Camera",
style: TextStyle(
color: Colors.white70, fontWeight: FontWeight.bold),
),
onPressed: () {
_handleURLButtonPress(context, ImageSourceType.camera);
},
),
],
),
));
}
}
We have an enum, ImageSourceType, that holds the image source types, gallery, and camera.
In the HomePage widget, we have a method, _handleURLButtonPress. This method uses the arg type, which bears any values of the ImageSourceType. It opens the ImageFromGalleryEx widget, passing in the image source type to the widget class.
In the build method, we see that it renders two buttons, as we stated earlier: Pick Image from Gallery, and Pick Image from Camera. Each button has an onPressed event set on it. The events call the _handleURLButtonPress method when the buttons are pressed.
The Pick Image from Gallery button passes the ImageSourceType.gallery to the ImageFromGalleryEx widget, telling it that we will pick an image from the gallery. The Pick Image from Camera button passes the ImageSourceType.camera to the ImageFromGalleryEx widget, telling it to open the camera of the phone and take the snapped picture as the selected image.
Now, let’s code the ImageFromGalleryEx widget.
ImageFromGalleryExclass ImageFromGalleryEx extends StatefulWidget {
final type;
ImageFromGalleryEx(this.type);
@override
ImageFromGalleryExState createState() => ImageFromGalleryExState(this.type);
}
class ImageFromGalleryExState extends State<ImageFromGalleryEx> {
var _image;
var imagePicker;
var type;
ImageFromGalleryExState(this.type);
@override
void initState() {
super.initState();
imagePicker = new ImagePicker();
}
@override
Widget build(BuildContext context) {
return Scaffold(
appBar: AppBar(
title: Text(type == ImageSourceType.camera
? "Image from Camera"
: "Image from Gallery")),
body: Column(
children: <Widget>[
SizedBox(
height: 52,
),
Center(
child: GestureDetector(
onTap: () async {
var source = type == ImageSourceType.camera
? ImageSource.camera
: ImageSource.gallery;
XFile image = await imagePicker.pickImage(
source: source, imageQuality: 50, preferredCameraDevice: CameraDevice.front);
setState(() {
    _image = File(image.path);
});
},
child: Container(
width: 200,
height: 200,
decoration: BoxDecoration(
color: Colors.red[200]),
child: _image != null
? Image.file(
_image,
width: 200.0,
height: 200.0,
fit: BoxFit.fitHeight,
)
: Container(
decoration: BoxDecoration(
color: Colors.red[200]),
width: 200,
height: 200,
child: Icon(
Icons.camera_alt,
color: Colors.grey[800],
),
),
),
),
)
],
),
);
}
}
Here, we have ImageFromGalleryEx, a stateful widget, and ImageFromGalleryExState, which holds the state of the ImageFromGalleryEx widget.
Inside the ImageFromGalleryExState widget, we have the following variables:
_image holds the picked image, whether from the gallery or from the cameraimagePicker holds the instance of the ImagePicker classtype holds the type of image source to be used by the widget. It is passed to the widget from the HomePage widgetWe also have an initState method, which is inserted into the widget tree first. We use this method to initialize and create the instance of the ImagePicker class and then assign it to the imagePicker variable.
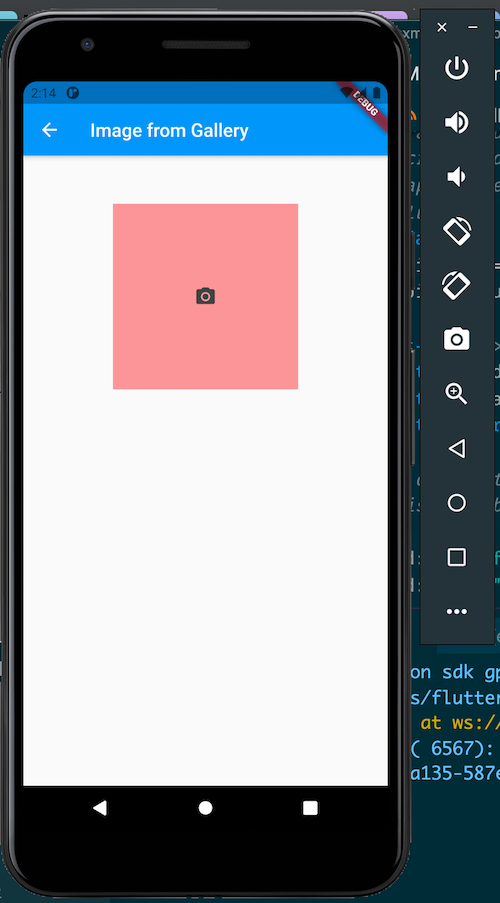
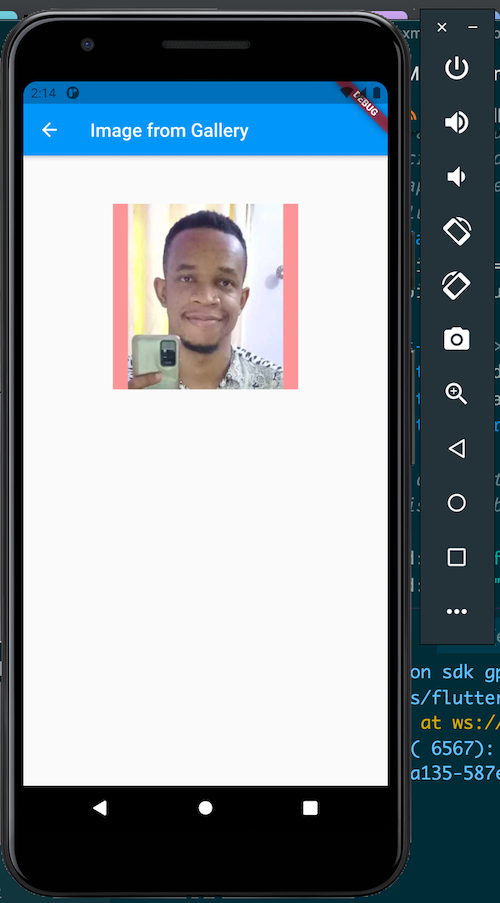
Inside the build method is the Container widget, which is a child to the Center widget. We render the Image.file based on the condition of the _image variable. If the _image is not null or undefined, then we know it has an image then we render the Image.file widget by passing the _image variable to it.
This Image.file is a widget that is used to render images from the local storage of a device.
If there is nothing in the _image variable, we render the Container widget. This Container displays a camera icon.
The GestureDetector is the parent to all these widgets. It has an onTap event registered to it. This event is fired when the widgets inside this GestureDetector are tapped on. The onTap handler calls the pickImage method from the imagePicker instance. It deduces the source of the image from the type variable and passes it to the pickImage method. It then passes the quality of the image (imageQuality: 50) and, lastly, the preferred camera device preferredCameraDevice: CameraDevice.front. This causes it to choose the front camera of our phone.
Now, pickImage returns an XFile instance. We reference the image.path from the XFile instance image returned and pass it to File to create a File instance from it. This XFile instance is what we set to the _image state via:
setState(() {
_image = File(image.path);
});
This will cause the ImageFromGalleryExState to rerender and the Image.file will display the image in the _image variable.
Now that we’re finished with the code, let’s test-run our app.
Open your Android Emulator and, from your terminal, run the following command:
flutter run
This will compile and build the project and then run the app inside your Android Emulator.
If you’re using VS Code, you can either run the above command or simply right-click the lib/main.dart in your editor and then click either run Without Debugging or Start Debugging.
The app will open up in your Android Emulator.
HomePage:
Pick image from gallery:
Pick image from camera:
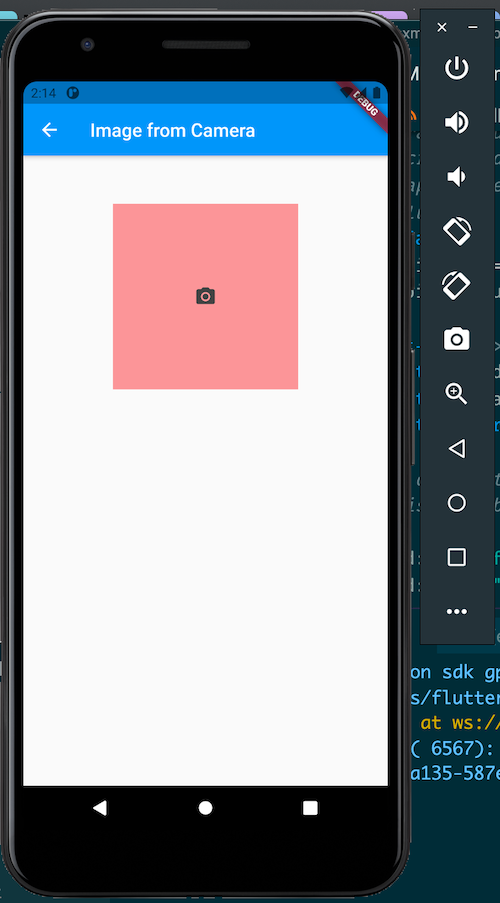
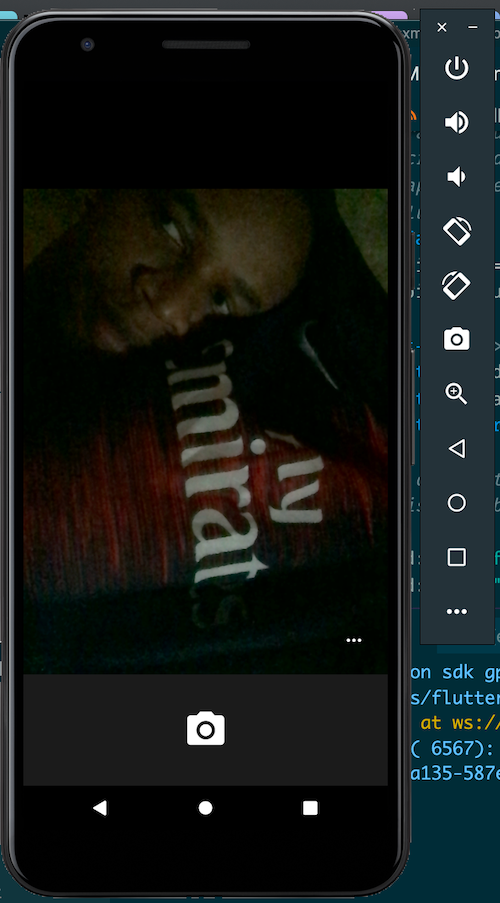
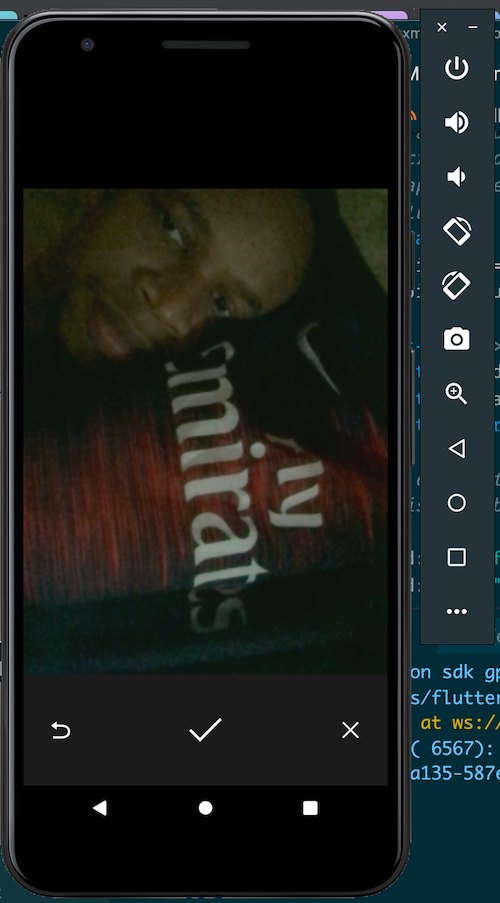
We learned a lot in this tutorial. We started by introducing common use cases for the Flutter image picker component. Then, we introduced the image_picker plugin for Flutter. We walked through how to initialize the ImagePicker class of the image_picker plugin and reviewed the methods in the ImagePicker class.
Finally, we built a Flutter project to demonstrate how to use the image_picker plugin in a real-world scenario.
Find the source code for this project on GitHub.
Install LogRocket via npm or script tag. LogRocket.init() must be called client-side, not
server-side
$ npm i --save logrocket

// Code:

import LogRocket from 'logrocket';
LogRocket.init('app/id');
// Add to your HTML:

<script src="https://cdn.lr-ingest.com/LogRocket.min.js"></script>
<script>window.LogRocket && window.LogRocket.init('app/id');</script>
Hey there, want to help make our blog better?
Join LogRocket’s Content Advisory Board. You’ll help inform the type of content we create and get access to exclusive meetups, social accreditation, and swag.
Sign up now
Not sure if low-code is right for your next project? This guide breaks down when to use it, when to avoid it, and how to make the right call.

Compare Firebase Studio, Lovable, and Replit for AI-powered app building. Find the best tool for your project needs.

Discover how to use Gemini CLI, Google’s new open-source AI agent that brings Gemini directly to your terminal.

This article explores several proven patterns for writing safer, cleaner, and more readable code in React and TypeScript.