In this article, we’re going to build a stopwatch in React Native and connect it to the device’s camera to create a selfie camera timer from scratch. For added complexity, the user is given the opportunity to create and save custom durations as their timers. Here, you can find a link to a video that demonstrates the functionality and appearance of the demo app. The source code of this project can be found on my GitHub.

Jump ahead:
expo-cameraThe Replay is a weekly newsletter for dev and engineering leaders.
Delivered once a week, it's your curated guide to the most important conversations around frontend dev, emerging AI tools, and the state of modern software.
In order to follow along with this tutorial, some basic knowledge of JavaScript and React Native would be helpful. I used Expo to develop this app. This is an open source platform that aims to enhance React Native by providing all the JavaScript APIs needed for the most common use cases.
To install the Expo client on your machine, run the following command in your shell:
npm i -global expo-cli
Navigate to the place where you want to store this project and run expo init my-project to initialize the project. Then, go to the newly created project with cd my-project.
As a first step, let’s install some dependencies to help us develop this app: expo-camera and expo-media-library. With the help of expo-camera, we can access the device’s camera and take photos. The expo-media-library takes care of saving the pictures.
Run npm i expo-media-library expo-camera in your terminal to install these dependencies. Then, run npx expo start to start the development server.
expo-cameraThe first thing we need to address is gaining access to both the device’s camera and the user’s media library. For this purpose, I created a custom Hook called usePermission in a newly created directory, src. Inside the src directory I created the usePermission.jsx file:
// scr/usePermission.jsx
import { useEffect, useState } from "react";
import * as MediaLibrary from "expo-media-library";

const usePermission = (Camera) => {
 const [hasCameraPermissions, setHasCameraPermissions] = useState(null);

 useEffect(() => {
   (async () => {
     MediaLibrary.requestPermissionsAsync();
     const cameraStatus = await Camera.requestCameraPermissionsAsync();
     setHasCameraPermissions(cameraStatus.status === "granted");
   })();
 }, []);

 return hasCameraPermissions;
};

export default usePermission;
Inside the useEffect Hook, we first ask for permission to access the media by calling MediaLibrary.requestPermissionsAsync(). Secondly, we ask the user to grant our app permission to access the camera by calling requestCameraPermissionsAsync() on the Camera object, which gets passed as a parameter to this custom Hook. We’ll take a look at the Camera object in a moment.
Finally, we return the hasCameraPermissions state, which is a boolean and can either hold true or false as a value.
Inside the App.js file, we can now use the usePermission Hook to get started with rendering out the camera on our screen. Replace the code in the App.js file with the following code:
import { Camera } from "expo-camera";
import { Image, StyleSheet, Text, View } from "react-native";
import { useState, useRef, useEffect } from "react";
import usePermission from "./src/usePermisson";

export default function App() {
 const hasCameraPermissions = usePermission(Camera);
 const [type, setType] = useState(Camera.Constants.Type.front);
 const cameraRef = useRef(null);

 if (hasCameraPermissions === false) {
   return <Text>No permission to access camera</Text>;
 }

 return (
   <View style={styles.container}>
     <Camera style={styles.camera} type={type} ref={cameraRef}></Camera>
   </View>
 );
}

const styles = StyleSheet.create({
 container: {
   flex: 1,
   backgroundColor: "#000",
   justifyContent: "center",
   paddingBottom: 20,
 },
 camera: {
   flex: 1,
   position: "relative",
 },
});
Let’s first take a look at the variables that we declare in the first three lines of the App function.
hasCameraPermissions holds the value returned from the usePermission Hook we just had a look at. Please notice that we are passing the Camera object imported from the expo-camera package to our Hook.
In the next line, we define the type of the camera. Since we’re building a selfie camera, I initially set it to use the front camera and pass this state to the camera component. Lastly, we create a ref that we also pass to the camera component to create a mutable object that inherits the camera props. This will allow us to make changes to the camera component later.
In case the usePermission Hook returns false, we won’t render the camera, but a text box saying that we don’t have access to the camera. If we’re successfully granted access to the device’s camera, the app should now show the front camera over the whole screen like this:

Now, we’ll implement the functionality for taking and saving pictures. For that, I created a components directory inside the src directory, and there I added a custom Button component:
import { Text, TouchableOpacity, StyleSheet } from "react-native";
import React from "react";
import { Entypo } from "@expo/vector-icons";

export default function Button({ title, onPress, icon, color }) {
 return (
   <TouchableOpacity onPress={onPress} style={styles.button}>
     <Entypo name={icon} size={28} color={color ? color : "#f1f1f1"} />
     <Text style={styles.text}>{title}</Text>
   </TouchableOpacity>
 );
}

const styles = StyleSheet.create({
   button: {
       height: 40,
       flexDirection: "row",
       justifyContent: "center",
       alignItems: "center",
   },
   text: {
       fontWeight: "bold",
       fontSize: 16,
       color: "#f1f1f1",
       marginLeft: 10,
   },
 });
This component is designed in a way that you can modify the title, the onPress function, the icon, and the color of the button.
Let’s import the Button component in the App.js file and use this component:
return (
   <View style={styles.container}>
     <Camera style={styles.camera} type={type} ref={cameraRef}></Camera>
     <View>
       <Button title={"Photo"} icon={"camera"}/>
     </View>
   </View>
 );
This will add a button to the bottom of our app. This leads to the following look of our app:

So far, so good.
Now let’s implement a function, which will assure that we can actually take a picture and save it to our device:
const [image, setImage] = useState(null);

const takePicture = async () => {
   if (cameraRef) {
     try {
       const data = await cameraRef.current.takePictureAsync();
       setImage(data.uri);
     } catch (error) {
       console.log(error);
     }
   }
 };
First, we need to create a new state that manages the images. Then, we create the takePicture function, where we call the takePictureAsync() method on our cameraRef object, which takes a picture and saves it to the app’s cache directory.
The last thing we need to do here is to assign the function to the onPress prop of our custom Button component:
<Button title={"Photo"} icon={"camera"} onPress={takePicture}/>
The downside of this approach is that the pictures that were taken are not shown inside the app yet. Let’s change that!
<View style={styles.container}>
     {!image ? (
       <Camera style={styles.camera} type={type} ref={cameraRef}></Camera>
     ) : (
       <Image style={styles.camera} source={{ uri: image }} />
     )}

     <View>
       <Button title={"Photo"} icon={"camera"} onPress={takePicture} />
     </View>
</View>
This conditional rendering assures that if we have stored an image in the image state, then it will render the <Image style={styles.camera} source={{ uri: image }} /> component; otherwise it’ll render the camera.
Next, we want to give the user the opportunity to save the picture to the device:
import * as MediaLibrary from "expo-media-library";

const savePicture = async () => {
   if (image) {
     try {
       const asset = await MediaLibrary.createAssetAsync(image);
       alert("Image saved!");
       setImage(null);
     } catch (error) {
       console.log(error);
     }
   }
 };
Inside the savePicture function, we call MediaLibrary.createAssetAsync(image) method, which creates an asset from the image and stores it on our device. Please notice that we’re setting the image to be null after successfully saving it. This is important for conditional rendering because we want to render the camera if there is no truthy value stored in the image state.
Let’s extend our app with two buttons: one for saving the picture and one for re-taking the picture:
return (
   <View style={styles.container}>
     {!image ? (
       <Camera style={styles.camera} type={type} ref={cameraRef}></Camera>
     ) : (
       <Image style={styles.camera} source={{ uri: image }} />
     )}

     <View>
       {image ? (
         <View style={styles.takenImage}>
           <Button
             title={"Re-take"}
             icon="retweet"
             onPress={() => setImage(null)}
           />
           <Button title={"Save"} icon="check" onPress={savePicture} />
         </View>
       ) : (
         <Button title={"Photo"} icon={"camera"} onPress={takePicture} />
       )}
     </View>
   </View>
 );
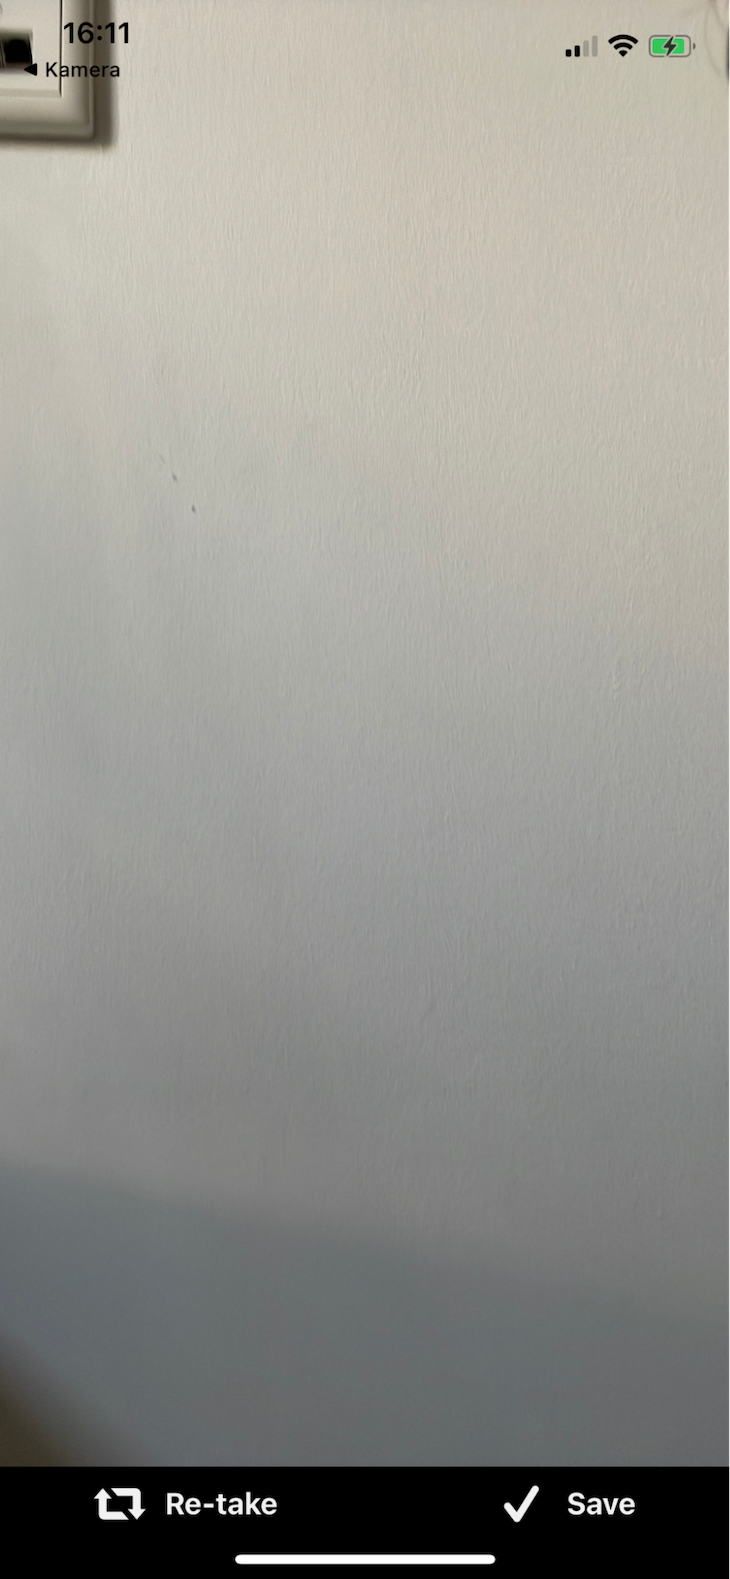
This will lead to the following result after taking a picture:

When clicking the Re-take button, we execute onPress={() => setImage(null)} in order to render the camera again.
Finally, let’s add a button to allow the user to flip the camera if desired. Inside the camera component, we’ll simply add an additional button:
<Camera style={styles.camera} type={type} ref={cameraRef}>
         <View style={styles.buttonContainer}>
           <Button
             icon={"retweet"}
             title="Flip"
             onPress={() =>
               setType(
                 type === Camera.Constants.Type.back
                   ? Camera.Constants.Type.front
                   : Camera.Constants.Type.back
               )
             }
             color="#f1f1f1"
           />
         </View>
</Camera>
The only thing left now is to implement the timer functionality and to connect it to our camera. I have created another component inside the src/components directory called Timer.jsx. The code from this component looks like this:
import {
 View,
 Text,
 FlatList,
 StyleSheet,
 TouchableOpacity,
} from "react-native";
import { data } from "../data";

export default function Timer({ onPress }) {
 const onClick = (time) => {
   onPress(time);
 };
 return (
   <View style={styles.timerContainer}>
     <FlatList
       data={data}
       style={styles.timerList}
       renderItem={({ item }) => (
         <TouchableOpacity onPress={() => onClick(item.time)}>
           <Text style={styles.item}>{item.key}</Text>
         </TouchableOpacity>
       )}
     />
   </View>
 );
}

const styles = StyleSheet.create({
 timerContainer: {
   position: "absolute",
   width: "50%",
   top: "25%",
   right: "25%",
   backgroundColor: "white",
   zIndex: 1,
   borderRadius: 10,
   padding: 10,
 },
 timerList: {
   paddingTop: 10,
 },
 item: {
   fontSize: 18,
   textAlign: "center",
   height: 44,
   fontWeight: "bold",
 },
});
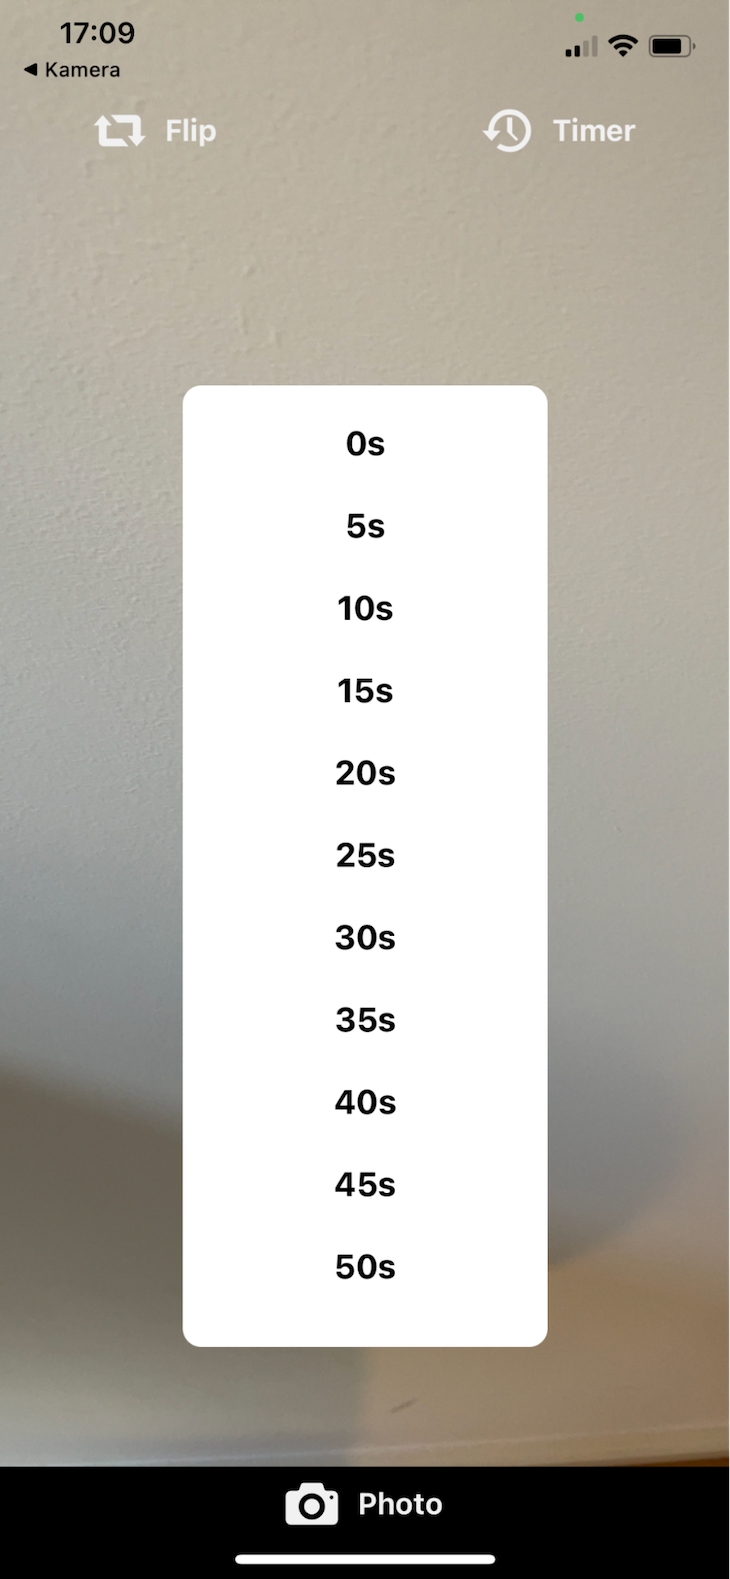
In the end, the Timer component consists of a Flatlist, which renders such key-value pairs:
{key: "5s", time: 5}
Back in our App.js, we can now import the Timer component and add following code:
const [timerClicked, setTimerClicked] = useState(false);

const onPressTimerItem = () => {
   setTimerClicked((prevState) => !prevState);
 };

return (
   <View style={styles.container}>
     {timerClicked && <Timer onPress={onPressTimerItem} />}
     {!image ? (
       <Camera style={styles.camera} type={type} ref={cameraRef}>
         <View style={styles.buttonContainer}>
           <Button
             icon={"retweet"}
             title="Flip"
             onPress={() =>
               setType(
                 type === Camera.Constants.Type.back
                   ? Camera.Constants.Type.front
                   : Camera.Constants.Type.back
               )
             }
             color="#f1f1f1"
           />
           <Button
             icon={"back-in-time"}
             title="Timer"
             onPress={() => setTimerClicked((prevState) => !prevState)}
           />
         </View>
       </Camera>
………
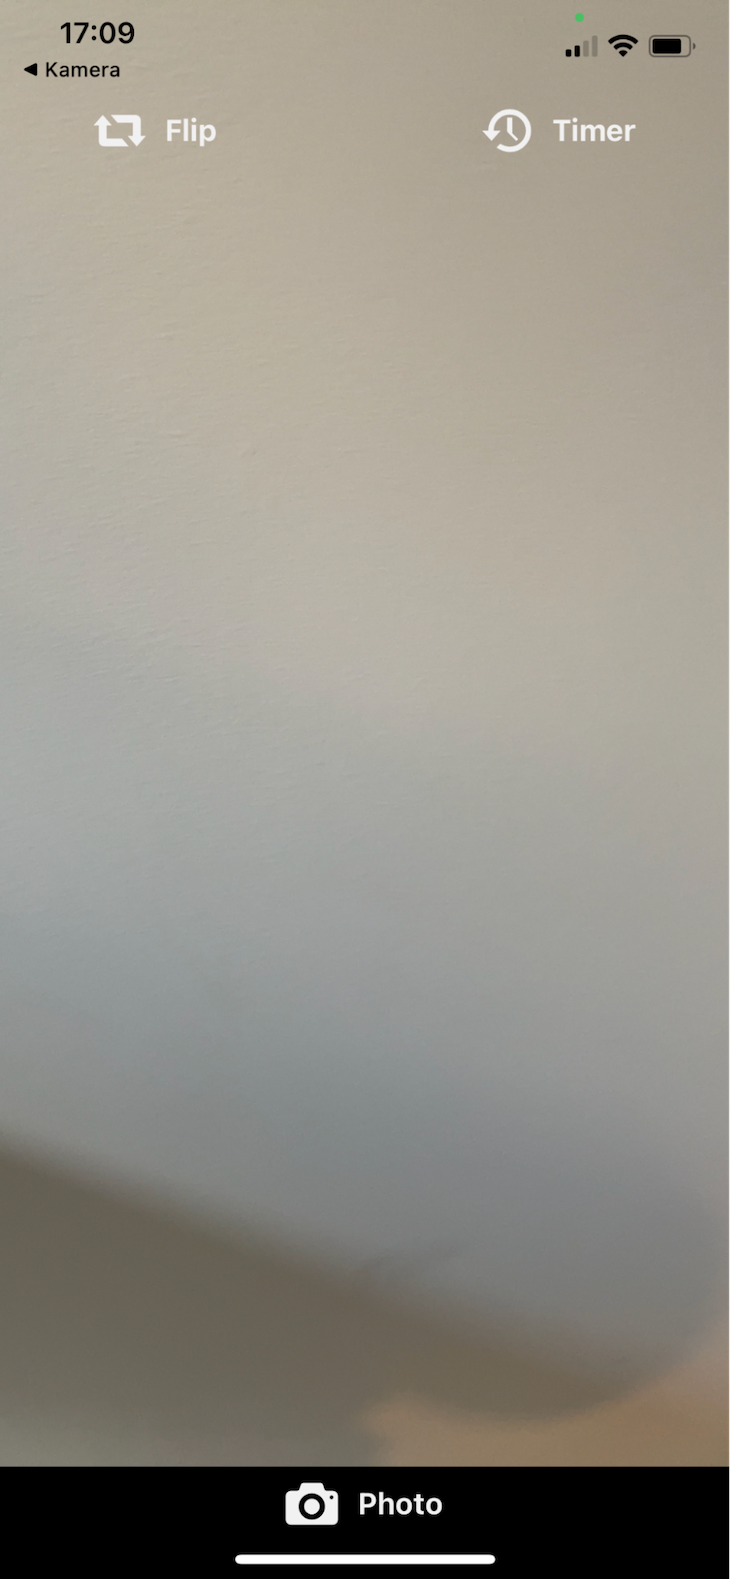
The purpose of the timerClicked state and the onPressTimerItem function is to check whether the timer component should be rendered or not. Inside the camera component, I added another button for the timer functionality. Below you can find pictures showing the layout before and after clicking the Timer button.


To start with the logic behind the timer, we first need to add a new state which will hold the current value of the desired timer. In addition, we will call setTimer inside the onPressTimerItem function. Moreover, we want to display the current value of the timer next to the icon in the upper right corner. For that, we wrap the timer button inside an additional View and add a new Text element:
<View style={styles.timerContainer}>
             <Button
               icon={"back-in-time"}
               title="Timer"
               onPress={() => setTimerClicked((prevState) => !prevState)}
             />
           <Text style={styles.timerText}>{timer}s</Text>
</View>
As a next step, we can take a look at the takePicture function again and connect the functionality between the timer and taking the photo. For that purpose, we can wrap the body of the function inside a setTimeout method like this:
const [timerOn, setTimerOn] = useState(false);

const takePicture = async () => {
 setTimerOn(true);
 setTimeout(async function () {
   if (cameraRef) {
     try {
       const data = await cameraRef.current.takePictureAsync();
       setImage(data.uri);
       setTimerOn(false);
     } catch (error) {
       console.log(error);
     }
   }
 }, timer * 1000);
};
A new state timerOn is implemented for keeping track whether the timer is still running or not. This will be relevant for the last step in creating the stopwatch.
If you run the app now, select a duration for your timer, and click the Take Photo button, the photo should be taken with a delay of the same amount of seconds as your selected timer.
The last step to finishing this app is to implement an element that shows the timer counting down for an enhanced user-friendliness. We will not use the timer state to display the count down, but instead use another variable called displayTimer because we want to keep the value of the timer state constant.
const [displayTimer, setDisplayTimer] = useState(timer);

useEffect(() => {
 if (!timerOn) {
   return;
 }
 setDisplayTimer(timer);

 const interval = setInterval(() => {
   setDisplayTimer((prevTimer) =>
     prevTimer > 0 ? prevTimer - 1 : clearInterval(interval)
   );
 }, 1000);
}, [timerOn, setTimerOn, timer]);
In the useEffect Hook above, we use the setInterval method where we reduce the value of displayTimer by 1 every second. If the displayTimer reaches a value of 0, we want to call clearInterval(interval) in order to stop the function from executing.
In this post, we covered how to create a stopwatch in React Native and connect it to the device’s camera to create a selfie camera timer from scratch. If you lost track at some point, check out the corresponding repo on my GitHub for the whole source code.

LogRocket's Galileo AI watches sessions for you and and surfaces the technical and usability issues holding back your React Native apps.
LogRocket also helps you increase conversion rates and product usage by showing you exactly how users are interacting with your app. LogRocket's product analytics features surface the reasons why users don't complete a particular flow or don't adopt a new feature.
Start proactively monitoring your React Native apps — try LogRocket for free.

React Server Components and the Next.js App Router enable streaming and smaller client bundles, but only when used correctly. This article explores six common mistakes that block streaming, bloat hydration, and create stale UI in production.

Gil Fink (SparXis CEO) joins PodRocket to break down today’s most common web rendering patterns: SSR, CSR, static rednering, and islands/resumability.

@container scroll-state: Replace JS scroll listeners nowCSS @container scroll-state lets you build sticky headers, snapping carousels, and scroll indicators without JavaScript. Here’s how to replace scroll listeners with clean, declarative state queries.

Explore 10 Web APIs that replace common JavaScript libraries and reduce npm dependencies, bundle size, and performance overhead.
Would you be interested in joining LogRocket's developer community?
Join LogRocket’s Content Advisory Board. You’ll help inform the type of content we create and get access to exclusive meetups, social accreditation, and swag.
Sign up now