If you’ve tried using AI agents to automate browser tasks, you’ve likely hit the same wall.

You point an agent at a page, it pulls in the entire raw DOM, and suddenly you’re burning thousands of tokens just to locate something simple like a login button. Then the site updates, a class name changes, and your selector breaks.
Tools like Playwright were built for traditional test automation. They work well there, but they fall short for agents that need to understand page structure, make decisions, and adapt on the fly.
That’s where Agent Browser, built by Vercel Labs, takes a different approach. Instead of feeding the raw DOM into the agent, it works off the accessibility tree, strips out the noise, and returns a clean, compact set of element references.
So the agent doesn’t have to parse HTML at all. It just uses something like click @E_1 to interact with the page.
In this guide, we’ll walk through how Agent Browser works, how to get it running, and how to plug it into your AI coding workflow for both automation and exploratory testing.
The Replay is a weekly newsletter for dev and engineering leaders.
Delivered once a week, it's your curated guide to the most important conversations around frontend dev, emerging AI tools, and the state of modern software.
Before we get started, make sure you have the following:
npm install) or macOS with HomebrewAgent Browser is a headless browser automation CLI built specifically for AI agents. Agent Browser takes a snapshot of a page’s accessibility tree and condenses all elements into deterministic references, stable identifiers like @E_1, @E_2, and so on.
Instead of this:
<div class="auth-form__container">
  <input id="login_field" class="form-control input-sm" type="text" ...>
</div>
Your agent receives this:
@E_1 - text input, label: "Username"
@E_2 - password input, label: "Password"
@E_3 - button, name: "Sign in"
Although the Agent Browser CLI uses Playwright under the hood, it takes a different approach to the token burn problem by working with the accessibility tree instead of the raw DOM.
This strips away unnecessary noise and surfaces only what the agent actually needs.
One of the biggest advantages of Agent Browser CLI is how much it cuts down token usage compared to traditional approaches.
Tools like Playwright send the entire page structure to the LLM, on a modern React or Next.js app, which can easily mean thousands of tokens for a single page, just to find a few elements.
Agent Browser takes a different route. According to the Vercel Labs team, it can reduce token usage by up to 97% per request.
What this really means:
Agent browser comes with the following features:
Agent Browser supports isolated browser sessions using the --session flag.
Each session maintains its own cookies, storage, and history.
With this, you can run multiple browsers in parallel without interfering with each other.
For example, you can open two sessions simultaneously like so:
agent-browser open <https://example.com> --session=userA
agent-browser open <https://example.com> --session=userB
By default, Agent Browser runs headlessly.
If, in your development workflow, you need to see what’s happening in the browser while building or debugging, you can add the --headed flag:
agent-browser open <https://example.com> --headed
This will render the full browser UI.
Getting Agent Browser installed is straightforward. You can use npm or Homebrew if you’re on macOS and Linux.
For a global installation via npm, run:
npm install -g agent-browser
Or, if you’re on macOS and prefer Homebrew:
brew install agent-browser
Once the CLI is installed, you need to download the headless browser it uses internally:
agent-browser install
If the installation was successful, you should see a screen similar to the one below:

Let’s run a quick test to verify everything is working. This command will open a page and print its title:
agent-browser open <https://www.vercel.com>

If you see the page title printed in the terminal, you’re good to go.
Agent Browser breaks down browser automation into three deterministic steps:
Let’s walk through each one.
It starts by opening the target URL. This initializes a headless session that stays active in the background.
agent-browser open <https://github.com>

This command sets the stage, creating an isolated context for the agent to work in.
Instead of returning raw HTML, it returns a snapshot of interactive elements:
agent-browser snapshot -i
We used the -i flag to indicate we only want to receive interactive elements.
Let’s check the output:

Instead of a list of HTML tags, we received a list of references to interactive elements on the page.
These identifiers are our bridge between the agent and the browser.
At this point, the agent doesn’t need to guess if the selector is #login_field or .input-block. It simply uses the reference ID.
Let’s tell the AI agent what to do on the site.
First, we can ask it to fill in a username:
agent-browser fill @E_1 "my-username"
We then ask it to fill in a password:
agent-browser fill @E_2 "my-password"
We then ask it to click the submit button:
agent-browser click @E_3
Using these references makes the agent’s logic robust.
Even if the underlying CSS classes change during a site update, the reference to the Sign in button remains stable within that session.
Snapshots are great for discovering what’s on a page. But sometimes you already know what you’re looking for. That’s where semantic locators come in.
Instead of relying on CSS selectors like .btn-primary-v2 or div > input:nth-child(3), Agent Browser CLI lets you describe elements by their purpose.
For instance:
agent-browser find label "Email" fill "[email protected]"
Since AI agents are good at understanding the intent of an element rather than its implementation details, this approach makes your browser automation self-healing.
For instance, as long as a button remains a submit button, your agent won’t care if the underlying CSS classes or IDs change.
For example, you could ask the Agent Browser CLI to fill a form like so:
agent-browser find label="Email address" fill "[email protected]"
To make agent browser adaptation to your workflow easier, it comes with a couple of skills that teach AI coding agents how to work with it.
For this demo, we will use it for the following:
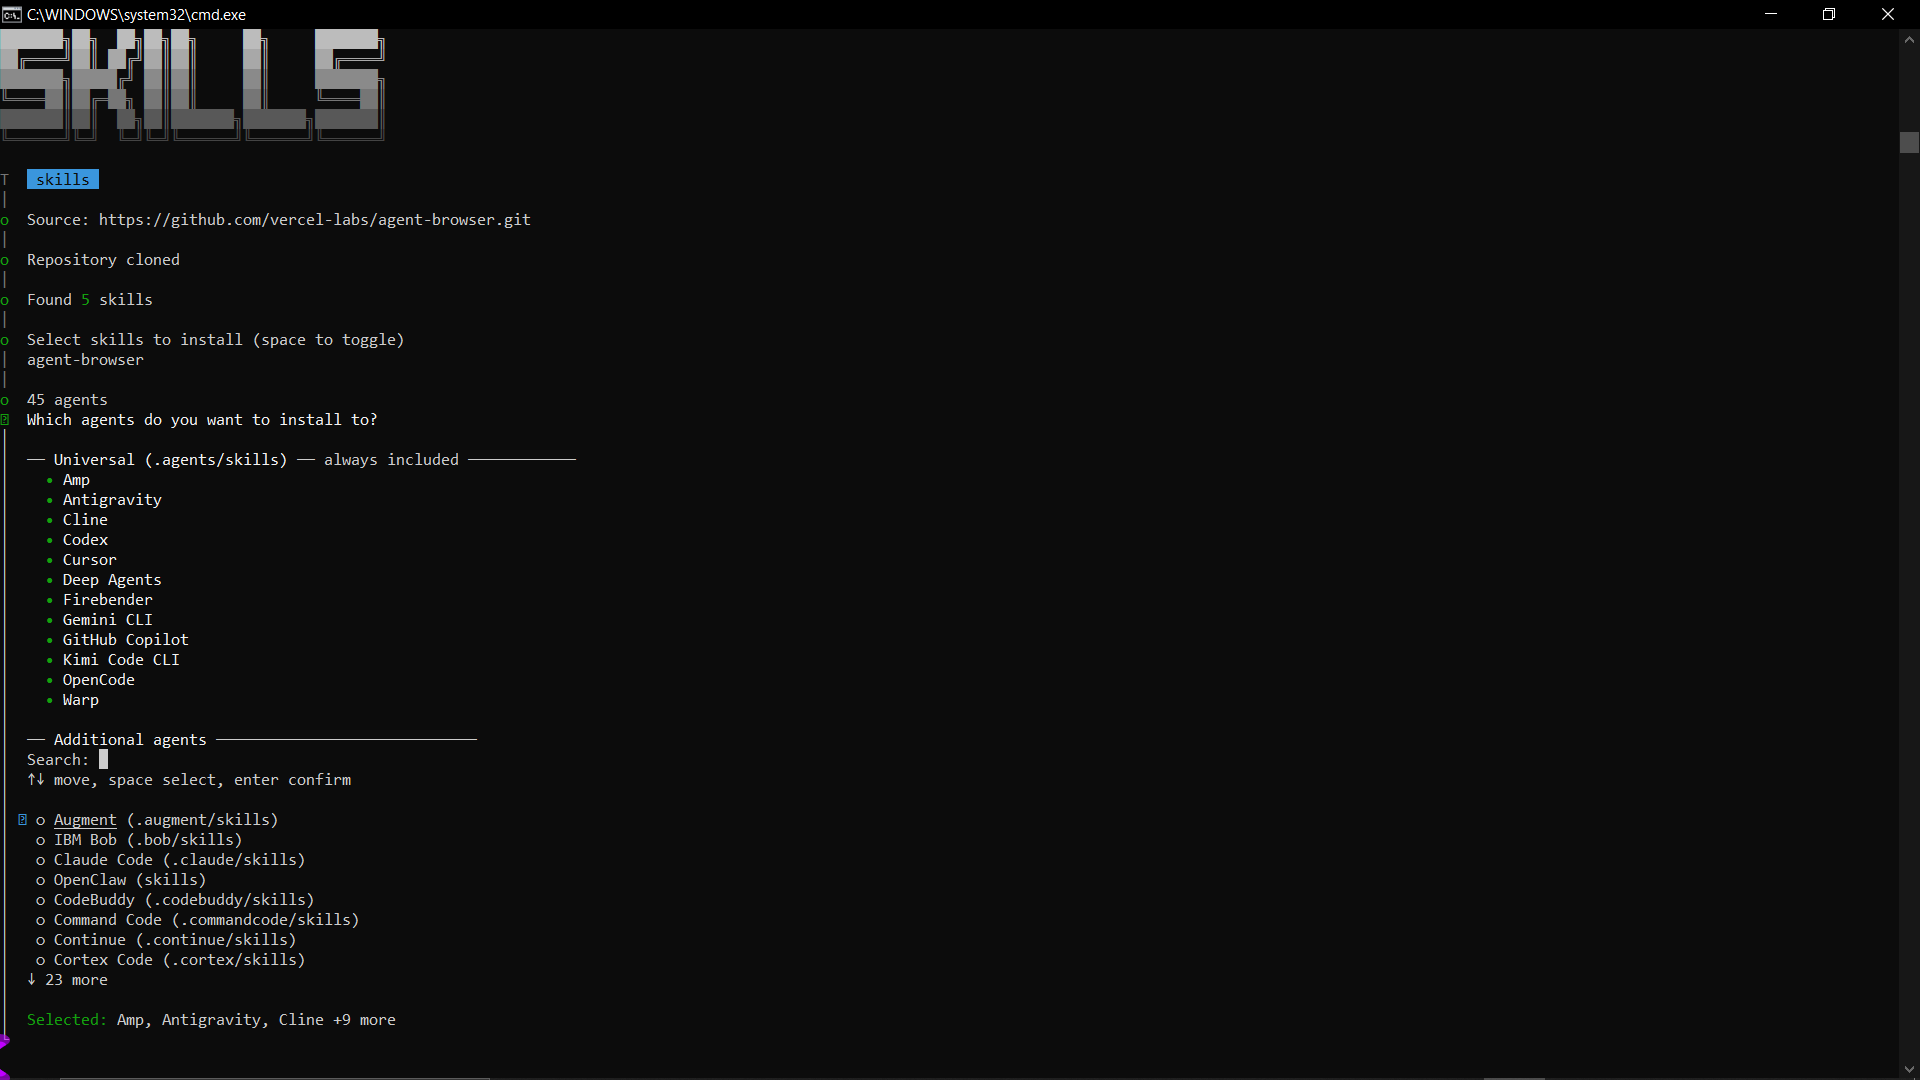
To follow along, go ahead and install the skills accordingly:
For general browser automation, run this command:
npx skills add vercel-labs/agent-browser --skill agent-browser
This works with the following AI agents out of the box.
If you need it to work with other AI agents, you can just select additional agents before completing the installation.
You will see a similar screen to this:
For Exploratory testing, install the following skills:
npx skills add vercel-labs/agent-browser --skill dogfood
The dogfood skill methodically inspects a web application, identifies issues, and delivers a report that includes complete reproduction evidence for each issue.
In the next section, we will go into how to use this in your software development workflow.
For this demonstration, I will be using GitHub Copilot.
Once the skill is active, you don’t need to write out Agent Browser commands manually. You can simply describe the task in plain language: “Open the login page and sign in as a test user.”
Behind the scenes, your agent will:
agent-browser open <URL>.agent-browser snapshot -i to “see” the page.@ref.This allows your agent to verify its own work in real-time.
For example, after deploying a feature, it can open the site and check if the new feature is there and functional. Let’s get down to it.
We will be using the agent-browser skill we installed earlier for this. Go ahead and test out the login feature you just built.
Here’s the prompt I gave GitHub Copilot:
Use agent browser and test out the app. Log in as a user and try adding things to the cart and checking out

Check out the result below:

It signed in as a demo user, added items, and saw correct cart totals.
It was finally noticed that checkout is not implemented.
I have a React project I created for this demonstration. I intentionally planted some bugs in the form validation, specifically, the Cart page order summary applies tax twice.
For this, we will use the dog food skill we installed earlier.
Using the dog food skill, I asked the agent to:
Use the dogfood skill and navigate to the Cart page order summary, and check if the order summary adds up correctly

The agent navigated to the Cart page order summary and checked if the order summary added up correctly, and used agent-browser dogfood skill to surface the bug.
It even created a report.md file on the order summary bug and the steps I can use to recreate the error.
Check the output below:

A few months after Agent Browser launched, Playwright released its own CLI positioned for similar use cases. Like Agent Browser, it condenses the browser’s HTML into a more structured format that AI agents can parse, returning a YAML file with tagged elements for the agent to reference.
Here’s how the tools compare:
Here is how the Agent Browser CLI compares to similar tools.
| Agent Browser | Chrome DevTools MCP | Playwright |
|---|---|---|
| AI Agents (Automation) | AI Agents (Debugging) | Human Developers |
| Low token usage | Moderate token usage | High token usage |
Stable @ref Identifiers |
JSON-RPC | Complex CSS Selectors |
While Playwright remains the industry standard for traditional E2E testing, and Chrome DevTools MCP is excellent for live debugging and profiling, Agent Browser is the only tool built from the ground up for and specifically for AI Agents.
Not every automation task calls for Agent Browser. Here’s a quick reference to help you decide:
| Scenario | Use Agent Browser? | Why? |
|---|---|---|
| Complex React/Next.js Apps | Yes | Handles dynamic DOM changes and provides stable @ref references. |
| Simple Static Site Scraping | Maybe | Simple fetch and cheerio could be faster. |
| Performance Profiling / Memory Leaks | No | Better to use Chrome DevTools MCP for deep performance metrics. |
| Cross-Browser Testing | Limited | Primarily focused on Chromium based browsers. |
| AI Agents need to see | Yes | High reduction in token usage compared to raw HTML. |
The web was never built for AI agents. Agent Browser CLI closes that gap by translating user interfaces into something agents can actually work with.
It tackles the two biggest pain points in browser automation: token bloat and fragile selectors, all within a compact CLI.
In this guide, we walked through how to navigate pages, read structured snapshots, interact using stable references, and plug everything into an AI coding assistant using skills.
Whether you’re running automated regression tests, scraping pages, or letting an agent explore a UI, Agent Browser CLI gives your agents a reliable set of eyes on the web.

Learn how to use Gemini CLI subagents to delegate frontend, backend, testing, and docs tasks to specialized agents with guardrails and clear ownership.

Learn how next-browser gives AI agents runtime context for debugging Next.js apps, including React props, hydration, PPR, forms, and performance.

Build dynamic LLM routing in Next.js with OpenRouter, TanStack AI, task classification, model fallbacks, and cost-aware routing.

TSRX adds first-class control flow, conditional hooks, and scoped styles to React via a TypeScript compiler extension — no new framework required.
Hey there, want to help make our blog better?
Join LogRocket’s Content Advisory Board. You’ll help inform the type of content we create and get access to exclusive meetups, social accreditation, and swag.
Sign up now

