
The first time I turn on a new computer or boot up my PC after reinstalling Windows, I’m faced with the mammoth task of finding and reinstalling all the software that I like. This list is pretty long, so finding and installing everything can take some time.
Other times, I need to install software on a virtual machine, or a computer may require some software as a build-time requirement. In these cases, I can’t install the software by clicking “next” on an install wizard. I have to install the software in a “headless” manner — that is, without a UI to interact with.
While Windows has been fairly slow in the package management space, the same can’t be said of Linux distributions. Commands like apt-get can find and install software packages and dependencies, as well as warn you of possible conflicts.
These days, package management has well and truly come to Windows, with quite a few good options to choose from. So what are those options, and what are their pros and cons? Let’s explore them in this article.
Jump ahead:
The Replay is a weekly newsletter for dev and engineering leaders.
Delivered once a week, it's your curated guide to the most important conversations around frontend dev, emerging AI tools, and the state of modern software.
The first package manager worth mentioning is the package manager you have installed right now, which is Winget. It ships with Windows 11 and was added to Windows 10 via an update. You can test it out by typing winget at the command line:
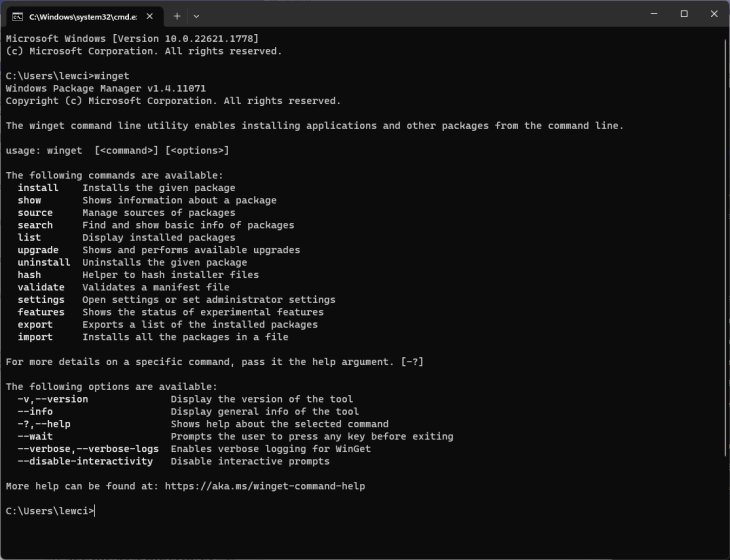
Installing packages through Winget is about as simple as you can imagine! Simply type the following:
winget install packagename
Because it’s a standard tool on Windows, running winget list shows all packages that have been installed through Winget as well as through the Microsoft Store.
You can use Winget itself to search for packages. For example, if you want to install the LLVM compiler, you can just type winget search llvm and you’ll receive results like the below:
C:\>winget search llvm
Name  Id               Version Match     Source
-----------------------------------------------
LLVM  LLVM.LLVM        16.0.4            winget
Spice ChilliBits.Spice 0.16.1  Tag: llvm winget
Technically, it’s a response. But it’s pretty light on details. Who authors this package? Where does it come from? Fortunately, you can use the winget.run site to search for packages and their details. In our case, searching for LLVM and clicking the first result yields these results:
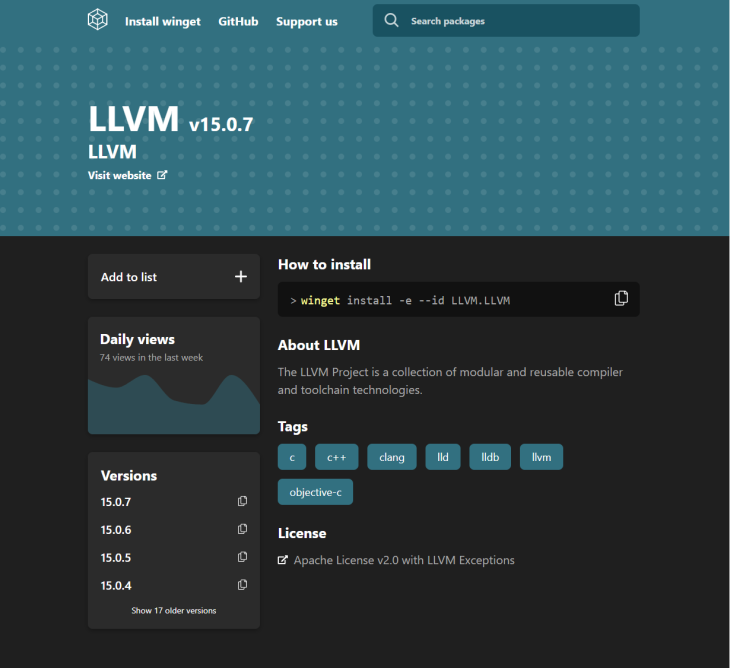
It’s a lot more informative, and a lot more useful. So how does Winget stack up?
Before Winget was around, package management on Windows was still something that people needed. In those times, and to this day, Chocolatey answered that need.
In concept, Chocolatey is largely the same as Winget, as far as finding and installing packages go. However, Chocolatey is a more refined solution, as it began development in 2011.
Because package installers can run PowerShell scripts, pretty much any administrative task relating to package installations can be carried out with Chocolatey.
The package specification is also largely compatible with the much-used Nuget package spec, so developers who want to create their own package can do so without learning too much new technology.
Installing Chocolatey is very simple — just copy the command from the installation page and paste it into PowerShell. The most recent version of the command as of this article’s writing is copied below, but be sure to get the most up-to-date version directly from the Chocolatey website:
Set-ExecutionPolicy Bypass -Scope Process -Force; [System.Net.ServicePointManager]::SecurityProtocol = [System.Net.ServicePointManager]::SecurityProtocol -bor 3072; iex ((New-Object System.Net.WebClient).DownloadString('https://community.chocolatey.org/install.ps1'))
This command allows the PowerShell installer script to run, before downloading and executing the installer script. After this, you’re good to call the choco command. For example, let’s run choco find llvm, which yields this output:
PS C:> choco find llvm
Chocolatey v2.0.0
2 validations performed. 1 success(es), 1 warning(s), and 0 error(s).

Validation Warnings:
 - A pending system reboot request has been detected, however, this is
   being ignored due to the current command being used 'find'.
   It is recommended that you reboot at your earliest convenience.

ccls 0.20220729.0 [Approved]
dotnetcoresdk 1.0.1 [Approved] Downloads cached for licensed users - Possibly broken for FOSS users (due to original download location changes by vendor)
ghc 9.6.1 [Approved]
ldc 1.32.2 [Approved] Downloads cached for licensed users
llvm 16.0.5 [Approved] Downloads cached for licensed users
winlibs 10.11.8 [Approved] Downloads cached for licensed users
winlibs-llvm-free 10.11.0 [Approved] Downloads cached for licensed users
7 packages found.
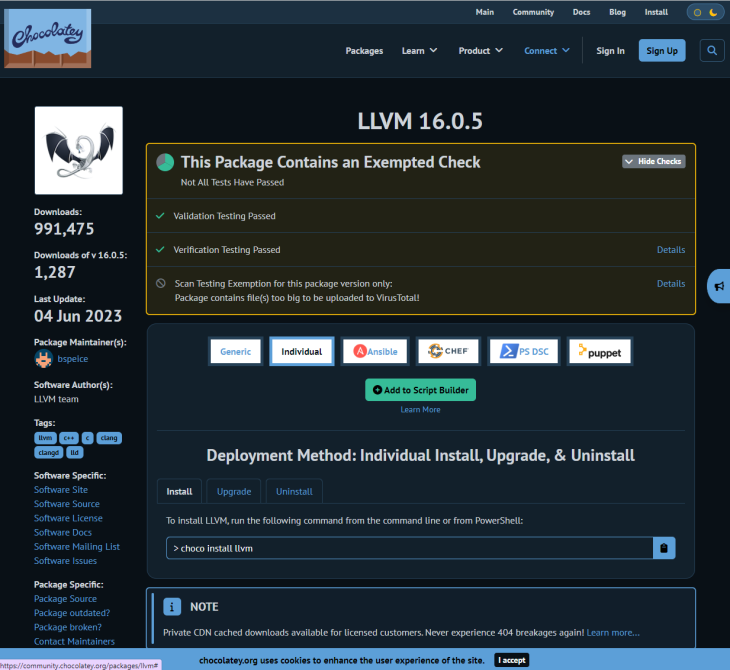
Again, we see our LLVM compiler available. Interestingly, Winget only reported having v15.0.7 available at the time of writing, whereas Chocolatey has v16.0.5 available. It’s just one package, but in this particular case, it seems that Chocolatey has the more up-to-date package.
Another nice thing about Chocolatey is that the package explorer seems to be first-party to Chocolatey itself, so one could reasonably assume that it will be around for as long as Chocolatey is. It’s quite a bit more detailed than its Winget counterpart, too:
Also, users can post questions and answers on individual packages, which can help when considering how to automate the installation of a given package:
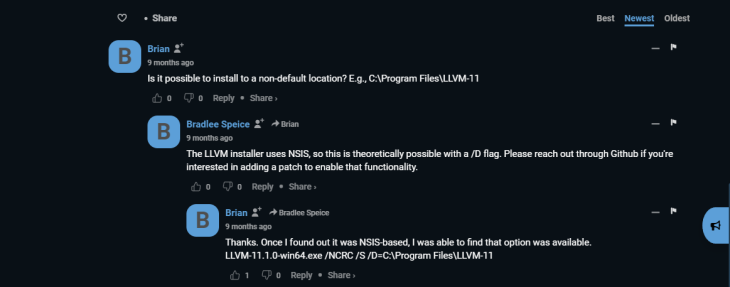
The only mild-to-moderate downside of Chocolatey is that installing packages usually requires administrator rights to do so. So, how does Chocolatey compare?
If you’d like to jump right into using this package manager, check out this tutorial on using Node on Windows with Chocolatey.
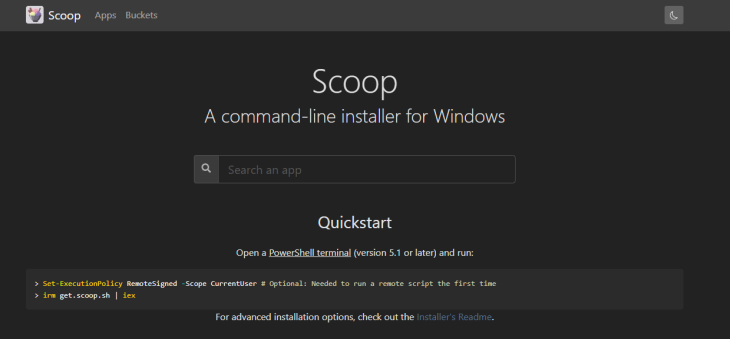
Scoop bills itself as a command-line installer for Windows. However, it still offers a slightly different take on package installation and management when compared to Winget or Chocolatey.
Package managers like Chocolatey require administrator privileges to install an app somewhere like Program Files, whereas Scoop takes a more restricted approach to permissions for the apps you install.
Take, for example, installing a tool like VS Code. Normally, if you were installing it yourself, or if you used a tool like Chocolatey, it might install in your program files, your AppData profile on your computer, or somewhere similar.
While this usually doesn’t present issues, having things installed in places on your computer that are modifiable by you, the system, and other installers can — at times — cause conflicts.
To understand what makes Scoop different, let’s see the output of installing VS Code via Scoop:
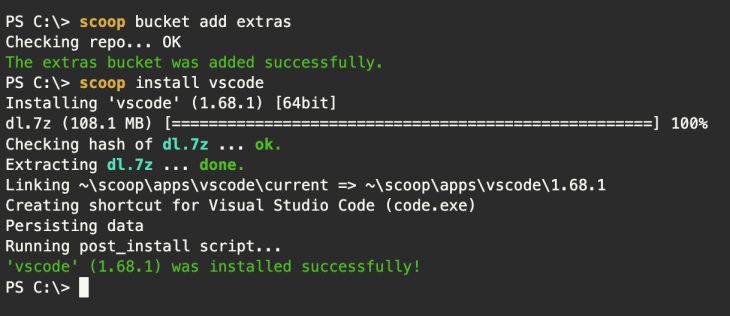
In this case, we first add the third-party “extras” bucket. Then, we issue the scoop install vscode command to begin the installation.
Instead of the installation package for VS Code coming in, a compressed package has been downloaded. Next, it’s extracted to the scoop directory within our home drive.
Finally, a “shim” is used that points to this installation instance of VS Code. The benefit of this approach is that you could pretty much delete the entire scoop directory, and the rest of your system would be unaffected.
Searching for VS Code on the Scoop webpage returns a list of packages that match what we’re after. Clicking into a specific package’s details gives some basic details regarding its version and when the package was last updated:

There’s not a lot else here — no comments on the packages themselves or descriptions of how this package is installed.
Clicking on the version links to a GitHub page that contains a lot of detail about how this package is installed. This is good because you can see precisely what an installation package is doing and that it’s not interacting with other files or folders outside of the main Scoop directory. Neat!
Up until now in this article, all of the tools that we’ve covered have been heavily focused on using the command prompt to install tools. For most people, this will work just fine, but others prefer a UI tool to view and manage software updates.
In these cases, Ninite is a great option:
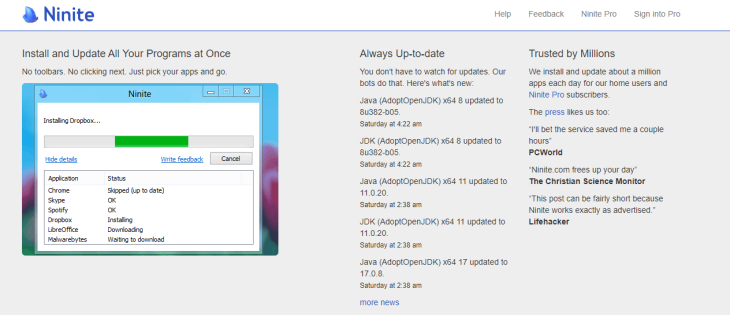
There’s a very extensive list of apps available, and all of the installers have been automated. Ninite also claims to only install the minimum, and not install needless cruft like toolbars and the like:
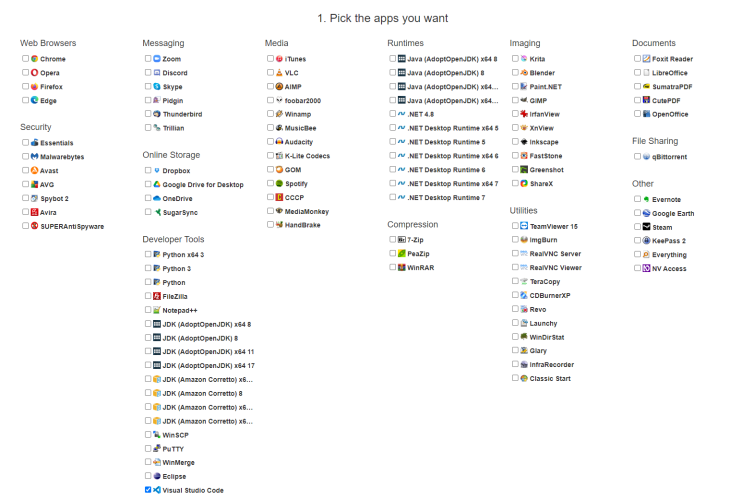
You just tick the apps you want, and then press the “Get Your Ninite” button:

A very small 500kb executable is downloaded, which will retrieve and install the most up-to-date versions of the apps available. Easy.
In a perfect world, all of the above options would be more than adequate. However, there are quite a few choices when it comes to operating systems, and you may want to manage packages on your computer, which could run Linux or macOS.
Fortunately, these operating systems have been around as long as Windows, and while they see less use, the requirement to easily manage packages exists in their realms also. So what should you use if you are managing a non-Windows machine?
If you’re not on Windows, but instead use macOS, Homebrew offers the best solution here:
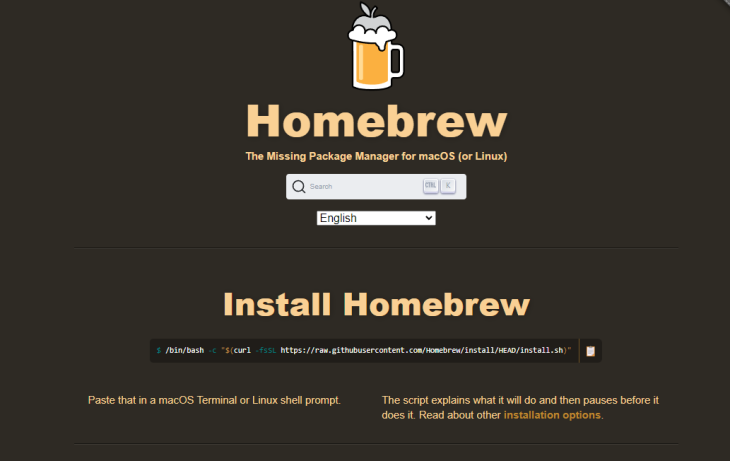
Installation is carried out by a simple command executed in the terminal, like this:
/bin/bash -c "$(curl -fsSL https://raw.githubusercontent.com/Homebrew/install/HEAD/install.sh)"
Search functionality is built into the website itself, but the information retrieved on packages can be a little austere:
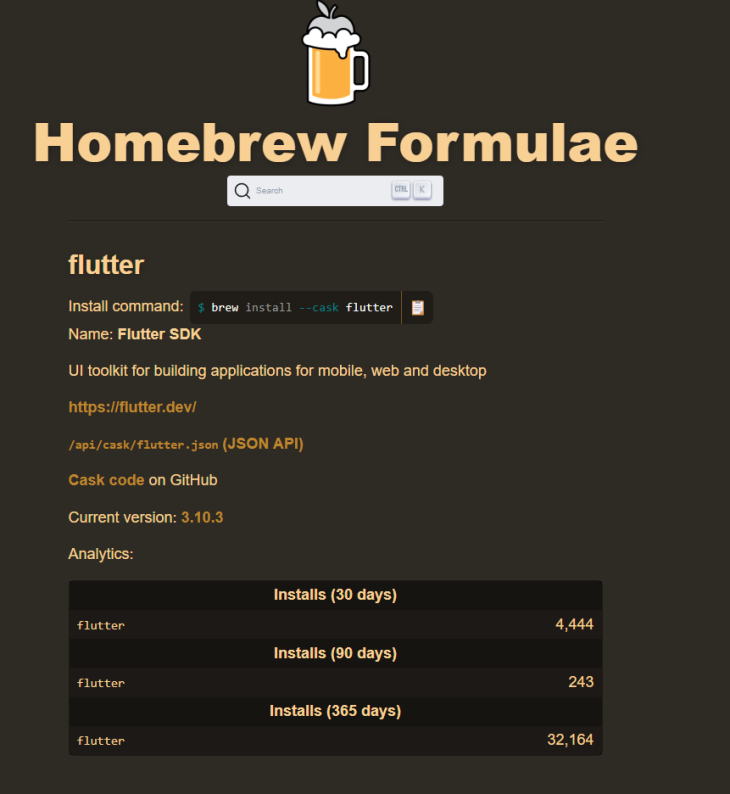
But still, with a link to the GitHub repository present, it’s easy enough to get the information that you’re after.
Many tasks that you wish to undertake could possibly also be provided by a package from the npm repository:

Access to npm is provided by installing Node.js, then using the following command:
npm install -g package-name
As an added option, you can also use npx to install and subsequently execute the package you are after.
Packages can be searched for on the npm website, and results are very informative. See the following example of this package that lets you find and remove node_modules from a directory to save space:
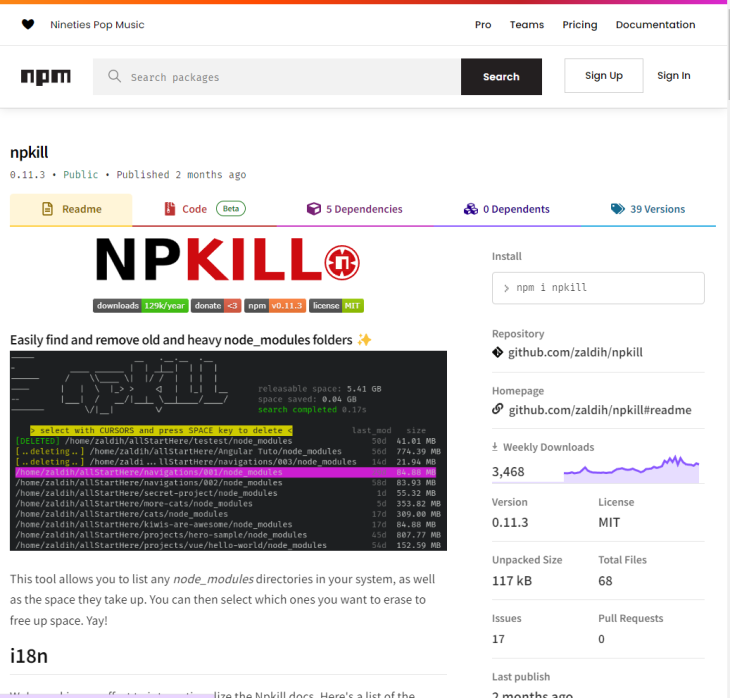
There are quite a few options, so if you need to make a quick choice, take a glance at the below.
|
Name
|
Platforms
|
Pros
|
Cons
|
|---|---|---|---|
|
Winget
|
Windows
|
|
|
|
Chocolatey
|
Windows
|
|
|
|
Scoop
|
Windows
|
|
|
|
Ninite
|
Windows
|
|
|
|
Homebrew
|
macOS, Linux
|
|
|
|
npm
|
Literally everything
|
|
|
No matter what package management solution you use, one thing we can be sure of is that package managers save us from a lot of button-clicking on installers. They also make it a lot easier to configure a build machine or build environment to build a specific app.
Whichever package manager you choose, you’ll no doubt save some time, so enjoy!
 Monitor failed and slow network requests in production
Deploying a Node-based web app or website is the easy part. Making sure your Node instance continues to serve resources to your app is where things get tougher. If you’re interested in ensuring requests to the backend or third-party services are successful, try LogRocket.

LogRocket lets you replay user sessions, eliminating guesswork around why bugs happen by showing exactly what users experienced. It captures console logs, errors, network requests, and pixel-perfect DOM recordings — compatible with all frameworks.
LogRocket's Galileo AI watches sessions for you, instantly identifying and explaining user struggles with automated monitoring of your entire product experience.
LogRocket instruments your app to record baseline performance timings such as page load time, time to first byte, slow network requests, and also logs Redux, NgRx, and Vuex actions/state. Start monitoring for free.

Russ Miles, a software development expert and educator, joins the show to unpack why “developer productivity” platforms so often disappoint.

Discover what’s new in The Replay, LogRocket’s newsletter for dev and engineering leaders, in the February 18th issue.

Learn how to recreate Claude Skills–style workflows in GitHub Copilot using custom instruction files and smarter context management.

Claude Code is deceptively capable. Point it at a codebase, describe what you need, and it’ll autonomously navigate files, write […]
Would you be interested in joining LogRocket's developer community?
Join LogRocket’s Content Advisory Board. You’ll help inform the type of content we create and get access to exclusive meetups, social accreditation, and swag.
Sign up now