
The Replay is a weekly newsletter for dev and engineering leaders.
Delivered once a week, it's your curated guide to the most important conversations around frontend dev, emerging AI tools, and the state of modern software.
After the spectacular release of version 10, where several high-impact features like a custom image component, Next.js analytics, Next.js commerce, fast refresh, etc. were introduced, we now have a new update, Next.js version 10.1. As a part of this release, many of these features are tweaked for optimization while introducing a few new ones like a custom 500 error page, preview mode detection, and typescript config extension to state a few. In this article, we will explore these in more detail.

This is a feature that is aimed at making the life of the developer easier. Fast refresh is a successor to React Hot Loader and was introduced by Facebook a while back. Basically, fast refresh lets the developer make code changes on any component and preview the results on the UI with minimal friction. It achieves this by only reloading the components/files that are impacted by the code change without refreshing the entire page while also preserving the state.
Next.js introduced fast refresh in version 9.4 and in the latest release, it is being claimed to have become 3x more optimized, which means faster refreshes and shorter development cycles.
We can get a feel of the feature by creating a starter project and then changing a few lines of code to trigger a fast refresh. In order to do that, we create a new project using the create-next-app command:
npx create-next-app test-10-1
Once the command finishes running, a folder gets created for us with the name test-10-1. We then cd into it and run the app with the command:
yarn dev
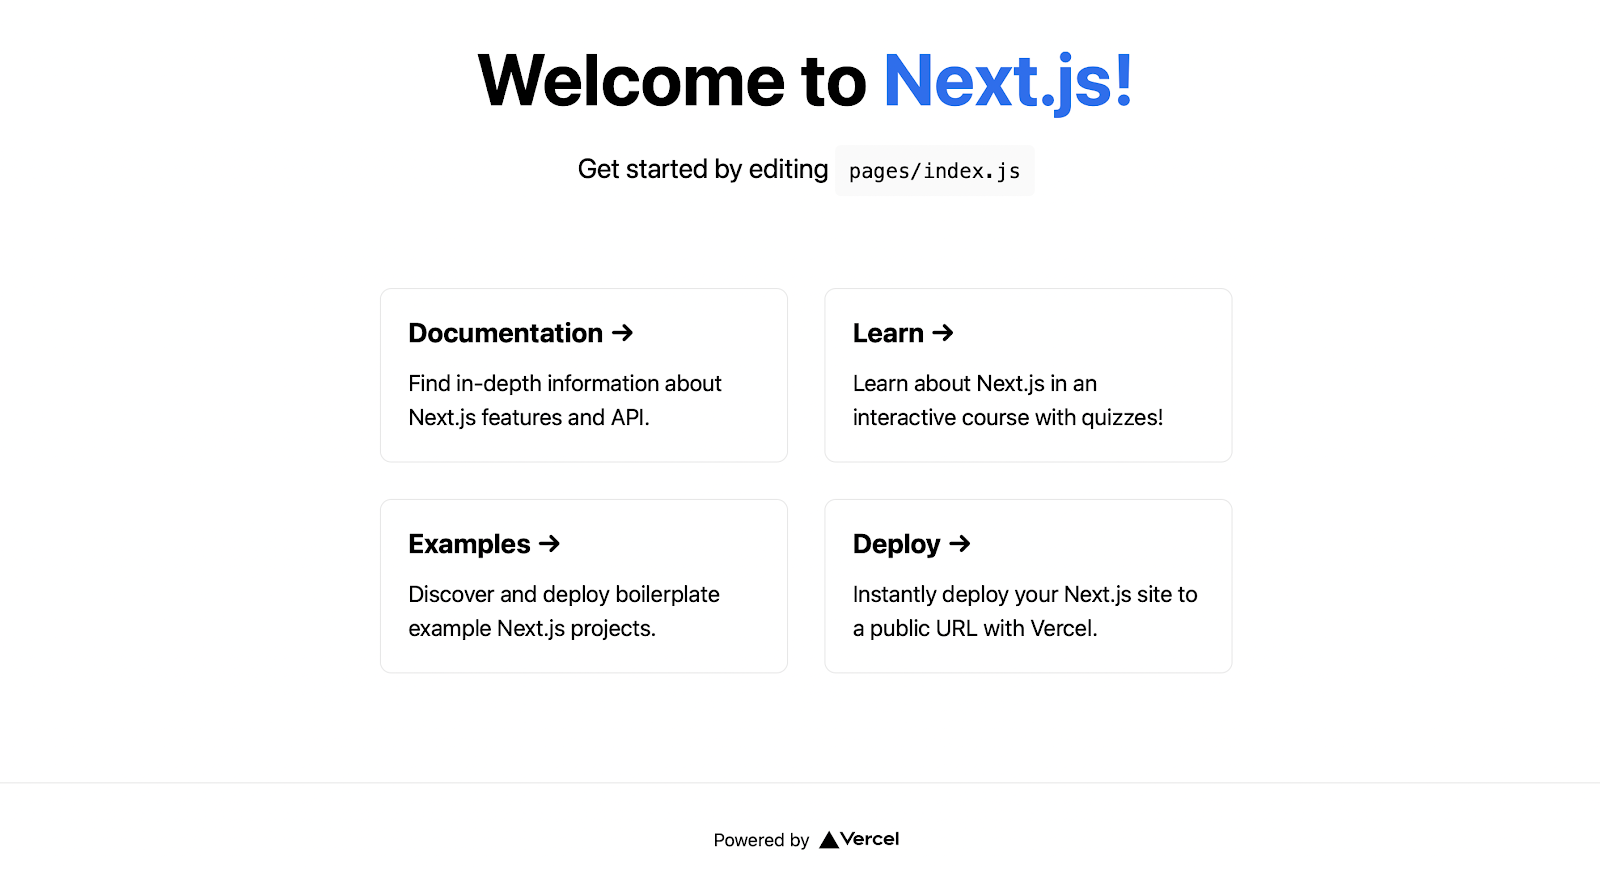
This launches the default Next.js home page on localhost:3000 which looks something like this:
Now, let’s change this into a simple counter app so that we can verify that the state does not get impacted upon fast refresh. Paste this code in the pages/index.js folder which is rendering this page:
import { useState } from 'react';
import Head from 'next/head'
import styles from '../styles/Home.module.css'

export default function Home() {

  const [count, setCount] = useState(0);
  const increment = () => setCount(count+1);
  const decrement = () => setCount(count-1);

  return (
    <div className={styles.container}>
      <Head>
        <title>Create Next App</title>
        <link rel="icon" href="/favicon.ico" />
      </Head>

      <main className={styles.main}>

        <p className={styles.description}>
          Welcome to the{' '}
          <code className={styles.code}>counter app</code>
        </p>
      <p>Click the two buttons and watch the count update</p>

        <div className={styles.grid}>
          <h2 className={styles.card} onClick={increment}>➕</h2>
          <h2 className={styles.card}>{count}</h2>
          <h2 className={styles.card} onClick={decrement}>➖</h2>
        </div>
      </main>
    </div>
  )
}
We are using useState to create a state variable and two functions called increment and decrement to modify that state variable. Which gives us a functional app:
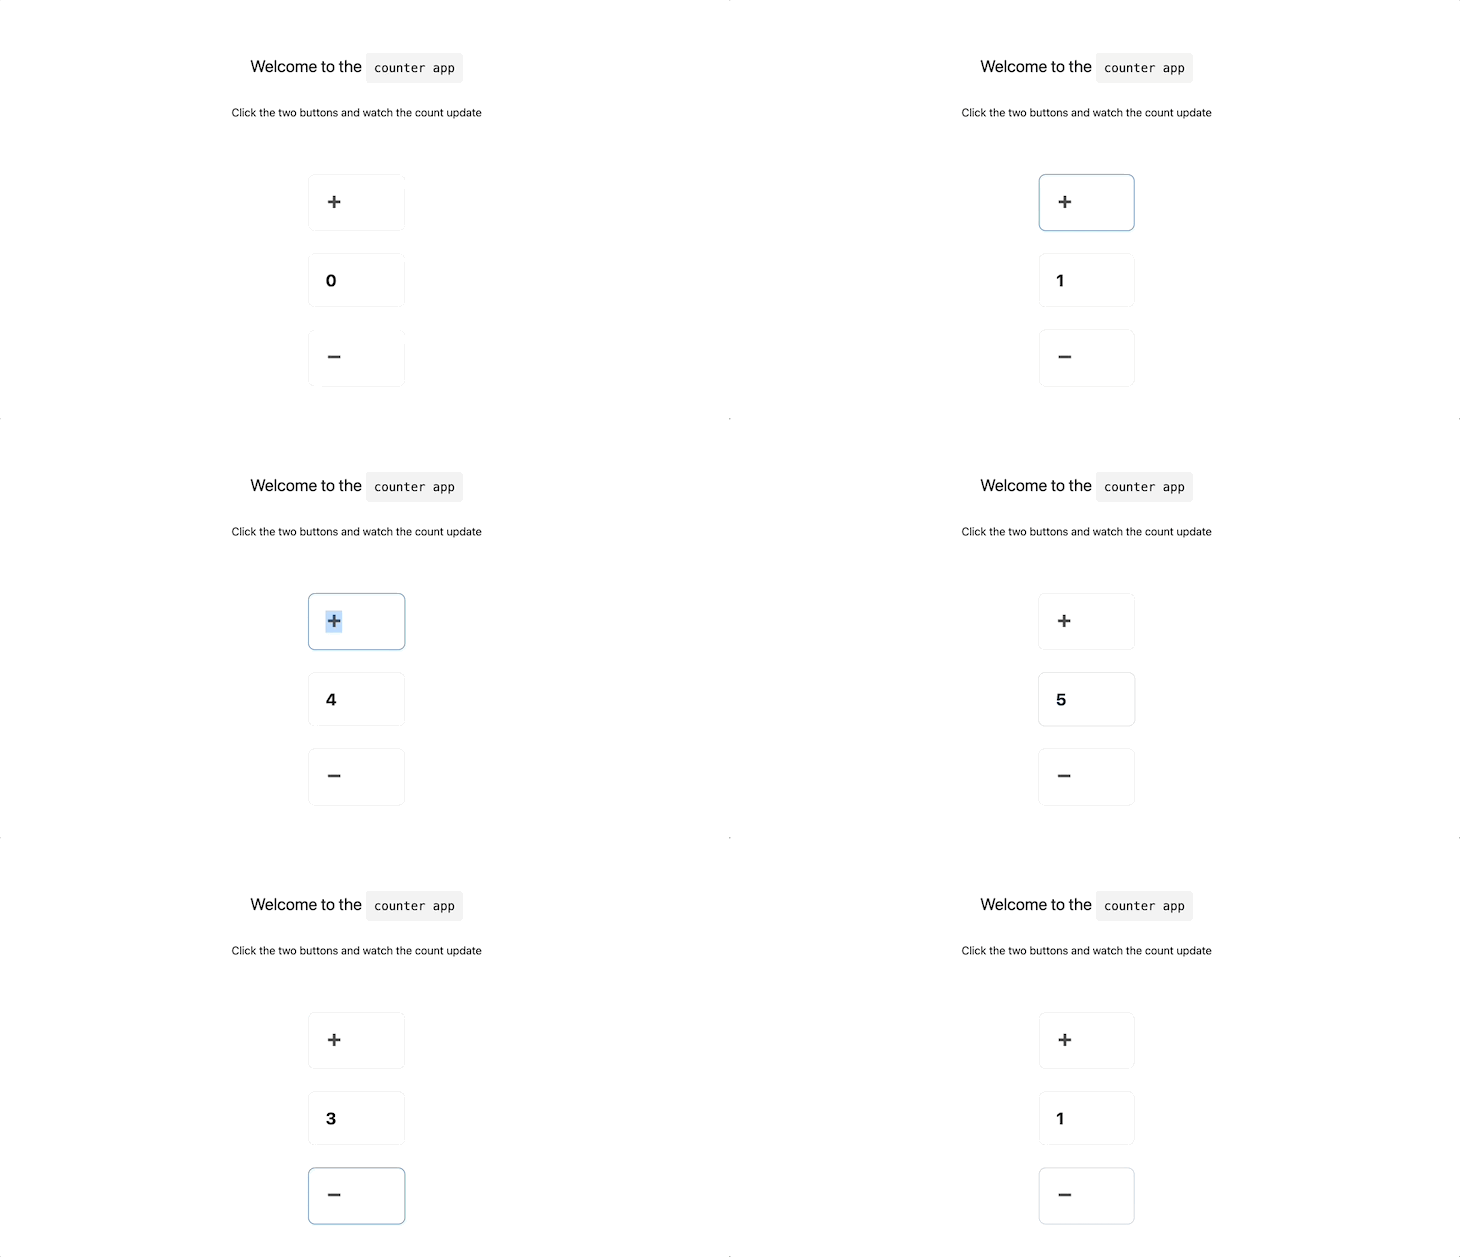
Now, let’s change some text on the page and test how fast it gets reflected on the page. Opening up index.js, making a change, and then saving it:
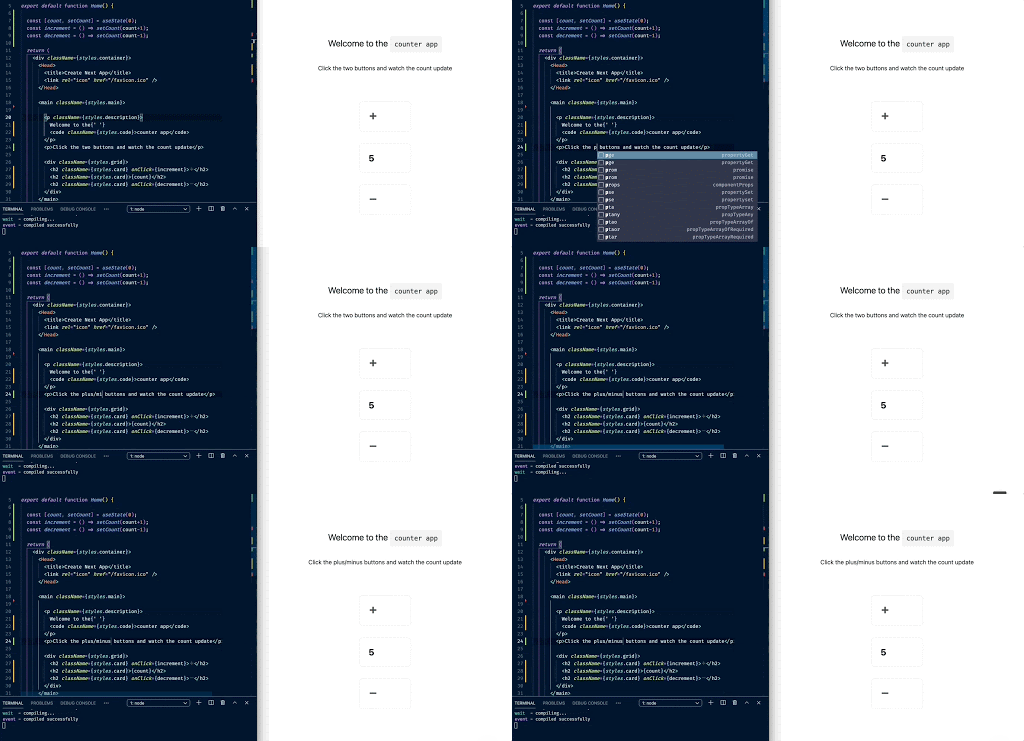
We see that the code change gets reflected on the UI in an instant. Also notice that the count, which was at 5 does not get reset which means the state is preserved as well.
Here are a couple of points that need to be remembered while working with fast refresh:
When developing a large app with several hundreds of components, the capability to rerender only the required ones while preserving the state goes a long way in improving developer productivity.
next/imageIn order to make the rendering of images more optimized, Next.js released its own custom image component with the 10.0 release. The image component could be used in place of the img tag as follows:
// import from next/image
import Image from 'next/image'

// usage in the component
<Image
  src="/me.png"
  alt="Picture of the author"
  width={500}
  height={500}
/>
Where me.png is an image present in the public folder at the root of the project.
Here are a few optimizations that the Image component provides over the img tag:
In the Next.js version 10.1, there are several enhancements that are being made on top of those already awesome features. The image optimization, which was previously powered by native dependencies, now runs on Squoosh which uses WebAssembly. Doing this also made the image optimization compatible with the new M1 series of Macbooks that use Apple Silicon.
Until recently, the Image component had to be supplied with a height and a width prop so that the rendering takes place as expected. But now, the component accepts an additional prop called layout which takes the values fixed, intrinsic, responsive, and fill. We will look into those in detail by taking an example of an image. We will use a free image from unsplash.com. Download it, and save it in the public folder at the root of the project (create the folder if it does not exist).
We will create a new route called image-test which in Next.js is accomplished by creating a file named image-test.js in the pages folder.
Let’s paste some code inside that file to first test out the fill layout type:
import Head from 'next/head'
import styles from '../styles/Home.module.css'
import Image from 'next/image'

export default function Home() {

  return (
    <div className={styles.container}>
      <Head>
        <title>Image test</title>
        <link rel="icon" href="/favicon.ico" />
      </Head>

      <main>

        <h2>
          Testing <code className={styles.code}>fill</code> layout type
        </h2>

        <div style={{ position: 'relative', width: '300px', height: '500px' }}>
          <Image
            alt="Scenery"
            src="/scenery.jpg"
            layout="fill"
            objectFit="cover"
          />
        </div>
      </main>
    </div>
  )
}
This gives us this result:
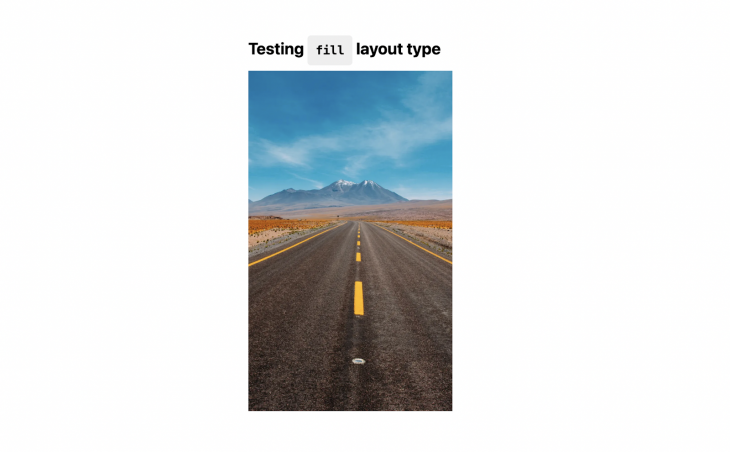
We are placing the image inside of a div with a width of 300 and a height of 500 and thus the image takes up that entire area and fills it. Also, using the objectFit prop, we can control the way in which the image fills up the area. For instance, passing the prop as objectFit: contain gives us this result:
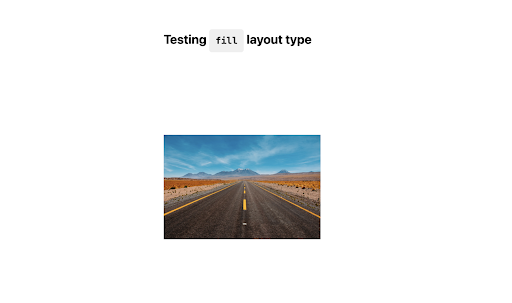
The image component tries to contain the entire image and hence scales it down.
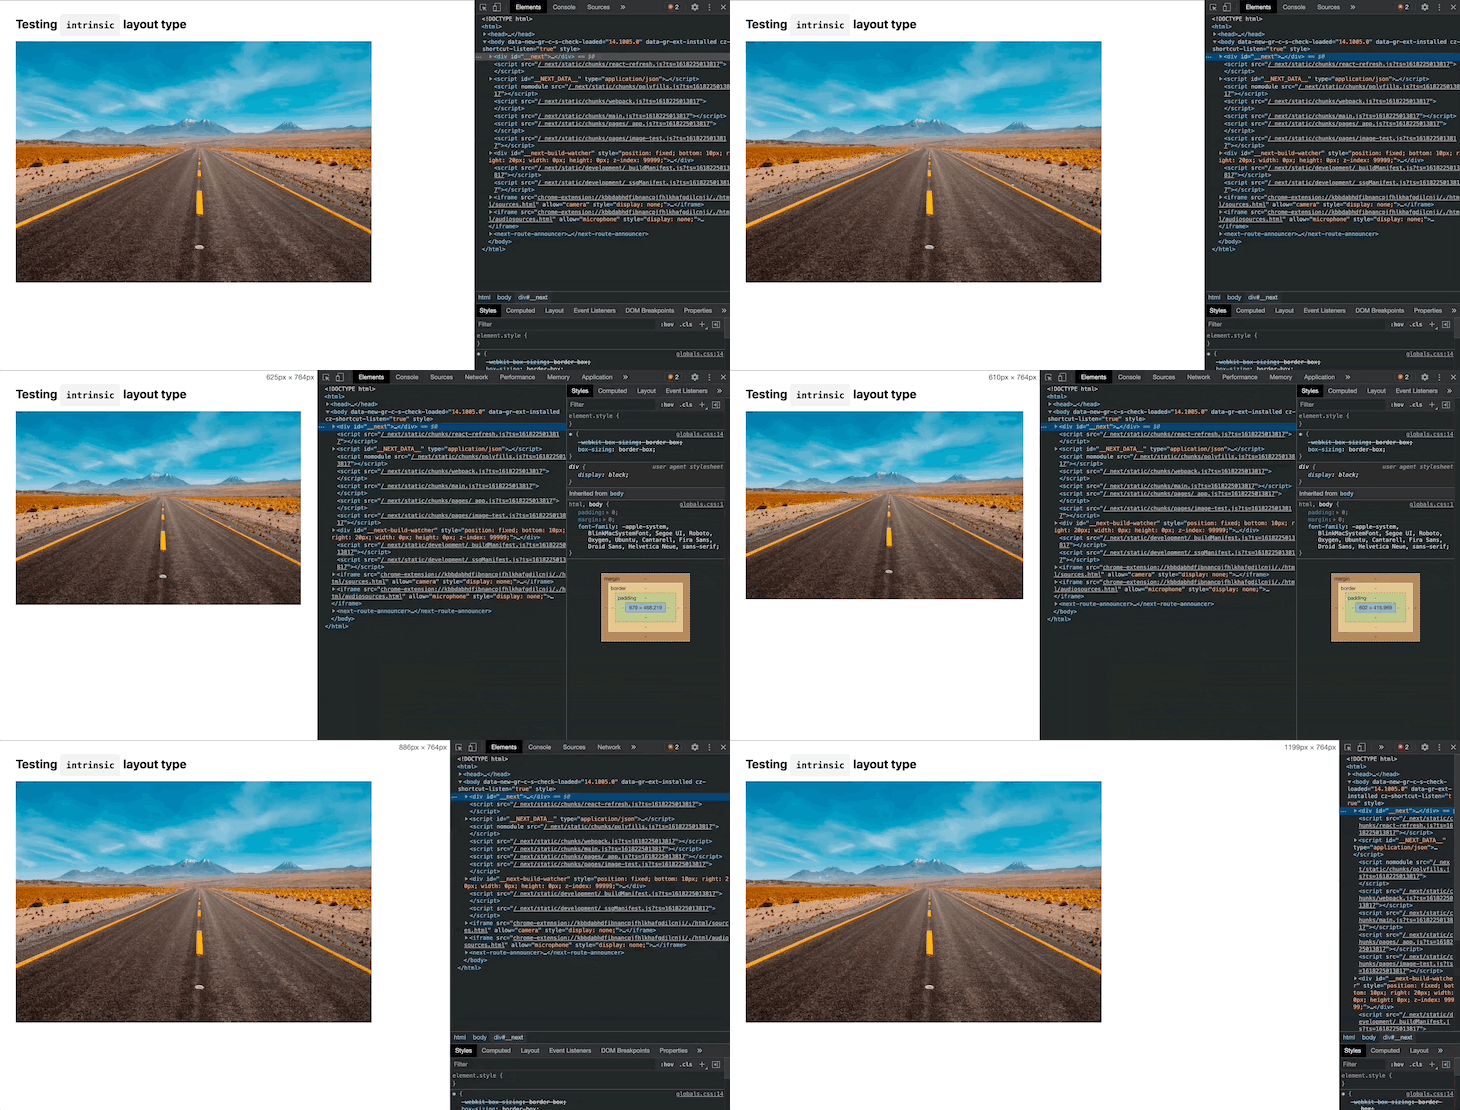
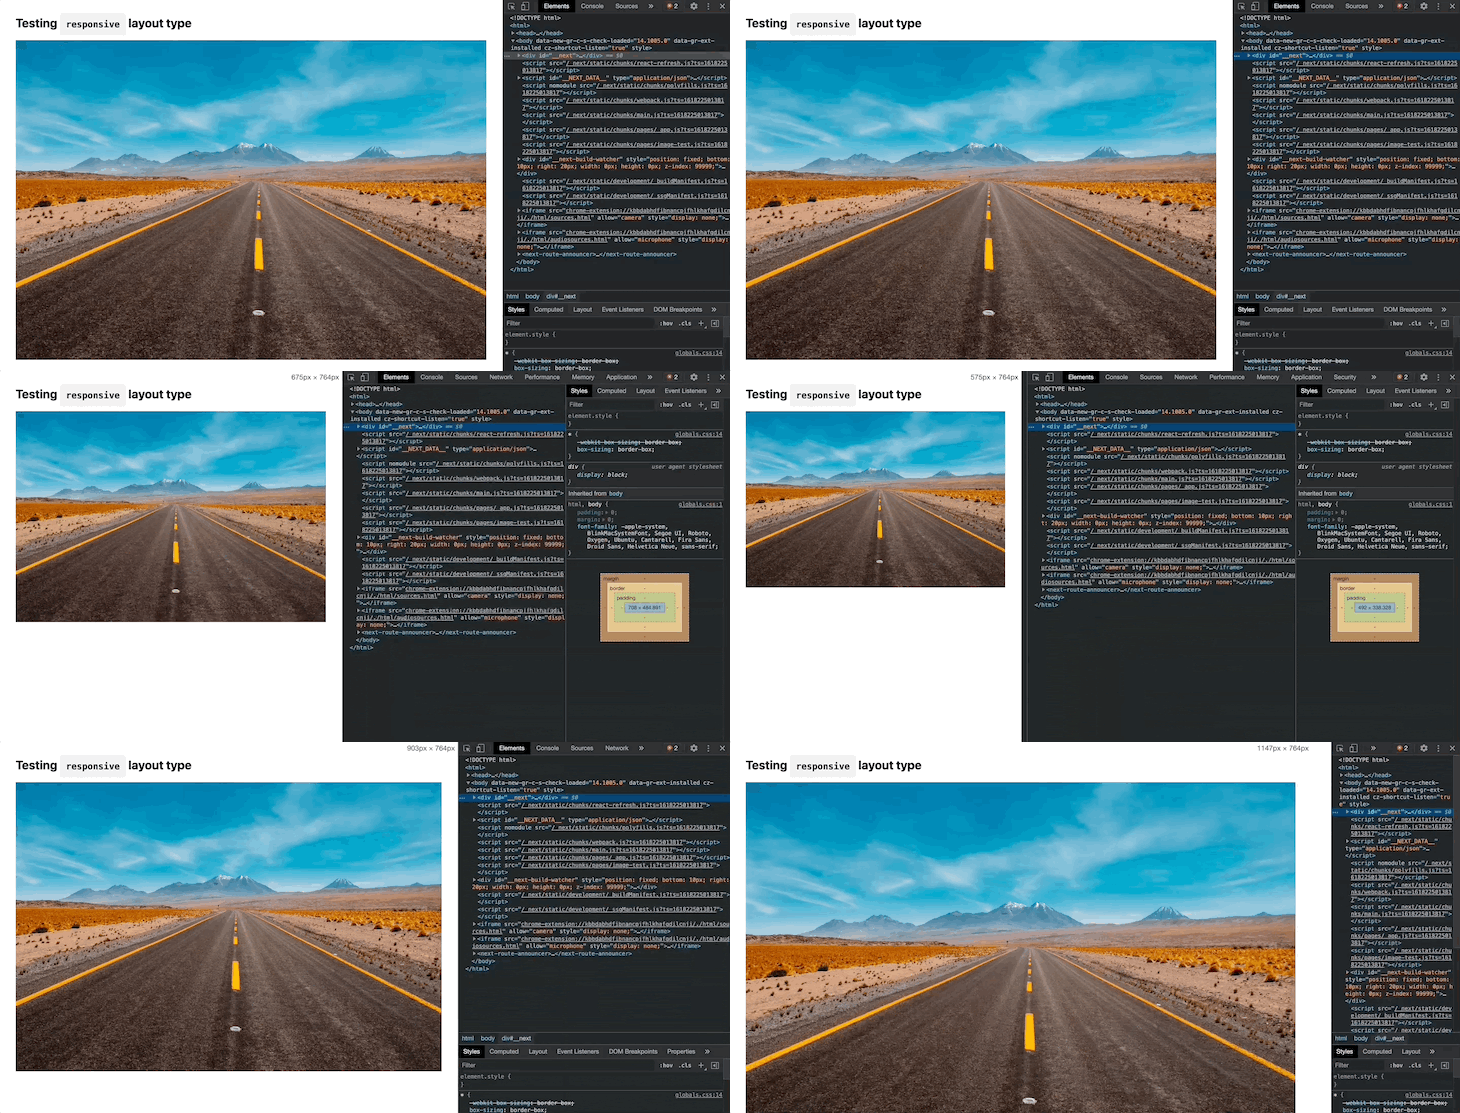
The intrinsic and responsive layouts are similar in the way that they allow for scaling the image responsively. The only difference between them being that responsive allows for scaling up on larger devices while intrinsic does not.
Here is how an intrinsic layout handles responsiveness:
And this is how a responsive layout handles the same:
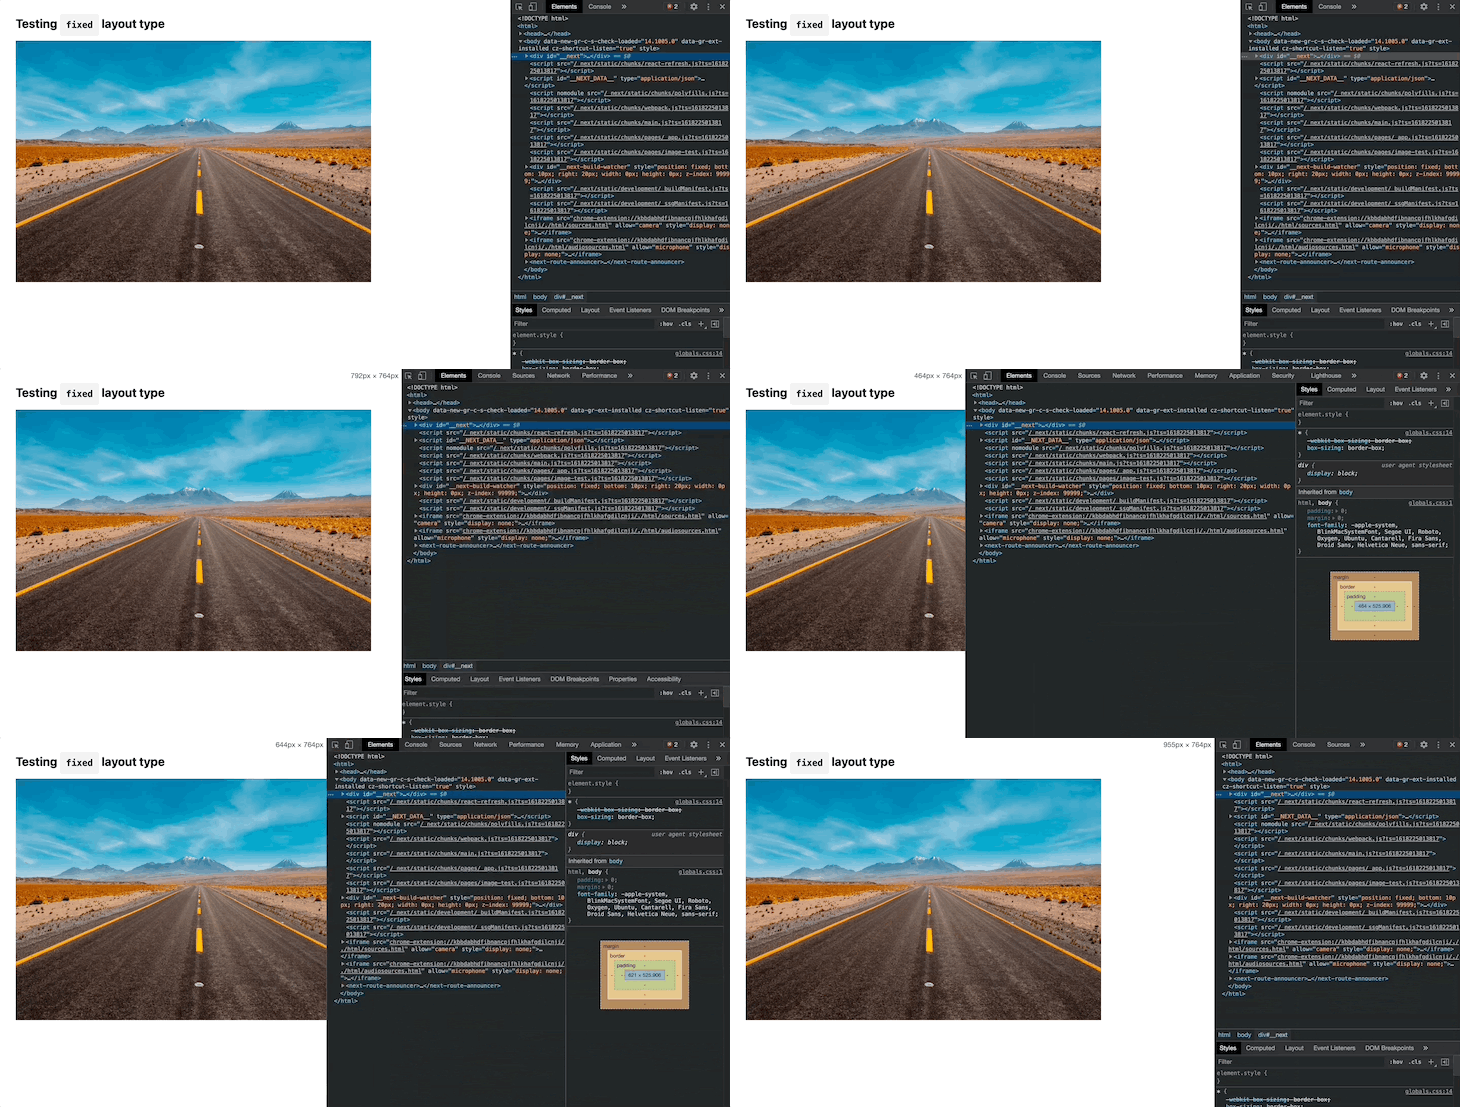
The last one which is a fixed layout provides an experience similar to that of a normal img tag in that it does not scale:
There is also support for a custom loader for your images, which is just a function that is called with the src, width, and quality and from which we can return a string. This would be helpful if we are serving images of different qualities from different sources:
const myLoader = ({ src, width, quality }) => {
  return `https://my-custom-loader.com/${src}?w=${width}&q=${quality || 90}`
}
This loader function then needs to be passed as the loader prop for the image component for which we need the custom component. If not supplied, the image loader is picked from the image object in next.config.js else it just defaults to the optimized built-in Next.js loader that we talked about.
As mentioned in the earlier section, the Next.js image optimization was powered by native dependencies which led to a large installation size and in turn a large installation time. This has been corrected by optimizing the dependency graph which has now led to a 3x faster installation as per Next.js official documentation. Here is a graphic documenting the improvements from the official blog post:

As we already know that Next.js provides us with the capability to display a custom page whenever any route is not found which can be easily done by creating a 404.js file inside the pages folder and placing our custom code in that. The same functionality has been now extended to 500 pages and we can easily display custom error pages to the end user by creating a 500.js file in the pages directory and placing our custom code there.
That opens up all kinds of possibilities. We can now make our error page look like this by getting a relevant illustration from undraw and adding this code to the 500.js file:
<main className={styles.main} style={{padding: 100}}>
  <h1>We're Sorry!</h1>
  <p>There seems to be something wrong on our end, please be patient while we try to resolve this.</p>
  <Image
    alt="Fixing"
    src="/fixing.png"
    layout="intrinsic"
    width={700}
    height={475}
  />
</main>

When Next.js commerce was introduced as a part of the 10.0 release, it provided a step-by-step guide to deploy a full-fledged ecommerce marketplace in minutes. But, at the time, Next.js commerce only supported BigCommerce as a backend service provider.
As per the latest 10.1 release, support has been added to use Shopify as an ecommerce solution provider in addition to the earlier BigCommerce option. The provider can be chosen by updating the value of the COMMERCE_PROVIDER flag inside of the .env.local file.
tsconfig fileNext.js is providing an option to the developer to extend from a different base typescript config file using the tsconfig file. In order to do that, the following lines of code need to be placed in the tsconfig.json file:
{
  "extends": "./tsconfig.base.json"
}
While fetching content from a headless CMS, during the development phase, we might run into the requirement where we modify the draft data in the headless CMS and expect to see the changes flow to our page in real-time instead of getting the statically generated data that gets created at build time. Preview mode does exactly that for us. When turned on, it renders the pages at request time, instead of at build time. With the 10.1 release, support has been added to detect on the component side, whether the preview mode is currently turned on or off. The information is being provided as a flag and can be accessed from the useRouter hook as follows:
function MyComponent() {
  const { isPreview } = useRouter()
  // isPreview holds the preview mode status inside this component

  if(isPreview) {
    // Put preview mode specific code here
  }

  return (
    <>{isPreview ?
      <div>Render preview mode specific components here</div>
      :
      <div>Render non-preview mode specific components here</div> }
    </>
  )
}
With all those features released with the 10.1 version of Next.js, we can say that there is a little something in it for everyone. While fast refresh and image optimization bring improvement to the developer experience, the customization of commerce service providers opens up new avenues for someone looking to start an ecommerce site using Next.js.
The ability to extend the tsconfig file provides another level of customization to the developer journey while the custom 500 error pages aim to provide greater clarity to the end user while, again, giving complete control into the hands of the developer. All in all, the latest incremental release, which even though might appear as a minor increment, is definitely worthy of an update.
Debugging Next applications can be difficult, especially when users experience issues that are difficult to reproduce. If you’re interested in monitoring and tracking state, automatically surfacing JavaScript errors, and tracking slow network requests and component load time, try LogRocket.
LogRocket captures console logs, errors, network requests, and pixel-perfect DOM recordings from user sessions and lets you replay them as users saw it, eliminating guesswork around why bugs happen — compatible with all frameworks.
LogRocket's Galileo AI watches sessions for you, instantly identifying and explaining user struggles with automated monitoring of your entire product experience.
The LogRocket Redux middleware package adds an extra layer of visibility into your user sessions. LogRocket logs all actions and state from your Redux stores.


Modernize how you debug your Next.js apps — start monitoring for free.

@container scroll-state: Replace JS scroll listeners nowCSS @container scroll-state lets you build sticky headers, snapping carousels, and scroll indicators without JavaScript. Here’s how to replace scroll listeners with clean, declarative state queries.

Explore 10 Web APIs that replace common JavaScript libraries and reduce npm dependencies, bundle size, and performance overhead.

Russ Miles, a software development expert and educator, joins the show to unpack why “developer productivity” platforms so often disappoint.

Discover what’s new in The Replay, LogRocket’s newsletter for dev and engineering leaders, in the February 18th issue.
Would you be interested in joining LogRocket's developer community?
Join LogRocket’s Content Advisory Board. You’ll help inform the type of content we create and get access to exclusive meetups, social accreditation, and swag.
Sign up now