Google Chrome is a familiar name to many. This is because it is a popular browser which has been widely used, and in many instances, comes pre-installed in some of our devices. Chrome is a free internet browser by Google that was first publicly released on September 2, 2008, and then officially released on December, 11, 2008.

Chrome has since gained popularity on the internet due its amazing features and ease of use.
Apart from its normal internet browsing function, Chrome offers many other features to its users. This article discusses some of Chrome’s features to look out for, and how to gain access to these features when using the Chrome browser.
The Replay is a weekly newsletter for dev and engineering leaders.
Delivered once a week, it's your curated guide to the most important conversations around frontend dev, emerging AI tools, and the state of modern software.
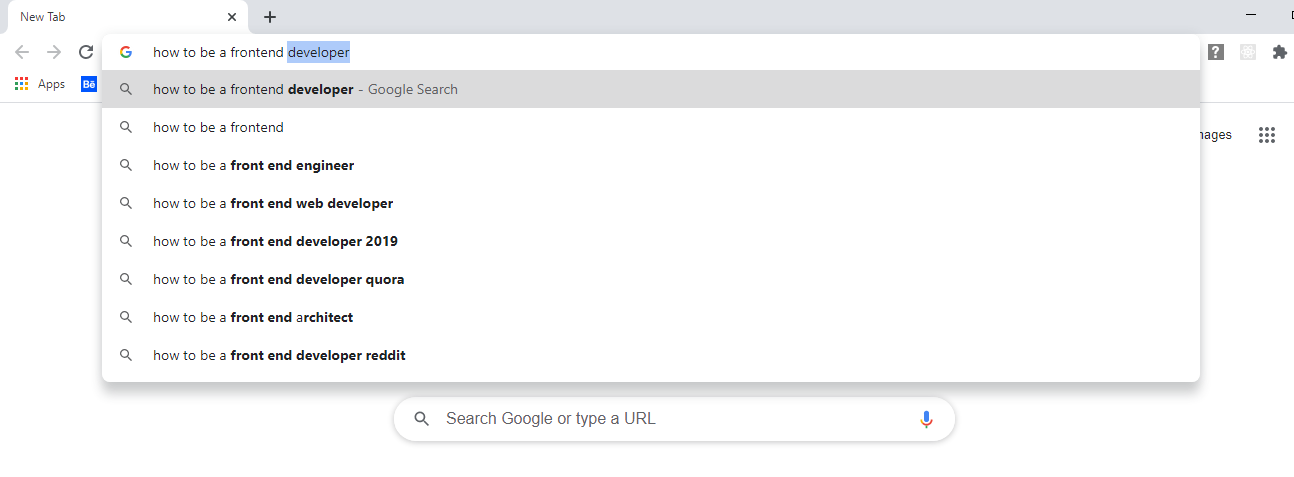
Chrome’s address bar is also called the Omnibox. The Omnibox comes with a lot of functions built into it. It doubles as a search bar, which makes it easier for one to enter a new search query without having to go to the Google homepage. The Omnibox can also be used as a timer. In instances when you need to set a timer, what you need to do is type timer, followed by the amount of time you need to set the timer for: e.g “timer 30s seconds”. The timer begins to count down and when it stops, it makes a beeping sound.
It also acts as a calculator and solves mathematical equations when typed. Most times, it does the calculation as you type, so the answer to the equation is ready immediately once one finishes typing. If you go ahead and click the enter key after typing the equation, a basic and functioning calculator is displayed for you.
When you’re in a bind and need to make a decision quickly, the Omnibox also comes in handy. You can roll a dice or flip a coin by simply typing these things in the Omnibox: e.g., “roll a dice” and “flip a coin”.
Also, unit conversions can be done using the Omnibox. You can convert from Celsius to Fahrenheit by typing “convert 10c to f.” Just like the calculation aspect, it converts it before you click enter.
When working with Chrome, there are so many things you can do without needing to leave your current tab. This helps users stay focused, as well as save time:

Chrome has a built in Task Manager that helps users see all active programs running in their browser. This can include open tabs or active extensions.
The Task Manager helps users of Chrome easily see how all active processes are performing, and which of them may be problematic or slowing down the flow of work.
There are two ways to access Chrome’s Task Manager. First, click on the three dot icon at the top right hand side of the screen. A menu will appear. Click on More Tools. Then, from More Tools, click on Task Manager. The second and faster way is to hold down the shift and escape key together.
The Task Manager shows a table of the basic resources being used by each task: resources like network, CPU time, and memory footprint. It also has an option for users to see more categories if you’re interested.
To see more categories and resources being used by each task, right click on Task. A menu containing different categories of stats will appear. Click on the one you want, and it will be added to the Task Manager table.
The menu of categories has a checkmark to identify the stats that are already being displayed, so once there is a checkmark by the left hand side of a stat, it means that it is available on the table already.
If you have no need for a specific stat and want it removed from the table, right click on a task and the stat category table will appear. Then click on the particular stat you want removed. When you check the category menu again, it will have no checkmark next to it, which means that it is no longer being displayed on the Task Manager.
Chrome’s Task Manager helps users know what tabs or extensions are active and the amount of resources they take, as well as the end processes that are not no longer needed. Some tabs or extensions may be troublesome. In order to end such a process, click on the specific task to select it. Then, click on the button below with “end process” written on it:

There are times when we need to browse the internet without our browsing activities being saved. In such instances, Chrome’s Incognito Mode becomes useful.
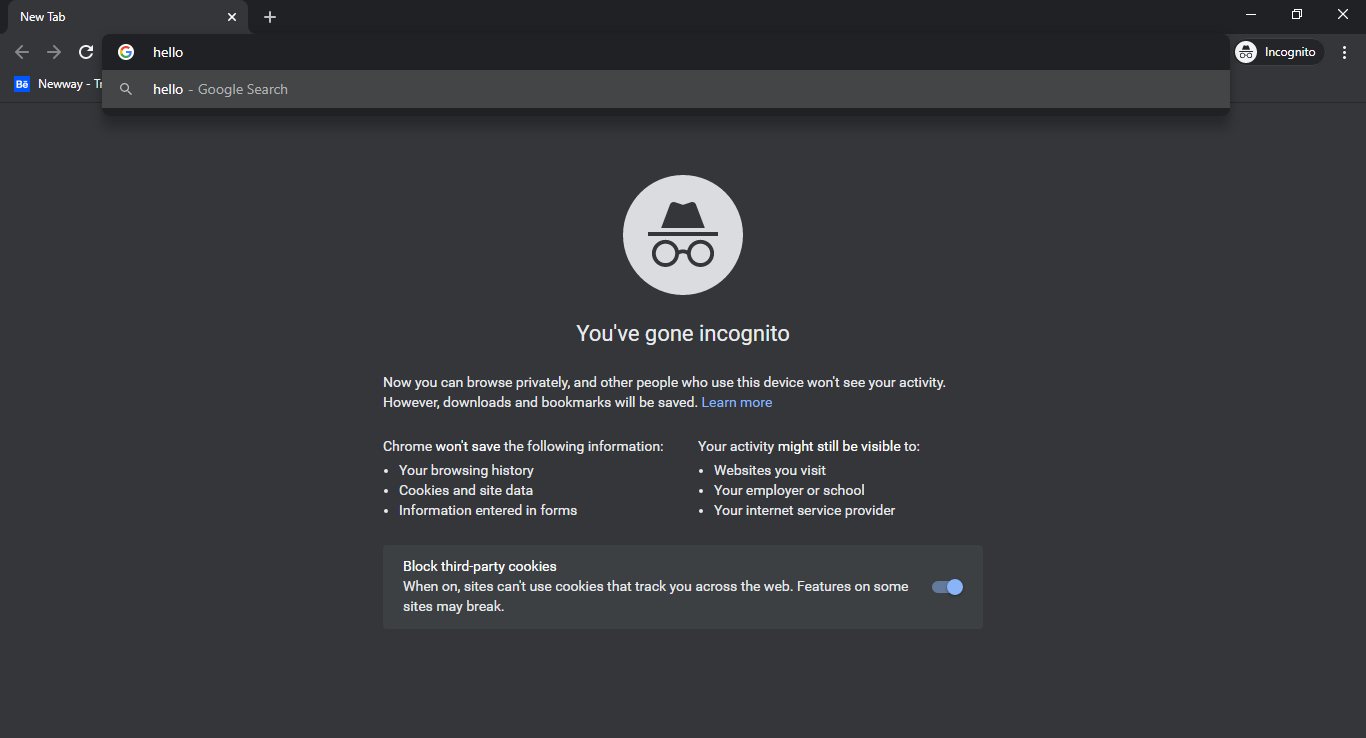
Incognito Mode is just like the private mode of some other browsers. To use the Incognito Mode, click on the three dot icon at the top right hand of your screen. A menu will appear. Then, click on the “new Incognito window” option. Alternatively, a keyboard shortcut can be used by holding down ctrl + shift + N.
Chrome’s Incognito Mode is great for when you want to have a private browsing session. It ensures that all information entered during the session is not saved. As soon as the window is closed, the browser forgets everything about that session. Information such as account details entered, permissions given to certain websites, and every other thing inputted are forgotten.
Incognito Mode is also great for when you want to access a website but do not want it to appear in your browsing history, or when you do not want your login credentials being saved.
Chrome’s Incognito Mode is a very helpful feature. However, it only offers a certain level of privacy. While it can prevent the browser from storing your passwords and browsing history, it does not prevent your IP address from being seen by websites you visit, your internet, and network service providers:

Chrome creates various avenues for its users to save time and increase productivity. One such avenue is the ability to make a new search in the current page’s address bar and have the result shown in a new tab.
To do this, you can type your search query in the address of your current page, then hold down the alt key and press enter.
It automatically opens a new tab with your search results displayed in it. Doing this does not close your old tab — it just opens this new tab, and when you finish with the current tab and close it, it also automatically takes you back to your former tab. This method is quite helpful because instead of manually opening a new tab, closing it, and then navigating to your former tab, you get to do all of these in fewer steps.
Most times, Chrome synchronizes passwords, settings, and more across devices. This is a great step, as it reduces the need to do the same thing you have done for one device to the other manually.
However, there are instances when you may want to lend another person your device for a short period of time, and do not want them to have access to all your information. This is not a problem at all.
With Chrome’s Guest mode, you can set up a guest profile for such a person. To access Chrome’s guest mode, click on the icon with your image or first letter of your name at the top right of the page. When it opens up, click on the user icon with “Guest” written on its right side that is placed below your personal details. Guest mode does not create a new tab. Rather, it creates a new window entirely. The new window does not leave cookies, browser history, and other traces when deleted.
The major gain from this mode is that you can open a new instance of Chrome for another person to use your laptop, without either leaving their trace on your browsing history or having access to your account information:

We learn new words daily, and enhance our vocabulary as we use the internet. Chrome made searching for the meaning of words a lot easier by creating a Quick Search method. To do this, you need to highlight the word whose meaning you want to learn, then right click. A menu box with the option to search Google for that word will appear. When you click it, a new tab with the meaning of that word is then opened immediately.
This feature is certainly a game changer for people who do not like being distracted while reading. The time spent in learning the meaning of that word is relatively short and would not successfully distract them. This uses a shorter time compared to them manually searching for the meaning of the word in a new tab.
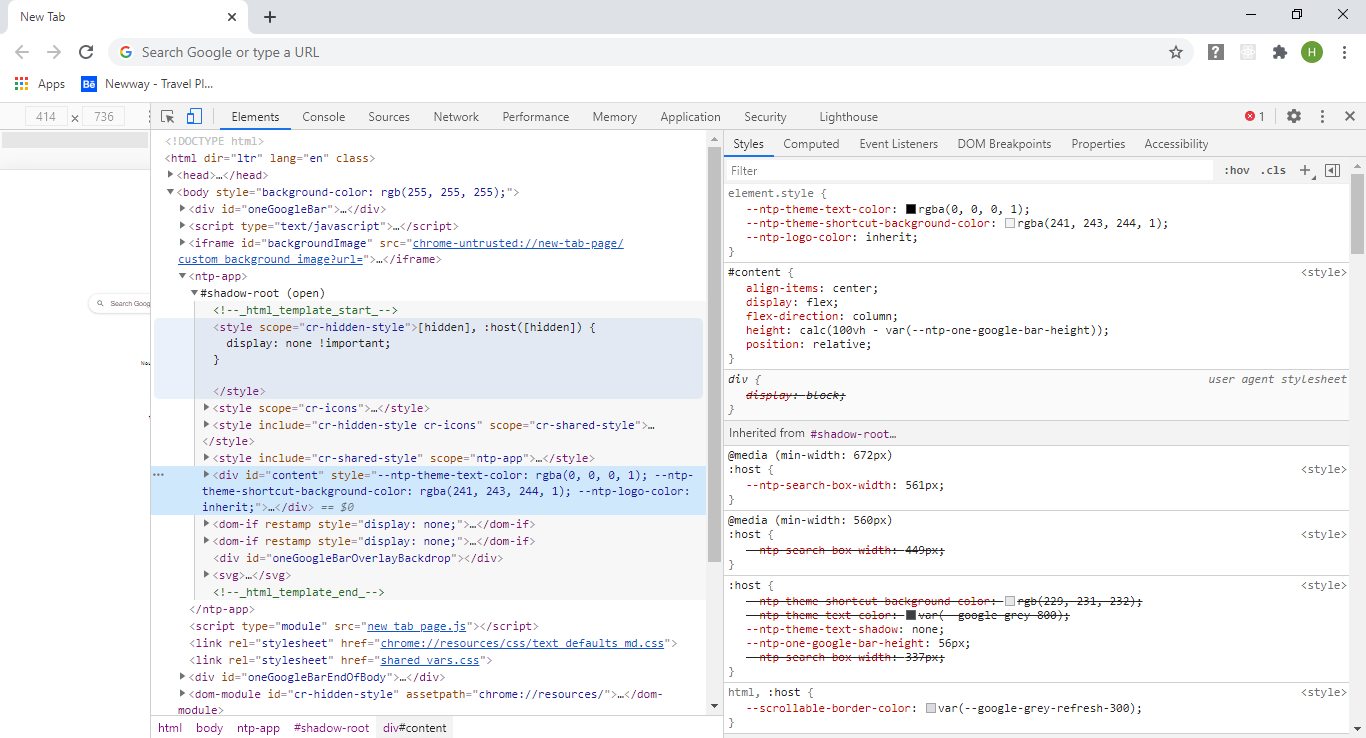
Chrome’s developer tools (devtools) are tools created specially for web developers and are built into the Chrome browser so there is no need for an extra download.
It helps users inspect web pages, see the styles that are used on the page, how they were applied, and also to check for bugs in order to fix them. It helps in editing pages on the browser while working.
With devtools, one can make a series of changes in the browser and copy it to their working environment when they are satisfied with the outcome of those changes.
There are different ways to access Chrome’s devtools. One way is to click on the three dot icon at the top right side of your screen, when the menu shows, click on more tools, then developer tools.
You can also right click anywhere on a page, and select inspect from the menu that appears.
Another way to access the devtools is by holding down ctrl + shift + I on windows, and cmd + shift + I on mac.
If you wish to navigate to the console directly, you can do so by holding down ctrl + shift + J on windows, and cmd + shift + J on Mac.
Chrome’s devtools have a lot of features packed into it. It displays the DOM tree of a page, the CSS applied to the elements, messages logged to the JavaScript script console as well as many other useful information.
With devtools, you can debug your code seamlessly, as well as inspect the network activity of a page and view its overall performance.
By using the elements panel, you can edit a page’s content and change its styles with little to no stress.
Also, when working on a website, you can use devtools responsive and device mode features. This feature helps developers see what their web page looks like on various devices, and if it is responsive or not. The device screen sizes simulated ranges from desktop size to very small screen sizes. This helps eliminate incidents where the content of a web page is too big or too small for a device screen.
To read more about dev tools, you can check its official page below and Open Chrome DevTools:

Most times, we use web browsers for the single purpose of surfing the internet. However, many of them have many more uses that we are not familiar with just because we have not read the documentation, or feel no need to dive deep into their features. This article has discussed some of Chrome’s features that make it a great browser to work with, and has also shed light on things to look out for when working with Chrome. It is extremely beneficial to get familiar with these features, in order to enjoy maximum benefit from Chrome.
Install LogRocket via npm or script tag. LogRocket.init() must be called client-side, not
server-side
$ npm i --save logrocket

// Code:

import LogRocket from 'logrocket';
LogRocket.init('app/id');
// Add to your HTML:

<script src="https://cdn.lr-ingest.com/LogRocket.min.js"></script>
<script>window.LogRocket && window.LogRocket.init('app/id');</script>

Learn how LLM routing works in production, when it’s worth the complexity, and how teams choose the right model for each request.

Compare key features of popular meta-frameworks Remix, Next.js, and SvelteKit, from project setup to styling.

Discover what’s new in The Replay, LogRocket’s newsletter for dev and engineering leaders, in the February 4th issue.

AI-first isn’t about tools; it’s about how teams think, build, and decide. Ken Pickering, CTO at Scripta Insights, shares how engineering leaders can adapt.
Would you be interested in joining LogRocket's developer community?
Join LogRocket’s Content Advisory Board. You’ll help inform the type of content we create and get access to exclusive meetups, social accreditation, and swag.
Sign up now
One Reply to "What to look out for when working with Chrome"
I haven’t been fully utilizing chrome, This is great!