There may come a time when you want to persist data in your Flutter app so you can reuse it later. A common use case for this functionality is storing login credentials to be recalled the next time the user launches the app.

With SharedPreferences, you can configure your Flutter app to remember the data even after the user terminates their activity. SharedPreferences can be used to store critical data such as passwords, tokens, and complex relational data.
In this tutorial, we’ll demonstrate how to persist and modify data using SharedPreferences in a Flutter app. We’ll cover the following with practical examples:
shared_preferencesshared_preferences methods
shared_preferences in FlutterSharedPreferencesSharedPreferences is what Android and iOS apps use to store simple data in an allocated space. This data exists even when the app is shut down and starts up again; we can still retrieve the value as it was.
The data stored in SharedPreferences can be edited and deleted. SharedPreferences stores the data in a key-value pair.
To use SharedPreferences in Flutter, a plugin called shared_preferences enables us to store data. The plugin wraps NSUserDefaults on iOS and SharedPreferences on Android.
Let’s walk through how to scaffold a Flutter project, add the shared_preferences plugin to a Flutter project, and the methods exposed to us by the plugin.
You’ll need to have some tools and binaries already installed on your machine, including the Flutter SDK and Android Studio.
To install the Flutter SDK on our machine, you need to choose your Flutter binary as per your machine below:
After the installation, you will have the Flutter CLI available globally in your system. Run the below command to test this:
➜  flutter --version

Flutter 2.0.6 • channel stable • https://github.com/flutter/flutter.git
Framework • revision 1d9032c7e1 (3 months ago) • 2021-04-29 17:37:58 -0700
Engine • revision 05e680e202
Tools • Dart 2.12.3
Your version may be different from mine but you should be able to verify that the Flutter SDK was successfully installed.
We’ll be developing for the Android OS and we’ll need an emulator to test our apps on the run. Android Studio is the official IDE/SDK used for building, testing, and publishing Android apps.
Head to the official website to download and install Android Studio on your machine.
To use Android Studio to develop Flutter projects, you’ll need to install the following plugins:
To scaffold a Flutter project, run the following command:
flutter create shared_pref
This command creates a folder, shared_pref, and places a Flutter project inside it. You can open the project using VS Code or Android Studio.
shared_preferencesNow that we have the Flutter SDK ready and set, it’s time to install the shared_preferences plugin.
Open the pubspec.yaml file and add shared_preferences in the dependencies section:
dependencies:
  flutter:
    sdk: flutter
  shared_preferences:
This will install the latest version of the dependency.
To use the shared_preferences plugin, we have to import it into our file:
import 'package:shared_preferences/shared_preferences.dart';
The shared_preferences plugin exports a SharedPreferences class, which has methods that can be used to set data of various primitive types in SharedPreferences. It has a method, getInstance, which is used to create an instance of a SharedPreferences.
SharedPreferences prefs = await SharedPreferences.getInstance();
The getInstance creates and returns a SharedPreferences instance. The prefs holds the instance of SharedPreferences.
shared_preferences methodsIn this section, we’ll demonstrate how to add data to and get, edit, and delete data from SharedPreferences.
It’s possible to add data of primitive types to SharedPreferences. We can add the following primitive types:
intstringbooldoubleEach primitive type has its corresponding setter method. (Note: The key of the key-value pair is in string.)
prefs.setInt('counter', 1);
This adds an int, 1, to the counter table of SharedPreferences.
prefs.setString('counter', "yes");
This adds a string, "yes", to the counter.
prefs.setBool('counter', true);
This adds a bool, true, to the counter.
prefs.setDouble('counter', 10.2);
This adds a double value, 10.2, to the counter.
Now, let’s see how we can retrieve data from SharedPreferences. As we have setter methods for the primitive types so we have getter methods for retrieving data.
int value = prefs.getInt('counter');
The getInt method is used to retrieve an int value from the SharedPreferences.
value // 1
bool value = prefs.getBool('counter');
This method getBool returns a boolean value from the SharedPreferences.
value // true
double value = prefs.getDouble('counter');
The getDouble method returns a double value from the SharedPreferences.
value // 10.2
string value = prefs.getString('counter');
The getString method returns a string value from the SharedPreferences.
value // "yes"
null valueIn a case where the data is not present in the SharedPreferences, a null value is returned:
prefs.getInt("_counter")
// null

prefs.getBool("_counter")
// null

prefs.getString("_counter")
// null

prefs.getDouble("_counter")
// null
To remove data from the SharedPreferences, we’ll use the remove method. The key of the data is passed to the .remove method so the key-value pair data in the SharedPreferences is deleted.
prefs.remove("counter");
Here, the counter in the SharedPreferences is deleted.
We can check in SharedPreferences to see whether data exists before we either read or write. To do this, we’ll use the containsKey method.
The containsKey method accepts the key of the data in its arg and uses it to check whether the key exists in SharedPreferences.
The method returns a bool, true or false:
prefs.containsKey("counter")
// true
In the above example, counter exists in the SharedPreferences. That’s why it returns true.
prefs.containsKey("_counter")
// false
_counter does not exist, so it returns false.
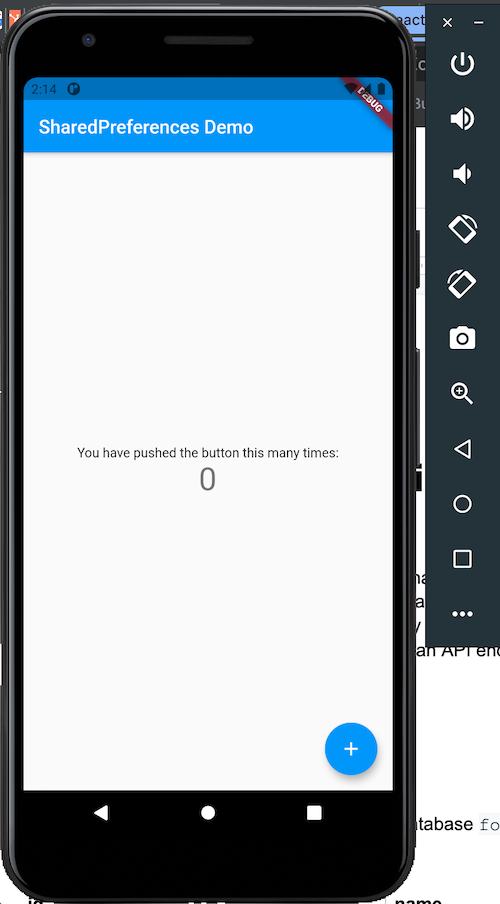
shared_preferences in FlutterBy default, Flutter adds a counter project whenever you scaffold a new project. This counter project enables us to increment a counter when a FloatingActionButton is pressed. The current state of the counter is displayed as it is being increased.
import 'package:flutter/material.dart';

void main() {
  runApp(MyApp());
}

class MyApp extends StatelessWidget {
  // This widget is the root of your application.
  @override
  Widget build(BuildContext context) {
    return MaterialApp(
      title: 'Flutter Demo',
      theme: ThemeData(
        primarySwatch: Colors.blue,
      ),
      home: MyHomePage(title: 'Flutter Demo Home Page'),
    );
  }
}

class MyHomePage extends StatefulWidget {
  MyHomePage({Key key, this.title}) : super(key: key);

  final String title;

  @override
  _MyHomePageState createState() => _MyHomePageState();
}

class _MyHomePageState extends State<MyHomePage> {
  int _counter = 0;

  void _incrementCounter() {
    setState(() {
      _counter++;
    });
  }

  @override
  Widget build(BuildContext context) {
    return Scaffold(
      appBar: AppBar(
        title: Text(widget.title),
      ),
      body: Center(
        child: Column(
          mainAxisAlignment: MainAxisAlignment.center,
          children: <Widget>[
            Text(
              'You have pushed the button this many times:',
            ),
            Text(
              '$_counter',
              style: Theme.of(context).textTheme.headline4,
            ),
          ],
        ),
      ),
      floatingActionButton: FloatingActionButton(
        onPressed: _incrementCounter,
        tooltip: 'Increment',
        child: Icon(Icons.add),
      ), // This trailing comma makes auto-formatting nicer for build methods.
    );
  }
}
The counter reverts to 0 when the app is destroyed or closed. We’ll use SharedPreferences to persist the state of the counter so the counter value begins from where it was before the app was shut down.
Let’s do it.
First, import the shared_preferences plugin:
import 'package:flutter/material.dart';
import 'package:shared_preferences/shared_preferences.dart';
Next, add an initState lifecycle method in the MyHomePageState widget. This lifecycle method is called when a stateful widget is being initialized.
Here, we’ll load the counter from SharedPreferences. If present, we’ll make it the counter value. If not, we assign 0 to the counter:
  void loadCounter() async {
    SharedPreferences prefs = await SharedPreferences.getInstance();
    setState(() {
      _counter = (prefs.getInt('counter') ?? 0);
    });
  }

  @override
  void initState() {
    super.initState();
    loadCounter();
  }
Now let’s make the _incrementCounter function an async function. Inside it, we’ll get the counter from SharedPreferences, increment it, then set the counter with the increment and also set the increment in the SharedPreferences.
  void _incrementCounter() async {
    SharedPreferences prefs = await SharedPreferences.getInstance();
    setState(() {
      _counter = ((prefs.getInt('counter') ?? 0) + 1);
      prefs.setInt('counter', _counter);
    });
  }
Now our Flutter application can remember the last value of the counter when shut down and restarted.
First, let’s start our app:
Increment to seven:

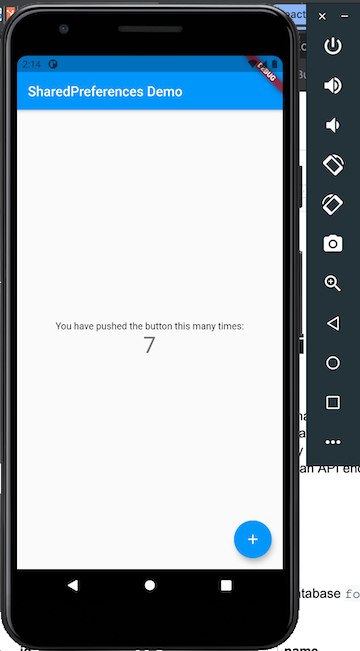
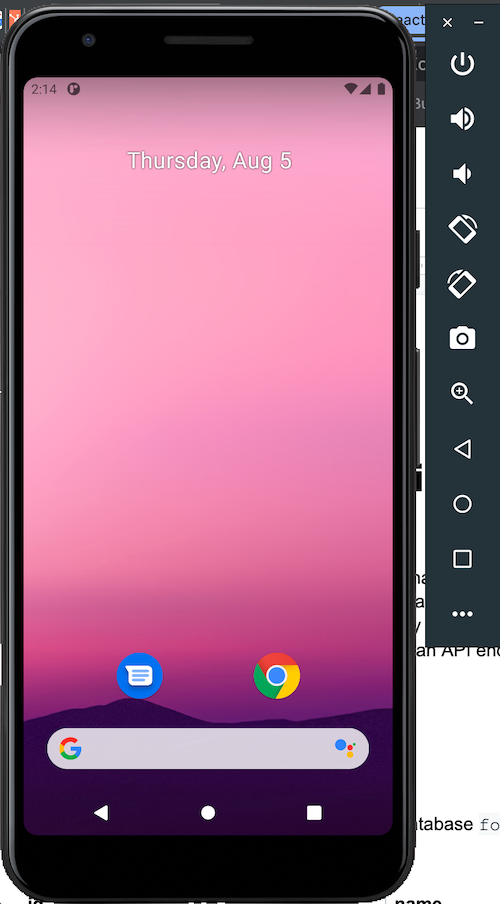
Now let’s try killing the app:
Upon restarting the app, the button count should still display as 7.
We can use SharedPreferences to implement a splash screen in Flutter.
A splash screen appears when an app is launched for the first time and does not appear again when the app is launched subsequently.
Let’s say we have an app with two screens: ProfileScreen and SplashScreen. We’ll hook into the initState method in the MyApp widget. From there, we’ll always check for a data in the SharedPreferences — let’s say newLaunch. If this newLaunch is true, the SplashScreen is shown and after some time the ProfileScreen is shown. The SplashScreen will reset the newLaunch to false.
If the newLaunch is false, the SplashScreen is skipped and the ProfileScreen is shown.
Let’s code our splash and profile screens!
Create a folder, screens, inside the lib folder:
mkdir lib/screens
touch lib/screens/ProfileScreen.dart lib/screens/SplashScreen.dart
Let’s edit the MyApp widget as follows:
import 'package:flutter/material.dart';
import 'package:shared_preferences/shared_preferences.dart';
import 'screens/ProfileScreen.dart';
import 'screens/SplashScreen.dart';

void main() {
  runApp(MyApp());
}

class MyApp extends StatelessWidget {
  // This widget is the root of your application.
  @override
  Widget build(BuildContext context) {
    return MaterialApp(
        title: 'SharedPreferences Demo',
        theme: ThemeData(
          primarySwatch: Colors.blue,
        ),
        home: LoadPage() //MyHomePage(title: 'SharedPreferences Demo'),
        );
  }
}

class LoadPage extends StatefulWidget {
  LoadPage({Key key}) : super(key: key);

  @override
  LoadPageState createState() => LoadPageState();
}

class LoadPageState extends State {
  var newLaunch;

  @override
  void initState() {
    super.initState();
    loadNewLaunch();
  }

  loadNewLaunch() async {
    SharedPreferences prefs = await SharedPreferences.getInstance();
    setState(() {
      bool _newLaunch = ((prefs.getBool('newLaunch') ?? true));
      newLaunch = _newLaunch;
    });
  }

  @override
  Widget build(BuildContext context) {
    return Scaffold(body: newLaunch ? SplashScreen() : ProfileScreen());
  }
}
We have LoadPage widget and its state widget, LoadPageState. In LoadPageState, we have a method, loadNewLaunch, which checks to get the newLaunch data from the SharedPrefs and assigns it to the newLaunch state variable.
In the build method of the LoadPageState, the widget checks the newLaunch state. If the state is true, that means the app is launching for the very first time and the SplashScreen widget is shown. If not true, the ProfileScreen is shown.
Let’s code the SplashScreen widget:
import 'dart:async';
import 'package:shared_preferences/shared_preferences.dart';
import 'package:flutter/material.dart';
import 'ProfileScreen.dart';

class SplashScreen extends StatefulWidget {
  SplashScreen({Key key}) : super(key: key);

  @override
  _SplashScreenState createState() => _SplashScreenState();
}

class _SplashScreenState extends State<SplashScreen> {
  resetNewLaunch() async {
    SharedPreferences prefs = await SharedPreferences.getInstance();
    if (prefs.containsKey("newLaunch")) {
      prefs.setBool('newLaunch', false);
    } else {
      prefs.setBool('newLaunch', false);
    }
  }

  @override
  void initState() {
    super.initState();
    Timer(
        Duration(seconds: 3),
        () => Navigator.pushReplacement(context,
                MaterialPageRoute(builder: (context) {
              resetNewLaunch();
              return ProfileScreen();
            })));
  }

  @override
  Widget build(BuildContext context) {
    return Scaffold(
        body: Container(
            color: Colors.blue,
            child: Center(
              child: Column(
                mainAxisAlignment: MainAxisAlignment.center,
                children: <Widget>[
                  Text('Splash Screen',
                      style: new TextStyle(color: Colors.white, fontSize: 40)),
                ],
              ),
        )
      )
    );
  }
}
The resetNewLaunch method sets the newLaunch data in the SharedPrefs to false.
In the initState method, SplashScreen calls the resetNewLaunch method to set the newLaunch data to false in the SharedPrefs. This will cause the app to only show the ProfileScreen when the app is launched subsequently.
The timer code waits for three seconds before the ProfileScreen is shown.
Now let’s code the ProfileScreen:
import 'package:flutter/material.dart';
import 'package:shared_preferences/shared_preferences.dart';

class ProfileScreen extends StatefulWidget {
  ProfileScreen({Key key}) : super(key: key);

  @override
  _ProfileScreenState createState() => _ProfileScreenState();
}

class _ProfileScreenState extends State<ProfileScreen> {
  clearSharedPrefs() async {
    SharedPreferences prefs = await SharedPreferences.getInstance();
    prefs.remove('newLaunch');
  }

  @override
  Widget build(BuildContext context) {
    return Scaffold(
        appBar: AppBar(
          title: Text("Profile"),
        ),
        body: Container(
          child: Center(
            child: Column(
              mainAxisAlignment: MainAxisAlignment.center,
              children: <Widget>[
                Text('Profile Screen', style: new TextStyle(fontSize: 40)),
                RaisedButton(
                  child: Text("Clear SharedPrefs"),
                  onPressed: clearSharedPrefs,
                )
              ],
            ),
          ),
        ));
  }
}
Nothing much to go over here. We have a Clear SharedPrefs button, which clears the newLaunch data in the SharedPrefs. This action will make the app show the SplashScreen the next time it is launched.
The splash and profile screens should look as follows on the first launch after installation:
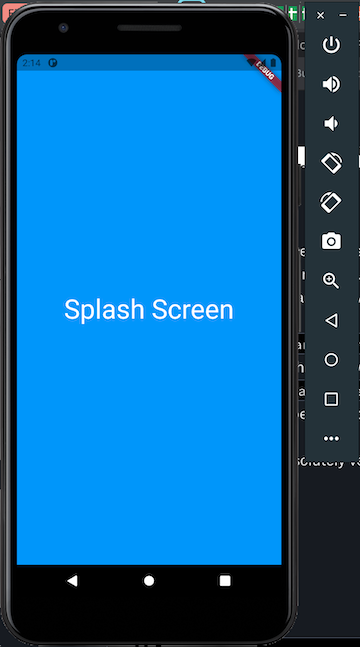
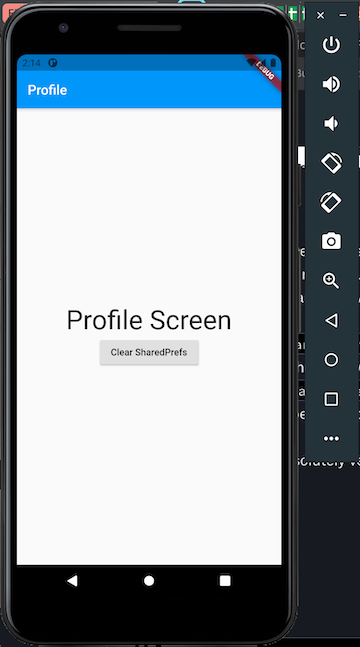
SplashScreen shows first, followed by the ProfileScreen.
Subsequent launches should display the following screens:
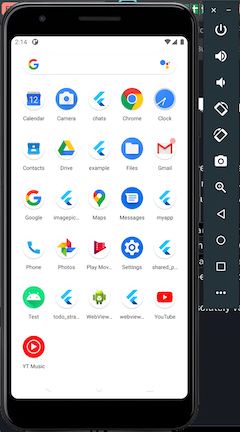

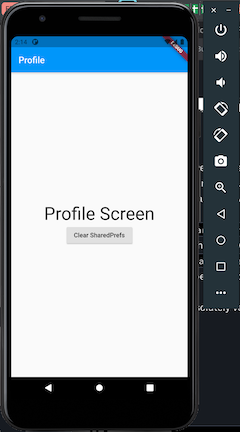
SplashScreen will never appear again, while the ProfileScreen appears straight.
In this tutorial, we covered what SharedPreferences is and how it is used in Android and iOS applications. We also introduced the shared_preferences plugin and learned how to set up Flutter with SharedPreferences.
Next, we learned how to import the shared_preferences plugin, walked through how to initialize its instance, and reviewed its methods and what all of them do. We modified a normal Flutter counter project to show how to use the shared_preferences plugin to persist the counter value and retrieve it after the app has been killed and restarted.
The source code for all the examples in this tutorial is available on GitHub.

Learn how to set up Meilisearch, index documents, and build keyword, semantic, and hybrid search with AI-powered retrieval.

Compare pnpm and npm across security defaults, disk usage, dependency strictness, and workspace policy to decide which package manager fits your project.

I migrated 20 production-style components from Tailwind to StyleX. Here’s what the data showed about LOC, CSS bundle size, build time, and type safety.

A guide for using JWT authentication to prevent basic security issues while understanding the shortcomings of JWTs.
Would you be interested in joining LogRocket's developer community?
Join LogRocket’s Content Advisory Board. You’ll help inform the type of content we create and get access to exclusive meetups, social accreditation, and swag.
Sign up now

