
React Router v4 provides an intuitive, declarative API for building React apps that support navigation. However, there is not much in the docs, stack-overflow, or blogs that explain how to animate between routes when building UIs that require motion.
In this article, we’re going to create a React app with the new React Router (v4) and add some animations when navigating between views. At the end of the tutorial, you will see how to use Higher Order Components (HOC) to compose your components with the React’s CSSTransitionGroupplugin.
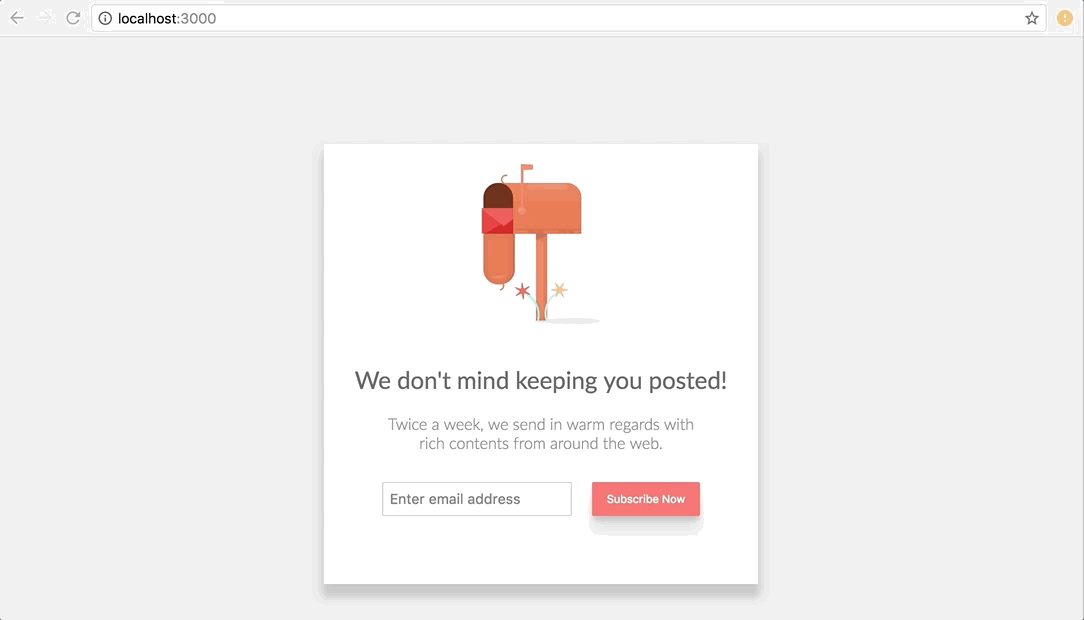
Here is a preview of the app we’ll be building:
All the examples for this article are available in Codesandbox.io but in a real project, you will need to set a project with create-react-app at least. Let’s install this tool and setup a new project:
# Install globally
npm install -g create-react-app

#Create a new project
create-react-app router-animations
You need to install two more dependencies; react router, and the plugin for CSS transitions:
yarn add react-router-dom react-addons-css-transition-group
Notice that unlike the previous versions of React Router, we are installing react-router-dom and not react-router. v4 of React Router is platform independent which is why we’re installing react-router-dom which is dependent on react-router package itself and will pull it along in the installation process.
Just to have a less boring UI, copy the replace the index.css and logo.svg with the content found here and here respectively.
We’re all set to start adding routes. Create a pages folder in the src directory. This is where components that resolves to route pages will be added.
The simply has two pages:
Let’s start with the Subscribe page:
Next, add the Thank you page as well:
Apart from the obvious texts in the components, they have one thing in common — SubscribeForm. This is a UI component that just shows the subscription form.
Let’s create that as well:
The component renders a text input and a subscribe button if the thanks property is not defined. This property is defined on the SubscribeForm component only on the ThankYou page. If it is defined, the component just renders a button that says “Try Again”.
Depending on the page in view, the buttons are supposed to take us to the another page using the history.push() method when clicked.
With the pages set to be rendered, let’s define their routes and what paths they should be rendered to. Update your App component with the following:
Here is what’s going on the component above:
Route from the react-router-dom library which we imported.Route is just a component and receives properties like path to specify what location the component will be mounted. It also receives component which is the component that should be mounted when the specified path is matchedNow to make the router actually work with React, we need to wrap the App component with the BrowserRouter component:
// ./src/index.js

import React from 'react';
import ReactDOM from 'react-dom';
import { BrowserRouter as Router } from 'react-router-dom';
import './index.css';
import App from './App';
import registerServiceWorker from './registerServiceWorker';

ReactDOM.render(
  <Router>
    <App />
  </Router>,
  document.getElementById('root')
);
registerServiceWorker();
The only change we made here is that we import the BrowserRouter and aliased it as Router (just for brevity), and then we wrap the App component with Router:
<Router>
  <App />
</Router>
You should have some navigation on screen when you open the app:
First Setup
The online code editor tailored for web applications
Higher Order Components (HOC) allows you to extend your React components. They are basically functions that takes a component and returns a component. As simple as that.
They become handy when you have two components sharing the same features leading to repeated logic. For example Subscribe page which is a component might have a logo and a white background. Same as the Thank You page. To add a logo and a white background to both components, we would need to write the feature in both component classes. Instead, what we can do is use a HOC that implements the shared feature, and call the HOC with the Subscribe or Thank You.
An example will make more sense. Create a component called PageShell in the components directory:
// ./src/components/PageShell.js

import React from 'react';
import logo from '../logo.svg';

const PageShell = Page => {
  return props => {/* [1]*/}
    <div className="page">
        <img src={logo} alt="" />
        <Page {...props} /> {/* [2]*/}
    </div>;
};

export default PageShell;
PageShell will be used like this: PageShell(PageComponent)Now let’s wrap the page components in App with PageShell:
The only difference is that before passing Subscribe and ThankYou to the component property, we first wrap it in PageShell leading to this new look:
HOC
The online code editor tailored for web applications
To achieve a transitions, each of the components needs to be wrapped with the ReactCSSTransitionGroup.
<ReactCSSTransitionGroup
        transitionAppear={true}
        transitionAppearTimeout={600}
        transitionEnterTimeout={600}
        transitionLeaveTimeout={200}
        transitionName="SlideIn"
      >
        <Page />
</ReactCSSTransitionGroup>
The transitionName maps to a CSS class that defines what happens at every phase of the animation. Here is a small and truncated snippet from index.css:
.SlideIn-appear {
  transform: translateX(30px);
  opacity: 0;
}
.SlideIn-appear.SlideIn-appear-active {
  opacity: 1;
  transform: translateX(0);;
  transition: all 0.6s linear;
}
.SlideIn-enter {
    opacity: 0;
    transform: translateX(30px);
}
.SlideIn-enter.SlideIn-enter-active {
    opacity: 1;
    transform: translateX(0);
    transition: all 0.2s linear 0.4s;
}
.SlideIn-leave {
    opacity: 1.0;
    transform: translateX(0);
}
.SlideIn-leave.SlideIn-leave-active {
    opacity: 0;
    position: absolute;
    width: 100%;
    transform: translateX(-30px);
    transition: all 0.2s linear;
}
ReactCSSTransitionGroup maps to each of these phases (appear, enter, and leave) and applies what ever transition effect is available on the CSS class definition. You can learn more in the React Docs on animation add-ons.
If we were building a large application, you will end up getting yourself messed up with repeated code when trying to wrap each of these components with ReactCSSTransitionGroup. With HOC, you can use ReactCSSTransitionGroup in the Page Shell once and wrap every components that needs the ReactCSSTransitionGroup with the page shell:
That’s all you need to get transitions up and going in your routes:
christiannwamba/react-router-transition
The online code editor tailored for web applications
Install LogRocket via npm or script tag. LogRocket.init() must be called client-side, not
server-side
$ npm i --save logrocket

// Code:

import LogRocket from 'logrocket';
LogRocket.init('app/id');
// Add to your HTML:

<script src="https://cdn.lr-ingest.com/LogRocket.min.js"></script>
<script>window.LogRocket && window.LogRocket.init('app/id');</script>

From RSC vulnerabilities and the Vercel breach to TypeScript 7.0 Beta and AI agents — the nine frontend storylines that defined H1 2026, ranked.

AI tools generate working React code fast, but miss race conditions, empty states, debouncing, and accessibility. Here’s how to catch bugs before production.

Learn how to use Gemini CLI subagents to delegate frontend, backend, testing, and docs tasks to specialized agents with guardrails and clear ownership.

Learn how next-browser gives AI agents runtime context for debugging Next.js apps, including React props, hydration, PPR, forms, and performance.
Would you be interested in joining LogRocket's developer community?
Join LogRocket’s Content Advisory Board. You’ll help inform the type of content we create and get access to exclusive meetups, social accreditation, and swag.
Sign up now

