Google created Flutter to simplify the way we create apps, making it possible for our apps to run on different platforms without the need to port code or rewrite our existing apps.
Doing this is no easy feat because each native operating system has something unique about it. Google can’t support much all of them. So, Google made Flutter configurable so that plugins can be developed by other developers.
Now, one of the common widgets we have is the WebView widget. This WebView widget allows us to load web pages.
How can we use this same widget in Flutter when we need it? Flutter.dev solved the issue for us. They developed a Flutter plugin for that: it is webview_flutter. In this tutorial, we’ll cover what webview flutter is, how to use it, and provide a real-world Flutter example.
webview_flutter is a Flutter plugin that provides a WebView widget on Android and iOS. This plugin is used to display web pages on both Android and iOS devices. We will learn how to use the webview_flutter plugin to load webpages from its URL or a local source.
We will build a Flutter project, so we will need a few tools already installed in our machine:
This is a Flutter SDK used to run and compile Flutter projects. Go to Flutter’s docs to select the Flutter SDK based on your operating system:
The links contain instructions on how to install the Flutter SDK on your machine. After the installation, make sure that flutter is in your global path. Run the command flutter --help to test that the Flutter SDK is installed and accessed globally in your machine.
VS Code is a powerful modern code editor brought to us by Microsoft. It has an extension that can help you use Flutter from your VS Code with ease. Install Flutter’s extension in your VS Code.
If you want to run and test your apps in Android, then you need to have Android Studio installed on your machine. Then, we need to install Flutter and Dart plugins:
Make sure everything is installed and running. In the next section, we will set up a Flutter project.
Now, we will create a Flutter project. We will use the flutter CLI tool to do this. The name of our Flutter project will be webviewprj. Run the below command:
flutter create webviewprj
Flutter will create a project in the folder webviewprj and then install dependencies. Open this project in VS Code. If you don’t use VS Code, you can do everything from the terminal, but you must open the project in your preferred code editor:
cd webviewprj
If you are using VS Code, there will be no need to do the above. Just go to View in the top menu and click on Terminal to open VS Code integrated terminal.
webview_flutter dependencyNext, we will add webview_flutter dependency to our project. Open the pubspec.yaml file in the root of your project and add the below lines to it:
dependencies:
  flutter:
    sdk: flutter
  webview_flutter:
Saving the pubspec.yaml file will cause the VS Code to install the dependency. If you are not using VS Code, run the below command in your terminal to install the webview_flutter dependency:
flutter pub get webview_flutter
flutter pub contains commands for managing Flutter packages.
flutter pub get gets packages in a Flutter project. In this case, it gets the webview_flutter package in our Flutter project.
Next, we set the minimum SDK version needed for the webview_flutter plugin. Open android/app/build.gradle in your project and add the below configuration code to the android → defaultConfig section:
android {
    defaultConfig {
        minSdkVersion 19
    }
}
webview_flutter works from Android v19 upward to the latest Android version.
webview_flutterwebview_flutter exports a WebView class. This class starts and creates a new web view and renders the set webpage (via its URL) inside the WebView widget. The WebView can be controlled using a WebViewController that is passed to the onWebViewCreated callback once the WebView is created.
To render the WebView widget, we need to import the webview_flutter package:
import 'package:webview_flutter/webview_flutter.dart';
Then, we render the WebView widget like this:
WebView(
    initialUrl: 'https://medium.com'
);
This will load the page https://medium.com and render it in the WebView widget. The WebView widget will render https://medium.com just like a browser will render the page. The initialUrl param passed to the WebView tells WebView the URL of the webpage to load and render.
There are other params that we can pass to WebView. Let’s see them below:
N.B., the below params and their descriptions were culled from WebView class library docs.
onWebViewCreated: This is a function that is invoked once the web view is createdinitialUrl: This is a string that holds the URL of the webpage to be loaded and rendered on the WebViewjavascriptMode: This sets whether JavaScript is enabled in the WebViewjavascriptChannels: The set of JavascriptChannels available to JavaScript code running in the WebViewnavigationDelegate: A delegate function that decides how to handle navigation actionsonPageStarted: Invoked when a page starts loadingonPageFinished: Invoked when a page has finished loadingonProgress: Invoked when a page is loadingdebuggingEnabled: Controls whether WebView debugging is enabled. By default, it is set to falsegestureNavigationEnabled: A Boolean value indicating whether horizontal swipe gestures will trigger back-forward list navigations. By default, it is set to falseallowsInlineMediaPlayback: Controls whether inline playback of HTML5 videos is allowed on iOS. This field is ignored on Android because Android allows it by default. Its default value is falseN.B., The javascriptMode and autoMediaPlaybackPolicy parameters must not be null.
WebViewController methodsWebViewController is passed as an instance to the WebView.onWebViewCreated when a WebView object is being created. WebViewController is used to control a WebView and has different methods we can call on its instance to perform different actions on the WebView. We will see them below:
canGoBack: this method checks if any previous URL can be popped from the history list
canGoForward: checks if any next URL can be popped from the history list
clearCache: clears all items from the WebView’s cache
currentUrl: returns the current URL the WebView is displaying
getScrollX: returns the current position of the scroll bar in the x-axis of the WebView
getScrollY: this returns the current position of the scroll bar in the y-axis of the WebView
getTitle: this method returns the title of the WebView’s currently loaded page
goBack: loads the previous URL in the history list
goForward: loads the next URL from the current URL in the history list
loadFile: this method loads a file into the WebView
loadFlutterAsset: loads an asset into the WebView from the pubspec.yaml file
loadUrl: this method loads a webpage from a URL specified
reload: reloads the current webpage on the WebView
runJavascript: executes the JavaScript code passed to it on the browser context of the current webpage in the WebView
runJavascriptReturningResult: this method executes the JavaScript code passed to it on the current webpage in the WebView and returns the result of the execution to the caller
scrollBy: scrolls the webpage to a specified x-axis and y-axis
scrollTo: this scrolls the webpage to a particular set of axes on the WebView
Now, we will create two widget pages in our app: HomePage and WebViewPage. HomePage page will hold two buttons. Each button when clicked will open the WebViewPage page. This WebViewPage page will render a WebView, passing the webpage URL to the WebView widget.
Let’s create them. Already, Flutter has generated some code for us. We will do away with other widgets except the MyApp widget.
Open the lib/main.dart file and edit it to the below code:
import 'package:flutter/material.dart';
import 'package:webview_flutter/webview_flutter.dart';
import 'dart:io';

void main() {
  runApp(MyApp());
}

class MyApp extends StatelessWidget {
  // This widget is the root of your application.
  @override
  Widget build(BuildContext context) {
    return MaterialApp(
      title: 'Flutter Demo',
      theme: ThemeData(
        primarySwatch: Colors.blue,
      ),
      home: HomePage()
    );
  }
}
See that we render HomePage in the MyApp widget. This makes the HomePage render when the app is opened.
Let’s code the HomePage widget:
class HomePage extends StatelessWidget {
  void _handleURLButtonPress(BuildContext context, String url, String title) {
    Navigator.push(context,
        MaterialPageRoute(builder: (context) => WebViewPage(url, title)));
  }
  @override
  Widget build(BuildContext context) {
    return Scaffold(
      appBar: AppBar(
        title: Text("WebView Flutter Example"),
      ),
      body: Center(
          child: Column(
        children: [
          MaterialButton(
            color: Colors.blue,
            child: Text(
              "Open pub.dev",
              style: TextStyle(color: Colors.white70, fontWeight: FontWeight.bold),
            ),
            onPressed: () {
              _handleURLButtonPress(
                  context, "https://pub.dev", "pub.dev");
            },
          ),
          MaterialButton(
            color: Colors.blue,
            child: Text(
              "Open Medium.com",
              style: TextStyle(color: Colors.white70, fontWeight: FontWeight.bold),
            ),
            onPressed: () {
              _handleURLButtonPress(
                  context, "https://medium.com", "Medium.com");
            },
          ),
        ],
      )),
    );
  }
}
See that this HomePage renders two buttons MaterialButton. Each button is set to call the function _handleURLButtonPress when clicked.
The first button, Open pub.dev, calls the _handleURLButtonPress, passing through the context, "https://pub.dev", and "pub.dev". The "https://pub.dev" is the URL of the webpage loaded and rendered by WebView. "pub.dev" will be the AppBar title of the WebViewPage.
The second button, Open Medium.com, will call the function _handleURLButtonPress with the params context, https://medium.com.com (the webpage URL that the WebView widget will load and render), and Medium.com (title of the WebViewPage page).
The function _handleURLButtonPress launches the WebViewPage widget page. It will pass the URL and title of the page to the WebViewPage.
Let’s code the WebViewPage widget:
class WebViewPage extends StatefulWidget {
  final String url;
  final String title;

  WebViewPage(this.url, this.title);

  @override
  WebViewPageState createState() =>
      WebViewPageState(this.url, this.title);
}

class WebViewPageState extends State<WebViewPage> {
  final String url;
  final String title;

  WebViewPageState(this.url, this.title);

  @override
  void initState() {
    super.initState();
    // Enable hybrid composition.
    if (Platform.isAndroid) WebView.platform = SurfaceAndroidWebView();
  }

  @override
  Widget build(BuildContext context) {
    return Scaffold(
        appBar: AppBar(
          title: Text(this.title),
        ),
        body: Column(children: [
          Expanded(
              child: WebView(
                  initialUrl: this.url,
                  javascriptMode: JavascriptMode.unrestricted
              )
          )
        ])
    );
  }
}
The WebViewPage is a stateful widget, and WebPageState is the logic and internal state for the WebViewPage.
The WebViewPage constructor takes url and title. It passes it to WebViewPageState in the createState method.
When the WebViewPageState renders WebView, it passes initialUrl to the WebView with this.url as its value.
The JavaScript mode javascriptMode is set to JavascriptMode.unrestricted. This JavaScript mode enables the webpages to run JavaScript.
Now, we are done with the coding. We will run the app. To do that, run the below command in the terminal:
flutter run
If you are using VS Code, right-click on the lib/main.dart and click on either Run Without Debugging or Start Debugging. Also, make sure you have your emulator running. This will compile the app on run it on your phone emulator. Here’s what it looks like:

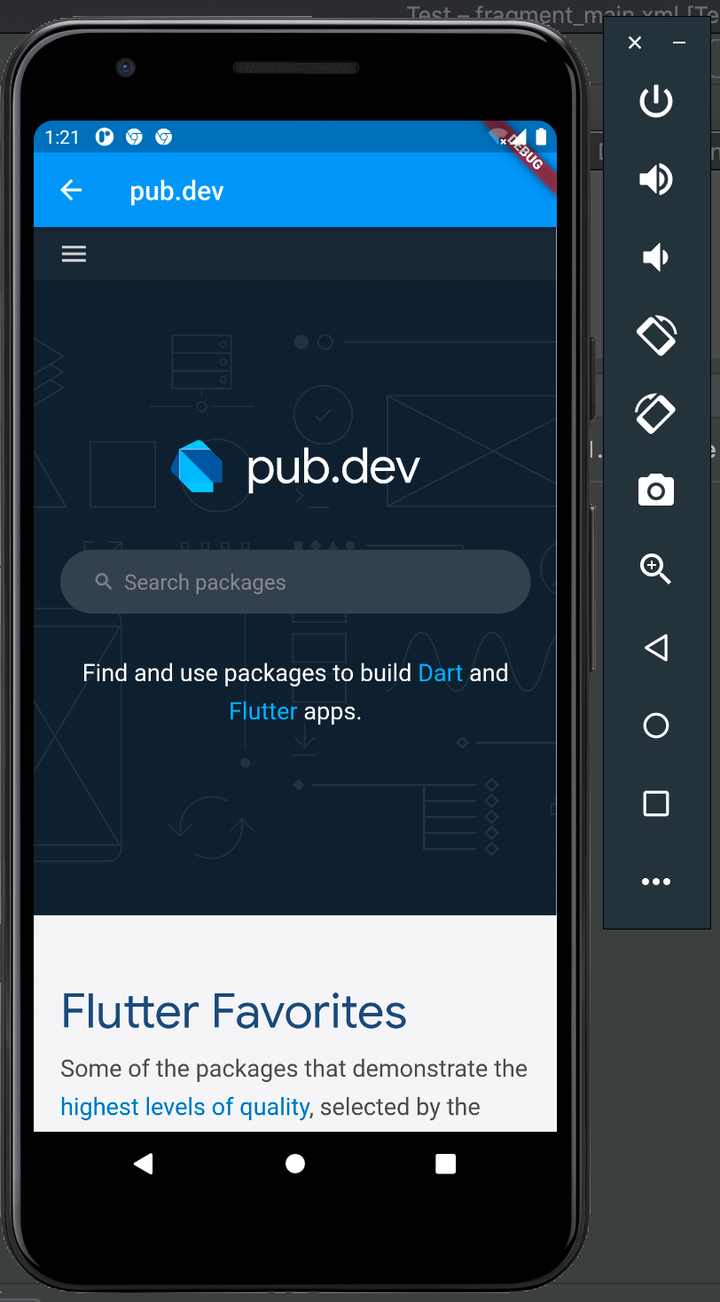
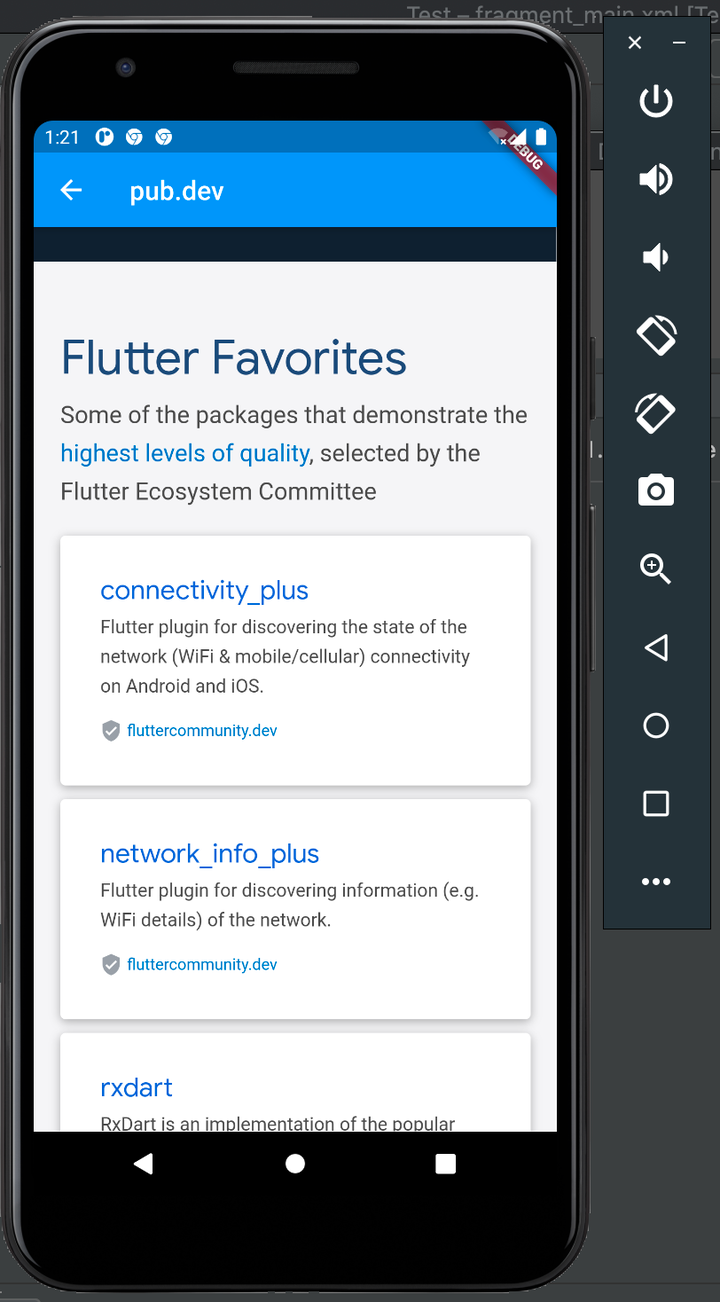
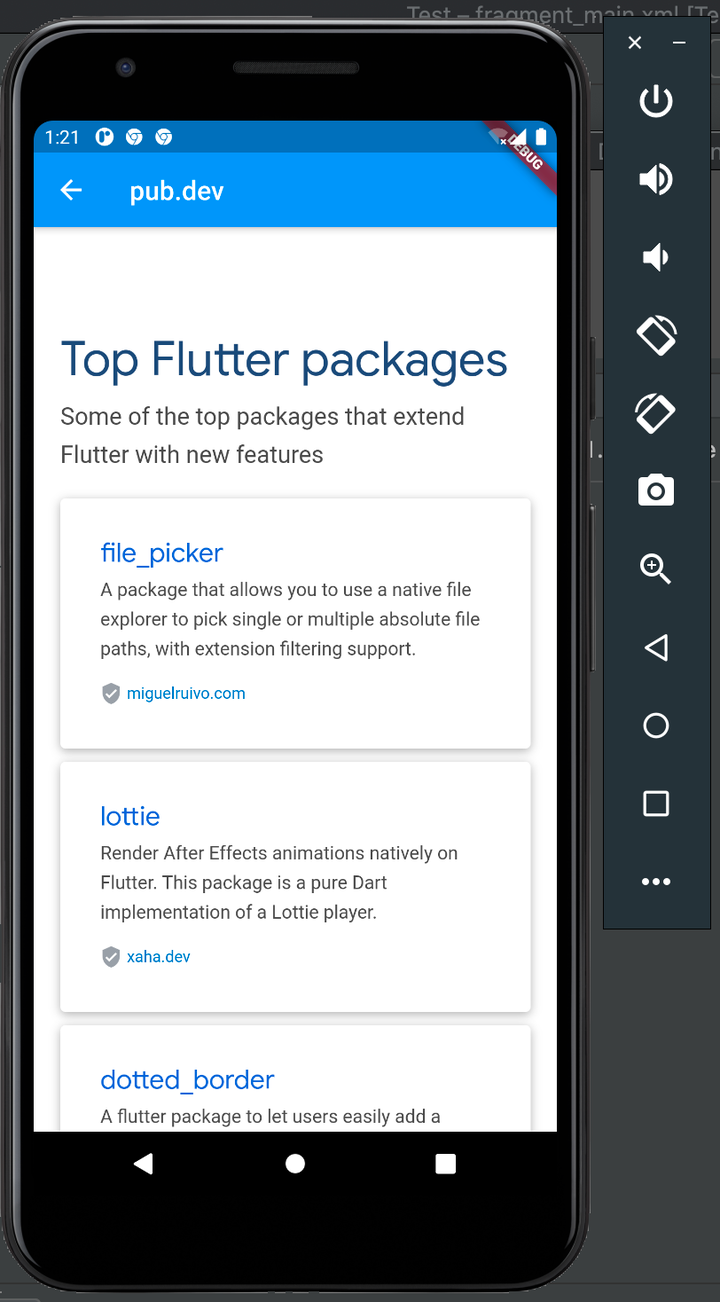
Click on Open pub.dev/, which looks like this:
Next, click on Open Medium.com:
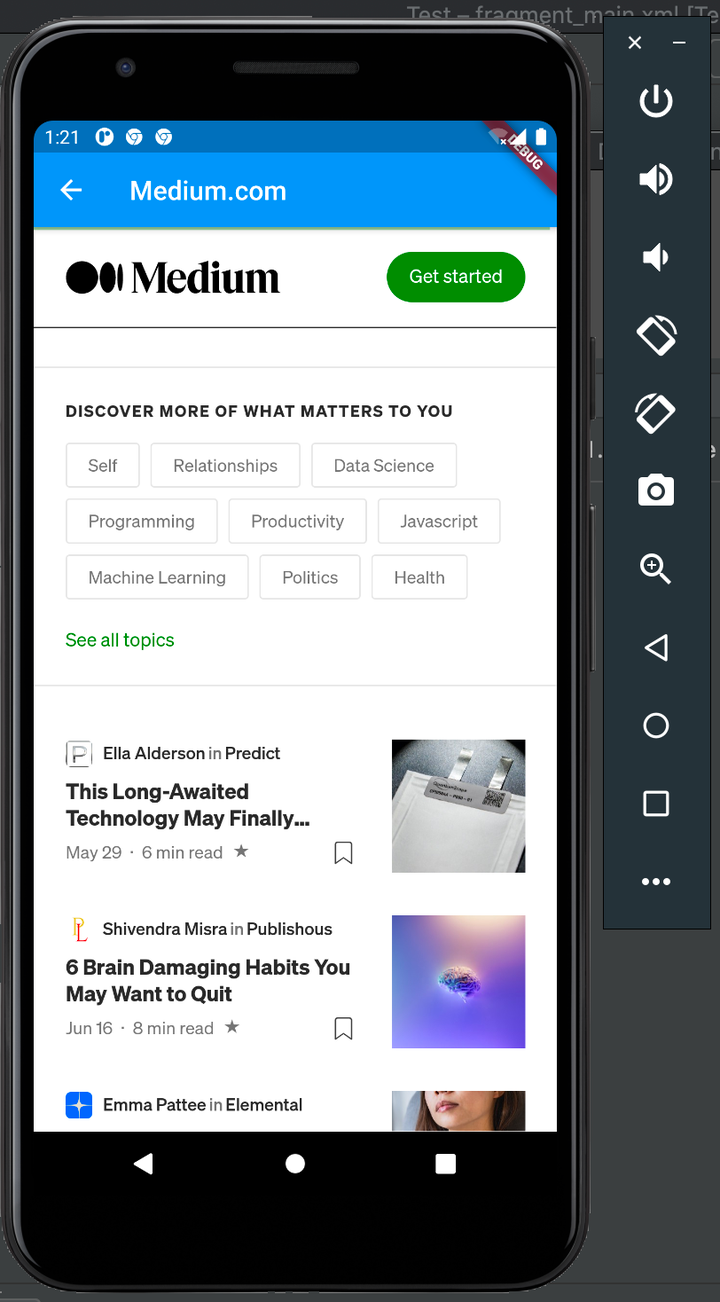
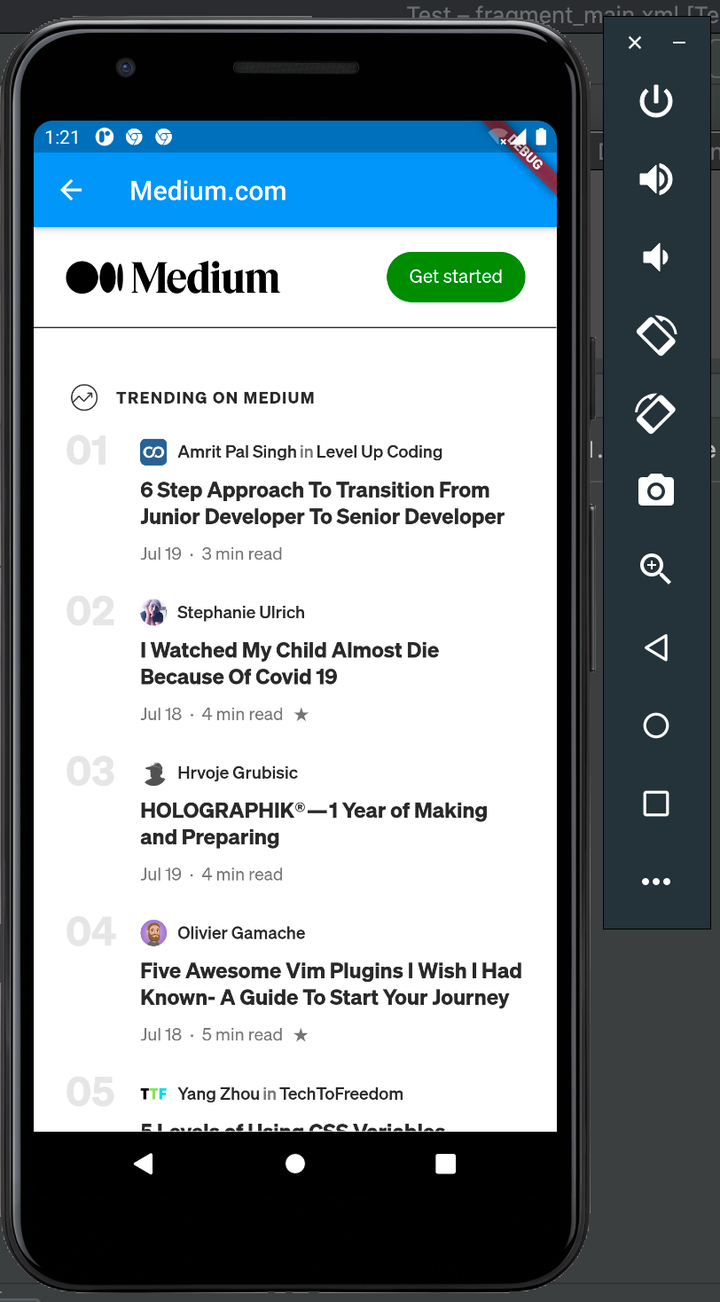
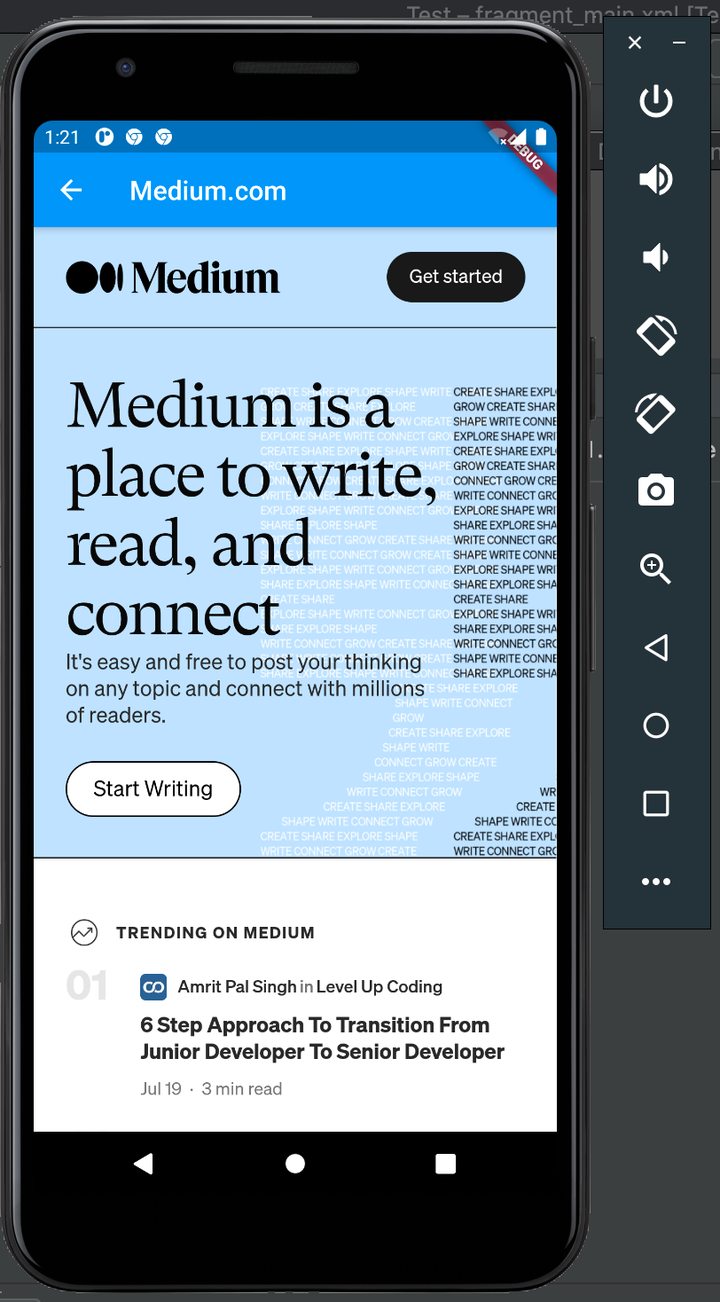
Voila! We’ve successfully built widgets to render and display web pages in a Flutter app using Flutter WebView.
We learned a lot in this tutorial.
First, we started by introducing WebView and how the same could be ported to Flutter. Next, we introduced webview_flutter, and also learned how to set up a Flutter project and install the webview_flutter dependency. Later on, we built widgets to render and display the webpages https://blog.logrocket.com and https://logrocket.com on a WebView widget from the webview_flutter plugin.
With this webview_flutter plugin, we will be able to render and display webpages in our Flutter application.
Look at the source code in GitHub.
Install LogRocket via npm or script tag. LogRocket.init() must be called client-side, not
server-side
$ npm i --save logrocket

// Code:

import LogRocket from 'logrocket';
LogRocket.init('app/id');
// Add to your HTML:

<script src="https://cdn.lr-ingest.com/LogRocket.min.js"></script>
<script>window.LogRocket && window.LogRocket.init('app/id');</script>

I migrated 20 production-style components from Tailwind to StyleX. Here’s what the data showed about LOC, CSS bundle size, build time, and type safety.

A guide for using JWT authentication to prevent basic security issues while understanding the shortcomings of JWTs.

Discover how to build, render, and automate product demo videos with Remotion, replacing traditional screen recordings with reusable React code.

Chrome’s Modern Web Guidance embeds modern web platform skills into AI coding agents, helping them choose native HTML, CSS, and browser APIs over legacy patterns.
Hey there, want to help make our blog better?
Join LogRocket’s Content Advisory Board. You’ll help inform the type of content we create and get access to exclusive meetups, social accreditation, and swag.
Sign up now

