Editor’s note: This article was updated on 29 December 2023 to add information regarding Framer Motion’s whileInView hook, provide an example of scroll-linked animations, compare Framer Motion with other animation libraries, and ensure the article is up to date regarding the most recent versions of React and Framer Motion.

Animations can provide a powerful user experience if they’re executed well. However, attempting to create stunning animations with CSS can be nerve-wracking. Many animation libraries promise to simplify the process, but most simply aren’t comprehensive enough for building complex animations.
In this article, we’ll demonstrate how to create scroll animations with Framer Motion, a complete animation library that doesn’t require you to be a CSS expert to create beautiful animations.
To get the most out of this tutorial, you should have the following:
There’s no need to have any prior knowledge of Framer Motion. This article will introduce the library’s basic concepts and build on those in the demonstration portion.
Let’s start with a little background on Framer Motion and Intersection Observer functionality.
Framer Motion is an animation library for creating declarative animations in React. It provides production-ready animations and a low-level API to help simplify the process of integrating animations into an application.
Some React animation libraries, like react-transition-group and transition-hook, animate elements with manually configured CSS transitions. Framer Motion takes a different approach, by animating elements under the hood with preconfigured styles.
motion and useAnimation are two functions Framer Motion uses to trigger and control these styles. The motion function is used to create motion components, which are the building blocks of Framer Motion.
By prefixing motion to a regular HTML or SVG element, the element automatically becomes a motion component:
<motion.h1>Motion Component</motion.h1>
A motion component has access to several props, including the animate prop. animate takes in an object with the defined properties of the components to be animated. The properties defined in the object are animated when the component mounts.
There are two main approaches to creating scroll animations in a React application using Framer Motion: scroll-triggered or scroll-linked animations.
Scroll-triggered animations involve detecting when an element is visible in the viewport and activating the animations associated with it. We can achieve this using the Intersection Observer API or Framer Motion’s whileInView hook.
Scroll-linked animations, on the other hand, involve tracking the page’s scroll position and using it to control an element’s animation progress.
We will explore how to use both of these methods in this tutorial. Let’s begin.
Before introducing the whileInView hook, Framer Motion didn’t have the functionality for observing elements when they enter or leave the viewport. As a result, elements would animate immediately upon mounting to the DOM.
To work around this, developers would use native Javascript APIs such as the Intersection Observer API, which prevents elements from animating until they’re within the defined boundaries or inside the viewport.
The Intersection Observer API is a JavaScript API that provides a way to asynchronously observe changes in the intersection of a target element with a top-level document viewport. It registers a callback function that is executed whenever an element we want to monitor enters or exits another element or the viewport.
In this article, we’ll use the react-intersection-observer library, a React implementation of the Intersection Observer API. This library is designed to handle the functionality described above with less boilerplate code. It provides Hooks and render props that make it easy to track the scroll position of elements on the viewport.
react-intersection-observer is a relatively small package, so there’s no need to worry about the overhead it may add to your project:
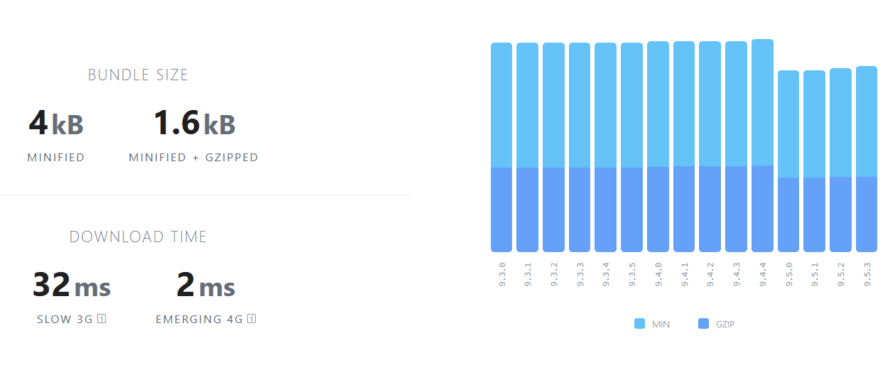
Now, let’s set up a simple React project and install the necessary dependencies.
We’ll start our project setup by installing React:
npm create vite@latest my-app -- --template react
Then, we’ll install Framer Motion and react-intersection-observer:
npm i react-intersection-observer framer-motion
Next, we’ll set up a demo React app using Framer Motion and the react-intersection-observer library to identify when the elements are in view and then apply an animation.
First, we’ll create a box component, which could be a card, modal, or anything else. We’ll import this box component into the main component, App.js . We’ll animate this main component when it enters the viewport:
/*Box component*/
const Box = () => {
  return (
    <div className="box">
      <h1>Box</h1>
    </div>
  );
};


/*Main component*/
export default function App() {
  return (
    <div className="App">
      <Box /> /*imported Box component*/ /*imported Box component*/
    </div>
  );
}
Next, we’ll import everything else that’s required to create animation from the libraries we installed earlier:
motion and useAnimation Hooks from Framer Motion
useEffect Hook from React
useInView Hook from react-intersection-observer
import { motion, useAnimation } from "framer-motion";

import { useInView } from "react-intersection-observer";

import { useEffect } from "react";
These are the essential Hooks we’ll need to animate our box component. You’ll get an idea of how each Hook works a little later in this tutorial.
Inside our component is a div element with a className of box. To animate the box element, we need to make it a motion component. We do this by prefixing motion to the element:
const Box = () => {
  return (
    <motion.div className="box">
      <h1>Box</h1>
    </motion.div>
  );
};
We can start animating the box element as-is by adding initial and animate props to the motion component and directly defining their object values:
<motion.div
animate={{ x: 100 }}
initial={{x: 0}}
className="box"
></motion.div>
For more complex animations, Framer Motion offers variants. Let’s see how to use this feature next.
Variants are a set of predefined objects that let us declaratively define how we want the animation to look. They have labels we can reference in a motion component to create animations.
Here’s an example of a variant object:
const exampleVariant = {
  visible: { opacity: 1 },
  hidden: { opacity: 0 },
}
Inside this variant object, exampleVariant, are two properties: visible and hidden. Both properties are passed an object as the value. When the element is visible, we want the opacity to be 1; when it is hidden, we want it to be 0.
The above variant object can be referenced in a motion component, like so:
<motion.div variants={exampleVariant} />
Next, we’ll create a variant and pass it as a prop to our motion component:
const boxVariant = {
  visible: { opacity: 1, scale: 2 },
  hidden: { opacity: 0, scale: 0 },
}
In this variant object, boxVariant, we included a scale property so that the element will scale up in size when it is visible and scale down when it is hidden.
To reference this variant object in our motion component, we’ll add a variants prop to the motion component and pass it the variant’s label:
<motion.div
  variants={boxVariant}
  className="box"
/>
Right now, nothing is happening to our motion component — it has access to the variant object, but it doesn’t know what to do with it. The motion component needs a way to know when to start and end the animations defined in the variant object.
For this, we pass the initial and animate prop to the motion component:
<motion.div
  variants={boxVariant}
  className="box"
  initial="..."
  animate="..."
/>
In the above code, the initial prop defines the behavior of a motion component before it mounts, while the animate prop is used to define the behavior when it mounts.
Now, we’ll add a fade-in animation effect to the motion component by setting the opacity of the component to 0 before it mounts and back to 1 when it mounts. The transition property has a duration value that indicates the animation’s duration:
<motion.div
  className="box"
  initial={{ opacity: 0, transition:{duration: 1}}}
  animate={{opacity: 1}}
/>
Since we’re using variants, we don’t have to explicitly set the values of the initial and animate properties. Instead, we can dynamically set them by referencing the hidden and visible properties in the variant object we created earlier:
const boxVariant = {
  visible: { opacity: 1, scale: 2 },
  hidden: { opacity: 0, scale: 0 },
}
...
<motion.div
  variants={boxVariant}
  initial="hidden"
  animate="visible"
  className="box"
/>
The motion component will inherit the values of the variant object’s hidden and visible properties and animate accordingly:
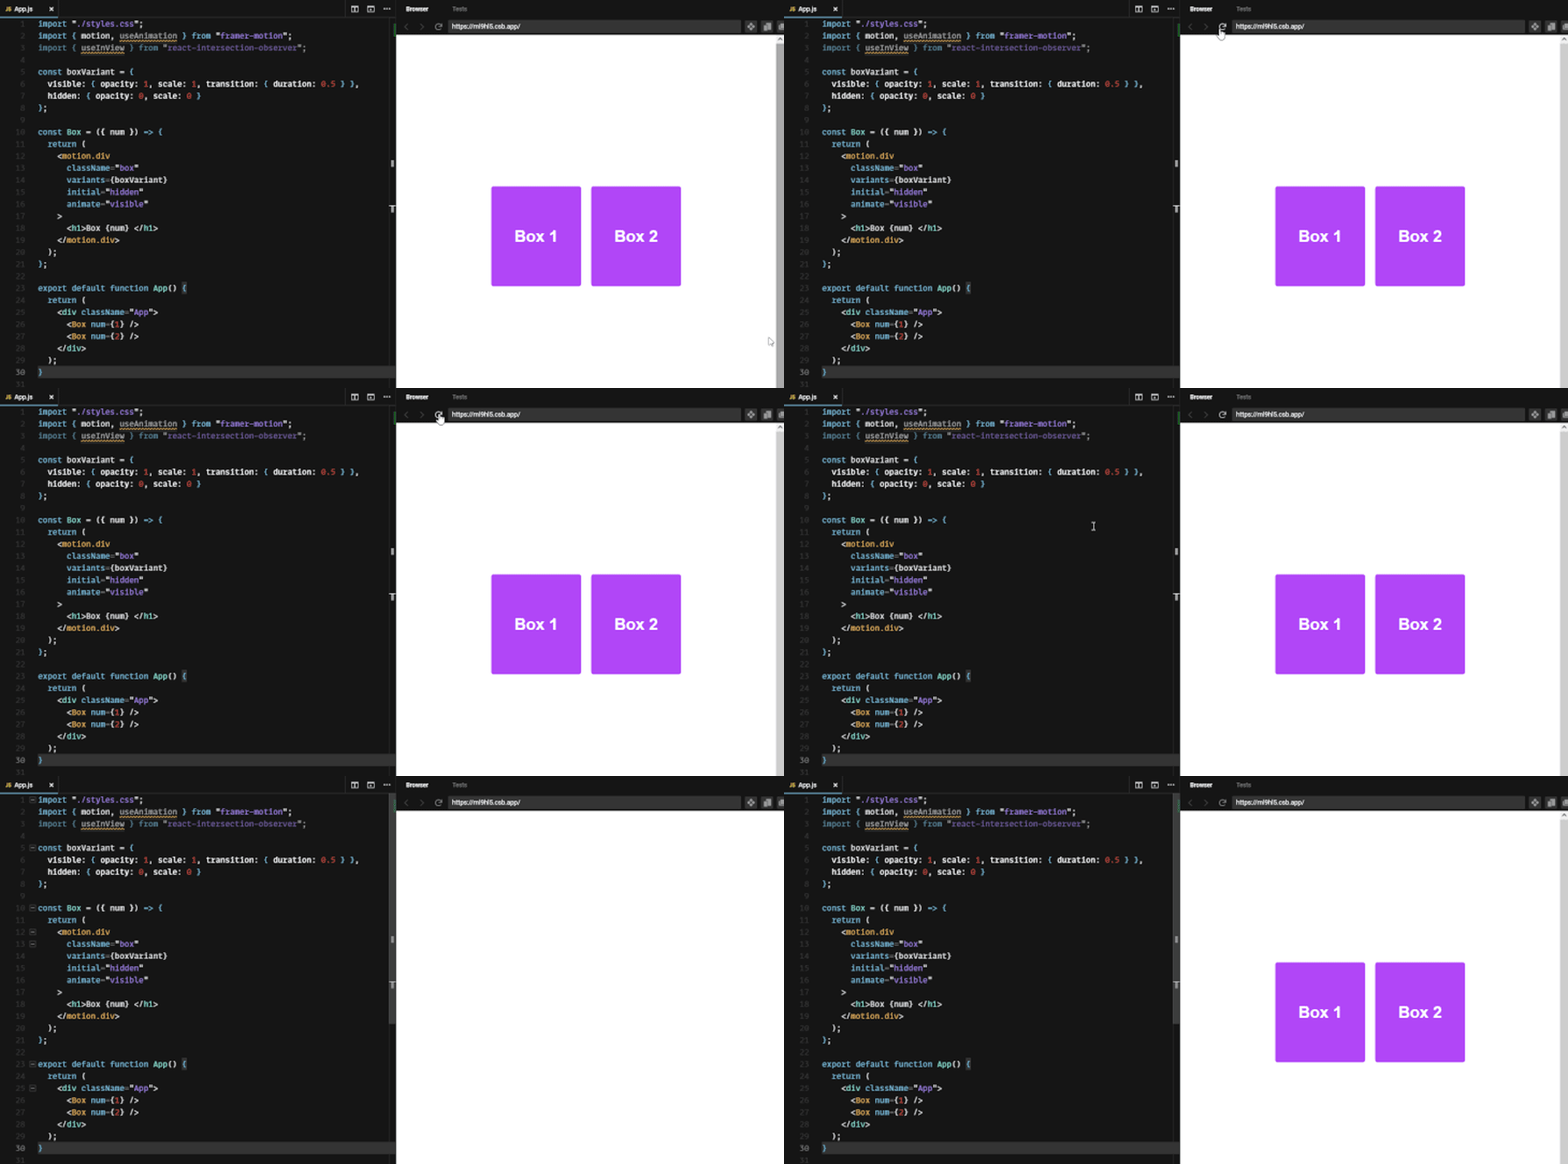
Now that we have a working animation for our motion component, the next step is to use the react-intersection-observer library to access the Intersection Observer API and trigger the animation when the component is in view.
useInView and useAnimation HooksAs previously mentioned, Framer Motion animates elements when they mount, so before we can animate elements when they are in view, we need to be able to control when they mount and unmount.
The useAnimation Hook provides helper methods that let us control the sequence in which our animations occur. For example, we can use the control.start and control.stop methods to manually start and stop our animations.
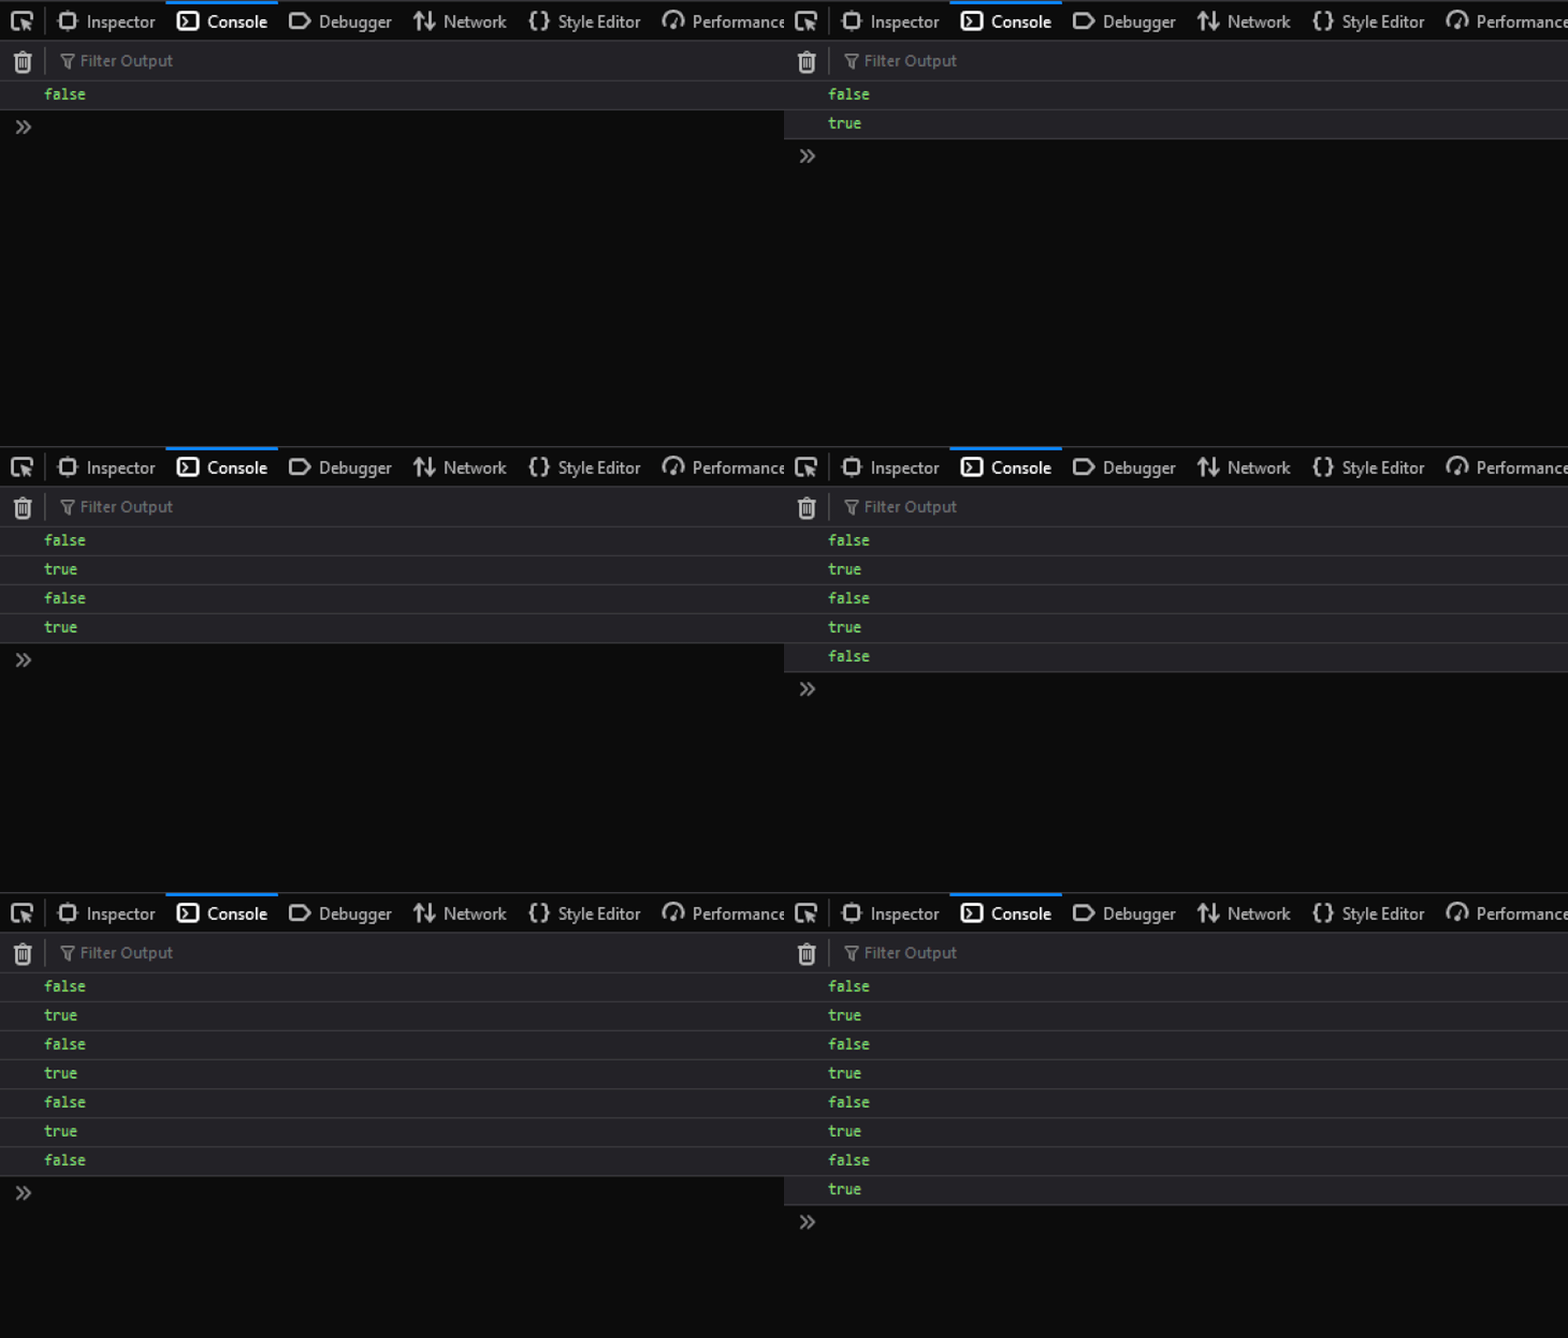
useInView is a react-intersection-observer Hook that lets us track when a component is visible in the viewport. This Hook gives us access to a ref, which we can pass into the components we want to watch, and the inView Boolean, which tells us whether a component is in the viewport.
For example, if we pass ref to a component as a prop and log inView to the console, the console will display true when the component is scrolled into the viewport and false when it leaves the viewport:
Now, we’ll use the useAnimation Hook to trigger animations on our motion component when it enters the viewport.
First, we’ll destructure ref and inView from the useInView Hook, and assign useAnimation to a variable:
const control = useAnimation()
const [ref, inView] = useInView()
Next, we’ll add ref to our motion component as a prop and pass the control variable as a value to the animate prop:
<motion.div
  ref={ref}
  variants={boxVariant}
  initial="hidden"
  animate={control}
  className="box"
/>
Finally, we’ll create a useEffect Hook to call the control.start method whenever the component we’re watching is in view. In this Hook, we’ll pass the control and inView variables as dependencies:
useEffect(() => {
    if (inView) {
      control.start("visible");
    }
  }, [control, inView]);
Inside the useEffect callback function, we perform a conditional check with an if statement to check if the motion component is in view.
If the condition is true, useEffect will call the control.start method with a "visible" value passed into it. This will trigger the animate property on our motion component and start the animation.
Now, if we scroll up and down our viewport, the box components will animate when their scroll position enters the viewport:
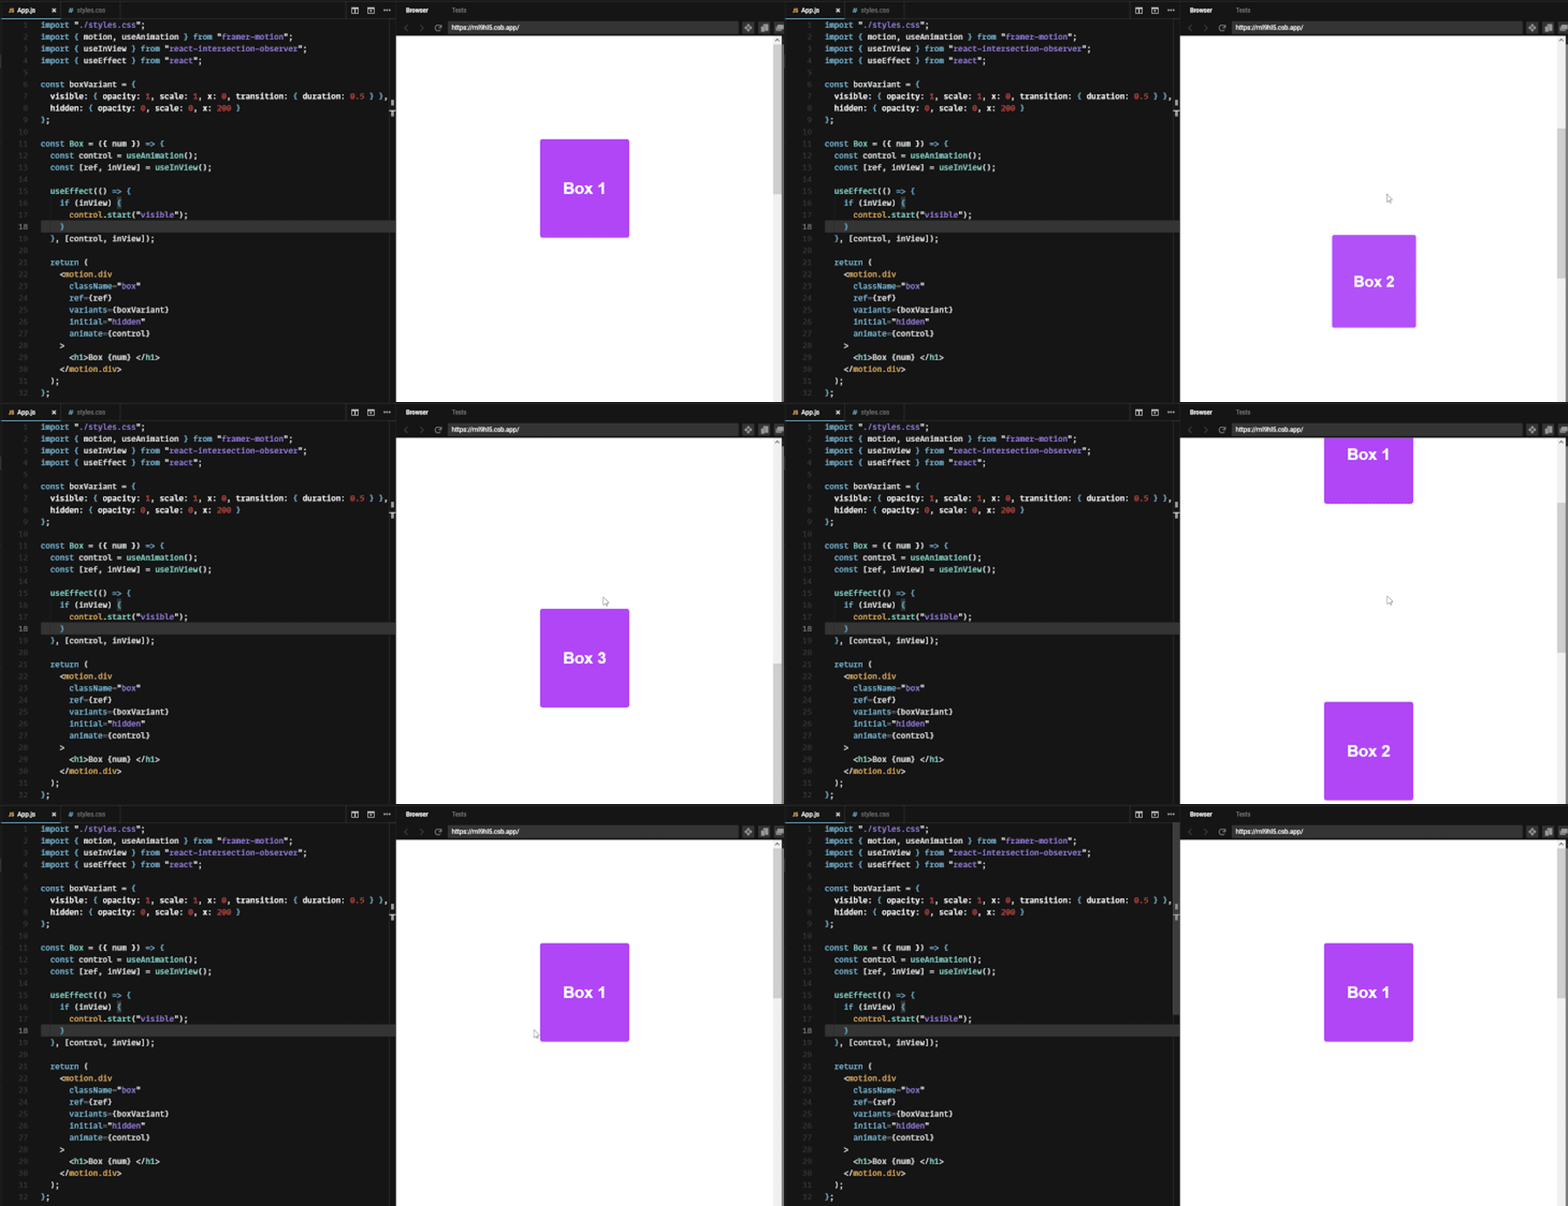
Notice how the box components only animate the first time they enter the viewport.
We can make them animate every time they are in view by adding an else block to the if statement in the useEffect callback function. In this else block, we’ll call the control.start method once again, but with a "hidden" value passed into it this time:
else {
      control.start("hidden");
    }
Now, if we scroll up and down our viewport, the box components will animate each time their scroll position enters the viewport:
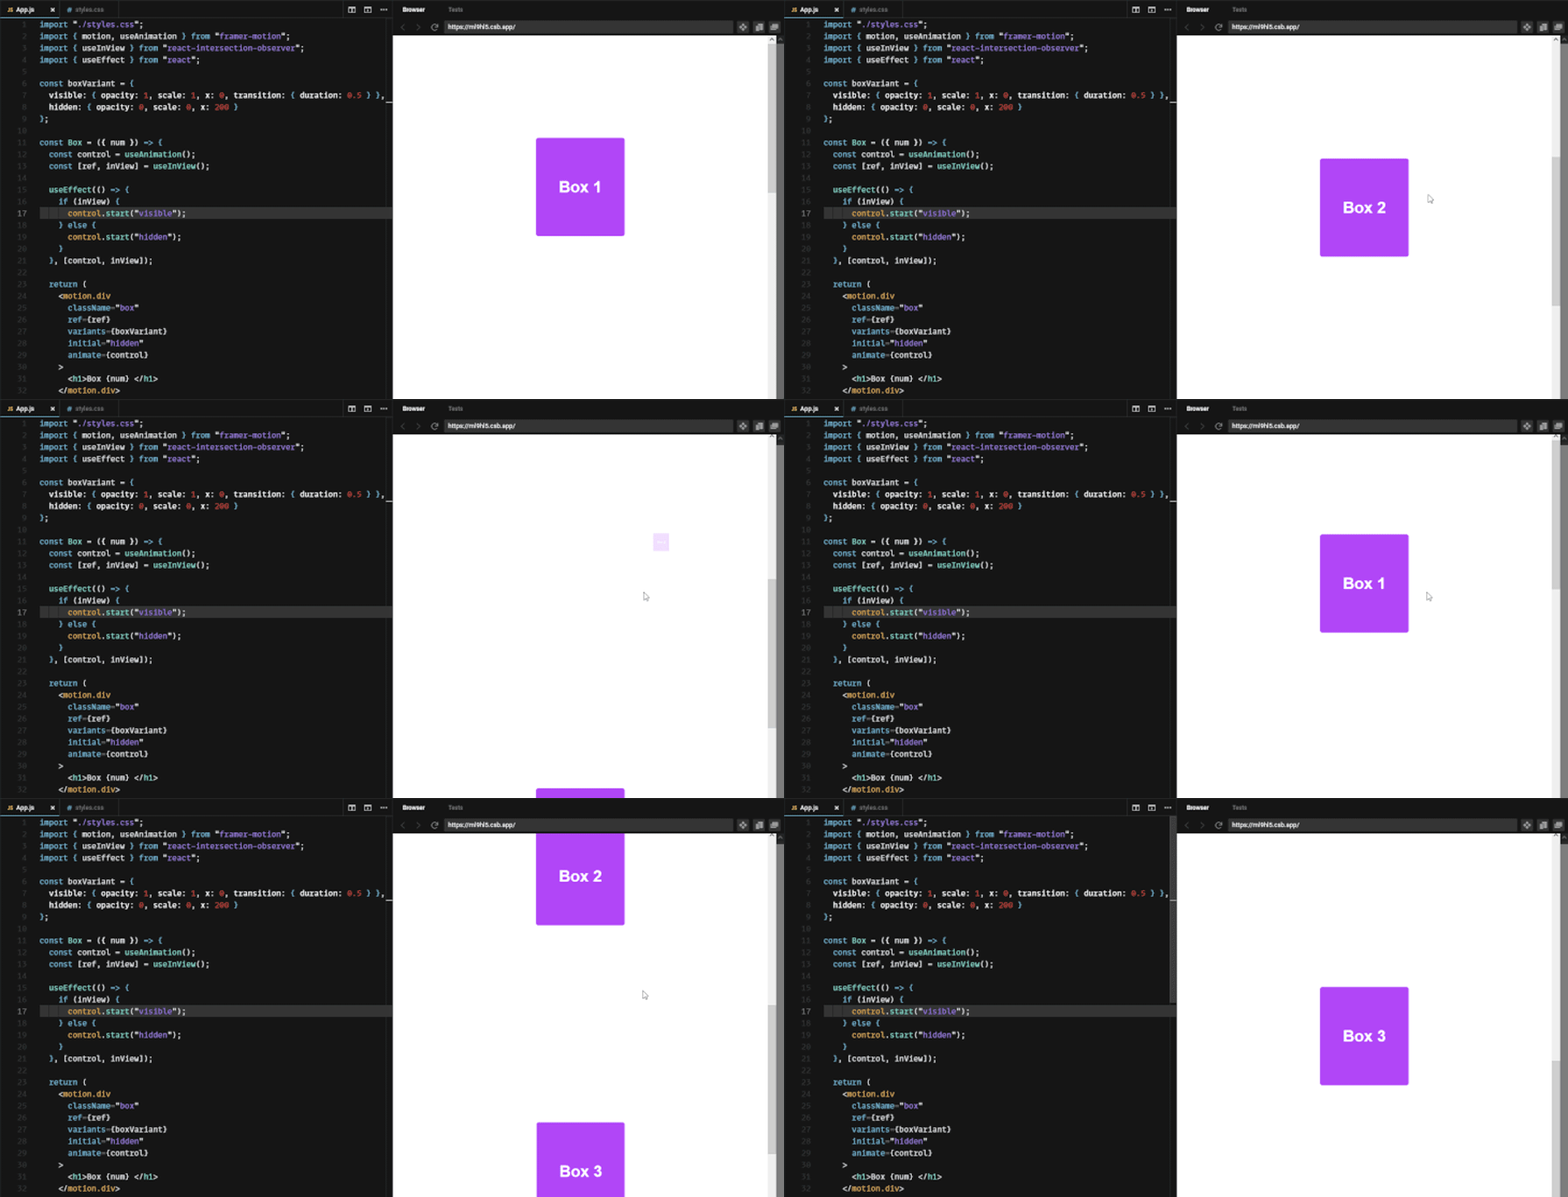
Here’s a look at the final code for creating scroll-triggered animations in React with Framer Motion:
import { motion, useAnimation } from "framer-motion";
import { useInView } from "react-intersection-observer";
import { useEffect } from "react";

const boxVariant = {
  visible: { opacity: 1, scale: 1, transition: { duration: 0.5 } },
  hidden: { opacity: 0, scale: 0 }
};

const Box = ({ num }) => {

  const control = useAnimation();
  const [ref, inView] = useInView();

  useEffect(() => {
    if (inView) {
      control.start("visible");
    } else {
      control.start("hidden");
    }
  }, [control, inView]);

  return (
    <motion.div
      className="box"
      ref={ref}
      variants={boxVariant}
      initial="hidden"
      animate={control}
    >
      <h1>Box {num} </h1>
    </motion.div>
  );
};

export default function App() {
  return (
    <div className="App">
      <Box num={1} />
      <Box num={2} />
      <Box num={3} />
    </div>
  );
}
whileInView propThe Intersection Observer API is tailored towards detecting complex intersection behaviors and gives you fine-grained control over intersection changes. However, suppose you require a simplified and React-specific approach to handling scroll-triggered animations.
In that case, Framer Motion offers a property called whileInView for the motion component, which we can use to trigger scroll-triggered animations. The whileInView prop defines a set of properties or variant labels that animate an element while it is in view:
<motion.div whileInView={{ scale: 1 }} initial={{ scale: 0 }}>...<motion.div/>
In this example, the motion component’s scale is set to 0 before it mounts and 1 when it is in view. The same example can be defined using a variant, like so:
  const variant = {
    visible: { scale: 1 },
    hidden: { scale: 0 },
  };

  <motion.div
  variant="variant"
  initial="hidden"
  whileInView="visible"
  >...<motion.div/>
If we implement this for a use case such as animating images on a blog site, the result will be as follows:
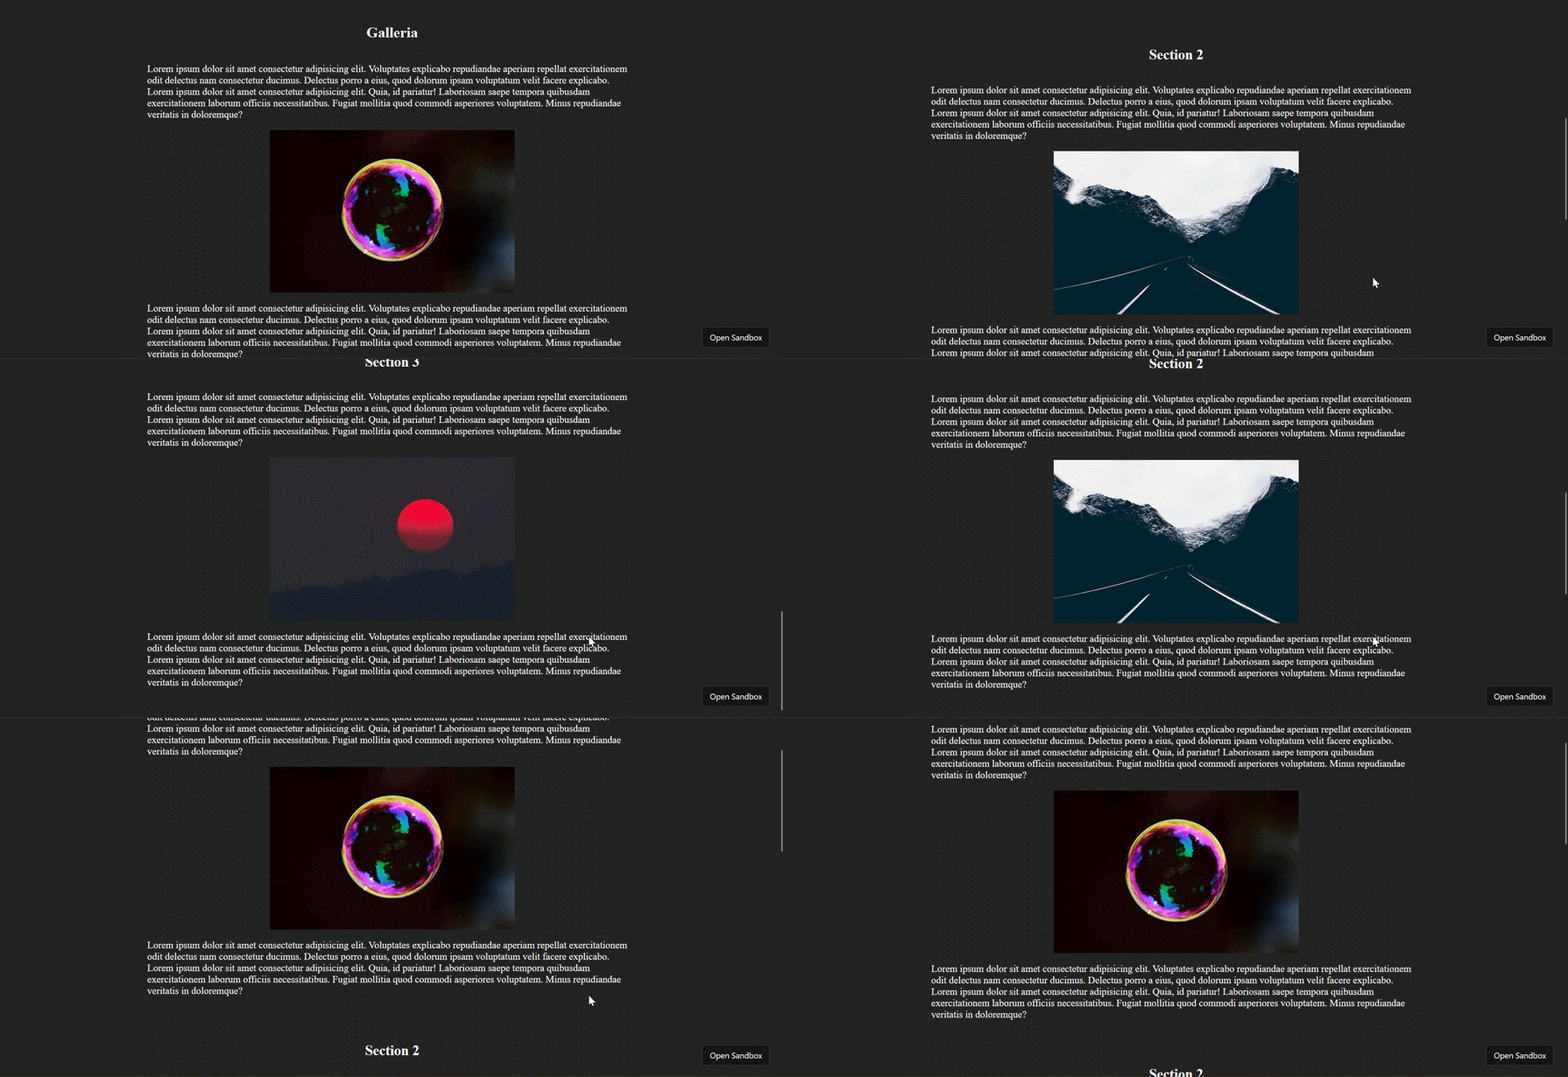
You can find and interact with this demo on Code Sandbox.
As you can see, the whileInView prop is a more compact approach to implementing scroll-triggered functionality with Framer Motion. In comparison, the Intersection Observer requires extra steps to set up.
The whileInView prop offers a level of complexity with its associate properties:
viewport: An object that defines how the viewport is detected. It accepts a set of properties that we can use to define how many times the whileInView prop gets triggered, choose which viewport to track, and add a margin to the viewport when detecting an element’s visibilityonViewportEnter: A callback that is triggered when the element enters the viewport. It uses the intersectionObserverEntry interface of the Intersection Observer API under the hood to handle this functionalityonViewportLeave: The opposite of the onViewportEnter callback. It’s triggered when the element leaves the viewportYou can learn more about these properties in the official Framer Motion documentation.
useScroll hookScroll-linked animations are the most common type of scroll animation on the web. These animations are triggered by a user’s scroll behavior on a webpage. Synchronizing the animation with specific scroll positions creates an engaging UX as users scroll through your web app’s content.
Some common use cases for scroll-linked animations include parallax effects, scroll progress indicators, and more.
Framer Motion provides a useScroll hook that makes it easy to create scroll-linked animations. The useScroll hook returns four motion values we can use animate elements based on their scroll state:
scrollX and scrollY, which represent the absolute scroll position of a page or element on the x and y axesscrollXProgress and scrollYProgress, which represent the scroll progress relative to a defined offsetThe offset is an array of numbers between 0 and 1, where 0 means that the element is outside the viewport and 1 means that the element is inside the viewport.
We can use the offsets to calculate the point where the target element and the viewport intersect. They can also be defined using a set of strings: start, center, and end, which represent 0, 0.5, and 1 respectively.
Let’s see an example of how we can use motion values to create the quintessential scroll indicator. We simply need to pass the scrollYProgress motion value to the styleX style property of the progress bar element, as shown in the code example below:
const { scrollYProgress } = useScroll();

<motion.div className="progress-bar" style={{ scaleX: scrollYProgress }} />
This will give us the following result:
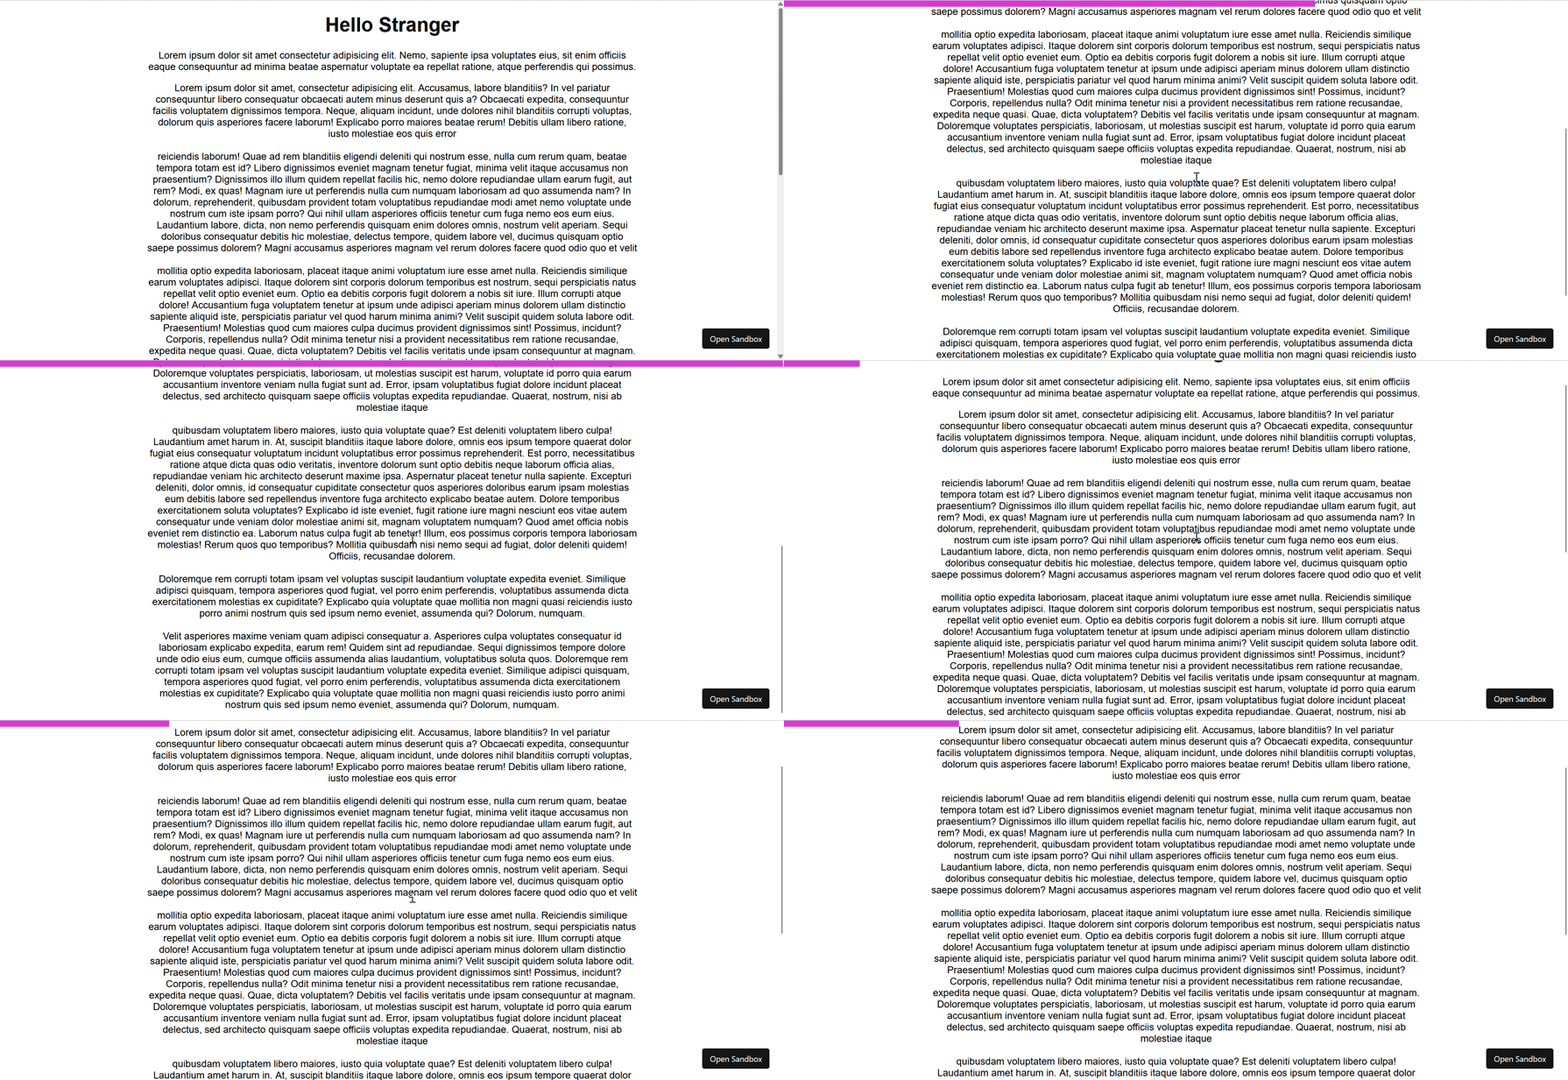
You can interact with the demo using CodeSandbox.
The useScroll motion values can be used in conjunction with other motion value hooks — like useTransform and useSpring — to compose intricate animations such as the example below.
function Images({ text, url }) {
  const ref = useRef(null);
  const { scrollYProgress } = useScroll({ target: ref });
  const y = useTransform(scrollYProgress, [0, 1], [-300, 350]);
  return (
    <section>
      <div ref={ref}>
        <img src={url} alt={text} />
      </div>
      <motion.h2 style={{ y }}>{text}</motion.h2>
    </section>
  );
}
In this example, we used the useTransform hook to create a parallax effect with the texts based on the scroll position of the image in each section of the page:

To inspect how this is done, you can open the demo on CodeSandbox and examine the code.
When creating animations for web applications, it can be challenging to decide which library to use. Although there are many animation libraries to choose from, only a handful of these libraries provide built-in functionality to animate elements on scroll.
The question then becomes why you should use Framer Motion instead of these alternatives. There are many factors to consider, but generally speaking, Framer Motion provides a balance between simplicity and complexity and is the right choice for developers looking to implement simple animations with the intent of scaling.
To get a clearer understanding of this balance, let’s compare Framer Motion with three libraries that provide scroll animation capabilities: GSAP, React Animate on Scroll, and React Reveal.
GSAP is a powerful animation library that provides a robust toolset for creating animations. Its ScrollTrigger API focuses on scroll-based animations. You can use it to create advanced scroll-triggered animations with precise control over scroll triggers and timelines.
When compared to Framer Motion, GSAP’s ScrollTrigger is more flexible and powerful. However, it has a steeper learning curve and takes more effort to set up, while Framer Motion is more straightforward.
React Animate On Scroll is a lightweight animation library that provides a simple interface for triggering animations when an element enters the viewport.
This library is less flexible in terms of animation customization than other libraries, such as Framer Motion and GSAP. However, it does simplify the process of animating elements based on scroll position.
Similar to React Animate On Scroll, the React Reveal library also provides a simple interface for animating elements based on scroll positions. However, rather than allowing users to define their animations, React Reveal provides a set of pre-defined animations that can be easily applied to elements.
This simplicity makes React Reveal a good choice for developers looking for a quick and easy way to add animations to their React applications. However, it also means that React Reveal has less flexibility than comprehensive animation libraries like Framer Motion and GSAP.
In this article, we introduced the basics of the Framer Motion animation library and demonstrated how to use it to create scroll animations. We discussed how to control animations using the useAnimation Hook and how to trigger animations with Intersection Observer API through the react-intersection-observer library.
This article offers just a glimpse into the extensive range of animations that can be created with Framer Motion. Visit the official Framer Motion docs and see what else you can come up with.
Install LogRocket via npm or script tag. LogRocket.init() must be called client-side, not
server-side
$ npm i --save logrocket

// Code:

import LogRocket from 'logrocket';
LogRocket.init('app/id');
// Add to your HTML:

<script src="https://cdn.lr-ingest.com/LogRocket.min.js"></script>
<script>window.LogRocket && window.LogRocket.init('app/id');</script>
Would you be interested in joining LogRocket's developer community?
Join LogRocket’s Content Advisory Board. You’ll help inform the type of content we create and get access to exclusive meetups, social accreditation, and swag.
Sign up now
Not sure if low-code is right for your next project? This guide breaks down when to use it, when to avoid it, and how to make the right call.

Compare Firebase Studio, Lovable, and Replit for AI-powered app building. Find the best tool for your project needs.

Discover how to use Gemini CLI, Google’s new open-source AI agent that brings Gemini directly to your terminal.

This article explores several proven patterns for writing safer, cleaner, and more readable code in React and TypeScript.
3 Replies to "Implementing React scroll animations with Framer Motion"
You can use whileInView property of motion directly.
Thanks!
Thank you for this. I finally have professional looking animations in my react apps and I know how to control them. Bravo