In a previous article, I wrote about how to use React Native Camera, which is now, unfortunately, deprecated. Today, I’m back to talk about other options we can use in our React Native projects to replace React Native Camera.

We’ll introduce React Native VisionCamera and assess some other alternatives to help you choose which camera library to use in your next application. In this piece, I’ll demonstrate what VisionCamera can do by developing a QR code scanner. Let’s get started!
Jump ahead:
The Replay is a weekly newsletter for dev and engineering leaders.
Delivered once a week, it's your curated guide to the most important conversations around frontend dev, emerging AI tools, and the state of modern software.
VisionCamera is a fully featured camera library for React Native. Some key benefits include:
Let’s explore a few of the key functions you’ll find yourself using quite often.
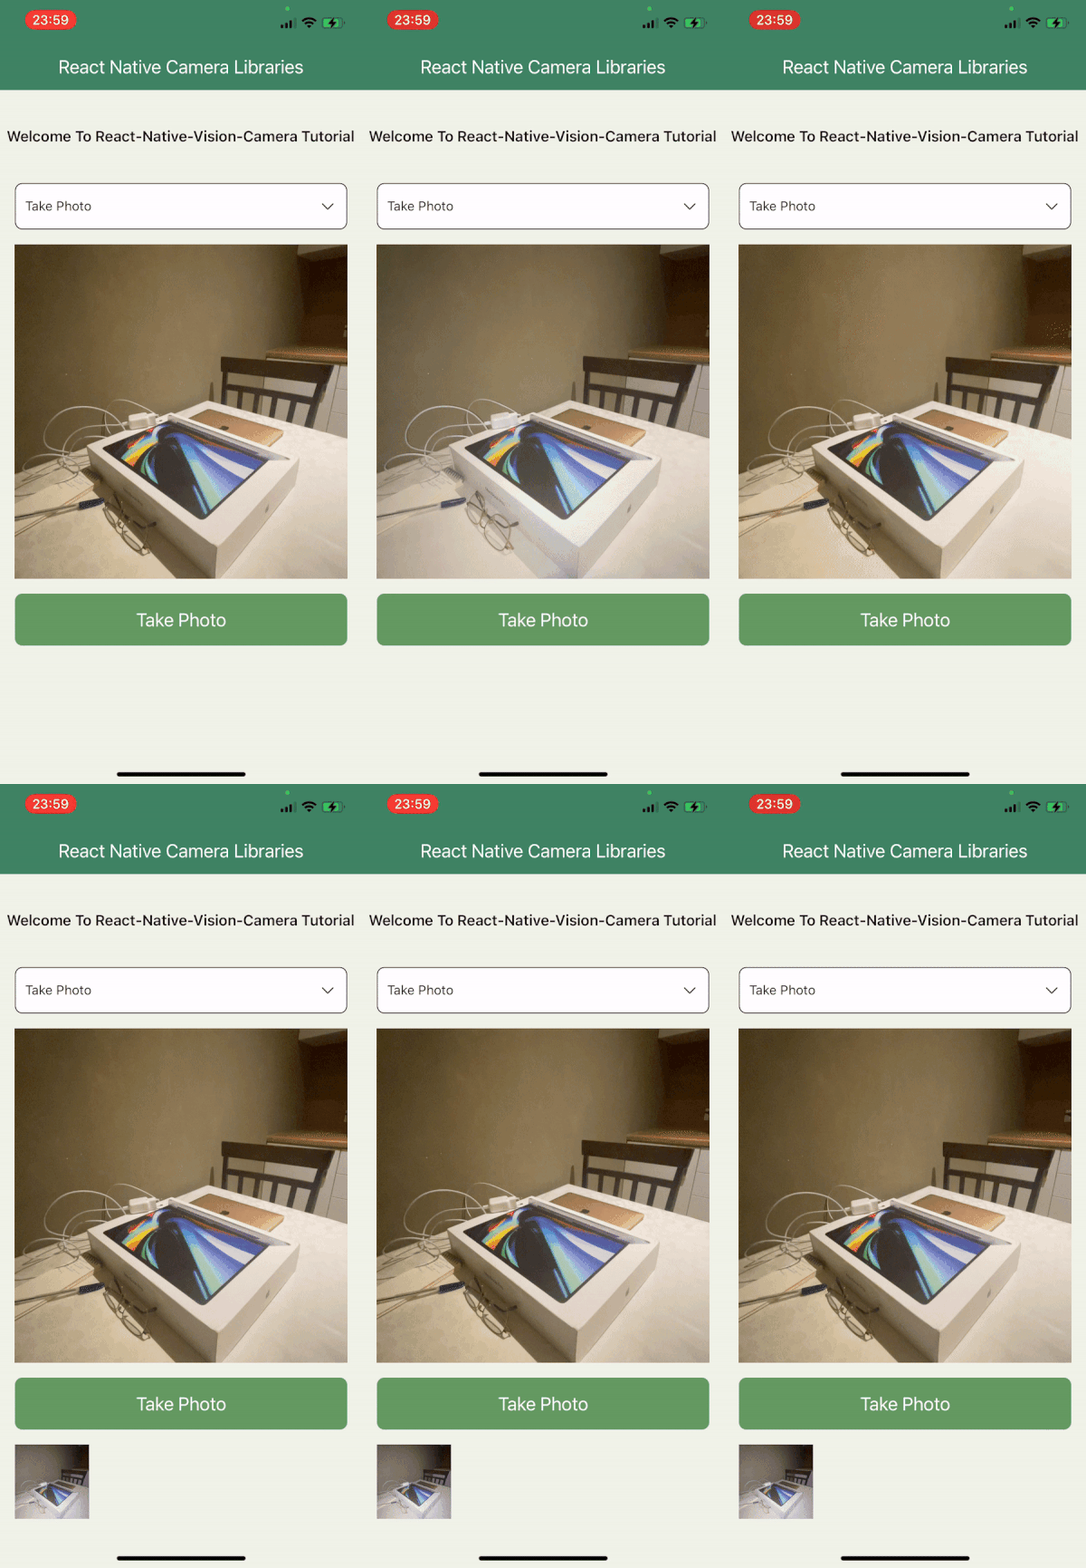
First, we need to enable photo capture in order to take a photo:
<Camera {...props} photo={true} />
Then, just use VisionCamera’s takePhoto method:
const photo = await camera.current.takePhoto({
  flash: 'on'
})

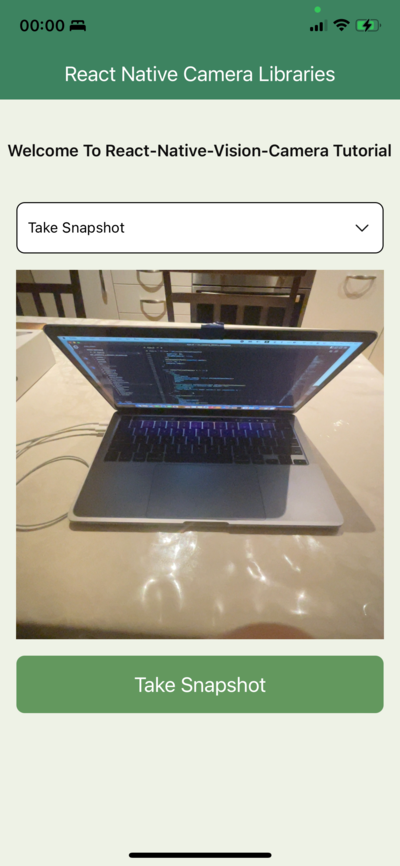
Take snapshots with VisionCamera’s takeSnapshot(...) function like so:
const snapshot = await camera.current.takeSnapshot({
  quality: 85,
  skipMetadata: true
})

To record video, you’ll first have to enable video capture for a video recording:
<Camera
  {...props}
  video={true}
  audio={true} // <-- optional
/>
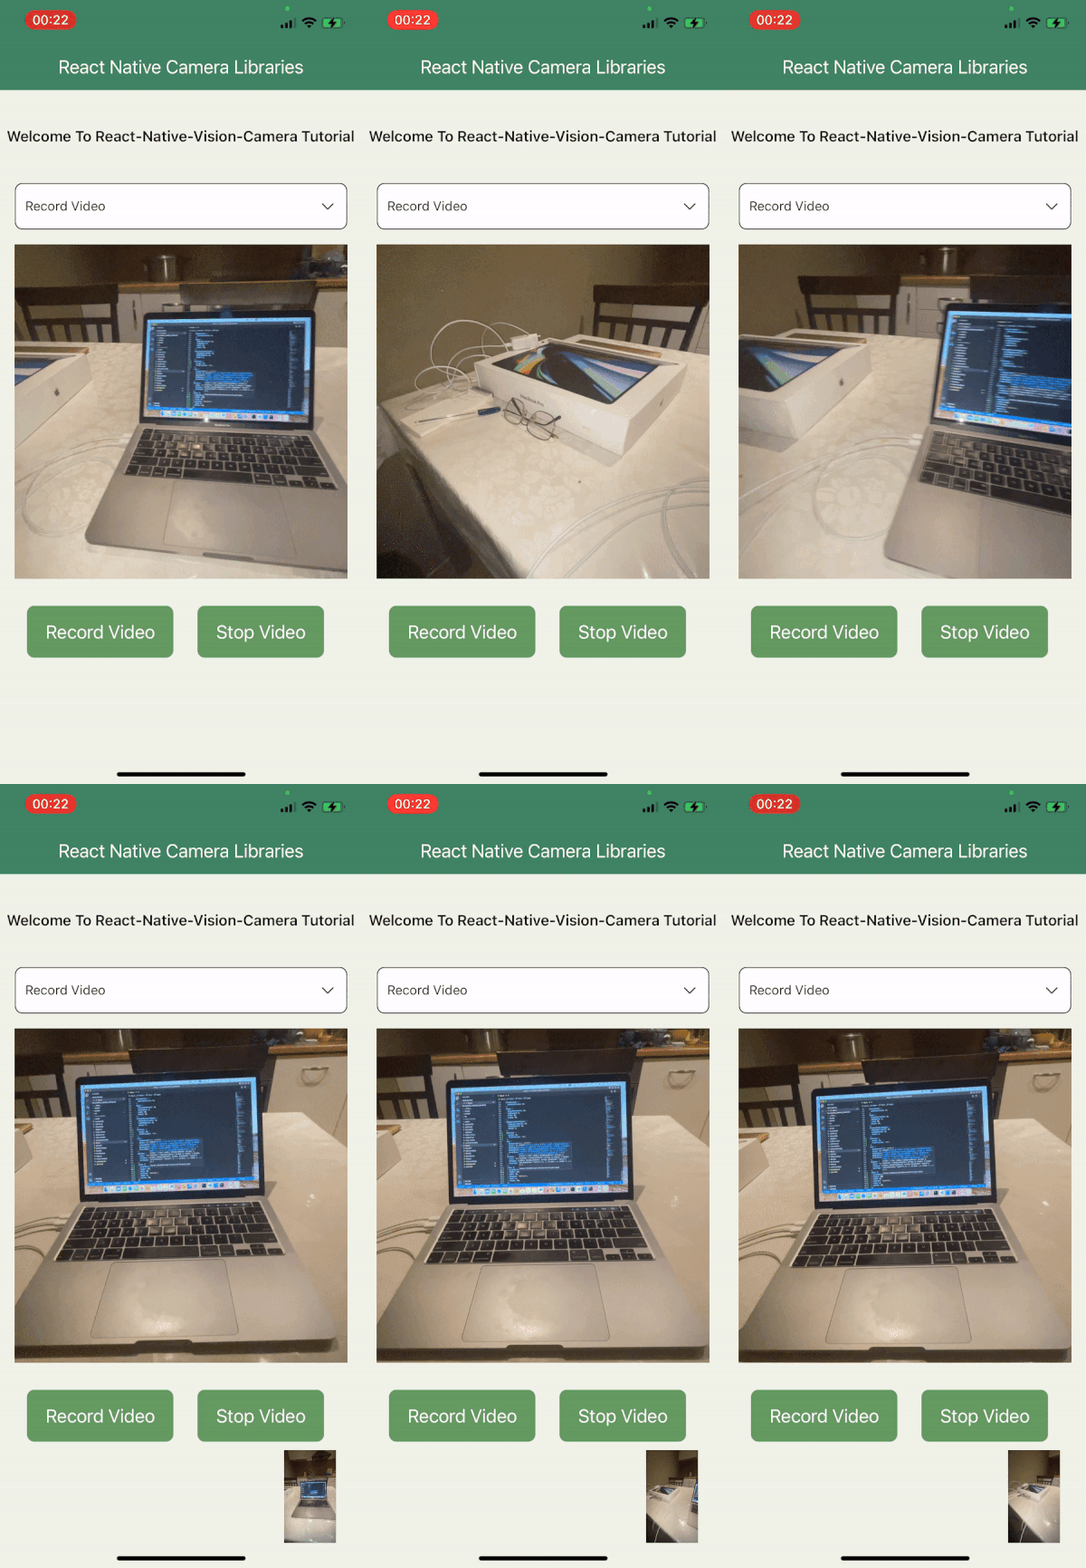
Then we can record a video via VisionCamera’s startRecording(...) function:
camera.current.startRecording({
  flash: 'on',
  onRecordingFinished: (video) => console.log(video),
  onRecordingError: (error) => console.error(error),
})
Once we start recording, we can stop it like so:
await camera.current.stopRecording()

Before we get started, we’ll need to create a new React Native project. We can do that with the following commands:
npx react-native init react_native_image_detector
cd react_native_image_detector
yarn ios
Great, now we can start installing dependencies! First and foremost, we need to install React Native VisionCamera with the following commands:
yarn add react-native-vision-camera
npx pod-install
N.B., VisionCamera requires iOS ≥11 or Android SDK ≥21.
Now, in order to use the camera or microphone, we must add the iOS permissions to the Info.plist:
<key>NSCameraUsageDescription</key>
<string>$(PRODUCT_NAME) needs access to your Camera.</string>

<!-- optionally, if reac want to record audio: -->
<key>NSMicrophoneUsageDescription</key>
<string>$(PRODUCT_NAME) needs access to your Microphone.</string>
For Android, we will add the following lines of code to our AndroidManifest.xml file in the <manifest> tag:
<uses-permission android:name="android.permission.CAMERA" />

<!-- optionally, if you want to record audio: -->
<uses-permission android:name="android.permission.RECORD_AUDIO" />
We will also use the vision-camera-code-scanner plugin to scan the code using ML Kit’s barcode scanning API. Let’s install it with the following command:
yarn add vision-camera-code-scanner
To label a camera QR code as text, we need to install React Native Reanimated by running the following command:
yarn add react-native-reanimated
Lastly, let’s update our babel.config.js file:
module.exports = {
  presets: ['module:metro-react-native-babel-preset'],
  plugins: [
    [
      'react-native-reanimated/plugin',
      {
        globals: ['__scanCodes'],
      },
    ],
  ],
};
Cool, now we’re ready to code!
When you create a React Native project with a source codebase, you will have an app screen with default UI components. So, I’m going to update our App.js file to work with VisionCamera:
export default function App() {
  return (
    <View style={styles.screen}>
      <SafeAreaView style={styles.saveArea}>
        <View style={styles.header}>
          <Text style={styles.headerText}>React Native Camera Libraries</Text>
        </View>
      </SafeAreaView>

      <View style={styles.caption}>
        <Text style={styles.captionText}>
          Welcome To React-Native-Vision-Camera Tutorial
        </Text>
      </View>
    </View>
  );
}
Next, to record videos or capture photos, we will use the camera’s physical or virtual devices. Let’s quickly go over both:
We can get all the camera devices with the useCameraDevices Hook. Let’s update App.js and add the following code:
const devices = useCameraDevices();
const cameraDevice = devices.back;
Above, we have a list of physical device types. For a single physical camera device, this property is always an array of one element; we can also check whether this camera is back- or front-facing.
But before we go any further, we need to enable permissions for the microphone and camera. We can request the user to give your app permission to use the camera or microphone through the following functions:
const cameraPermission = await Camera.requestCameraPermission();
const microphonePermission = await Camera.requestMicrophonePermission();
The permission request status can be:
Let’s modify our App.js file with the requested permission and camera device:
export default function App() {
  const [cameraPermission, setCameraPermission] = useState();

  useEffect(() => {
    (async () => {
      const cameraPermissionStatus = await Camera.requestCameraPermission();
      setCameraPermission(cameraPermissionStatus);
    })();
  }, []);

  console.log(`Camera permission status: ${cameraPermission}`);

  const devices = useCameraDevices();
  const cameraDevice = devices.back;

  const renderDetectorContent = () => {
    if (cameraDevice && cameraPermission === 'authorized') {
      return (
        <Camera
          style={styles.camera}
          device={cameraDevice}
          isActive={true}
        />
      );
    }
    return <ActivityIndicator size="large" color="#1C6758" />;
  };

  return (
    <View style={styles.screen}>
      <SafeAreaView style={styles.saveArea}>
        <View style={styles.header}>
          <Text style={styles.headerText}>React Native Image Detector</Text>
        </View>
      </SafeAreaView>

      <View style={styles.caption}>
        <Text style={styles.captionText}>
          Welcome To React-Native-Vision-Camera Tutorial
        </Text>
      </View>

      {renderDetectorContent()}
    </View>
  );
}
In the above code, we received the camera permission inside the useEffect Hook and got the device’s rear camera. Then, we checked whether cameraDevice exists and whether camera permission is authorized, after which the app will show the camera component.
If you want to scan or detect an image with a camera, you’ll need to use a frame processor. Frame processors are simple and powerful functions written in JavaScript to process camera frames. By using frame processors, we can:
When we need to satisfy specific use cases, frame processor plugins come in very handy. In this case, we’ll use vision-camera-code-scanner to scan the QR code through ML Kit. We already installed it in the previous section, so let’s use it now:
const detectorResult = useSharedValue('');

const frameProcessor = useFrameProcessor(frame => {
  'worklet';
  const imageLabels = labelImage(frame);

  console.log('Image labels:', imageLabels);
  detectorResult.value = imageLabels[0]?.label;
}, []);
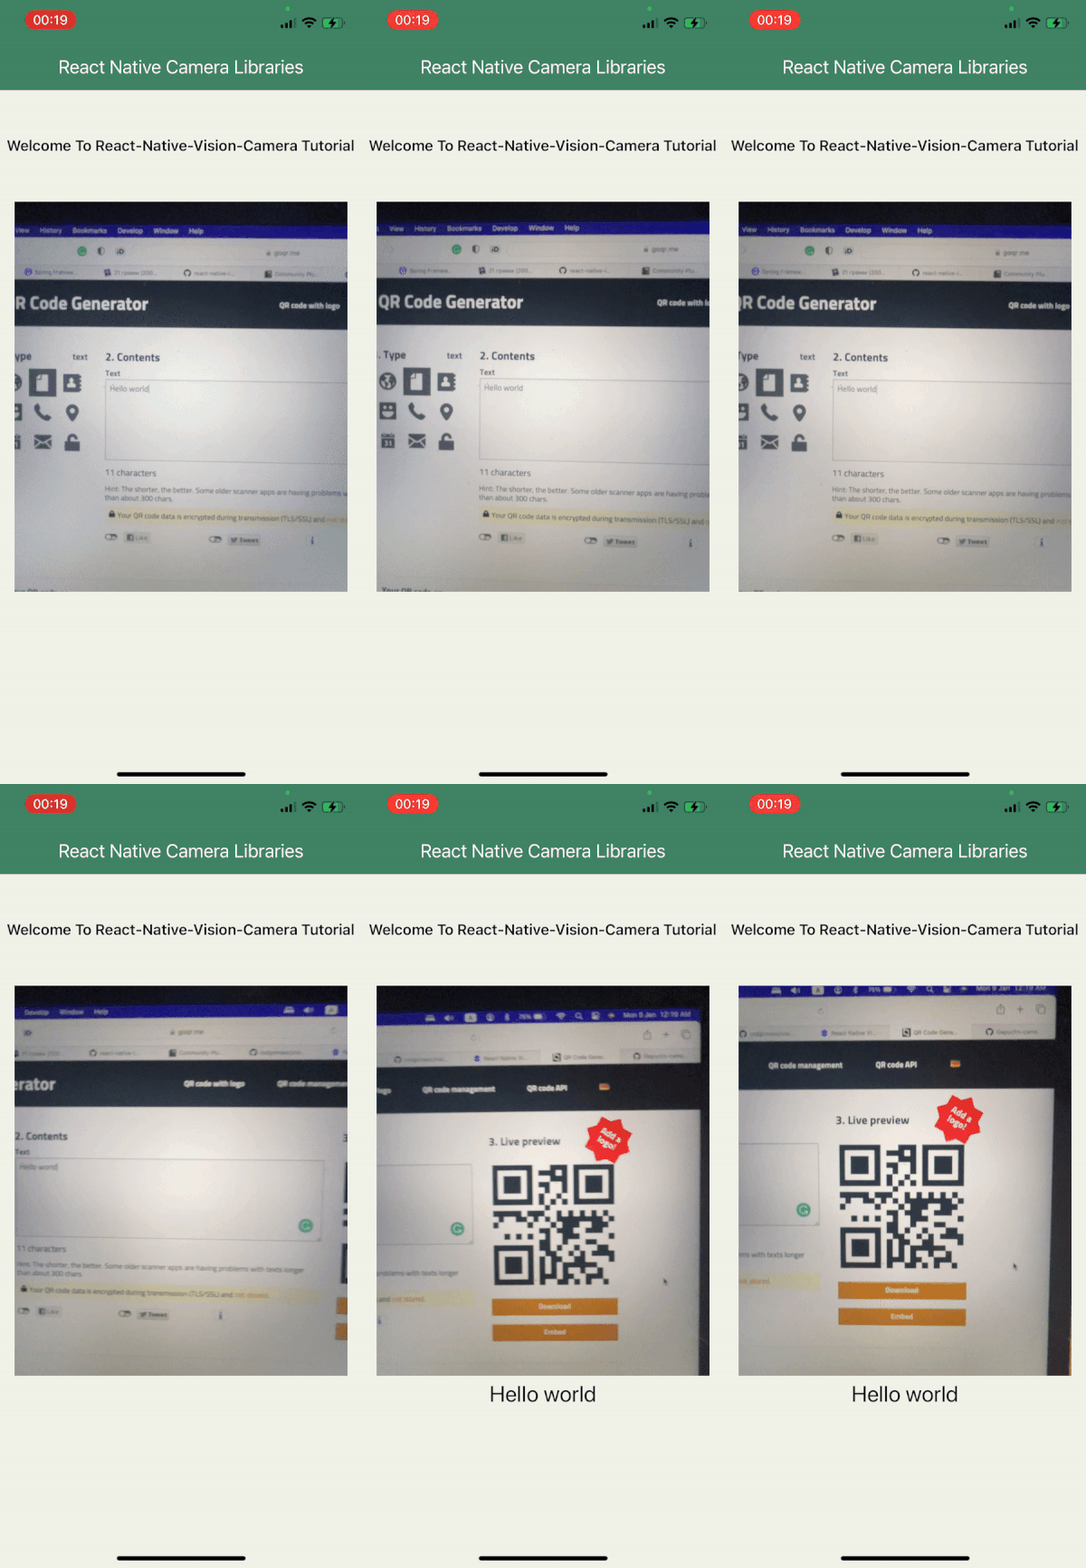
Here, we scanned the QR code and assigned barcode strings with a React Native Reanimated Shared Value. Awesome — that’s it!
This is the final app:

You can check out the full code for this tutorial in this GitHub repository.
It’s worth noting that there are some other alternatives to VisionCamera, so I’ve taken the liberty of including a quick list below. As with any tool, whatever works best for you and your use case is the one you should choose!
<Video/> component for React Native with 6.4K stars on GitHub at the time of writing. In contrast to Camera Kit, it only supports videos, so keep that in mindReact Native Camera was the perfect option if your app required access to the device camera to take photos or record videos. Unfortunately, because it was deprecated due to a lack of maintainers and increased code complexity, we’ve had to move on to other options.
If the camera plays a big role in your application and you need full control over the camera, then React Native VisionCamera is probably the choice for you. React Native Image Picker may be mature and popular, but it has limited camera capabilities.
Thanks for reading. I hope you found this piece useful. Happy coding!

LogRocket's Galileo AI watches sessions for you and and surfaces the technical and usability issues holding back your React Native apps.
LogRocket also helps you increase conversion rates and product usage by showing you exactly how users are interacting with your app. LogRocket's product analytics features surface the reasons why users don't complete a particular flow or don't adopt a new feature.
Start proactively monitoring your React Native apps — try LogRocket for free.

@container scroll-state: Replace JS scroll listeners nowCSS @container scroll-state lets you build sticky headers, snapping carousels, and scroll indicators without JavaScript. Here’s how to replace scroll listeners with clean, declarative state queries.

Explore 10 Web APIs that replace common JavaScript libraries and reduce npm dependencies, bundle size, and performance overhead.

Russ Miles, a software development expert and educator, joins the show to unpack why “developer productivity” platforms so often disappoint.

Discover what’s new in The Replay, LogRocket’s newsletter for dev and engineering leaders, in the February 18th issue.
Hey there, want to help make our blog better?
Join LogRocket’s Content Advisory Board. You’ll help inform the type of content we create and get access to exclusive meetups, social accreditation, and swag.
Sign up now
One Reply to "Using React Native VisionCamera: Demo and alternatives"
hello, I read the article very nice, in my case I always use react web, but now I will need to develop a project with React Native, there is an app called touchpix, what exactly does this software do to be so expensive?
https://touchpix.com/
Can I do what this software does with React Native vision camera?
Would you have an idea how I could get started which features I should watch out for