In this article, we’re going to take a look at Cross-Site Request Forgery (CSRF) attacks in the context of a Next.js application and how to protect yourself from them. First, we will explore the concept of CSRF attacks and how they can affect a web application in general. To do this, we will describe a scenario where we will launch a CSRF attack on our Next.js app. Subsequently, we will use the next-csrf package and certain cookie security tags to show how to protect against those attacks. You can find the source code for this post in this GitHub repo.

Jump ahead:
Imagine you have logged into your online banking site, which sets a cookie in your browser to maintain your personal session. This cookie contains an authentication token that is used to identify your session and authenticate your requests.
A very simplified but possible HTTP request for sending money could be:
POST /transfer HTTP/1.1
Host: vulnerable-bank.com
Content-Type: application/json
Content-Length: 30
Cookie: session=454544

amount=1000$
[email protected]
iban=DE7823778237873
At the same time, in a CSRF attack, you have another tab open in your browser that has a malicious website loaded. This malicious website could contain a hidden form or JavaScript code, which submits a request to the online banking site using our authentication token.
Since the request is initiated from the same browser, the web application cannot distinguish between a legitimate request initiated by us or the forged request sent by the attacker. The web application will process the request and perform the unintended action without our knowledge or consent.
In this section, we’ll discuss a few different ways to protect against CSRF attacks.
SameSite cookiesA possible way to protect your Next.js app against CSRF attacks is to define the SameSite value inside the cookies you use on your website. Google introduced this 2006 with a goal of preventing cookies from being automatically sent along with cross-site requests by the browser, as was previously the case, which would minimize the risk of confidential information being lost and provide protection against cross-site request forgery.
The SameSite attribute can take either strict or lax as its value. In strict mode, the protected cookie is not sent with any cross-site request. This already applies to clicking a simple link, but when applied to our online banking example, this implies that you would always have to re-authenticate yourself each time you’re being redirected to the online banking page.
This does not correspond to the usual behavior of web applications because users do not want to constantly log in again. Luckily, lax mode softens this behavior somewhat and allows the cookie to be sent along with some “secure” cross-site requests. This affects only the secure, read-only HTTP methods and top-level navigation (actions that cause the URL in the browser’s address bar to change, such as links).
Below you can find an overview of different types of requests and their different cookie options, which will affect whether a cookie is sent or not. A thumbs up means that a cookie will be sent. For example, you can see that in strict mode, a cookie will never be sent along with a cross-site request.
| Type of Request | Example | Without SameSite |
lax mode |
strict mode |
|---|---|---|---|---|
a-tag |
<a href=”..”> |
✔️ | ✔️ | ❌ |
form (get) |
<form method=”get”...> |
✔️ | ✔️ | ❌ |
form (post) |
<form method=”post”...> |
✔️ | ❌ | ❌ |
iframe |
<iframe src=”..”> |
✔️ | ❌ | ❌ |
ajax |
$.get(“...”) |
✔️ | ❌ | ❌ |
image-tag |
<img src=”...”> |
✔️ | ❌ | ❌ |
By setting the HttpOnly cookie flag, you can reduce the likelihood of a CSRF attack since HTTP-only cookies cannot be retrieved by JavaScript through client-side scripts.
res.setHeader("Set-Cookie", `session=${sessionId}; Path=/; Max-Age=600; SameSite=Strict; HttpOnly`);
One way to protect your web application against a CSRF attack is to use CSRF tokens. A CSRF token is a unique random value that is generated on the server-side and is included in every request sent by the client. If the token sent by the client matches the token stored on the server side, the request is considered legitimate and gets processed by the server. Otherwise, the request will be rejected.
It is important to notice that CSRF tokens provide an effective defense against CSRF attacks as long as the token is generated randomly and cannot be easily guessed or predicted. Additionally, the token should expire after a certain period of time or after a single use, to prevent attackers from reusing old tokens.
In this section, we’re going to take a look at the code of the example online banking page and how this is vulnerable to CSRF attacks. After that, we’re going to implement the CSRF protection using the next-csrf package and setting the SameSite value in our session cookie.
Our demo online bank consists of two main routes: the login route and the transfer route. The transfer route is only accessible after a successful authentication via the login route. For that purpose, I created a simple API route to handle the login request:
// pages/api/login.js

export default function login(req, res) {
  // check the user's credentials
  const { username, password } = req.body;
  let authenticated;

  if (username === "test" && password === "123456") {
    authenticated === true
  } else {
    authenticated === false
  }


  if (authenticated) {
    // set a cookie with the a random sessionId
    const sessionId = 454544;
    res.setHeader("Set-Cookie", `session=${sessionId}; Path=/;   Max-Age=600`);

    // send a success response
    res.status(200).json({ message: "Login successful" });
  } else {
    // send an error response
    res.status(401).json({ message: "Invalid credentials" });
  }
}
The login page looks like this:
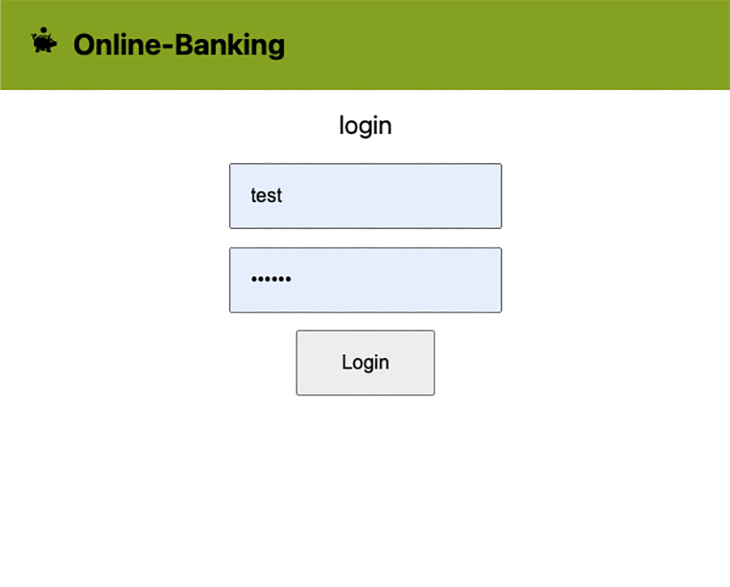
The most important line of code in the code above is probably:
res.setHeader("Set-Cookie", `session=${sessionId}; Path=/; Max-Age=600`);
This sets a cookie with a session ID and a duration of 10 minutes. For the sake of simplicity, we use hardcoded session IDs, usernames, and passwords.
After a successful authentication, you should see the transfer page of our demo online banking site:
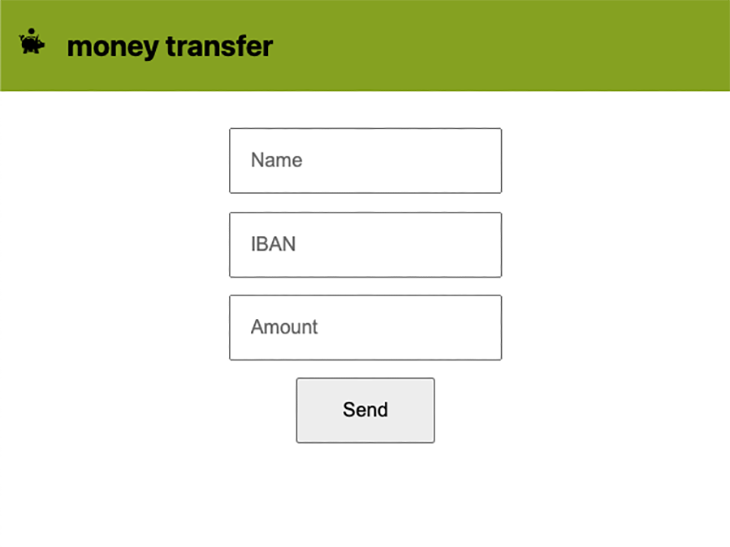
The corresponding simplified API route for handling bank transfers looks like this:
// pages/api/transfer.js

export default function handler(req, res) {
  // Check that the request method is POST
  if (req.method !== 'POST') {
    res.status(405).json({ error: 'Method Not Allowed' });
    return;
  }

  // Check that the request has a valid session cookie
  if (!req.cookies.session) {
    res.status(401).json({ error: 'Unauthorized' });
    return;
  }

  // Parse the JSON data from the request body
  const { amount, name, iban } = req.body;

  // TODO: Implement transfer logic

  // Return a success message
  res.status(200).json({ message: 'Transfer successful' });
}
In the code from above we perform two checks: one for the request method and one for the session cookie.
We are not going to create a malicious website; instead, we’ll simulate data being sent via a form or JavaScript code on that malicious website. Since the request is initiated from the same browser, the session cookie will be automatically attached to it and our backend won’t be able to distinguish between a legitimate request initiated by us as an authenticated user or a forged request sent by an attacker.
All we need to send via this CURL request is the form data (amount, name, iban) and the session cookie. The corresponding request looks like this:
curl -X POST \
  -H "Content-Type: application/x-www-form-urlencoded" \
  -H "Cookie: session=1234" \
  -d "iban=1736123125&amount=10000000&name=Criminal" \
  http://localhost:3000/api/transfer
The unprotected api/transfer route will lead to an answer like this:
{"name":"Criminal","iban":"1736123125","amount":"10000000"}
That response means that we just successfully executed a CSRF attack on the online banking page.
SameSite and HttpOnly tokensLet’s first implement the SameSite and the HttpOnly attributes of our session cookie, since this is easily done in one step. Remember that we set the cookie in our login API route located in src/pages/api/login.js. Let’s adjust the setting of the cookie in the corresponding route:
res.setHeader("Set-Cookie", `session=${sessionId}; Path=/; Max-Age=600; SameSite=Strict; HttpOnly`);
That’s all you need to do in order to configure your session cookie. Whether you choose to use a strict or lax policy depends on how high your safety requirements are and how much you’re willing to sacrifice in terms of user experience.
As mentioned in the sections above, there is a package called next-csrf that allows us to easily implement the following steps to ensure protection from CSRF attacks:
csrf tokenTo successfully launch a CSRF attack, the attacker would need to obtain the CSRF token from your website and use JavaScript to access it. This means that if your website does not allow cross-origin resource sharing (CORS), the attacker cannot access the CSRF token, effectively neutralizing the threat.
In order to install the next-csrf package, run the following command in the root of your Next.js project:
npm i next-csrf --save
In the first step, let’s initialize next-csrf by creating a setup file. This will create middleware for creating and validating the CSRF tokens:
// "lib/csrf"
import { nextCsrf } from "next-csrf";

const { csrf, setup } = nextCsrf({
 // eslint-disable-next-line no-undef
 secret: "12345",
});

export { csrf, setup };
In a production environment, you would of course store your secret in an environment file.
In order to set up the CSRF token, we will use a server-side-rendered page like our login page because you are using CSRF mitigation to harden your requests from authenticated users.
import Head from "next/head";
import { setup } from "lib/csrf";

export default function Home() {
 return (
   ...
 );
}

export const getServerSideProps = setup(async ({ req, res }) => {
 return {
   props: {},
 };
});
After that, the only thing we need to do to protect an API route is to wrap the corresponding API route with our csrf middleware:
// src/pages/api/transfer.js
import { csrf } from "../../../lib/csrf";

const handler = (req, res) => {
   // Check that the request method is POST
   if (req.method !== 'POST') {
     res.status(405).json({ error: 'Method Not Allowed' });
     return;
   }
    // Check that the request has a valid session cookie
   if (!req.cookies.session) {
     res.status(401).json({ error: 'Unauthorized' });
     return;
   }
    // Parse the JSON data from the request body
   const { name, iban, amount } = req.body;
   console.log(name, iban, amount)
   console.log(req.cookies.session);
    // Return a success message
   res.status(200).json({ name, iban, amount });
 }

 export default csrf(handler);
Before the actual request logic takes place, the csrf middleware will perform the validation of the CSRF tokens and in case of failed validation, it will throw an error:
{"message":"Invalid CSRF token"}
In this blog post, we covered the topic of protecting your Next.js app against CSRF attacks and had a detailed look at the next-csrf package, which allows you to implement CSRF mitigation through CSRF tokens. In addition, we had a look at the configuration of your cookies and how to enhance the security by setting certain cookie values.
Debugging Next applications can be difficult, especially when users experience issues that are difficult to reproduce. If you’re interested in monitoring and tracking state, automatically surfacing JavaScript errors, and tracking slow network requests and component load time, try LogRocket.
LogRocket captures console logs, errors, network requests, and pixel-perfect DOM recordings from user sessions and lets you replay them as users saw it, eliminating guesswork around why bugs happen — compatible with all frameworks.
LogRocket's Galileo AI watches sessions for you, instantly identifying and explaining user struggles with automated monitoring of your entire product experience.
The LogRocket Redux middleware package adds an extra layer of visibility into your user sessions. LogRocket logs all actions and state from your Redux stores.


Modernize how you debug your Next.js apps — start monitoring for free.

A guide for using JWT authentication to prevent basic security issues while understanding the shortcomings of JWTs.

Discover how to build, render, and automate product demo videos with Remotion, replacing traditional screen recordings with reusable React code.

Chrome’s Modern Web Guidance embeds modern web platform skills into AI coding agents, helping them choose native HTML, CSS, and browser APIs over legacy patterns.

Learn how to use Fallow to analyze AI-generated code, detect dead code, duplicate logic, and complexity issues, and integrate automated code quality checks into your AI-assisted development workflow.
Hey there, want to help make our blog better?
Join LogRocket’s Content Advisory Board. You’ll help inform the type of content we create and get access to exclusive meetups, social accreditation, and swag.
Sign up now

