
Developing fast, dependable, and user-friendly web applications requires staying up-to-date with the constantly changing web development landscape. The combination of Next.js and no-code platforms has revolutionized the web development process, enabling frontend developers to create complex applications without deep coding knowledge.

This article explores the advantages, drawbacks, and best practices associated with using Next.js no-code platforms to speed up frontend development.
The Replay is a weekly newsletter for dev and engineering leaders.
Delivered once a week, it's your curated guide to the most important conversations around frontend dev, emerging AI tools, and the state of modern software.
Let’s review some popular no-code platforms for Next.js. We’ll look at Plasmic, Retool, Stackbit, and Notion.
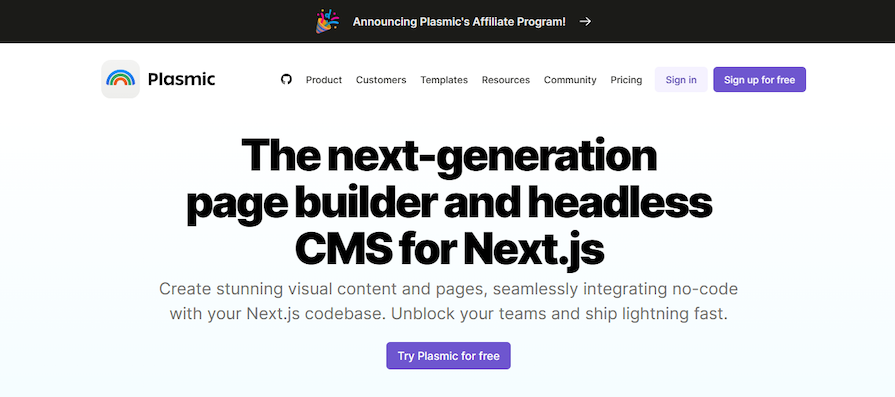
Plasmic is a visual page builder and headless CMS tool that functions perfectly with contemporary web development frameworks like Next.js. This platform offers a creative way for developers and designers to close the gap between code and visual design. Plasmic’s integration with Next.js improves the entire web development process, making it easier for designers and developers to work collaboratively and productively.
The first step to integrating Plasmic with Next.js is to install it locally or globally using npm or Yarn:
npm install @plasmicapp/loader-nextjs
yarn add @plasmicapp/loader-nextjs
To initialize Plasmic, create a plasmic-init.ts module that defines the project’s ID and public API token globally, which can be obtained from the Plasmic Studio. The specifics will depend on the demands of your project. For thorough instructions, including code samples and thorough descriptions, see the documentation.
There are two primary benefits associated with using Plasmic with Next.js:
Here are some disadvantages to keep in mind if you’re considering using Plasmic with Next.js:
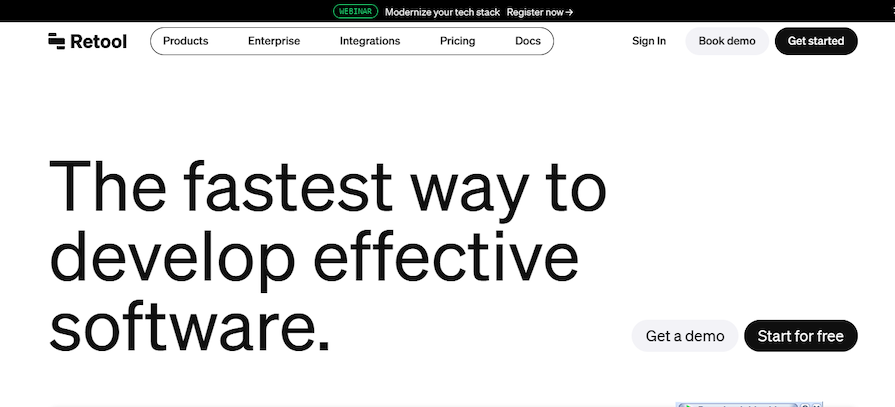
Retool is a low-code platform intended to facilitate the rapid development of internal tools by developers. It simplifies the development of bespoke apps for internal corporate activities by providing a wide choice of pre-built components and integrations.
Retool integration with Next.js applications requires a few steps, from the initial setup of the Next.js app to the integration of Retool with Next.js:
Step 1: Set up Next.js
npx create-next-app@latest my-nextjs-app
cd my-next-js-app
Step 2: Create a Retool account
Create a basic account on the Retool platform if you do not already have one, and familiarize yourself with how tools are used within the Retool environment.
Step 3: Connect Retool to Next.js
If you’re using the REST API Query for Retool, follow these steps:
http://localhost:3000/api/retoolTo manage CORS, follow these steps:
Using Retool with Next.js offers several benefits:
Here are some disadvantages associated with using Retool with Next.js:
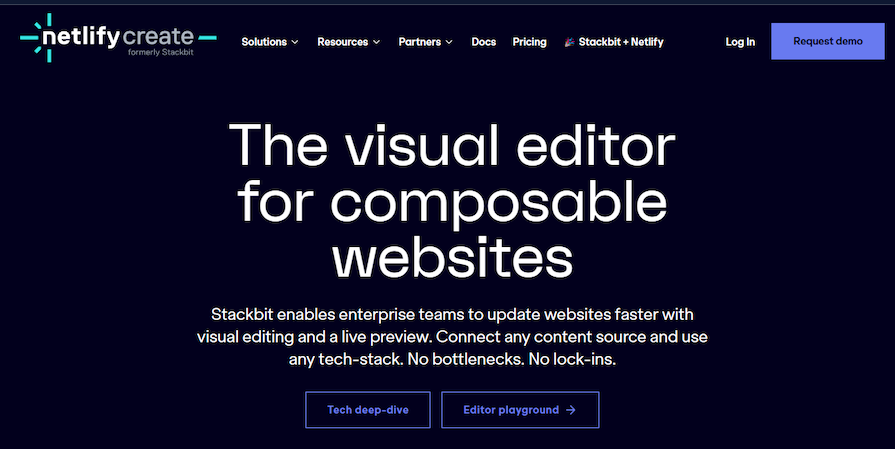
Stackbit is a cutting-edge technology created to improve and expedite the creation process of Jamstack websites. The core of Stackbit’s functionality is the Jamstack design, which emphasizes client-side JavaScript, utility APIs, and predefined markup. Stackbit is unique in the web development space for several reasons, and its ability to interact with frameworks such as Next.js increases its usefulness even more.
To integrate Stackbit with Next.js, start by initializing a new Next.js project, like ao:
npm init next-app your-nextjs-project
Next, configure the stackbit.yaml file in your project root to create content models and their corresponding fields. This is a necessary step for Stackbit to comprehend the organization and content of your project.
Here’s an example configuration:
ContentModels:
  BlogPost:
    type: data
    file: 'content/data/blog-post.md'
    fields:
      - type: string
      - name: title
      - label: Title
Now you can use Stackbit to fetch and display data. You can use the page’s data-fetching methods, such as getServerSideProps or getStaticProps, to fetch content controlled by Stackbit and then display it in your Next.js pages.
There are several benefits to using Stackbit with Next.js:
Here are a couple of potential disadvantages to using Stackbit:
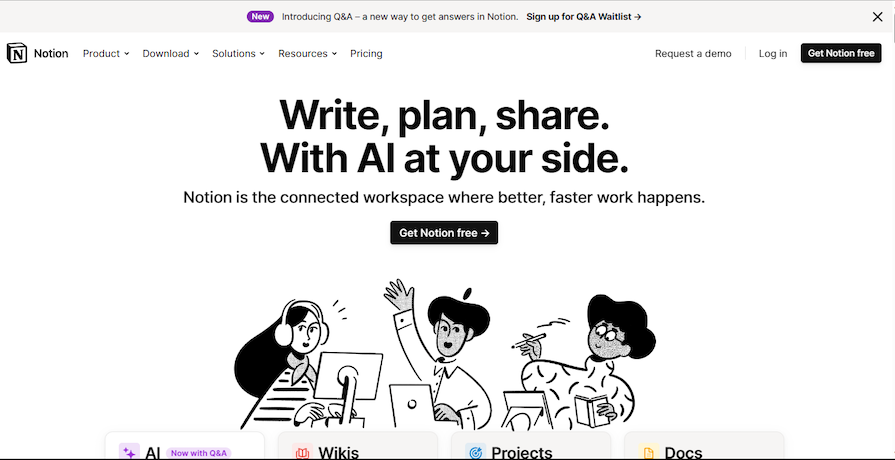
Notion is an all-in-one workspace program that is well-liked for its flexible methods for handling databases, taking notes, managing tasks, and working in groups. This application lets users generate and arrange work in whichever best fits their needs by combining the features of a spreadsheet, document editor, and customized content management system.
The first step to integrating Notion with Next.js is to set up your Notion workspace. This requires creating a Notion database and obtaining the right Notion API credentials to fetch data.
Next, run the following command in your terminal to install the required packages:
npm install @notionhq/client
Now you can use the Notion SDK in your Next.js application to retrieve data from your database.
There are several benefits associated with using Notion with Next.js:
Here are some disadvantages associated with using Notion with Next.js:
| Plasmic | Retool | Stackbit | Notion | |
| Open source | No | No | Some components/themes are open source | No |
| Customization | High customization through visual UI. | Retool is very customizable as it allows embedding of custom code | Customizable themes; allows custom code | Limited customization compared to the other platforms |
| Speed | Generally fast with a visual development approach | Pre-built components and tools are available to make it fast | Efficient jamstack deployment, optimized for speed so generally very fast | Fast but optimized more as a collaborative and note-taking tool |
| Community support | Community is not very large, but it is growing and users can ask questions via its forum or on Slack | Active community, well-documented, and strong developer support via Discord and their support forum | Growing community; good documentation | Boasts a large user base, an active community, and an extensive documentation |
The use of no-code platforms with Next.js has the potential to revolutionize frontend development, particularly for Next.js applications. These platforms drastically cut down on development time and complexity by allowing for the quick, visual production and administration of online content without requiring specialized code.
Both developers and non-developers can create and manage complex web applications more effectively with the help of these technologies. This combination of standard development frameworks with no-code capabilities is a big step toward improving the accessibility and agility of online development.
Debugging Next applications can be difficult, especially when users experience issues that are difficult to reproduce. If you’re interested in monitoring and tracking state, automatically surfacing JavaScript errors, and tracking slow network requests and component load time, try LogRocket.
LogRocket captures console logs, errors, network requests, and pixel-perfect DOM recordings from user sessions and lets you replay them as users saw it, eliminating guesswork around why bugs happen — compatible with all frameworks.
LogRocket's Galileo AI watches sessions for you, instantly identifying and explaining user struggles with automated monitoring of your entire product experience.
The LogRocket Redux middleware package adds an extra layer of visibility into your user sessions. LogRocket logs all actions and state from your Redux stores.


Modernize how you debug your Next.js apps — start monitoring for free.

React Server Components and the Next.js App Router enable streaming and smaller client bundles, but only when used correctly. This article explores six common mistakes that block streaming, bloat hydration, and create stale UI in production.

Gil Fink (SparXis CEO) joins PodRocket to break down today’s most common web rendering patterns: SSR, CSR, static rednering, and islands/resumability.

@container scroll-state: Replace JS scroll listeners nowCSS @container scroll-state lets you build sticky headers, snapping carousels, and scroll indicators without JavaScript. Here’s how to replace scroll listeners with clean, declarative state queries.

Explore 10 Web APIs that replace common JavaScript libraries and reduce npm dependencies, bundle size, and performance overhead.
Hey there, want to help make our blog better?
Join LogRocket’s Content Advisory Board. You’ll help inform the type of content we create and get access to exclusive meetups, social accreditation, and swag.
Sign up now