Firebase is a mobile and web application development platform created by Google that provides products and solutions that you can rely on for you app development needs, including Cloud Firestore, Cloud Functions, Authentication, Hosting, Realtime Database, Cloud Storage, and more.

Cloud storage service is designed for developers to easily store and serve user-generated content like photos and videos, which are stored in Google Cloud Storage buckets. In addition, Firebase Cloud Storage integrates with other Firebase services like Firebase Authentication so that users can organize uploaded files and apply access controls if needed.
In this article, we’ll learn how to upload a file to Firebase Cloud Storage and access the URL of the uploaded file using Firebase v9.x,the latest version at the time of writing. To follow along with this article, you’ll need:
Let’s get started!
The Replay is a weekly newsletter for dev and engineering leaders.
Delivered once a week, it's your curated guide to the most important conversations around frontend dev, emerging AI tools, and the state of modern software.
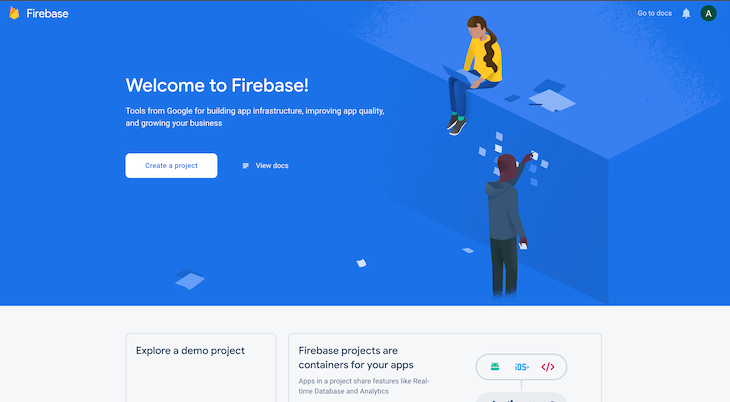
Go to Firebase Console at https://console.firebase.google.com/. You’ll see the homepage:
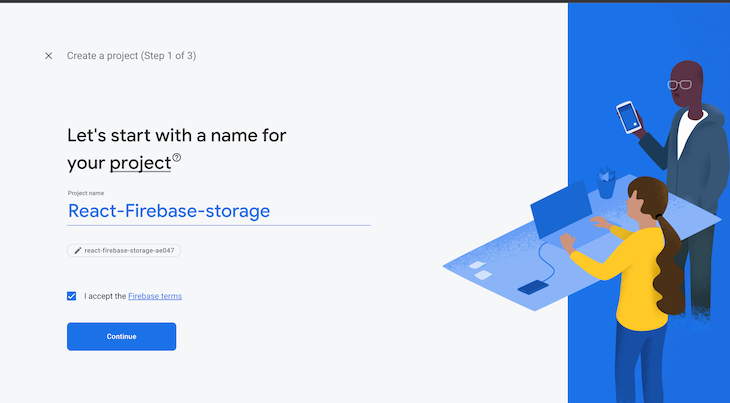
Click on the Create a Project button. Type in the name of your project. I’ll name mine React-Firebase-storage. Accept the Firebase terms and click Continue:
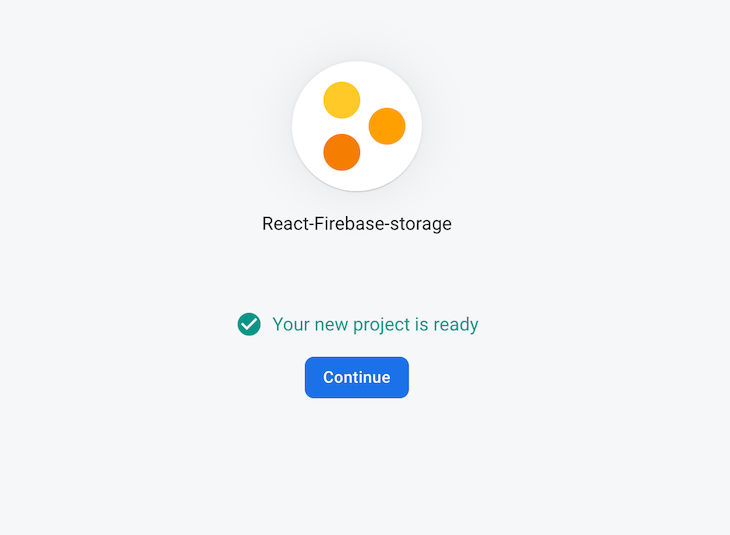
If you’d like to use Google Analytics in your project, then leave the Enable Google Analytics toggle on. I don’t need it for this demo, so I’m going to turn it off. Click on Create project and wait for the project to be created:

Click on Continue to continue to the console:
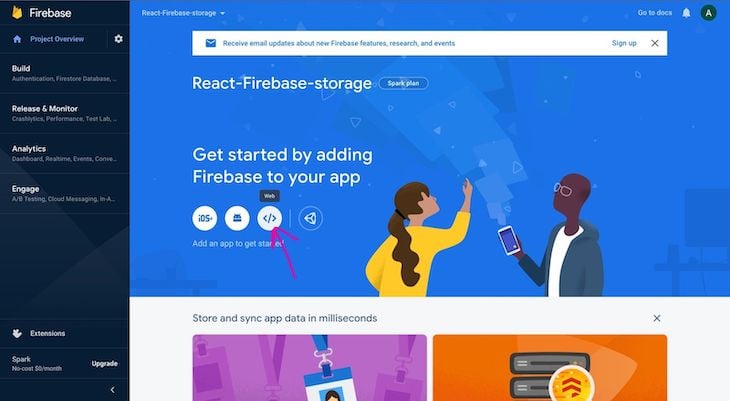
In the next interface, we’ll select the platform we want to use to build the application we just created. In this case, it’s going to be on web, so we choose web:
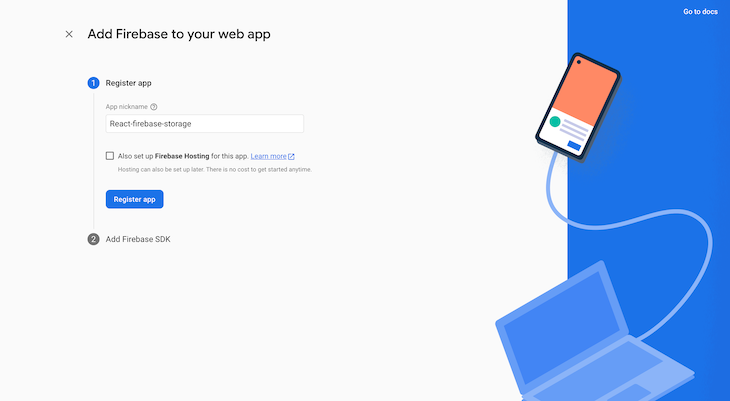
Next, we enter a name to register the app. Since I’m not going to host the app on Firebase, I’ll skip that and click on Register app:
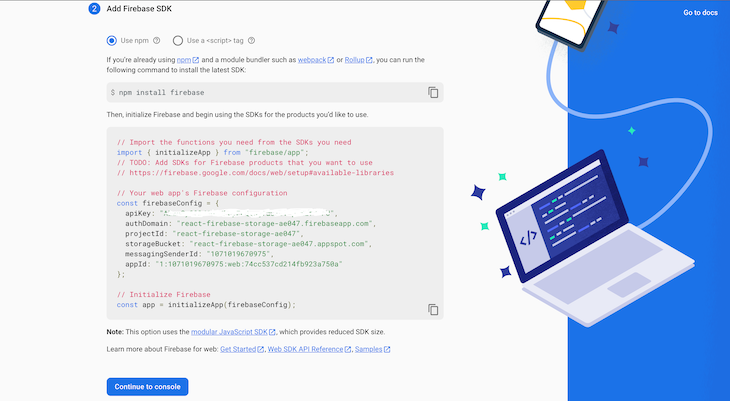
Next, we’ll initialize a new React app and add Firebase to the project with the credentials provided:
Create a new React app with the command below:
npx create-react-app app-name
Next, install Firebase as follows:
npm install firebase
Create a new file in the src folder called firebase.js. Copy the configuration code from when we created a Firebase project and paste it in the firebase.js file.
Initialize the Firebase app using the config object containing the credentials and export it. You’ll also export a reference to the storage service, which is used to create references in your storage:
// Import the functions you need from the SDKs you need
import { initializeApp } from "firebase/app";
import { getStorage } from "firebase/storage";
// TODO: Add SDKs for Firebase products that you want to use
// https://firebase.google.com/docs/web/setup#available-libraries
// Your web app's Firebase configuration
const firebaseConfig = {
    apiKey: "************************************",
    authDomain: "react-firebase-storage-ae047.firebaseapp.com",
    projectId: "react-firebase-storage-ae047",
    storageBucket: "react-firebase-storage-ae047.appspot.com",
    messagingSenderId: "1071019670975",
    appId: "1:1071019670975:web:74cc537cd214fb923a750a"
};
// Initialize Firebase
export const app = initializeApp(firebaseConfig);
export const storage = getStorage(app);
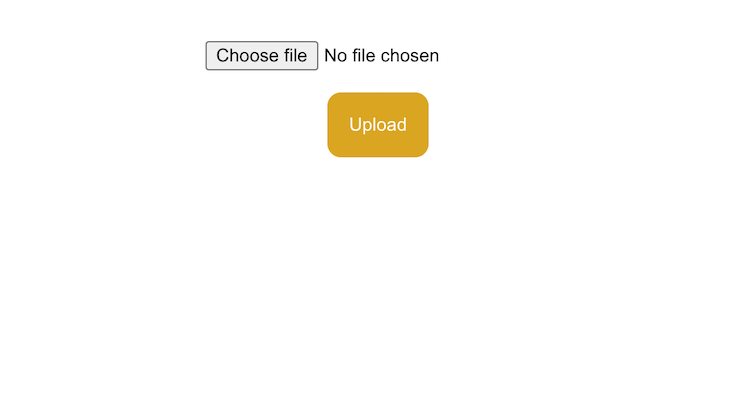
In App.js, let’s create a form for uploading files and a button for submitting:
import './App.css';
function App() {
  return (
    <div className="App">
      <form className='form'>
        <input type='file' />
        <button type='submit'>Upload</button>
      </form>
    </div>
  );
}
export default App;
To use any of the Firebase services in your app, you have to set them up for that particular project in Firebase Console. Therefore, Firebase knows that this app is using said product.
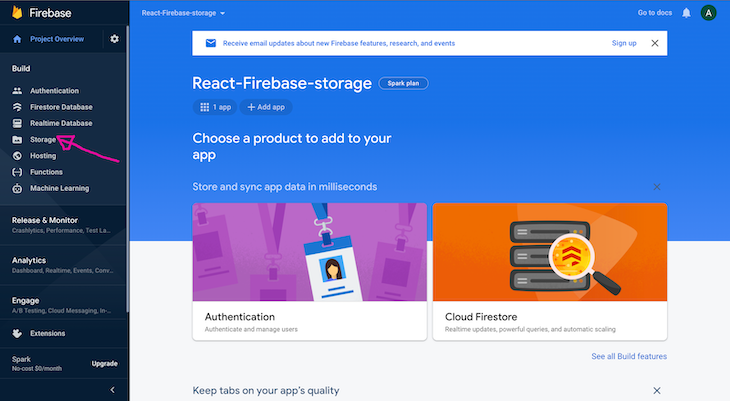
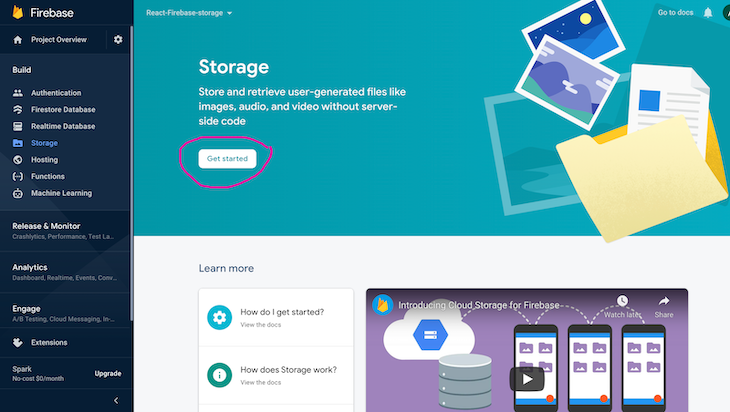
After copying the config code in Firebase console, click on Go to console. We’ll be shown an interface listing all the products we could use. On the left menu bar, click Storage:
Click on Get Started:
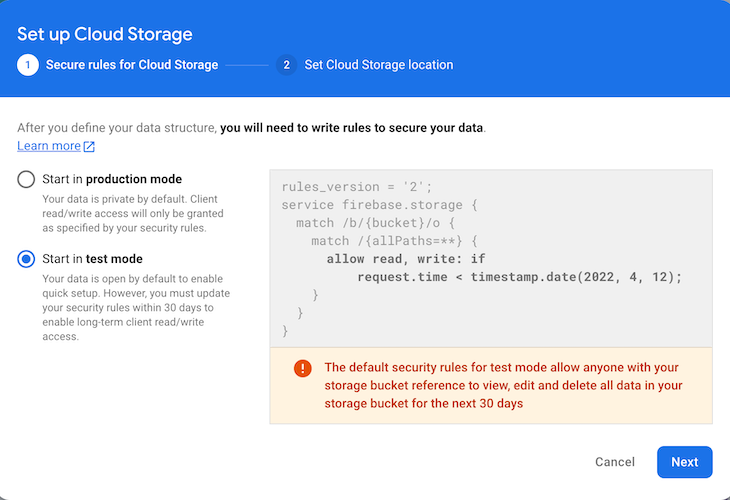
For the purpose of this demo, we’ll choose test mode. But for production applications, you should choose production mode to limit who can read and write to the storage. Click Next:
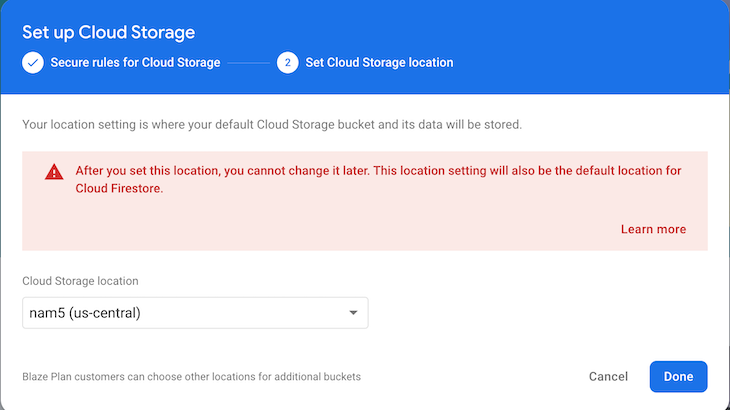
Select Cloud Storage location and click Done:
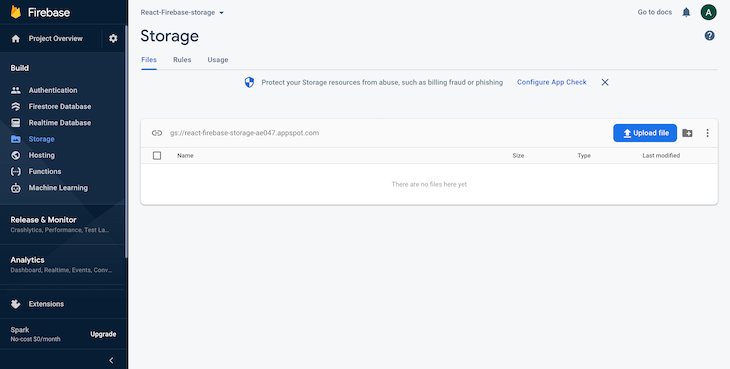
Now, we can programmatically upload files to the Cloud Storage bucket and also read those files:
With that, everything is set up for us to write the code for uploading files. In App.js, we’ll start by importing the storage we exported from the Firebase config file, the methods we’ll use from firebase/storage, and the React useState Hook:
import { useState } from "react";
import { storage } from './firebase';
import { ref, getDownloadURL, uploadBytesResumable } from "firebase/storage";
Let’s write a function that will run when a user hits the submit button:
const [imgUrl, setImgUrl] = useState(null);
const [progresspercent, setProgresspercent] = useState(0);

const handleSubmit = (e) => {
    e.preventDefault()
    const file = e.target[0]?.files[0]

    if (!file) return;

    const storageRef = ref(storage, `files/${file.name}`);
    const uploadTask = uploadBytesResumable(storageRef, file);

    uploadTask.on("state_changed",
      (snapshot) => {
        const progress =
          Math.round((snapshot.bytesTransferred / snapshot.totalBytes) * 100);
        setProgresspercent(progress);
      },
      (error) => {
        alert(error);
      },
      () => {
        getDownloadURL(uploadTask.snapshot.ref).then((downloadURL) => {
          setImgUrl(downloadURL)
        });
      }
    );
  }
Let’s break down what is occurring in the handleSubmit function. We initialized two states for the image URL after we read the uploaded file and the progress value as the image is being uploaded.
const file = e.target[0]?.files[0] created a variable and saved the supplied file to it.
Next, we created a reference to the file we want to operate on by calling the ref() on the instance of the storage service we already created in the config file. As the second parameter, we passed in a path we want the ref to point to, which is optional.
Once the reference has been created, we can upload a file by calling the uploadBytesResumable(). It takes the reference we created earlier and then the file to be uploaded to cloud storage. Note that uploadBytes() does exactly the same thing, so either one can be used.
However, with uploadBytesResumable(), the upload can be paused and resumed, and it exposes progress updates. We use it here because we want to display the progress of the upload as it’s ongoing. If you don’t want that functionality, feel free to use uploadBytes().
Next, we call the on() method on the promise returned from calling uploadBytesResumable() to listen for state changes, errors, and successful uploads. These three callback functions are run at different stages of the file upload. The first runs during the upload to observe state change events like progress, pause, and resume, while the next one is triggered when there is an unsuccessful upload. Finally, the last is run when the upload completes successfully.
On successful upload, we call the getDownloadURL() to get the download URL of the file to display on the app. We then update state with the new image URL downloaded.
The full code for displaying the image and progress bar is shown below:
import './App.css';
import { useState } from "react";
import { storage } from './firebase';
import { ref, getDownloadURL, uploadBytesResumable } from "firebase/storage";

function App() {
  const [imgUrl, setImgUrl] = useState(null);
  const [progresspercent, setProgresspercent] = useState(0);

  const handleSubmit = (e) => {
    e.preventDefault()
    const file = e.target[0]?.files[0]
    if (!file) return;
    const storageRef = ref(storage, `files/${file.name}`);
    const uploadTask = uploadBytesResumable(storageRef, file);

    uploadTask.on("state_changed",
      (snapshot) => {
        const progress =
          Math.round((snapshot.bytesTransferred / snapshot.totalBytes) * 100);
        setProgresspercent(progress);
      },
      (error) => {
        alert(error);
      },
      () => {
        getDownloadURL(uploadTask.snapshot.ref).then((downloadURL) => {
          setImgUrl(downloadURL)
        });
      }
    );
  }

  return (
    <div className="App">
      <form onSubmit={handleSubmit} className='form'>
        <input type='file' />
        <button type='submit'>Upload</button>
      </form>
      {
        !imgUrl &&
        <div className='outerbar'>
          <div className='innerbar' style={{ width: `${progresspercent}%` }}>{progresspercent}%</div>
        </div>
      }
      {
        imgUrl &&
        <img src={imgUrl} alt='uploaded file' height={200} />
      }
    </div>
  );
}
export default App;
Firebase Cloud storage is very easy to use for storing different media types. In addition, it automatically scales, so you don’t have to worry about moving to another provider when your data gets too large.
Thanks for reading. I hope you found this tutorial helpful in some way. Feel free to ask any questions in the comments below. Happy coding!
Install LogRocket via npm or script tag. LogRocket.init() must be called client-side, not
server-side
$ npm i --save logrocket

// Code:

import LogRocket from 'logrocket';
LogRocket.init('app/id');
// Add to your HTML:

<script src="https://cdn.lr-ingest.com/LogRocket.min.js"></script>
<script>window.LogRocket && window.LogRocket.init('app/id');</script>

TSRX adds first-class control flow, conditional hooks, and scoped styles to React via a TypeScript compiler extension — no new framework required.

Learn how to build a full React Native auth system using Better Auth and Expo — with email/password login, Google OAuth, session persistence, and protected routes.

Compare the top AI development tools and models of June 2026. View updated rankings, feature breakdowns, and find the best fit for you.

Learn how Bloom filters reduce database lookups for username availability checks while preserving correctness at scale.
Hey there, want to help make our blog better?
Join LogRocket’s Content Advisory Board. You’ll help inform the type of content we create and get access to exclusive meetups, social accreditation, and swag.
Sign up now

