The Replay is a weekly newsletter for dev and engineering leaders.
Delivered once a week, it's your curated guide to the most important conversations around frontend dev, emerging AI tools, and the state of modern software.
Android Jetpack is a set of libraries designed to help developers follow best practices and create code quickly and simply. The Data Binding Library is one of them.

Data Binding allows you to effortlessly communicate across views and data sources. This pattern is important for many Android designs, including model view ViewModel (MVVM), which is currently one of the most common Android architecture patterns.
According to the Android developer documentation:
The Data Binding Library is a support library that allows you to bind UI components in your layouts to data sources in your app using a declarative format, rather than programmatically.
In this article, you will understand how to use the Data Binding Library in current Android applications.
Before moving forward, you should be familiar with the significance of using data binding in Android.
Data binding is the process of integrating views in an XML layout with data objects. The Data Binding Library is responsible for generating the classes required for this procedure.
In contrast to other types of layout XML files, Data Binding-layout XML files begin with a root layout tag, which is then followed by a data element. Each layout file is then associated with a Data Binding class that has been produced by the Library.
In most cases, the default class name corresponds to the name of the layout file, followed by the Binding postfix, e.g. HomeActivityBinding.kt.
Below are the advantages of using the Data Binding Library in your Android application:
findViewById calls and enhance your app’s performancenullPointerExceptionsGoogle’s recommended architecture also shows the true potential of Data Binding by making use of the Library in all possible ways, from declaring expressions to binding adapters — implementing UI logic and testing the UI becomes much easier.
To get started, you need to set up your development environment within your app to use the Data Binding Library.
You must declare it in the build.gradle file at the app level, as shown below:
apply plugin: 'com.android.application'

android {

    ...

    dataBinding {
        enabled = true
    }

    defaultConfig {
        ...
    }
    ...

}
If your project uses Kotlin, the below declaration will work for you:
apply plugin: 'com.android.application'

android {

    ...

    dataBinding {
        android.buildFeatures.dataBinding = true
    }
    ...

}
This informs Gradle that it should use the Data Binding Library to create your project.
The Data Binding Library automatically builds classes that link views to data objects. You may utilize the Library’s imports, variables, and includes in your layouts.
To convert your XML layouts into the Data Binding layout, follow the below steps:
<layout> tag, which will wrap your existing layout file at the root level<data> tag, which will go under the <layout> tagBelow is a code example of the default layout provided when you create a new Android project in Android Studio without Data Binding enabled.
<?xml version="1.0" encoding="utf-8"?>
<androidx.constraintlayout.widget.ConstraintLayout
    xmlns:android="http://schemas.android.com/apk/res/android"
    xmlns:app="http://schemas.android.com/apk/res-auto"
    xmlns:tools="http://schemas.android.com/tools"
    android:layout_width="match_parent"
    android:layout_height="match_parent"
    tools:context=".HomeActivity">

    <TextView
        android:id="@+id/text_name"
        android:layout_width="wrap_content"
        android:layout_height="wrap_content"
        android:text="My name is Android!"
        app:layout_constraintBottom_toBottomOf="parent"
        app:layout_constraintLeft_toLeftOf="parent"
        app:layout_constraintRight_toRightOf="parent"
        app:layout_constraintTop_toTopOf="parent" />

</androidx.constraintlayout.widget.ConstraintLayout>
As you convert the above standard layout into Data Binding layout, the result would be:
<?xml version="1.0" encoding="utf-8"?>
<layout xmlns:android="http://schemas.android.com/apk/res/android"
    xmlns:app="http://schemas.android.com/apk/res-auto">

    <data>
    </data>

    <androidx.constraintlayout.widget.ConstraintLayout
        android:layout_width="match_parent"
        android:layout_height="match_parent">

        <TextView
            android:id="@+id/text_name"
            android:layout_width="wrap_content"
            android:layout_height="wrap_content"
            android:text="My name is Android!"
            app:layout_constraintBottom_toBottomOf="parent"
            app:layout_constraintLeft_toLeftOf="parent"
            app:layout_constraintRight_toRightOf="parent"
            app:layout_constraintTop_toTopOf="parent" />

    </androidx.constraintlayout.widget.ConstraintLayout>
</layout>
Once done, files will be automatically generated, which holds binding references for your XML under the java (generated) directory. It is not recommended to edit this file because it is auto-generated and used for maintaining binding references.
Now, you need to update business logic in the code files. Generally, when you write declarations for your views in the class files, it is similar to:
TextView textName = (TextView) findViewById(R.id.text_name);        // java
View customView = (MyCustomView) findViewById(R.id.custom_view);
RecyclerView list = (RecyclerView) findViewById(R.id.recycler_list);

OR

private lateinit var textName: TextView                             // kotlin
private lateinit var customView: MyCustomView
private lateinit var list: RecyclerView

// in onCreate()
textName = findViewById(R.id.text_name)
customView = findViewById(R.id.custom_view)
list = findViewById(R.id.recycler_list)
It is important to note that, with a growing number of views or a complex hierarchy in place, declarations can get excessively verbose. Data Binding comes in handy to avoid this.
Let’s look at the following steps to avoid excessive declarations:
After ensuring that your XML layout is converted to a Data Binding layout according to the previous steps, you need to declare the binding variable in your associated class file, as below:
private lateinit var homeBinding: ActivityHomeBinding

OR

private lateinit var homebinding: FragmentHomeBinding
This line produces a new instance of the binding class ActivityHomeBinding that was generated automatically from the XML layout conversion. When this line is declared, you will notice that a new import statement gets added automatically by Android Studio in your file:
import com.logrocket.databinding.ActivityHomeBinding
This is the original reference to the binding class from which the instance is generated.
In the next step, you need to replace the standard setContentView declaration with the Data Binding version inside the onCreate method. The original statement looks similar to:
@Override
protected void onCreate(Bundle savedInstanceState) {

    ...

    setContentView(R.layout.home_activity)
}
And it needs to be updated to:
@Override
protected void onCreate(Bundle savedInstanceState) {

    ...

    val homeBinding: ActivityHomeBinding = DataBindingUtil.setContentView(this, R.layout.activity_home)

    ...
}
As you can see, this code utilizes the Data Binding Library class DataBindingUtil to configure the content view.
findViewById ReferencesNow it’s time to remove findViewById declarations from your code. findViewById is a common pattern for connecting your views from the layout with your business logic written in the class files.
But it comes with its own disadvantages such as:
To overcome this, you can directly make use of the binding variable you declared in the previous step, as shown below:
// For RecyclerView
homeBinding.list.layoutManager = LinearLayoutManager(this)
homeBinding.list.adapter = UsernameAdapter(this, viewModel.usernames)
homeBinding.list.adapter?.notifyDataSetChanged()

// For Text
homeBinding.textName = "Android 11"
This way, you can access your views in activity, fragment, and even custom view class files. By using the Data Binding declarations, you not only get rid of the findViewById declarations, but it also helps you write declarative and error-free code. If you declare an incorrect assignment by binding the view with a non-matching variable, it will show you an error at compile time itself.
If you are accessing any view element that is inappropriate — e.g., accessing RecyclerView from the XML by using TextView in the activity/fragment, or any view that is having type-casting issues — you will be told about it at compile time, instead of at runtime.
Let’s learn how to make use of Data Binding in adapter classes.
Adapters are used for efficiently storing, displaying, and updating the available data in a list format. Adapters can be used with view elements such as RecyclerView, ListView, or even your own custom view declaration extended from similar view types.
Have a look at the below adapter class, which is used to display the names of the users.
// UsernameAdapter.kt

class UsernameAdapter() : ListAdapter<Username, UsernameAdapter.UsernameViewHolder>(UsernameDiffUtil()) {

    override fun onCreateViewHolder(parent: ViewGroup, viewType: Int): UsernameViewHolder {
        val user = LayoutInflater.from(parent.context).inflate(R.layout.user_list_item, parent, false)
        return UsernameViewHolder(func, user)
    }


    override fun onBindViewHolder(holder: UsernameViewHolder, position: Int) {
        holder.bindData(getItem(position))
    }

    class UsernameViewHolder(val view: View) : RecyclerView.ViewHolder(UsernameItem item) {
        fun bind(item: UsernameItem) {
            username = "${item.name}"
        }
    }
}
You need to update the above code with respect to Data Binding implementation, as below:
// UsernameAdapter.kt

class UsernameAdapter() : ListAdapter<Username, UsernameAdapter.UsernameViewHolder>(UsernameDiffUtil()) {

    override fun onCreateViewHolder(parent: ViewGroup, viewType: Int): UsernameViewHolder {
        val layoutInflater = LayoutInflater.from(parent.context)
        val userbinding: UsernameItemBinding = DataBindingUtil.inflate(layoutInflater, R.layout.user_list_item, parent, false)
        return ViewHolder(userbinding)
    }

    override fun onBindViewHolder(holder: UsernameViewHolder, position: Int) {
        holder.bind(items[position])
        holder.userbinding.setOnClickListener { // Do something }
    }

    class UsernameViewHolder(val userbinding: UsernameItemBinding) : RecyclerView.ViewHolder(userbinding.root) {
        fun bind(item: UsernameItem) {
            userbinding.apply {


            }
        }
    }
}
As you’ll notice, we have updated both onBindViewHolder and UsernameViewHolder with Data Binding declarations. Here, the adapter used is responsible for displaying the data on screen. Since you’ve binded the binding classes, the layout file is now making use of your binding declarations.
At the moment, the layout file is only aware of the references specified, but it has yet to display the data using the above code written under UsernameAdapter. To make use of Data Binding in an efficient way, you will now see how to bind values in the layout using variables.
As understood previously, you can directly make use of variables and data in your layout XML file via the <data> tag.
What’s the advantage of this? Your layout file listens to all the changes in your data and instantly reflects those changes in the user’s mobile screen, thanks to the Data Binding’s observability property.
There are two primary ways to achieve this:
In this approach, you will make use of the <data> tag inside your code and XML file while declaring the Data Binding, such as:
// HomeActivity.kt

    homeBinding.user = User()
After declaring the object to be utilized under onCreate, you need to declare it as a <variable> and then utilize the properties accessible inside the model object. Below is an example:
// HomeActivity.xml

<?xml version="1.0" encoding="utf-8"?>
<layout xmlns:android="http://schemas.android.com/apk/res/android"
    xmlns:app="http://schemas.android.com/apk/res-auto">

    <data>
        <variable
             name="username"
             type="com.logrocket.Model.User" />
    </data>

    <androidx.constraintlayout.widget.ConstraintLayout
        android:layout_width="match_parent"
        android:layout_height="match_parent">

        <TextView
            android:id="@+id/text_name"
            android:layout_width="wrap_content"
            android:layout_height="wrap_content"
            android:text="@{username.name}"                     // Declaration
            app:layout_constraintBottom_toBottomOf="parent"
            app:layout_constraintLeft_toLeftOf="parent"
            app:layout_constraintRight_toRightOf="parent"
            app:layout_constraintTop_toTopOf="parent" />

    </androidx.constraintlayout.widget.ConstraintLayout>
</layout>
Suppose you want to populate your data or update your views on the basis of a condition. Data Binding allows you to declare expressions that will do the work for you!
Yes, you can declare your expressions inside your layout XML file. However, Android guidelines suggest that you keep your expressions simple in order to avoid complex issues or errors because expressions declared in this manner are not covered under test coverage of UI or unit tests.
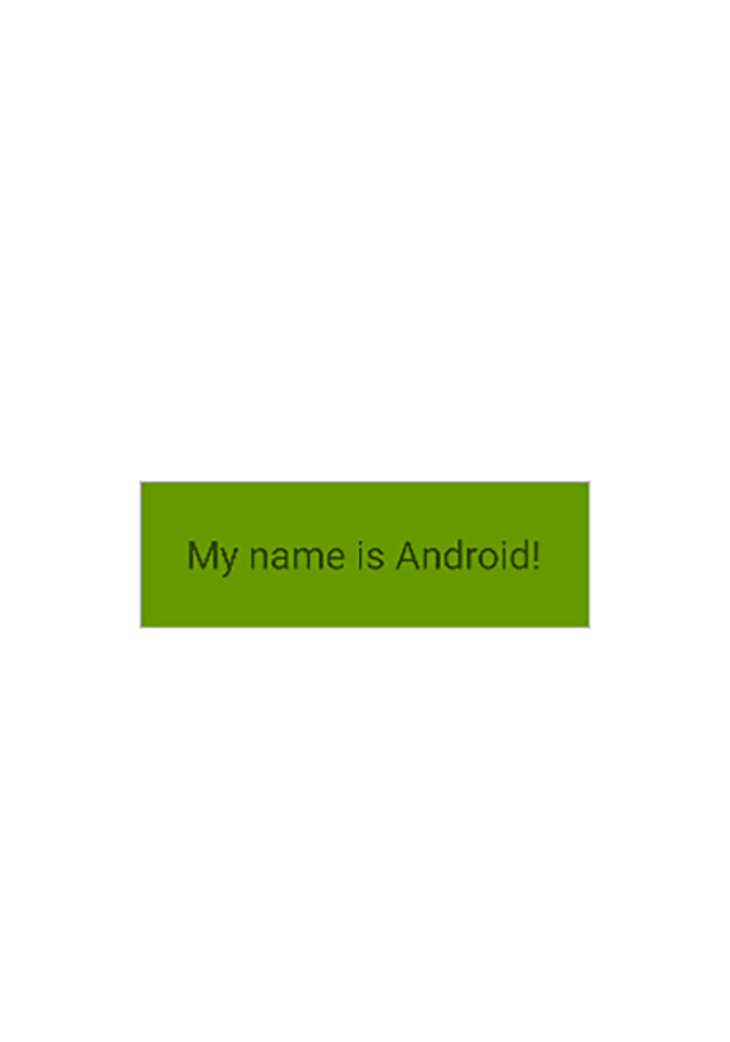
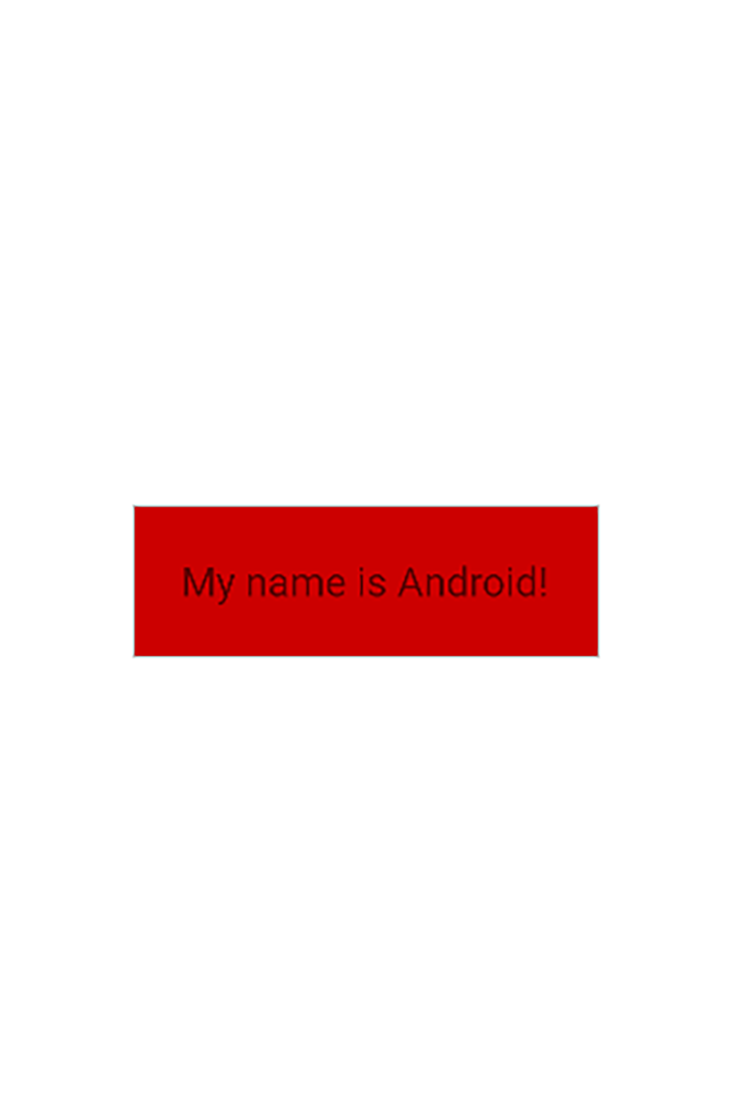
An example of proper expression declaration is below. Here, on the basis of the value of the isSuccess variable, your view will be populated with a background, either red or green.
   ...

    <androidx.constraintlayout.widget.ConstraintLayout
        android:layout_width="match_parent"
        android:layout_height="match_parent">

        <TextView
            android:id="@+id/text_name"
            android:layout_width="match_parent"
            android:layout_height="wrap_content"
            android:text="My name is Android!"
            android:background="@{isSuccess ? @color/red : @color/green}"
            app:layout_constraintBottom_toBottomOf="parent"
            app:layout_constraintLeft_toLeftOf="parent"
            app:layout_constraintRight_toRightOf="parent"
            app:layout_constraintTop_toTopOf="parent" />

    ...
By using either or both of the above approaches, you can remove a lot of boilerplate code and display your views programmatically, while Data Binding takes care of the rest.
In this article, you have learned how to use the Data Binding library in Android apps. Data Binding is surely one of the most popular and powerful advancements in the Android ecosystem. By making use of a modern, safer method with compile time errors instead of runtime errors, and concise approach, your apps will surely get a boost using Data Binding.
You can explore and learn more about Data Binding library use cases from the official Android documentation.
LogRocket is an Android monitoring solution that helps you reproduce issues instantly, prioritize bugs, and understand performance in your Android apps.
LogRocket's Galileo AI watches sessions for you, instantly identifying and explaining user struggles with automated monitoring of your entire product experience.
LogRocket also helps you increase conversion rates and product usage by showing you exactly how users are interacting with your app. LogRocket's product analytics features surface the reasons why users don't complete a particular flow or don't adopt a new feature.
Start proactively monitoring your Android apps — try LogRocket for free.
Install LogRocket via npm or script tag. LogRocket.init() must be called client-side, not
server-side
$ npm i --save logrocket

// Code:

import LogRocket from 'logrocket';
LogRocket.init('app/id');
// Add to your HTML:

<script src="https://cdn.lr-ingest.com/LogRocket.min.js"></script>
<script>window.LogRocket && window.LogRocket.init('app/id');</script>

Write agent-friendly API documentation with OpenAPI, clear schemas, workflow guidance, and llms.txt for safer AI automation.

Local AI proxy tutorial for detecting, masking, and rehydrating PII before prompts reach cloud LLMs.

Learn how Graph RAG uses connected knowledge structures to improve retrieval beyond simple text similarity.

Learn how sibling-index() enables clean, JavaScript-free stagger animations using native CSS.
Would you be interested in joining LogRocket's developer community?
Join LogRocket’s Content Advisory Board. You’ll help inform the type of content we create and get access to exclusive meetups, social accreditation, and swag.
Sign up now

