
WebView is an Android component that allows developers to display a webpage in an app.
There are various scenarios in which WebView can be useful. For example, it could be used to display a common page between Web and Android, like a “Terms & Privacy” page. It could also be used to display a page, thereby avoiding a network request, and then parse the data to display it in an Android layout.
You may be thinking that if you can display a webpage in an Android app, then you can build your own browser app!
Well, by default, WebView has only one goal – to show a webpage. It does not include features like a real web browser, such as navigation controls or an address bar. But, if it is a View, and you can include it in an activity layout, then you can also include your own controls.
In this article, we’ll share solutions to common problems that Android developers often encounter when using a WebView, such as how to customize Android’s back button navigation. All of the code in this article is Kotlin.
Jump ahead:
The Replay is a weekly newsletter for dev and engineering leaders.
Delivered once a week, it's your curated guide to the most important conversations around frontend dev, emerging AI tools, and the state of modern software.
When a user clicks on a link inside a WebView, the Android operating system will try to open it in an external application that can handle URLs, such as a browser:
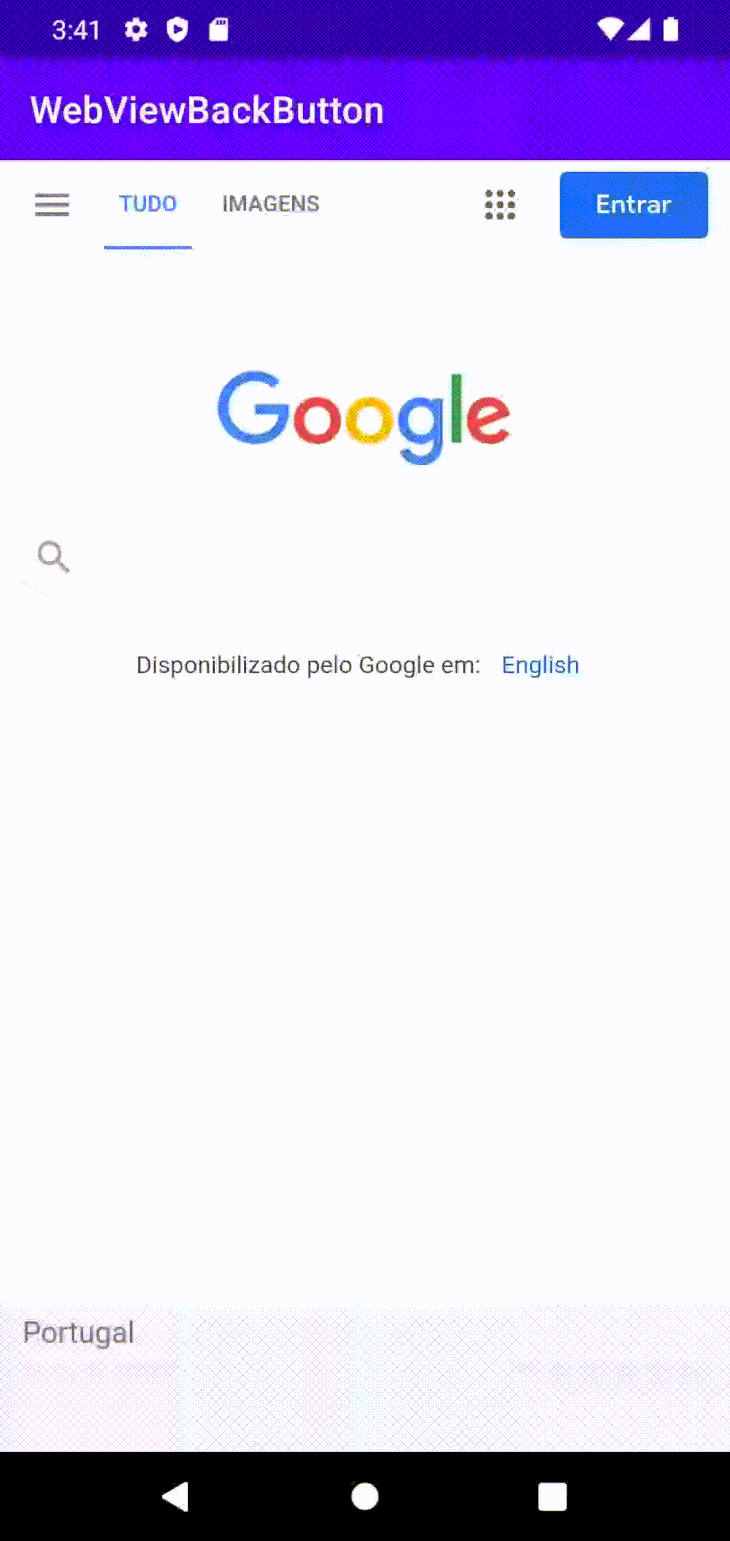
To allow the user to navigate backward and forward through their webpage history, you’ll need to provide a WebViewClient to the WebView:
val myWebView: WebView = findViewById(R.id.webview)
myWebView.webViewClient = WebViewClient()
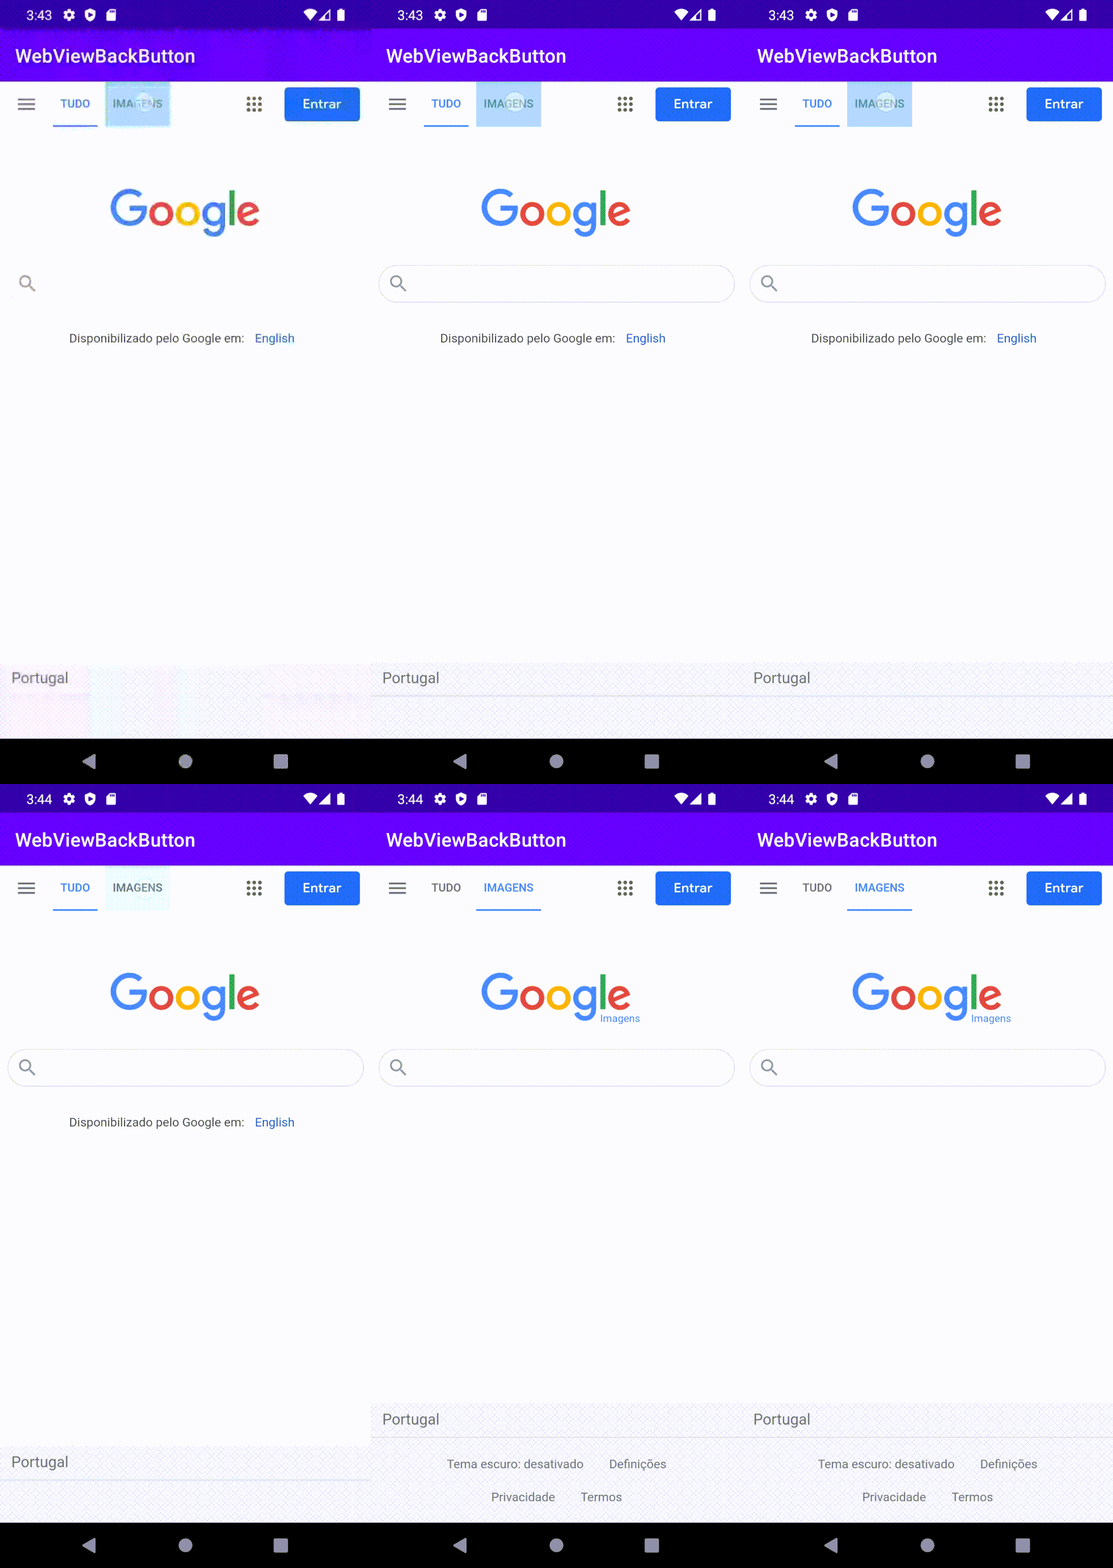
Instead of using the default WebViewClient, you can also implement your own, like so:
myWebView.webViewClient = object : WebViewClient() {
    …
}
Two of the most commonly overridden behaviors of WebViewClient, are onPageStarted and onPageFinished.
myWebView.webViewClient = object : WebViewClient() {
     override fun onPageStarted(view: WebView?, url: String?, favicon: Bitmap?) {
         super.onPageStarted(view, url, favicon)
     }
      override fun onPageFinished(view: WebView?, url: String?) {
         super.onPageFinished(view, url)
     }
}
Using these two methods, you can understand when the page has started and finished loading and you can get access to the URL.
One common implementation of onPageFinished is to refresh the webpage if the content height is 0 when the page is finished loading, since this could indicate that something went wrong (e.g., a PDF may have failed to load on the WebView):
myWebView.webViewClient = object : WebViewClient() {
     override fun onPageStarted(view: WebView?, url: String?, favicon: Bitmap?) {
         super.onPageStarted(view, url, favicon)
     }
      override fun onPageFinished(view: WebView?, url: String?) {
              if (view?.contentHeight == 0) {
                  view.reload()
              } else {
                 super.onPageFinished(view, url)
              }
     }
}
As explained previously, a WebView doesn’t bring inbuilt navigation controls. If you have a page opened and you click on Android’s back button, it will not go to the previously visited page on the WebView. Instead, it will navigate inside the application itself, as shown below:
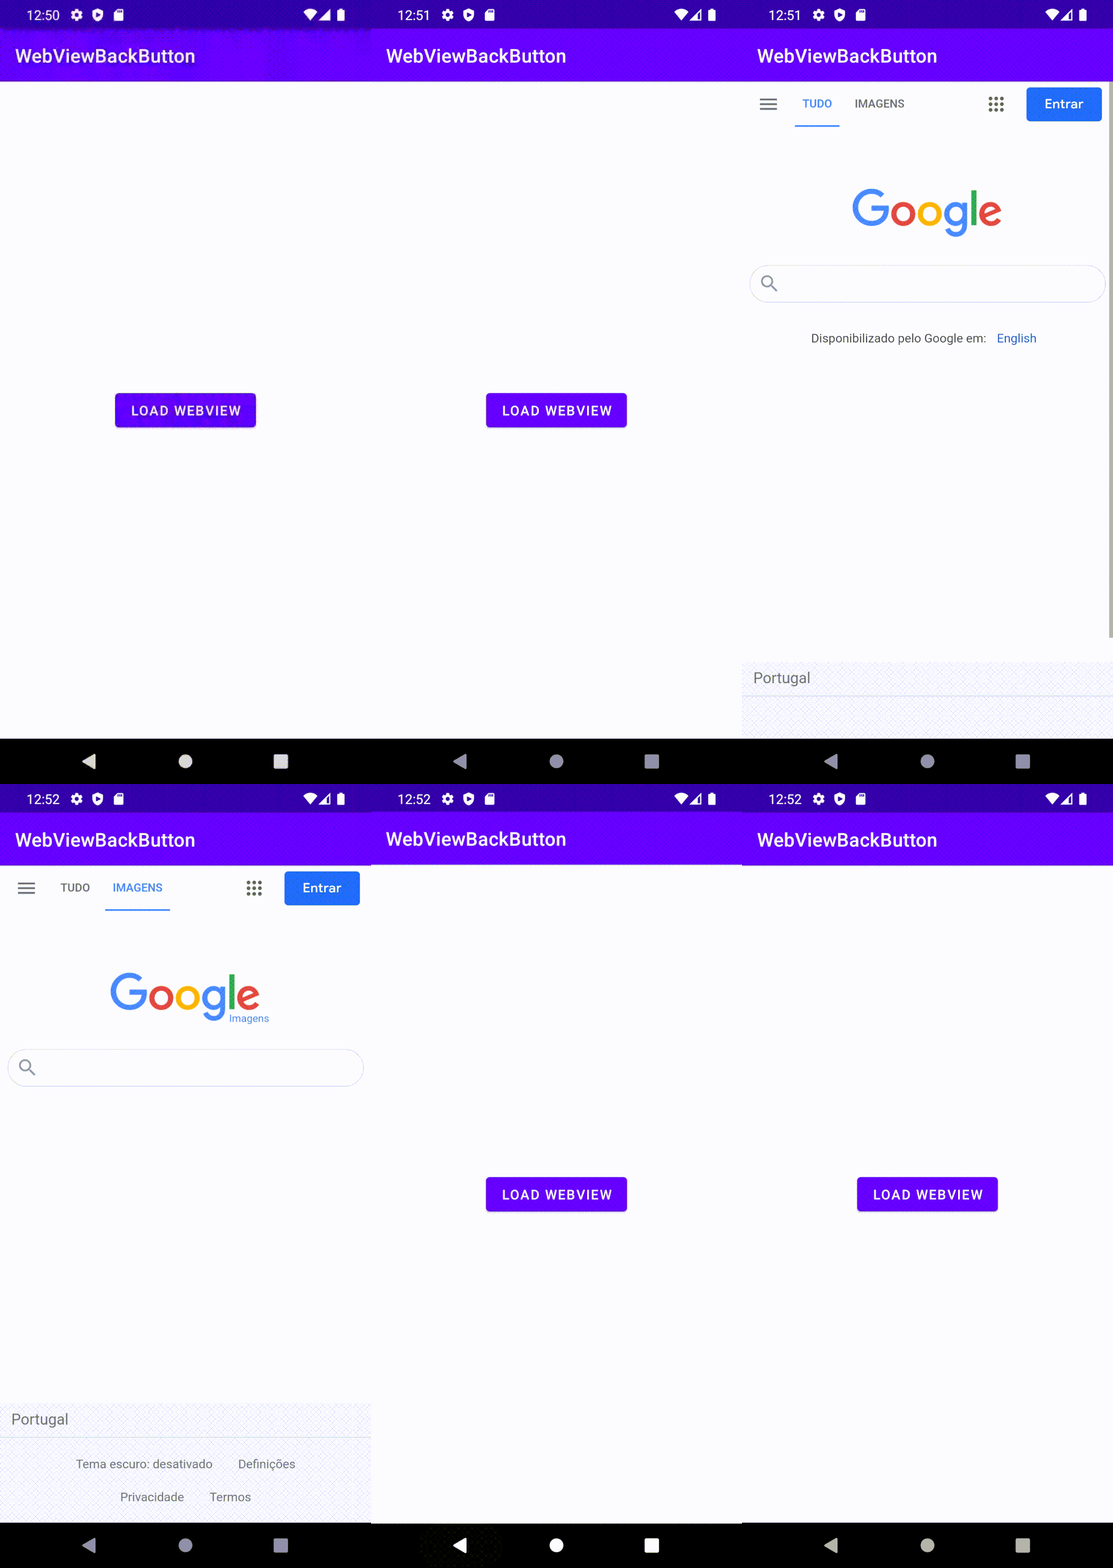
Usually, WebViews are implemented on their own activity. To fix this, we’ll need to take a close look at the activity behaviors that we’re able to access.
Activity class provides various ways to override and customize behaviors. One example is onKeyDown; this method gets called when a key is pressed.
We can use this method to detect when a user presses the device’s back button. Here’s an example:
override fun onKeyDown(keyCode: Int, event: KeyEvent?): Boolean {
    if (keyCode == KeyEvent.KEYCODE_BACK && webView.canGoBack()) {
        webView.goBack()
        return true
    }
    // If it wasn't the Back key or there's no webpage history, bubble up to the default
    // system behavior (probably exit the activity)
    return super.onKeyDown(keyCode, event)
}
WebView provides some helpful utility methods, such as canGoBack and goBack.
We can use canGoBack to find out if a page was previously loaded. We can use goBack to load the previous page:
if (keyCode == KeyEvent.KEYCODE_BACK && webView.canGoBack())
The above code checks if the pressed key is the device’s back button and if any page was loaded before the button was pressed. If the result is positive, the goBack method is called.
onKeyDown returns a Boolean value. If we want to override the behavior, we return true; otherwise, we return false.
By adding this code inside our activity, we should see the following behavior:
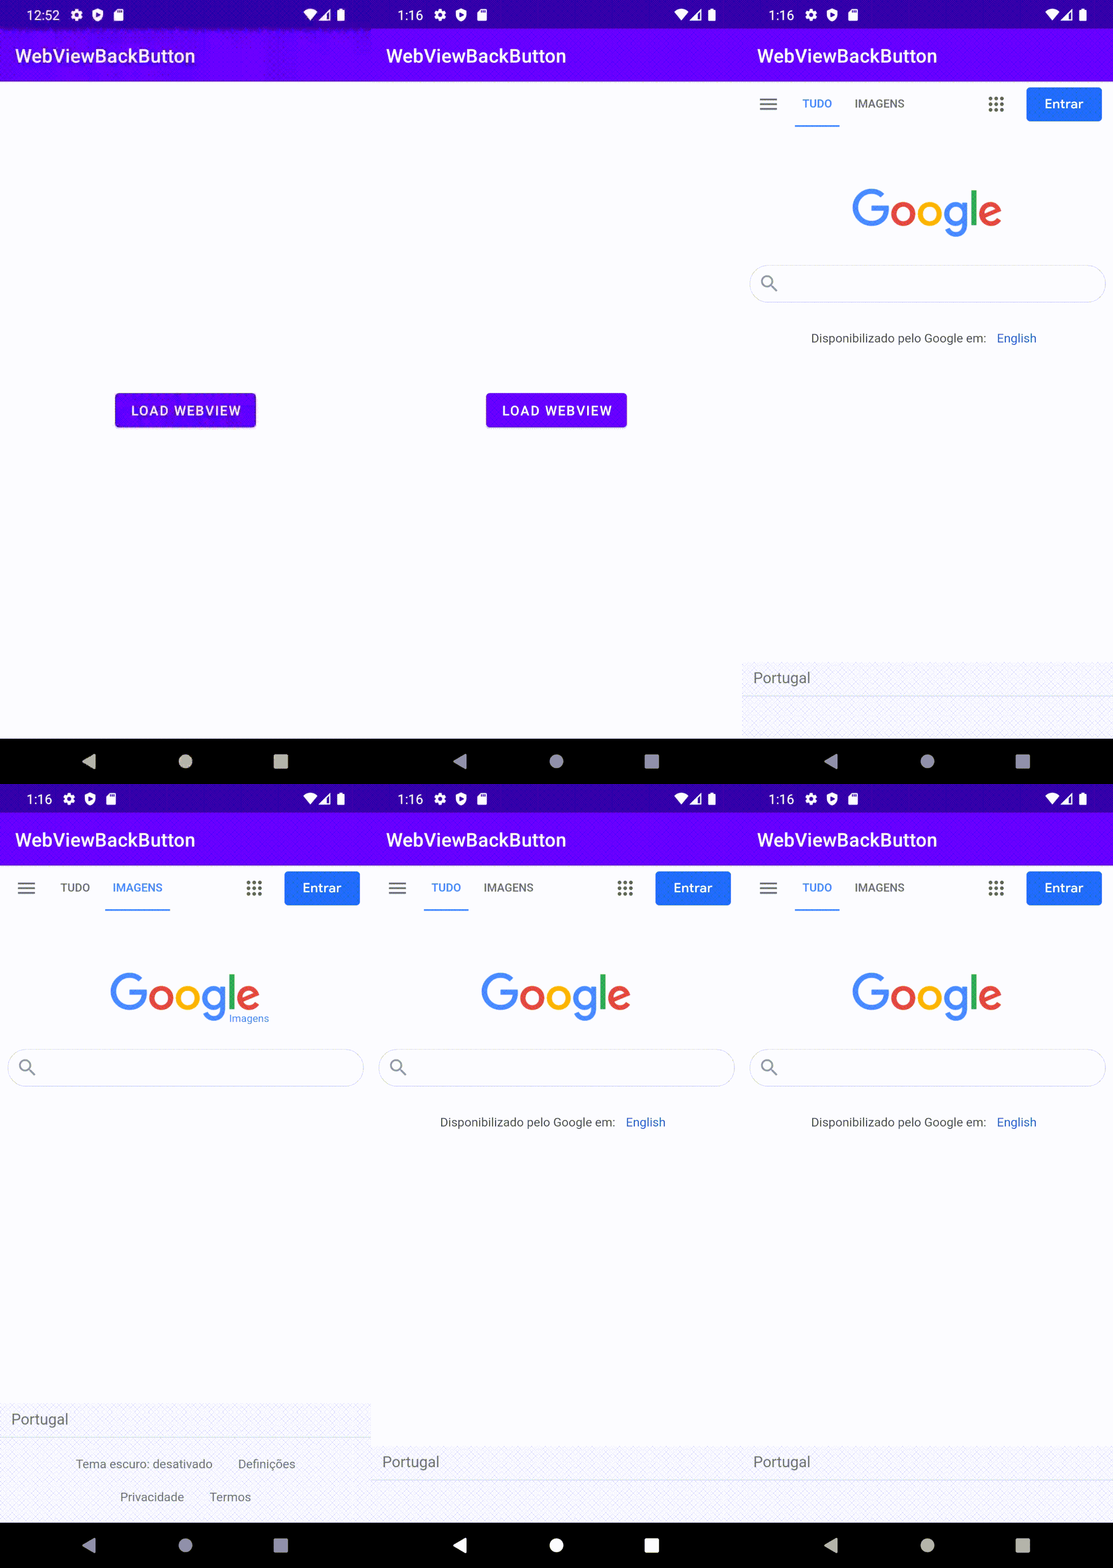
There are some scenarios where we might want to redirect the user to external applications. For example, we may want to enable the user to open a PDF.
To make this possible, WebViewClient provides another method that can be overridden, called shouldOverrideUrlLoading:
myWebView.webViewClient = object : WebViewClient() {
    override fun shouldOverrideUrlLoading(
        view: WebView?,
        request: WebResourceRequest?
    ): Boolean {
        …
        return super.shouldOverrideUrlLoading(view, request)
    }
}
This method will be called every time a new URL is being loaded. This allows us to check what URL is being loaded and react accordingly:
myWebView.webViewClient = object : WebViewClient() {
    override fun shouldOverrideUrlLoading(
        view: WebView?,
        request: WebResourceRequest?
    ): Boolean {
        view?.url?.let { url ->
           if (url.endsWith(".pdf")) {
               startActivity(Intent(Intent.ACTION_VIEW, Uri.parse(url)))
               return true
           }
        }

        return super.shouldOverrideUrlLoading(view, request)
    }
}
WebView has a property called url that corresponds to the currently loaded URL. We can take this property and confirm if the URL ends with the PDF extension, like so:
if (url.endsWith(".pdf"))
If the URL does end with .pdf, we delegate it to the operating system to find an app that can handle that type of URL. The value of true must be returned every time we want to override shouldOverrideUrlLoading.
To improve user experience, we can provide a way to let the user know that a page is still loading. We can do this by overriding onPageStarted and onPageFinished on WebViewClient, like so:
myWebView.webViewClient = object : WebViewClient() {
     override fun onPageStarted(view: WebView?, url: String?, favicon: Bitmap?) {
         super.onPageStarted(view, url, favicon)
     }
      override fun onPageFinished(view: WebView?, url: String?) {
         super.onPageFinished(view, url)
     }
}
Assuming you have a way to display a loading screen, such as a popup containing a progress bar, you can show and dismiss the loading screen on onPageStarted and onPageFinished, respectively.
Here’s an example:
myWebView.webViewClient = object : WebViewClient() {
     override fun onPageStarted(view: WebView?, url: String?, favicon: Bitmap?) {
         super.onPageStarted(view, url, favicon)
         showLoading()
     }
      override fun onPageFinished(view: WebView?, url: String?) {
         super.onPageFinished(view, url)
         dismissLoading()
     }
}
Another common problem is when the WebView’s render process crashes. This can happen either because the system killed the renderer to reclaim much-needed memory or because the render process itself crashed.
You’ll usually know you’re dealing with this problem if the crash stack trace contains the following message:
Render process's crash wasn't handled by all associated webviews, triggering application crash.
The error message may also cite the processId.
To ensure user experience is not negatively impacted, the crash must be handled, otherwise the application will shut down.
After this error occurs, the associated instance of WebView cannot be reused. Instead, it must be destroyed and removed from the view hierarchy, and a new instance of WebView must be created.
If the render process crashes while accessing a particular webpage, attempting to load the same page may cause the same issue.
To handle this problem, we need to override onRenderProcessGone on WebViewClient, like so:
myWebView.webViewClient = object : WebViewClient() {
    override fun onRenderProcessGone(view: WebView, detail: RenderProcessGoneDetail): Boolean {
        if (!detail.didCrash()) {
            Log.e("MY_APP_TAG", ("System killed the WebView rendering process " +
                "to reclaim memory. Recreating..."))

            myWebView?.also { webView ->
                val webViewContainer: ViewGroup = findViewById(R.id.my_web_view_container)
                webViewContainer.removeView(webView)
                webView.destroy()
                myWebView = null
            }

            // By this point, the instance variable "myWebView" is guaranteed
            // to be null, so it's safe to reinitialize it.

            return true // The app continues executing.
        }

        Log.e("MY_APP_TAG", "The WebView rendering process crashed!")

        return false
    }
}
If RenderProcessGoneDetail didCrash() returns a value of false, this means that the process was killed because the system ran out of memory. In this scenario, the app can recover gracefully by creating a new WebView instance.
When a value of true is returned from onRenderProcessGone, it means we want to keep the app running instead of closing it due to the crash.
If RenderProcessGoneDetail didCrash() returns a value of true, it means the process was killed due to an internal error, such as a memory access violation. If you return false in this case, the app will crash after detecting that the renderer crashed.
To handle the crash more gracefully and allow the app to keep executing, follow these steps:
true from onRenderProcessGoneIn this article, we investigated and offered solutions for some of the most common problems the Android developers encounter when using WebView. Specifically, we looked at how to: customize Android’s back button navigation with WebView, handle page navigation and page reload if there’s no content, analyze accessed URLs, show a loading screen while a page loads, and handle render process crashes.
To learn more about WebView, check out the official documentation for building web apps in WebView and managing WebView objects.
LogRocket is an Android monitoring solution that helps you reproduce issues instantly, prioritize bugs, and understand performance in your Android apps.
LogRocket's Galileo AI watches sessions for you, instantly identifying and explaining user struggles with automated monitoring of your entire product experience.
LogRocket also helps you increase conversion rates and product usage by showing you exactly how users are interacting with your app. LogRocket's product analytics features surface the reasons why users don't complete a particular flow or don't adopt a new feature.
Start proactively monitoring your Android apps — try LogRocket for free.
Install LogRocket via npm or script tag. LogRocket.init() must be called client-side, not
server-side
$ npm i --save logrocket

// Code:

import LogRocket from 'logrocket';
LogRocket.init('app/id');
// Add to your HTML:

<script src="https://cdn.lr-ingest.com/LogRocket.min.js"></script>
<script>window.LogRocket && window.LogRocket.init('app/id');</script>

@container scroll-state: Replace JS scroll listeners nowCSS @container scroll-state lets you build sticky headers, snapping carousels, and scroll indicators without JavaScript. Here’s how to replace scroll listeners with clean, declarative state queries.

Russ Miles, a software development expert and educator, joins the show to unpack why “developer productivity” platforms so often disappoint.

Discover what’s new in The Replay, LogRocket’s newsletter for dev and engineering leaders, in the February 18th issue.

Learn how to recreate Claude Skills–style workflows in GitHub Copilot using custom instruction files and smarter context management.
Hey there, want to help make our blog better?
Join LogRocket’s Content Advisory Board. You’ll help inform the type of content we create and get access to exclusive meetups, social accreditation, and swag.
Sign up now