The implementation of themes is a common concept in modern applications; themes are used to customize the application appearances and stylings.

As a developer, you want to implement this concept with a minimalist approach while building integration logic for every theme and host asset. Then, there should be a structured, end-to-end solution for apps to easily integrate with these themes. Finally, you must ensure they work quickly and consistently across your application components.
This can be a lot to keep in mind! But in React Native, there are several approaches you can adopt to implement theme integration, making this seemingly difficult task easy. In this article, we will review some of the common methods you can use in your React Native applications to implement and switch between dark and light modes.
To follow along with this guide, you should have a working knowledge of React Native and Node.js installed on your computer.
There are two approaches to getting started with a React Native project: the React Native CLI and Expo CLI. We will be using the Expo CLI in this article.
First, you need Expo CLI installed on your computer. Install it using the following command:
npm install --global expo-cli
Create a folder where you want the project to live, and initialize your React Native app using the following Expo command:
expo init dark_mode_switcher
Select blank : a minimal app as clean as an empty canvas, then navigate to the created dark_mode_switcher directory once the application has been created:
cd dark_mode_switcher
To start the development server on iPhone, run:
npm run ios
Open the camera app and scan the QR code present on the terminal, or use the Expo dev tools web that will be automatically launched.
If you are using an Android device, run:
npm run android
Install the Expo Go application, and then under Projects, scan the QR code.
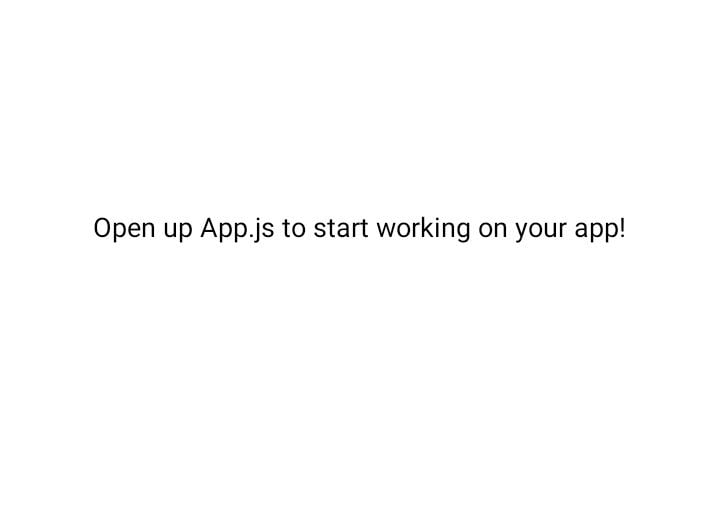
You should be able to see the following upon launching the app on iPhone or Android:
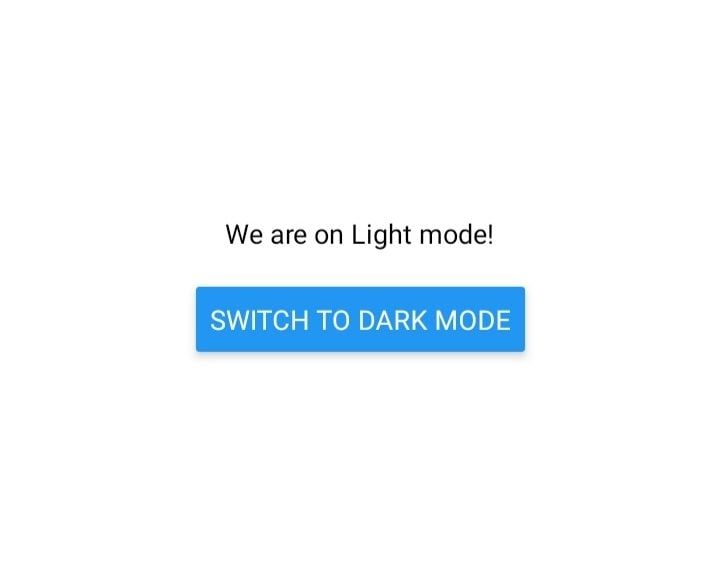
On your App.js file, change the rendered text to We are on Light mode. We will create a button that will allow us to toggle between modes.
First, import a button component from react-native like so:
import {Button} from "react-native"
Implement the Button after the Text component:
<Button title="Switch to Dark Mode" onPress={() => null} />
Give Text a style class:
<Text style={styles.text}>We are on Light mode!</Text>
Implement the style on the styles section:
text:{
    marginBottom:20
}
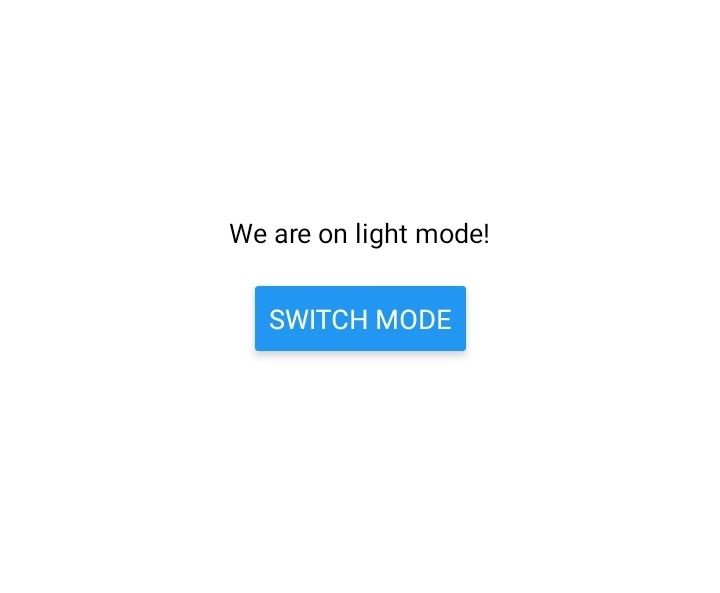
Now, our app should look like this:
Next, we will build the ability to switch between modes with several different approaches, so that you can choose the best option for your use case.
Redux is a state management tool that can be used in different JavaScript frameworks such as React and React Native. It stores the state configurations of your IU elements, and allows you to store predictable state containers.
We can use Redux to store and control predictable behaviors such as light/dark mode control. In this section, we will use Redux to control the state configurations of whether we are on a light or dark mode screen.
First, we need to have the react-redux and redux libraries installed. Run this npm command to install the necessary dependencies:
npm i react-redux redux
Next, create a redux-store directory on the project’s root directory to hold the constants, actions, Redux store, and reducers.
Constants are state names that allow you to easily find the specific functionality you want to implement across your application. To create the theme constant, create a constants.js file inside the redux-store directory. This file will host the following constant:
export const THEME_CHANGE = 'THEME_CHANGE';
In this case, we want to switch between light and dark modes. Thus, we will create a switchMode action as described below.
First, create an actions.js file inside the redux-store, then add the following switchMode action code block:
import { THEME_CHANGE } from "./constants";

// switch mode according to what is specified...
export const switchMode = (mode) => {
    return {
        type: THEME_CHANGE,
        payload: mode,
    };
};
A reducer describes how your actions transform the current state into the next state. The reducer checks which action you executed whenever the above action is called. Based on this, the action reducer will modify the state values and change the mode based on the action type.
To set up reducers, create a reducers.js file inside the redux-store directory and add the following:
import { THEME_CHANGE } from './constants';

// Initially we will have a light mode
const initialState = {
    mode: 'light'
};

// Handle our action of changing the theme
const themeReducer = (state = initialState, action) => {
    switch (action.type) {
        case THEME_CHANGE:
            return {
                ...state,
                mode: action.payload
            }
        default:
            return state;
    }
}

export default themeReducer;
Redux store saves the globalized states of your components. It holds all the data (or state) that you can access anywhere in all your application’s components.
To configure a Redux store, create a store.js file inside the folder redux-store and configure the following:
import { createStore, combineReducers } from 'redux';
import themeReducer from './reducers';

// Set up a general reducer.
const rootReducer = combineReducers({
    theme: themeReducer
});

// Create a store with the reducer.
const configureStore = () => {
    return createStore(rootReducer);
}

// Export the configured store
export default configureStore;
You can now access the store in your application. To do that, navigate to the App.js file and enclose your components with a Provider that accesses the store as shown below:
// Add the necessary imports.
import { Provider } from 'react-redux';
import configureStore from './redux_store/store';

// Initialize the store
const store = configureStore();

// Enclose all of the other components with Provider providing the store
export default function App() {
    return (
        <Provider store={store}>
            ...The rest of the code ...
        </Provider>
    );
}
That’s it! We have been able to configure Redux and set it up on our application. Now let’s explore how to use it to implement light and dark mode.
Let’s now use the configured Redux to control dark and light modes. To get started, create a directory inside the project root directory and name it components. Inside the components directory, create an App.js file and follow these steps:
First, start by importing the components as follows:
// view component
import { StatusBar } from 'expo-status-bar';
// component state management
import { useEffect, useState } from 'react';
// view component
import { StyleSheet, Text, View, Button } from 'react-native';
// redux hooks
import { useSelector, useDispatch } from 'react-redux';
// actions
import { switchMode } from '../redux_store/actions';s\
Render the following view with different style classes depending on the theme mode:
export default function App() {
// get the current theme
const theme = useSelector(state => state.theme);
// initialize action dispatcher
const dispatch = useDispatch();
// define a component mode state
const [mode, setMode] = useState(theme.mode);
// Handle changing the theme mode
const handleThemeChange = () => {
    dispatch(switchMode(theme.mode === 'light' ? 'dark' : 'light'));
}

// Update the app Incase the theme mode changes
useEffect(() => {
    setMode(theme.mode);
}, [theme]);

// Render a view with different style classes depending on the theme mode

return (
    <View style={mode == 'light' ? styles.container_light : styles.container_dark}>
        <Text style={mode == 'light' ? styles.text_light : styles.text_dark}>We are on {theme.mode} mode!</Text>
        <Button title="Switch Mode" onPress={handleThemeChange} />
        <StatusBar style="auto" />
    </View>
);
}
Then, add the following styling to the render view:
const styles = StyleSheet.create({
    container_light: {
        flex: 1,
        backgroundColor: '#fff',
        alignItems: 'center',
        justifyContent: 'center',
    }

    ,
    container_dark: {
        flex: 1,
        backgroundColor: '#121212',
        alignItems: 'center',
        justifyContent: 'center',
    }

    ,
    text_light: {
        marginBottom: 20,
        color: '#000'
    }

    ,
    text_dark: {
        marginBottom: 20,
        color: "#fff"
    }
}

);
As seen above, each element has its own style based on the dark and light modes. To view the component we have just created, we need to render it from the App.js file residing in the project root directory.
Therefore, we will update the main App.js as follows, to only render the component we have created above:
import { Provider } from 'react-redux';
import configureStore from './redux_store/index';
import MainComponent from './components/App';

const store = configureStore();

export default function App() {
    return (
        <Provider store={store}>
            <MainComponent />
        </Provider>
    );
}
Now we are ready to view the functionality of the app. Ensure that your development server is up and running. Otherwise, start the server using the commands npm run ios and npm run android based on the mobile device you are running on.
Light mode:
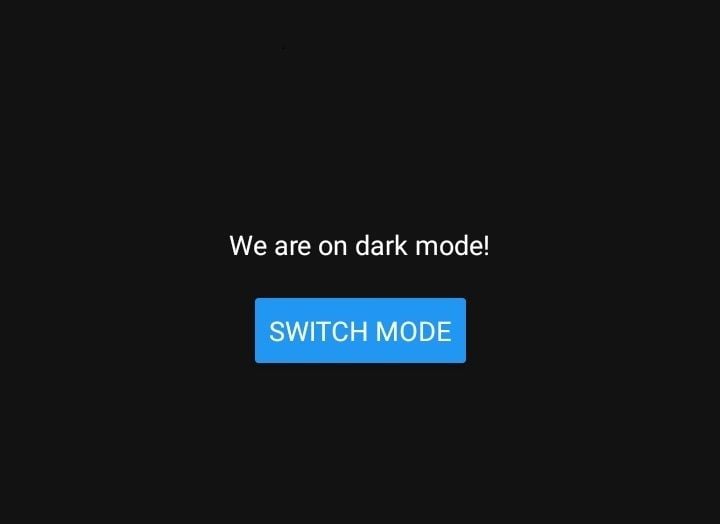
Dark mode:
The Context API is another state management tool in React and React Native. Like Redux, the Context API allows you to pass data between different components. In our case, the data we want to share is the theme states.
The Context API uses states to track different application values. For example, we can use it to store the theme mode and make it available across the application.
To start, create a folder in the project root directory and name it context-store. Inside the context-store directory, create a context.js file and add the following:
// import createContext and useState
import { createContext, useState } from 'react';
// Initiate context
const ThemeContext = createContext();

const ThemeProvider = ({ children }) => {
    // Manage theme state
    const [theme, setTheme] = useState('light');
    return (
        <ThemeContext.Provider
            value={{ theme, setTheme }}>
            {children}
        </ThemeContext.Provider>
    )
}

export {
    ThemeContext,
    ThemeProvider
}
Here, we creating a ThemeContext using the createContext() function. We then wrap the default value using the Provider. In this case, the default value will be the state of the light theme.
Now we can access this state in the MainComponent. Navigate to the App.js file and import the ThemeProvider we have just set up, which is globally available across applications and can be accessed by any component.
Then, wrap the MainComponent into the ThemeProvider like so:
import {ThemeProvider} from './context-store/context';
Replace the Redux provider with ThemeProvider:
return (
    <ThemeProvider>
        <MainComponent />
    </ThemeProvider>
);
To get the values set from the above Context API, navigate to the components/App.js file and add in the following components:
import {useContext} from "react";
import {ThemeContext} from '../context-store/context';
Then, get the theme from the current context:
const {theme,setTheme} = useContext(ThemeContext);
Next, change the handleThemeChange function set the theme on the context:
const handleThemeChange = () => {
    setTheme(theme === 'light' ? 'dark' : 'light');
}
Ensure any theme change is captured in the app using useEffect:
useEffect(() => {
    console.log('theme changed');
}, [theme]);
Finally, change the view to correspond with the theme:
return (
    <View style={theme == 'light' ? styles.container_light : styles.container_dark}>
        <Text style={theme == 'light' ? styles.text_light : styles.text_dark}>We are on {theme} mode!</Text>
        <Button title="Switch Mode" onPress={handleThemeChange} />
        <StatusBar style="auto" />
    </View>
);
At this stage, our setup is complete. Ensure that the development server is running and check your app. Try switching the themes to test if this works as expected.
Appearance is a core React Native module for getting and listening to theme changes on an underlying device.
We won’t need to set up any providers in the root App.js file for this implementation. The underlying device is the sole control of which theme will be displayed in your application.
On the components/App.js file, we will just need to import the useColorScheme Hook from react-native like so:
import {useColorScheme} from 'react-native';
Then, from the Hook, get the current theme of the underlying device:
const theme = useColorScheme();
Finally, render the components based on that theme. Because the theme will be controlled from the underlying device, we won’t need a button to switch:
return (
    <View style={theme == 'light' ? styles.container_light : styles.container_dark}>
        <Text style={theme == 'light' ? styles.text_light : styles.text_dark}>We are on {theme} mode!</Text>
        <StatusBar style="auto" />
    </View>
);
Based on your device UI settings, you should receive a similar theme:
Whenever you change the theme mode on the settings of your mobile device, the change should also reflect in your React Native application.
React Navigation is used to write navigators such as stacks, bottom tabs, and drawer navigators. It is essentially used to navigate between different screens in React Native apps. We can also use React Navigation to switch to different screen themes.
Start by installing the package like so:
npm install @react-navigation/native
React Navigation uses the default theme of the mobile device. It is very helpful, particularly when dealing with multiple screens. Each screen will just load the default theme settings in your phone.
To set this up, navigate to the project root App.js file and add the following configurations:
// color scheme hook
import {useColorScheme} from 'react-native';
// theme components and the navigation container
import {DarkTheme,DefaultTheme,NavigationContainer} from '@react-navigation/native';
Encapsulate the view with NavigationContainer that will supply the theme component to the app’s MainComponent:
return (
    <NavigationContainer theme={scheme === 'dark' ? DarkTheme : DefaultTheme}>
        <MainComponent />
    </NavigationContainer>
);
The above configuration will add some styles to our component based on the default theme values. Therefore, in the components/App.js file, make the following changes:
First, import the useTheme hook:
// useTheme hook
import {useTheme} from '@react-navigation/native';
Next, define the colors to use based on the current theme:
const colors = useTheme().colors;
Finally, apply the colors on the view. The colors will be dynamic based on the current theme:
return (
    <View style={{ backgroundColor: colors.card, flex: 1, alignItems: 'center', justifyContent: 'center' }}>
        <Text style={{ color: colors.text }}>We are on {theme} mode!</Text>
        <StatusBar style="auto" />
    </View>
);
To test this functionality, ensure that the development server is up and running. Your app will load default settings for both light and dark modes. You have to update it from your phone’s UI settings to change the theme.
Styled-components creates reusable React components and allows you to write the actual CSS code in your JavaScript, meaning you can use all the components that CSS has. We can also use styled-components to implement dark mode in React Native.
Start by installing the package:
npm i styled-components
Next, navigate to the App.js file in the root project folder and import the ThemeProvider from styled-components:
import {ThemeProvider} from 'styled-components';
Then, define the darkTheme and lightTheme properties:
const darkTheme = {
    background: "#121212",
    foreground: "#fff",
}

const lightTheme = {
    background: "#fff",
    foreground: "#000",
}
Encapsulate the component with ThemeProvider, defining the theme and the properties as follows:
return (
    <ThemeProvider theme={scheme === 'dark' ? darkTheme : lightTheme}>
        <MainComponent />
    </ThemeProvider>
);
On the components/App.js file, import styled-components like so:
import styled from 'styled-components/native';
Now, define styled-components with dynamic properties (background and foreground) based on the theme:
const StyledView = styled.View`
    background-color: ${props => props.theme.background};
    flex:1;
    align-items:center;
    justify-content:center;
    `;

const StyledText = styled.Text`
    color: ${props => props.theme.foreground};
    `;
Finally, return the view with the styled-components:
return (
    <StyledView>
        <StyledText>We are on {theme} mode!</StyledText>
        <StatusBar style="auto" />
    </StyledView>
);
Your app theme should now respond based on the current set theme. You will have to change the theme in your phone’s settings.
Themes enhance user experience and accessibility for your application. For example, if your application requires users to focus on the screen for an extended time, users can switch to dark mode for their comfort. It also allows users to decide which look and feel is the most comfortable to consume your content.
That’s all for this guide – I hope you found it helpful!

LogRocket's Galileo AI watches sessions for you and and surfaces the technical and usability issues holding back your React Native apps.
LogRocket also helps you increase conversion rates and product usage by showing you exactly how users are interacting with your app. LogRocket's product analytics features surface the reasons why users don't complete a particular flow or don't adopt a new feature.
Start proactively monitoring your React Native apps — try LogRocket for free.

Learn how to protect full-stack projects from NPM supply chain attacks with a practical security checklist.

Explore 15 essential MCP servers for web developers to enhance AI workflows with tools, data, and automation.

Learn how contrast-color() automatically picks accessible text colors using native CSS, without JavaScript.

Learn how to build a harness-style AI workflow using Claude Code with specialized Dev, QE, and Ops subagents, gated handoffs, MCP telemetry, and LEARNING.md.
Hey there, want to help make our blog better?
Join LogRocket’s Content Advisory Board. You’ll help inform the type of content we create and get access to exclusive meetups, social accreditation, and swag.
Sign up now

