In this article, you will learn about the top Python GUI frameworks, how to use them, and how they compare to one another. But first, let’s quickly discuss what a GUI framework is and why it’s an important aspect of programming.

GUI is an acronym for Graphical User Interface. It is the interface that allows users to interact with electronic devices via graphical elements.
It’s an important aspect of software programming because it allows for interaction between the human and the computer/electronic device. In simple terms, it replaces text-based commands with user-friendly actions — the goal is to present the user with easy-to-use decision points and interfaces, which, in turn, yields a great user experience in the software application.
The top Python GUI frameworks we’ll be discussing in this article are:
These Python GUI frameworks are the most popular frameworks Python software developers use. Each one offers its pros and cons, which we’ll cover below.
To continue with this article, you’ll need to install the Python 3 interpreter from the official Python website.
Tkinter is the standard built-in GUI library for Python, and, with over 41,000 stars on GitHub, it’s the most popular Python GUI framework. It’s a fast and easy-to-use Python GUI library, making it the go-to library for building a Python GUI application.
Tkinter is a built-in Python library, so it comes pre-installed with the Python installation on your computer. There’s no need to install it separately.
Tkinter provides many of the widgets often used in a GUI application, such as labels, buttons, checkboxes, text boxes, and canvas (for drawing shapes like triangles, rectangles, polygons, etc.).
Below is an example:
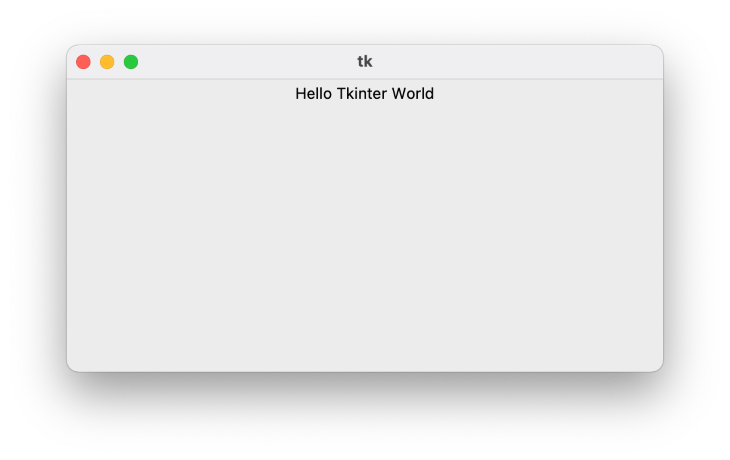
import Tkinter
mainApp = Tkinter.Tk()
# Add the codes for the widget here..
mainApp.mainloop()
When you run the Python code above, you’ll see the following:
PyQT is a Python GUI framework that’s built around the popular QT application framework. It runs on many platforms, including Windows, macOS, Linux, iOS, and Android.
Installing PyQT 5 is also easy and straightforward. First, we create a virtual environment. This is a very important and recommended step to take when building a new Python application.
To create a Python virtual environment, open your terminal and run the commands below in your favorite directory.
Python -m virtualenv pyqt_venv
To activate the virtual environment, run the command below:
source pyqt_venv/bin/activate
After activating the virtual environment, install PyQT in the virtual environment using Python pip. To do that, run the command below in your terminal:
pip install pyqt5
Upon successful installation of PyQT 5, we will proceed to write a small PyQT GUI application with a set height and width. Below is what our code will look like:
import sys
from PyQt5.QtWidgets import QApplication, QWidget, QLabel
def PyQT5App():
app = QApplication(sys.argv)
w = QWidget()
b = QLabel(w)
b.setText("Hello World!")
w.setGeometry(500, 500, 1000, 500)
b.move(450, 240)
w.setWindowTitle("PyQt5")
w.show()
sys.exit(app.exec_())
if __name__ == '__main__':
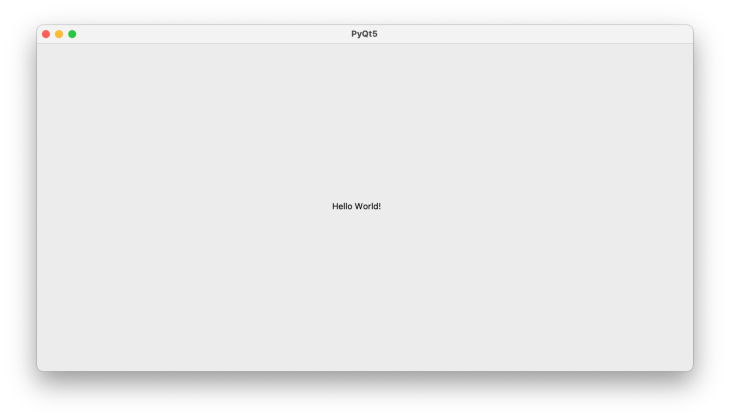
PyQT5App()
After running the code above, you should see the following:
PySide6, known as QT for Python, is a Python GUI framework that binds the QT framework. PySide provides access to all the GUI components and tools provided by QT.
Pyside can be easily installed using Python pip. Just like we did for other frameworks, we first need to create a virtual environment.
Open your terminal and run the commands below in your favorite directory:
Python -m virtualenv pyside_venv
To activate the virtual environment, run the command below:
source pyside_venv/bin/activate
Now, install PySide6 in the virtual environment using Python pip by running the command below in your terminal:
pip install PySide6
Let’s look at a simple PySide application:
import sys
from PySide.QtCore import Qt
from PySide6.QtWidgets import (QApplication, QLabel,
QVBoxLayout, QWidget)
from __feature__ import snake_case, true_property
class PySideApp(QWidget):
def __init__(self):
QWidget.__init__(self)
self.message = QLabel("Hello PySide World!")
self.message.alignment = Qt.AlignCenter
self.layout = QVBoxLayout(self)
self.layout.add_widget(self.message)
if __name__ == "__main__":
app = QApplication(sys.argv)
widget = PySideApp()
widget.show()
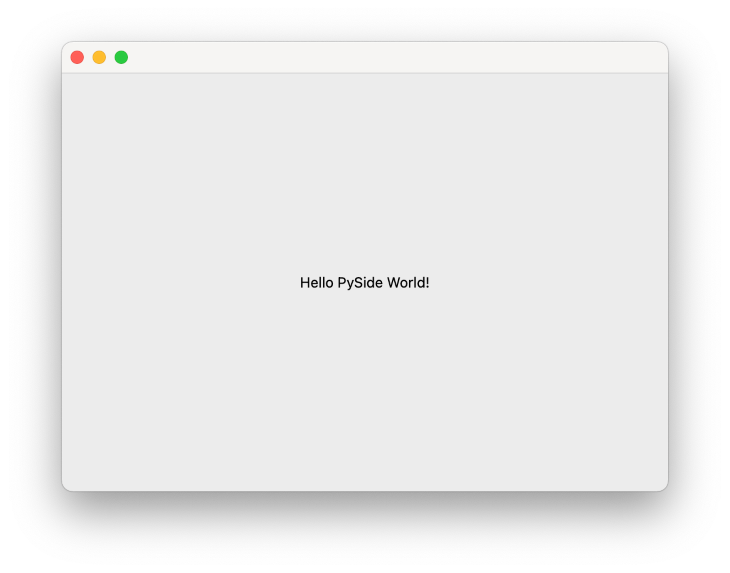
sys.exit(app.exec())
Run the code above to get this output:
Kivy is an open-source Python GUI framework that runs on Linux, Windows, OS X, Android, iOS, and Raspberry Pi. Kivy is one of the most stable Python GUI frameworks, offering an API and thorough documentation and guides for easy use and setup. It’s important to note that Kivy is written in Python and Cython.
There are multiple ways to install Kivy, which varies on the platform you’re using. For this article, we’ll install Kivy with Python pip. To learn about the other ways to install Kivy, you can check out the installation page here.
Before installing Kivy, let’s create a virtual environment for the Kivy project.
To do so, open your terminal and run the commands below in your favorite directory:
Python -m virtualenv kivy_venv
To activate the virtual environment, run the command below:
source kivy_venv/bin/activate
After activating our virtual environment, you can install the Kivy pre-compiled wheel in your virtual environment using Python pip. To do that, run the command below in your terminal:
pip install kivy
At this point, you have successfully installed Kivy. Just like Tkinter, Kivy also provides many widgets. Here’s an example of a simple Kivy application.
from kivy.app import App
from kivy.uix.button import Button
class HelloWorldApp(App):
def build(self):
return Button(text="Hello Kivy World")
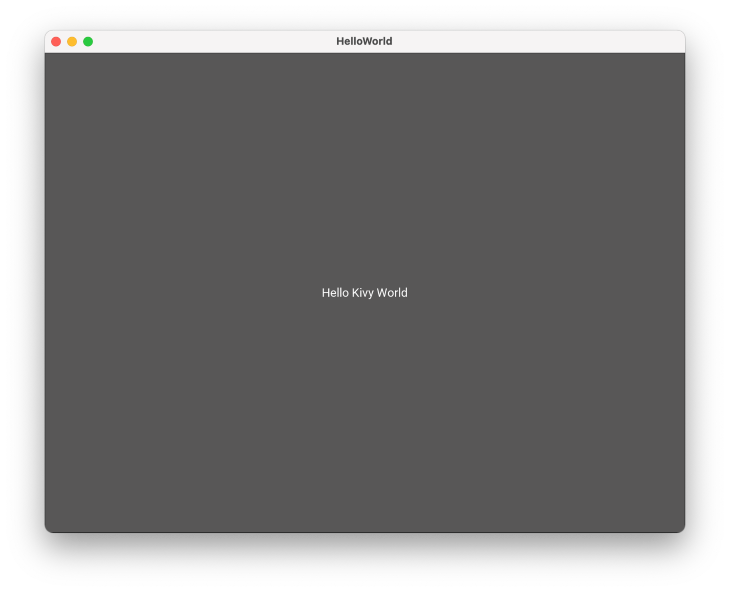
HelloWorldApp().run()
After running the code above, you’ll see the window below:
It’s important to note a few things about these Python GUI frameworks. Tkinter and Kivy are free libraries, so you can use them for any of your Python projects.
PyQT and PySide, however, require that you get a license to make your project commercial. Also, Tkinter is a built-in Python library while the other three require that you install them to be able to make use of them.
Having learned a bit about a few common Python GUI frameworks, such as PySide, PyQT, Kivy, and Tkinter, you should now be able to decide on the best framework for your Python project.
I would love to hear your thoughts on the Python GUI Frameworks and the framework you use often in the comment section below.

Learn how to protect full-stack projects from NPM supply chain attacks with a practical security checklist.

Explore 15 essential MCP servers for web developers to enhance AI workflows with tools, data, and automation.

Learn how contrast-color() automatically picks accessible text colors using native CSS, without JavaScript.

Learn how to build a harness-style AI workflow using Claude Code with specialized Dev, QE, and Ops subagents, gated handoffs, MCP telemetry, and LEARNING.md.
Hey there, want to help make our blog better?
Join LogRocket’s Content Advisory Board. You’ll help inform the type of content we create and get access to exclusive meetups, social accreditation, and swag.
Sign up now

