Table of contents:

The Replay is a weekly newsletter for dev and engineering leaders.
Delivered once a week, it's your curated guide to the most important conversations around frontend dev, emerging AI tools, and the state of modern software.
Web components are custom, reusable, and strongly-encapsulated HTML components that are library-agnostic and can be used in any JavaScript project.
One example of a popular web component is the <video> tag. While video might seem like a single HTML element, underneath, it consists of several HTML elements and custom logic that defines its behavior.
So, why use web components? At a high level, the two main advantages of web components are encapsulation and a lack of external dependencies.
Web components solve the encapsulation problem by allowing you to limit the impact of your CSS and JavaScript code to the scope of your component.
Of course, popular JavaScript frameworks like React and Angular help you achieve similar encapsulation effects. So then, what makes web components special? That question brings us to the second advantage: web components are library-agnostic, and you can create them using only inbuilt JavaScript APIs.
The library-agnostic nature of web components is especially useful when designing a UI component library. Unlike other libraries built for specific frameworks, you can use web components to build a library that isn’t coupled to a single technology stack. That means anybody can use it, regardless of the JavaScript framework they use for their project.
Typically, you will use three specifications/technologies when creating web components:
<template> tag, you can define a markup structure that’s not immediately rendered upon page load but is meant to be duplicated using JavaScriptTo learn more about these specifications and how web components compare to JavaScript frameworks like React, check out this LogRocket blog post.
Just like any technology, web components have limitations. Let’s cover them briefly.
Web components require browsers to allow running JavaScript on your web app, even if your web component is purely presentational and does not contain any interactive JavaScript code.
Typically, you would need to write your web components in an imperative fashion, rather than a declarative one. That results in a somewhat clunky authoring experience, especially when implementing more advanced techniques, like progressive enhancement. We’ll cover this in more detail in a later section.
As you’ve probably guessed, WebC helps with some of the pains when working with web components.
WebC is a serializer that generates markup for web components. It’s framework-agnostic and provides various useful compilation tools that make writing web components easier.
As I mentioned, web components normally require JavaScript to be available, even for the web components that don’t have any JavaScript in them. But with WebC, this is not the case. You can create HTML-only web components that will render even if the browser has JavaScript disabled. That’s because WebC takes your web component code and compiles it to a simple HTML output.
WebC provides a better authoring experience when writing web components. With WebC, you can create single-file web components that are easy to write and maintain. They consolidate your HTML, CSS, and JavaScript code and simplify the process using features like templates and Shadow DOM.
And that’s just scratching the surface: WebC has more features and customizations that make writing web components a more pleasant experience. Check out their docs for a more detailed overview of all the features and options.
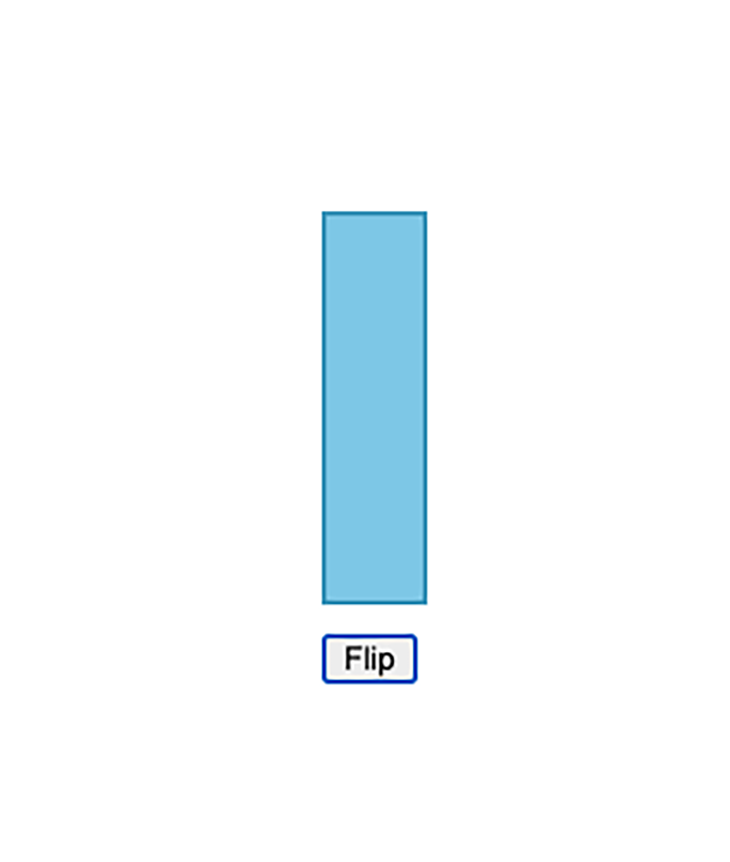
Let’s see WebC in action! For this tutorial, we’ll build a custom component with a button and a box that rotates when you click the button. This is a pretty contrived example, but it will still help us illustrate the benefits of using WebC.

To follow along, first, you will need to set up a JavaScript project. I will use Vite to spin up a new project quickly.
You will also need Node.js installed; we will use it to run our WebC compilation script that will generate static files which Vite will serve.
Once you’ve set up your project, run yarn add @11ty/webc to install WebC. Next, let’s add our main.js script that will register the WebC page and write its content to index.html at the root of our project:
import { WebC } from "@11ty/webc";
import fs from "fs";
let page = new WebC();
page.defineComponents("components/**.webc");
page.setInputPath("page.webc");
let { html, css, js, components } = await page.compile();
fs.writeFile("./index.html", html, (err) => {
  if (err) {
    console.log({ err });
  }
});
So, here’s what’s happening above:
page.setInputPath("page.webc");, we define the content source for our page. WebC pages and components usually have a .webc file extensionpage.defineComponents("components/**.webc");, we define the folder where we will keep our web componentspage.compile() to aggregate and compile the page’s content into a static HTML outputindex.html fileBefore we go any further, let’s briefly cover the difference between pages and components. In WebC, pages are files that start with <!doctype or <html and are typically used to display the whole page.
Components are any other WebC files that are used to display reusable UI pieces or fragments.
Now, let’s create our page.webc file and try running our script. The file will contain a basic HTML page setup:
<!-- HTML-->
<!DOCTYPE html>
<html lang="en">
  <head>
    <meta charset="UTF-8">
    <meta http-equiv="X-UA-Compatible" content="IE=edge">
    <meta name="viewport" content="width=device-width, initial-scale=1.0">
    <title>WebC tutorial</title>
  </head>
  <body>
    <my-component></my-component>
  </body>
  <style>
    body {
      padding: 20%;
    }
  </style>
</html>
You might have noticed that this looks just like our standard HTML, and that’s because it is! With WebC, you use regular HTML, JavaScript, and CSS, apart from a few cases where you’d need to add some WebC syntax.
Now let’s try running our script. You can run it simply using the node main.js command. For a better developer experience though, I recommend using nodemon. It will pick up any changes you make to your script and automatically re-run the file.
Here’s the nodemon command I’m using for this tutorial:
nodemon main.js -e js,webc,html
Next, let’s add our web component by creating the components folder and placing the my-component.webc file there. Let’s add the following content:
<!-- HTML-->
<div id="rectangle"></div>
<button id="flipper">Flip</button>
<style webc:scoped>
  #rectangle {
    background-color: skyblue;
    width: 40px;
    height: 160px;
    border: 2px #4ba3c6 solid;
  }

  button {
    margin-top: 12px;
    width: 40px;
  }
</style>
Again, we’re using simple HTML and CSS to set up and style the button and the div for our box.
webc:scoped attribute in style tagsOne notable part from the example above is the webc:scoped attribute in our style tag. This tag allows you to encapsulate your CSS code within your component.
When you add this attribute to a style tag, WebC will automatically generate and assign a unique hashed string class to your component element during the compilation. It then prefixes that hash string in front of all of the CSS selectors you declare inside your component.
Popular styling libraries like emotion and styled-components use a similar hash-generating mechanism to contain styling within custom components.
So far, we have defined how our web component looks, but it doesn’t do much. Let’s add some JavaScript code for interactions.
In the same web component, right below the style tag, add a script tag with the following JavaScript code:
<!-- HTML-->
<script>
  let deg = 0;
  document.getElementById("flipper").onclick = () => {
    const rectangle = document.getElementById("rectangle");
    const nextDeg = deg === 0 ? 90 : 0;
    rectangle.style.transform = `rotate(${nextDeg}deg)`
    deg = nextDeg;
  }
</script>
Here we’re simply adding an onclick listener to our button that rotates the rectangle by updating the transform style attribute. Notice that we didn’t have to define our web component globally using customElements.define; we simply added the JavaScript code to power our button.
And that’s all there’s to it. Now we have a functioning, albeit simple web component. If you were to turn off JavaScript for your local server using an extension, our web component would still be displayed, although the button won’t do anything.
Another powerful feature of WebC is simplifying the process of adding progressive enhancements to your app.
Progressive enhancement is a pattern that allows the users to access the basic content and functionality of a website first. Afterward, if the user’s browser features and internet connection allows, usersl receive UI enhancements and more interactive features.
Let’s add a simple progressive enhancement treatment to our component by disabling the button until JavaScript is available.

First, we need to update the code in our script tag:
<!-- HTML-->
<script>
  let deg = 0;
  class MyComponent extends HTMLElement {
    connectedCallback() {
      document.getElementById("flipper").onclick = () => {
        const rectangle = document.getElementById("rectangle");
        const nextDeg = deg === 0 ? 90 : 0;
        rectangle.style.transform = `rotate(${nextDeg}deg)`
        deg = nextDeg;
      }
    }
  }
  window.customElements.define("my-component", MyComponent)
</script>
Here, we used the standard pattern for defining a web component using window.customElements.define in order to be able to wait for JavaScript to become available.
Now let’s add the CSS treatment to our button:
<!-- HTML-->
<style webc:scoped>
  #rectangle {
    background-color: skyblue;
    width: 40px;
    height: 160px;
    border: 2px #4ba3c6 solid;
  }

  button {
    margin-top: 12px;
    width: 40px;
  }

  :host:not(:defined)>button {
    opacity: 0.2;
    cursor: not-allowed;
  }
</style>
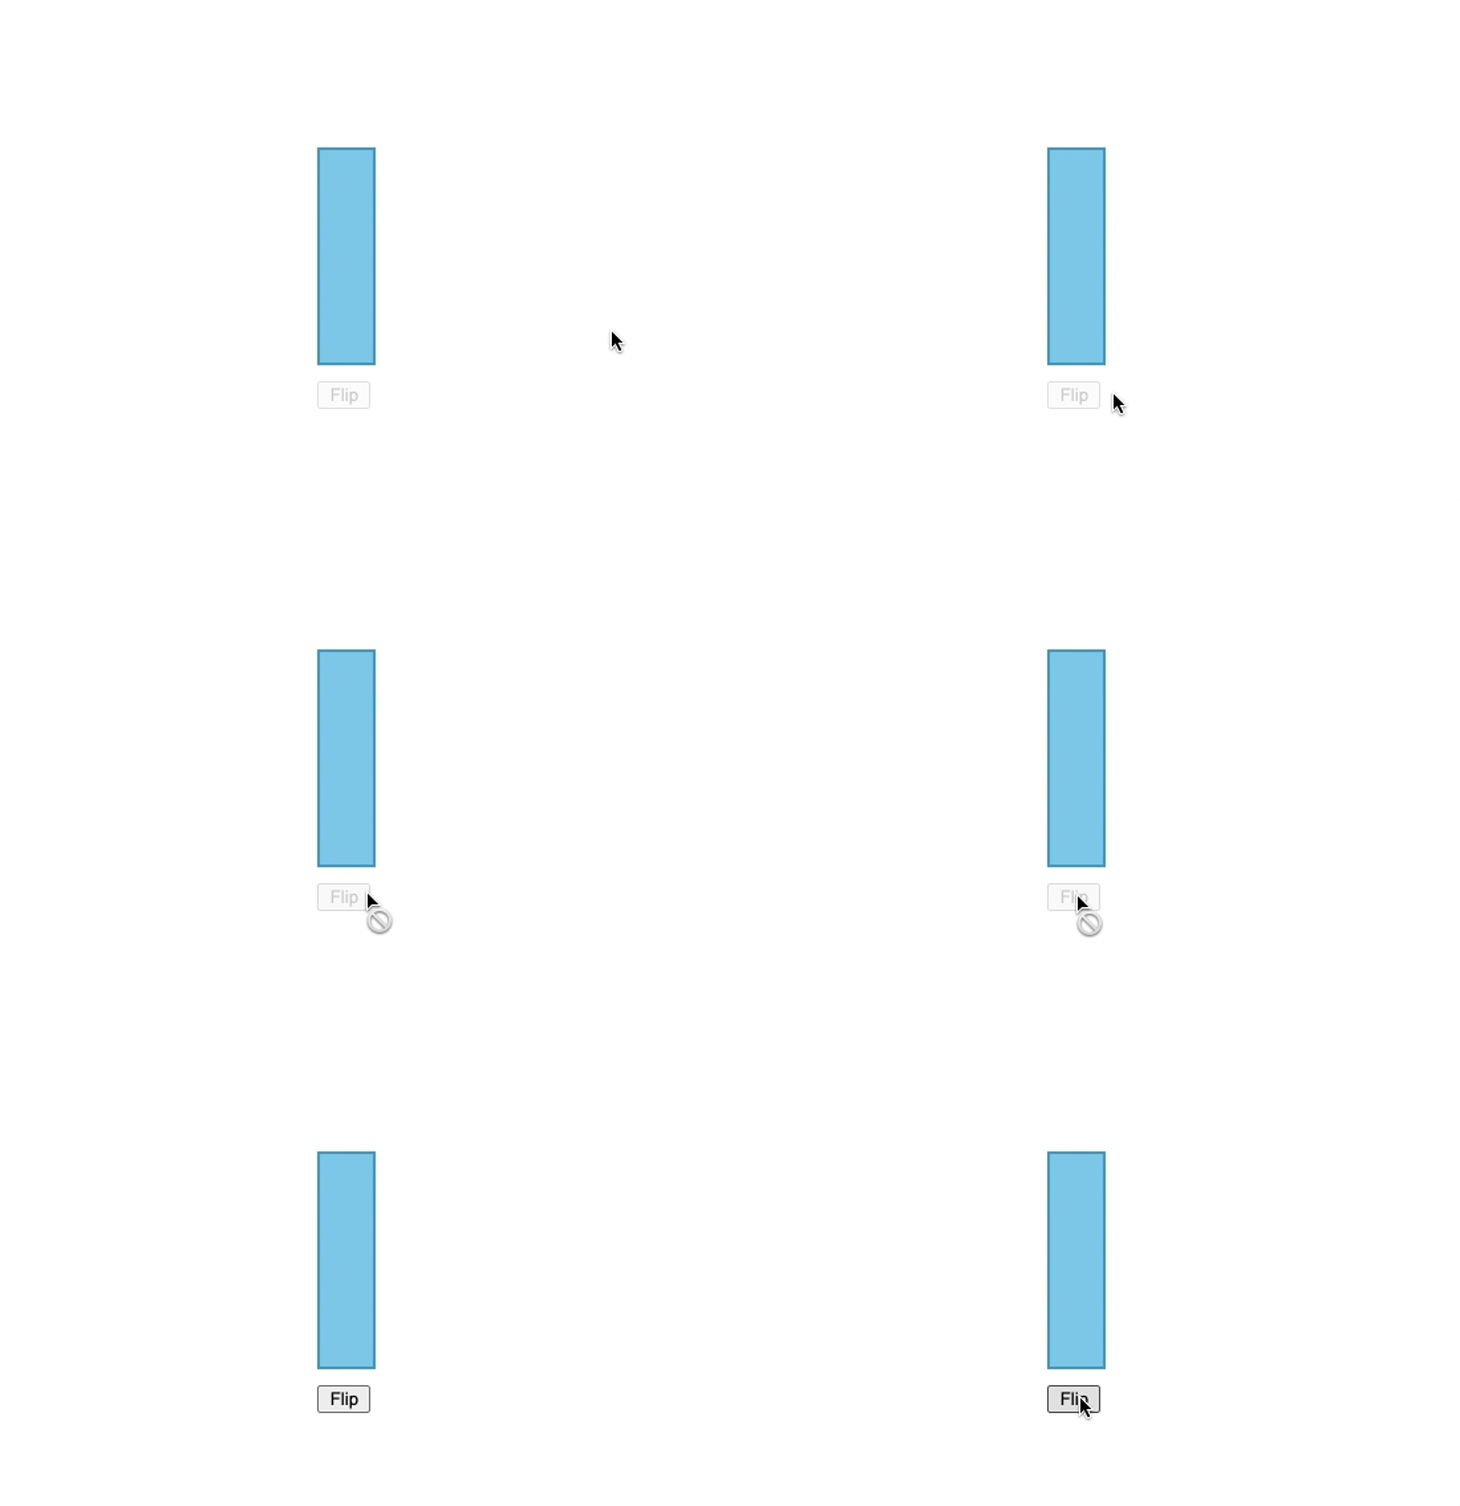
As you can see, we’re using the :host:not(:defined) selector. This selector comes from the Shadow DOM API and allows you to define special styling for your web components while they are loading.
WebC does put its own spin on it, though: when your code is compiled, it will substitute the :host part with the generated hash string class.
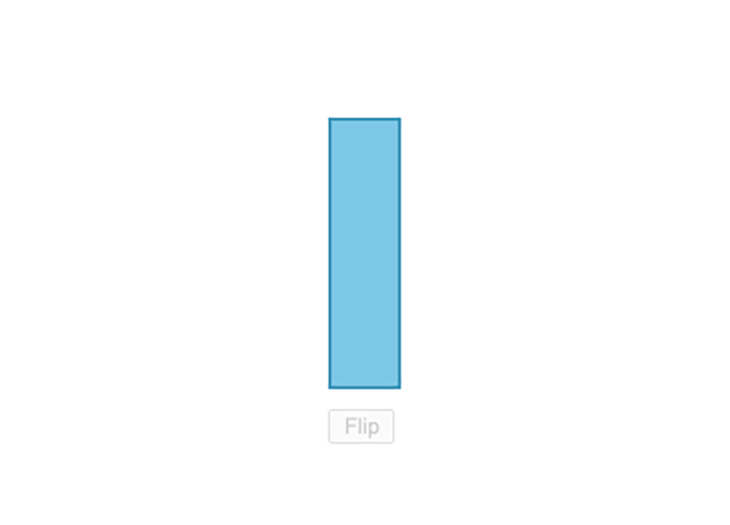
Now, if you were to turn off JavaScript for your local server, you will see that the button is greyed out, and it’s more obvious that the button doesn’t do anything.

You could use the same pattern to give your web page any progressive enhancement treatment you want.
That’s it for this post. We went over web components, their use cases, and how they compare against JavaScript frameworks.
In addition, we discussed how WebC alleviates some of the drawbacks of web components and helps us reap their full benefits.
Debugging code is always a tedious task. But the more you understand your errors, the easier it is to fix them.
LogRocket allows you to understand these errors in new and unique ways. Our frontend monitoring solution tracks user engagement with your JavaScript frontends to give you the ability to see exactly what the user did that led to an error.

LogRocket records console logs, page load times, stack traces, slow network requests/responses with headers + bodies, browser metadata, and custom logs. Understanding the impact of your JavaScript code will never be easier!

React Server Components and the Next.js App Router enable streaming and smaller client bundles, but only when used correctly. This article explores six common mistakes that block streaming, bloat hydration, and create stale UI in production.

Gil Fink (SparXis CEO) joins PodRocket to break down today’s most common web rendering patterns: SSR, CSR, static rednering, and islands/resumability.

@container scroll-state: Replace JS scroll listeners nowCSS @container scroll-state lets you build sticky headers, snapping carousels, and scroll indicators without JavaScript. Here’s how to replace scroll listeners with clean, declarative state queries.

Explore 10 Web APIs that replace common JavaScript libraries and reduce npm dependencies, bundle size, and performance overhead.
Hey there, want to help make our blog better?
Join LogRocket’s Content Advisory Board. You’ll help inform the type of content we create and get access to exclusive meetups, social accreditation, and swag.
Sign up now