keepAwake into your React Native appMobile devices will often go to sleep or lock the screen after a brief period of user inactivity. While this is a helpful power-saving feature, this can create a frustrating user experience in situations where the screen needs to stay on without regular input from the user, such as when playing videos, reading ebooks, or navigating with GPS.

Fortunately, we can request a wake lock in our application to address this problem. When a wake lock request is granted, the operating system allows the screen to remain on until it is released.
By the end of the article, you’ll understand how to efficiently use keep awake to prevent interruption while your application is in use.
Jump ahead:
A wake lock, or keep awake function, is a feature in operating systems that prevents the device from going to sleep when an application needs access to the system’s resources to perform a continuous task. It ensures that the device remains active, even if the user is not actively using it. It is worth noting that keepAwake can result in increased battery usage. You should exercise discretion when using this feature.
In React Native applications, we can implement keep awake using either the react-native-wake-lock or expo-keep-awake packages. Both packages offer a similar API, but the former is no longer maintained. We’ll use the more active package, expo-keep-awake, in this article.
We’ll also use “wake lock” and “keep awake” interchangeably in this article.
To demonstrate how to use keep awake, we’ll develop a basic video player application. I have prepared a starter project with navigation and styling setup so we won’t need to create a new project from scratch.
This article assumes you’re familiar with React Native and the Expo framework. You should also have a mobile device or emulator where you can test the application.
Run the following command in your terminal to clone the starter project from GitHub:
git clone -b starter https://github.com/emmanuelhashy/react-native-keep-awake --single-branch
Next, run the command below to install the dependencies:
npx expo install
Run the command below to launch the starter project on your device:
npx expo run:android
If you prefer using Expo Go, you can run the following command instead:
npx expo start
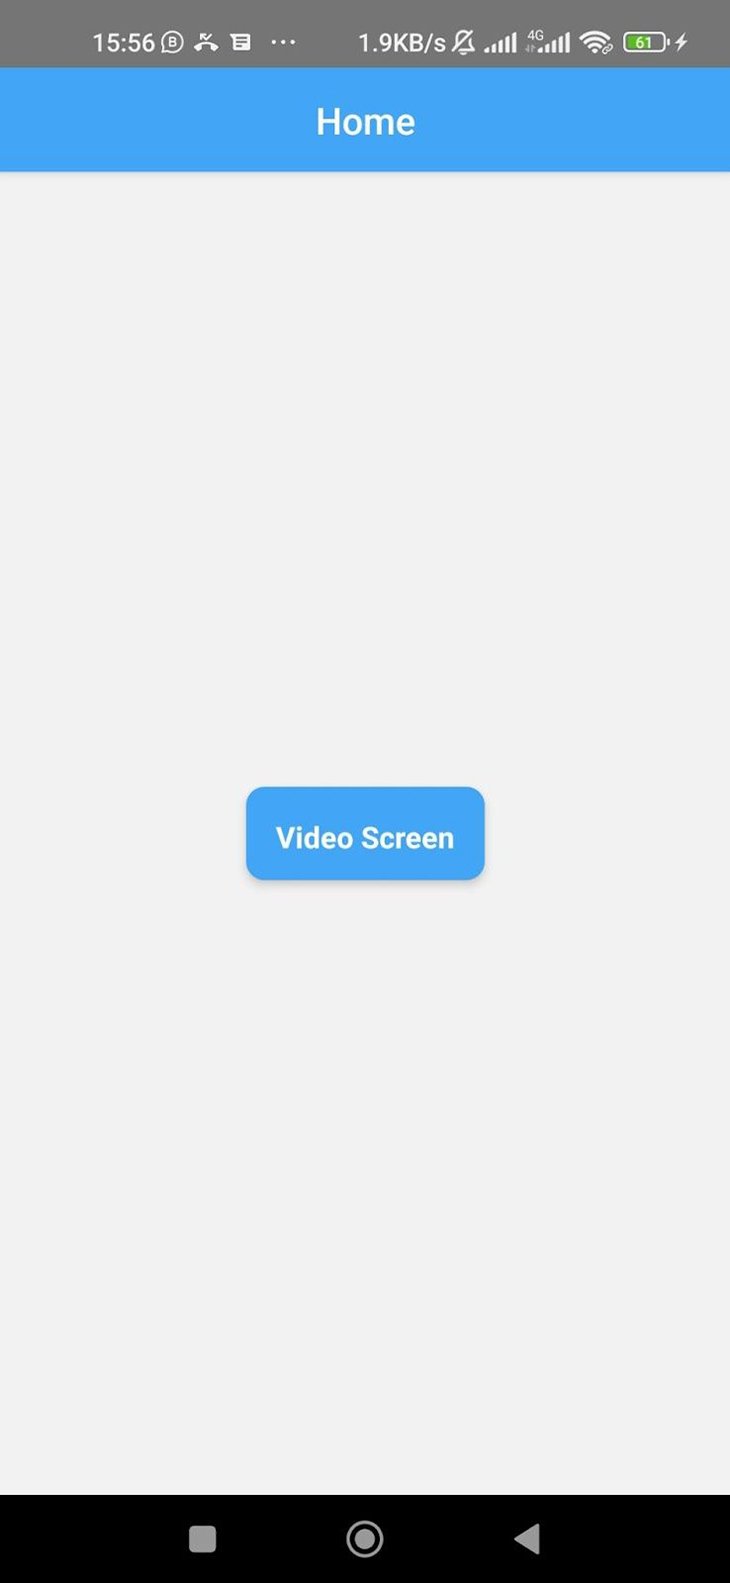
The application has two screens:
This is what the application currently looks like:
Let’s begin by adding a component for video playback to the Video screen. We can use the expo-av package to achieve this.
Run the following command to install expo-av:
npx expo install expo-av
Next, let’s include the required imports at the top of screens/video_screen.js:
import React, { useState} from "react";
import ProgressIndicator from "../components/progress_indicator"
import { Video } from "expo-av";
Then, let’s add the code below to the VideoScreen component:
const [isBuffering, setBuffering] = useState(true);
    return <View style={styles.container}>
        {
            isBuffering && <ProgressIndicator />
        }
        <Video style={styles.video}
            source={{ uri: videoSource }}
            isLooping
            shouldPlay
            resizeMode="cover"
            useNativeControls
            onLoadStart={() => setBuffering(true)}
            onReadyForDisplay={() => setBuffering(false)}
            />
    </View>
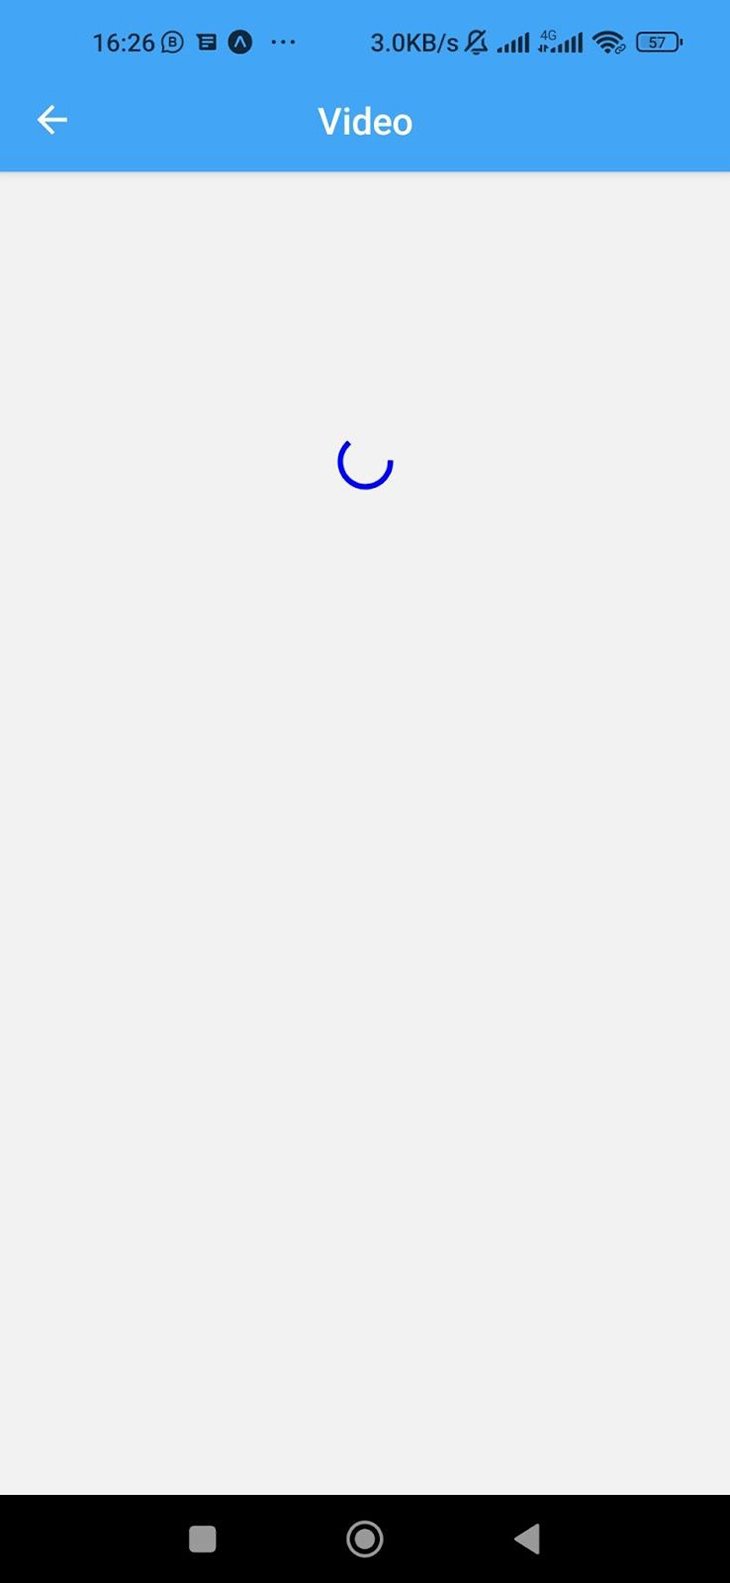
Here, we create a state to keep track of the buffering status of the video using the useState Hook. The state is updated when the onLoadStart and onReadyDisplay event handlers are called. In addition, the ProgressIndicator component is shown when the video is buffering.
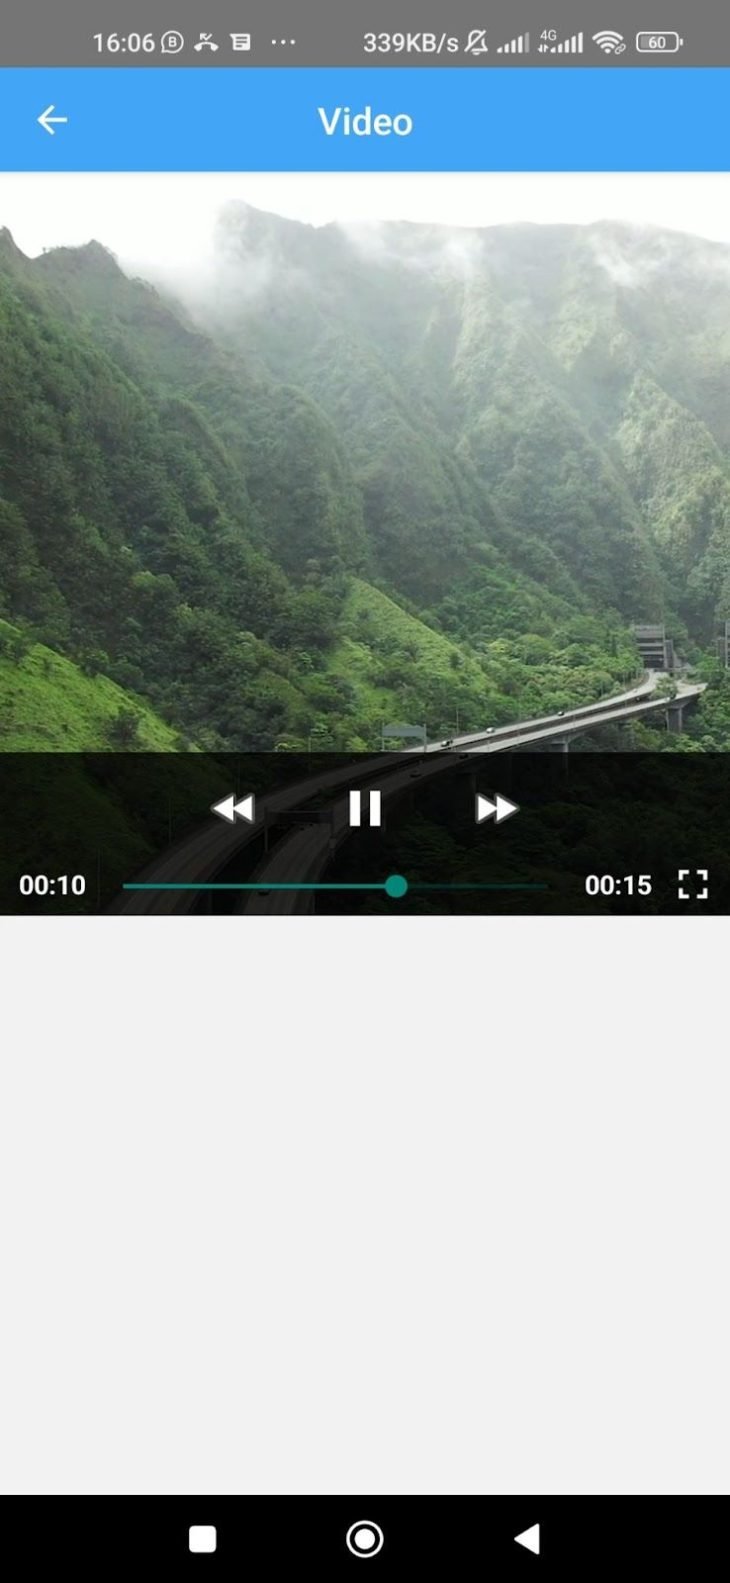
The isLooping prop is enabled to ensure playback is repeated. Also, shouldPlay allows playback to begin immediately after the video is loaded.
This is what our app looks like now:
Currently, the video is repeatedly downloaded from the server on each playback cycle, which is inefficient. We’ll address this problem by caching the video; the expo-file-system module provides APIs that can be used to implement caching.
Let’s add and update the imports in screens/video_screen.js to the following:
import { downloadAsync, cacheDirectory, getInfoAsync } from "expo-file-system";
import React, { useState, useEffect} from "react";
Next, let’s add the code below to the VideoScreen component:
const [videoUri, setVideoUri] = useState(null);
useEffect(() => {
        const cacheVideo = async () => {
            const cachedVideoUri = `${cacheDirectory}/demo-video.mp4}`;
            const fileInfo = await getInfoAsync(cachedVideoUri);
            if (fileInfo.exists) {
                setVideoUri(cachedVideoUri);
            } else {
                const { uri } = await downloadAsync(videoSource, cachedVideoUri);
                setVideoUri(uri)
            }
        };
        cacheVideo();
    }, []);
As you can see, we have changed the video’s URI to a state using the useState Hook. We have also defined a useEffect Hook where we are performing the caching.
Finally, let’s update the source prop of the Video component to use the new state:
<Video style={styles.video}
    source={{ uri: videoUri }}
    isLooping
    shouldPlay
    resizeMode="cover"
    useNativeControls
    onLoadStart={() => setBuffering(true)}
    onReadyForDisplay={() => setBuffering(false)}
/>
As previously mentioned, the operating system will turn off the screen after some time by default, even if our application is still running. This behavior can be disappointing, but luckily we can fix it.
It is important to note that if you are running dev mode in Expo Go. Keep awake is enabled by default to prevent the screen from going off while testing your application. However, you can run your application in production mode to see the actual app behavior.
To do this, use the command below:
npx expo run start --no-dev
We can use the expo-keep-awake package to enable keep``-a``wake in our React Native application. This package provides two streamlined options for activating keep``-``awake:
useKeepAwake: This Hook enables wake lock when the component where it’s used is mounted. However, the wake lock is released when the component is unmountedactivateKeepAwake: When this function is called, it requests a wake lock. Its inverse function is deactivateKeepAwake, which releases the wake lockLet’s add the expo-keep-awake package by running the following command:
npx expo install expo-keep-awake
useKeepAwake HookAs noted previously, this Hook ensures that the screen stays on as long as the component is mounted. Using this Hook in a component that exists for the entire lifetime of the application could result in a situation where the screen continuously remains on, including when this behavior isn’t intended, which could also lead to an inverse, but equally poor user experience.
It is advisable to only use this Hook at the actual component where it is needed, which in our example is the VideoScreen.
Let’s add the import below to screens/video_screen.js:
import { useKeepAwake } from "expo-keep-awake";
Next, let’s use the Hook by adding it to the VideoScreen component:
useKeepAwake();
activateKeepAwake HookAn alternative way of activating keep awake is using the activateKeepAwake function. Unlike the useKeepAwak``e Hook, this gives us greater control over when to activate and deactivate keep awake.
Let’s update the expo-keep-awake import to the following:
import { activateKeepAwakeAsync, deactivateKeepAwake } from "expo-keep-awake";
Next, let’s remove the useKeepAwake Hook from the VideoScreen component and also add the following code:
const [playbackStatus, setPlaybackStatus] = useState(false)
const handlePlaybackStatus = (newPlaybackStatus) => {
    setPlaybackStatus(newPlaybackStatus.isPlaying)
}
Here, we have created a playbackStatus state using the useState Hook and also defined a handler for updating the playbackStatus.
Now, let’s add the code below to the VideoScreen component:
useEffect(() => {
    const enableKeepAwake = async () => {
        await activateKeepAwakeAsync();
    }
    if (playbackStatus) {
        enableKeepAwake();
    } else {
        deactivateKeepAwake();
    }
}, [playbackStatus]);
As you can see, we have defined a useEffect Hook that activates and deactivates keep awake depending on the status of the playbackStatus state.
Finally, let’s add the onPlaybackStatusUpdate event handler prop to the Video component, as shown below:
<Video style={styles.video}
            source={{ uri: videoUri }}
            isLooping
            shouldPlay
            resizeMode="cover"
            useNativeControls
            onLoadStart={() => setBuffering(true)}
            onReadyForDisplay={() => setBuffering(false)}
            onPlaybackStatusUpdate={handlePlaybackStatus}
        />
This prop triggers the handlePlaybackStatus function when the playback status changes. When running the final version of this project, the screen will remain turned on while our video player application is running.
keepAwake is a useful feature in mobile applications that require prolonged use, particularly video players, gaming apps, and ereader apps. However, it can potentially lead to a poor user experience if implemented incorrectly.
Having covered the different ways in which keep awake can be used in React Native applications, I hope you fully understand how to implement it in your applications moving forward. You can find the complete source code on GitHub.

LogRocket's Galileo AI watches sessions for you and and surfaces the technical and usability issues holding back your React Native apps.
LogRocket also helps you increase conversion rates and product usage by showing you exactly how users are interacting with your app. LogRocket's product analytics features surface the reasons why users don't complete a particular flow or don't adopt a new feature.
Start proactively monitoring your React Native apps — try LogRocket for free.

Learn how to set up Meilisearch, index documents, and build keyword, semantic, and hybrid search with AI-powered retrieval.

Compare pnpm and npm across security defaults, disk usage, dependency strictness, and workspace policy to decide which package manager fits your project.

I migrated 20 production-style components from Tailwind to StyleX. Here’s what the data showed about LOC, CSS bundle size, build time, and type safety.

A guide for using JWT authentication to prevent basic security issues while understanding the shortcomings of JWTs.
Would you be interested in joining LogRocket's developer community?
Join LogRocket’s Content Advisory Board. You’ll help inform the type of content we create and get access to exclusive meetups, social accreditation, and swag.
Sign up now

