Although building React applications is mostly straightforward for experienced developers, the setup, scaffolding, and configuration for a React application can be daunting. However, Facebook’s open source tool Create React App has made this process more seamless by allowing developers to generate the necessary folder structures and install the required npm packages for building production-ready applications with just a single command.

Despite this breakthrough innovation in React applications, many developers face unanswered questions regarding where and how to deploy a React application. In this article, we’ll explore the available options for preparing and deploying React applications, running through a few examples. Let’s get started!
To follow along with this tutorial, you’ll need:
First, we’ll work through initializing a new React application using Create React App. To get started, navigate to your working directory and run the command below to create a new React application:
npx create-react-app self-hosting-react
Let’s break down the command above. The prefix npx stands for Node Package Execute, which is responsible for running Node.js packages that are hosted at the npm registry. create-react-app is the actual npm package, while self-hosted-app is the name of the folder that will house all the generated files for React. Once initialization is complete, run the command below to confirm that the installation was successful:
npm start
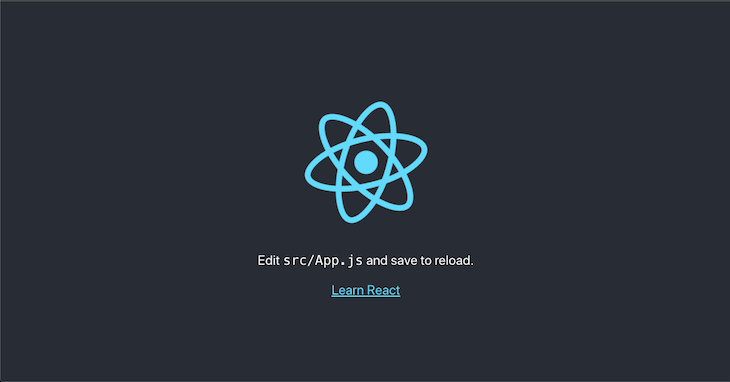
The command above should open the generated web app in your default browser, usually pointing to port: 3000. If you have another process running on the same port, then it will ask you to use another port. Your web app will look similar to the screenshot below:

To prepare your Create React App application for deployment, first, we’ll have to create a production version of our application by running the command below:
npm run build
The command above will create build files for our application and store them in a folder named build at the root directory of our application. See the screenshot below for reference:

Next, we have to remove the /build folder from gitignore, ensuring it’ll be pushed alongside other files to GitHub. Open up the gitignore file and remove the /build line:
# See https://help.github.com/articles/ignoring-files/ for more about ignoring files.
# dependencies
/node_modules
/.pnp
.pnp.js
# testing
/coverage
# production
/build //remove this line
# misc
.DS_Store
.env.local
.env.development.local
.env.test.local
.env.production.local
npm-debug.log*
yarn-debug.log*
yarn-error.log*
Now that we’ve added the build files as part of the files we’ll push to GitHub, visit new-repo, create a new repo called self-hosting-react, and push the web files to GitHub:
git add .
git commit -m "Initial commit"
git branch -M main
git remote add origin https://github.com/emmanueletukudo/self-hosting-react.git
git push -u origin main
With all the web files pushed to GitHub, we’ll create a web server to handle all the requests sent for the web application. Create a folder called server at the root directory of the project, create a file called server.js, and add the code snippet below:
const path = require("path");
const express = require("express");
const app = express();
const publicPath = path.join(__dirname, '..', "build");
const port = process.env.PORT || 5000;
app.use(express.static(publicPath));
app.get('*', (res, req) => {
  res.sendFile(path.join(publicPath, 'index.html'));
})
app.listen(port, () => console.log(`App listening at port: ${port}`));
With the code snippet above, we accessed the build folder using the Node.js built-in path package. We then proceed to point all requests to the web application to the index.html file. You can read more about deploying Create React App in the official docs.
If you run the command below, you should now have the web application running on port: 5000:
node server/server.js
Now that we’re done with the necessary configuration required for deployment, lastly, we’ll update the package.json to serve server.js when the start script is run.
Update the package with the snippet below:
//change the start script:
"start": "node server/server.js",
//make the old start script on development
"dev": "react-scripts start",
"build": "react-scripts build",
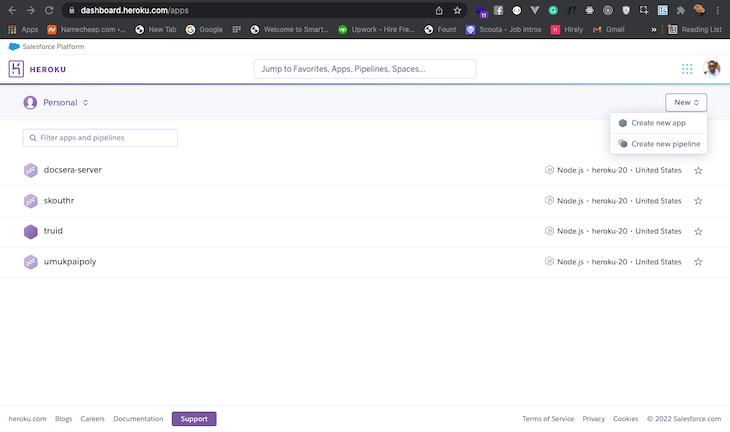
To deploy your Create React App application to Heroku, you’ll need to register and obtain an account. Once you’ve successfully logged into your account, click on New, and select Create new app:

Next, click on the git deployment option, search for the repository name you created in the previous section, which is self-hosting-react in our case, and click Connect:

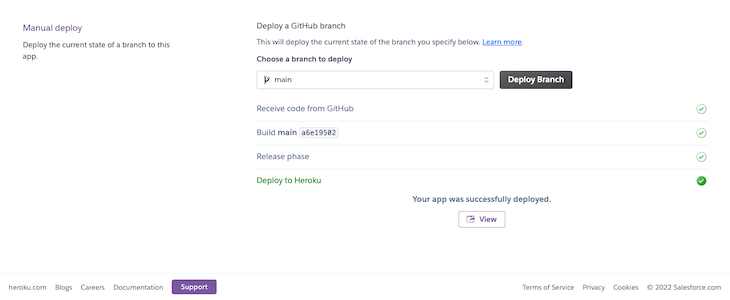
To enable auto-deployment, click Enable Automatic Deploys, then click the deploy branch. To view the application on the live server, click View:

Now, the application should be running at https://self-hosting-react.herokuapp.com.
Deploying to DigitalOcean has a similar workflow as deploying to Heroku. All you need to do is to log into your DigitalOcean server via SSH. You should already have an account registered on DigitalOcean, a droplet set up with Node.js and Nginx installed, and SSH enabled on your droplet. To proceed, follow the instructions below:
SSH into your web server:
ssh user@your-droplet-ip
Navigate to the /www directory:
cd /var/www
Clone the web files from GitHub:
git clone https://github.com/your-username/self-hosting-react.git
Create an Nginx server block to run the application and open the server block file:
touch /etc/nginx/sites-available/your_domain
sudo nano /etc/nginx/sites-available/your_domain
Add the code snippet below:
server {
        listen 80;
        listen [::]:80;

        root /var/www/self-hosting-react/build;
        index index.html index.htm index.nginx-debian.html;

        server_name your_domain www.your_domain;

        location / {
                try_files $uri $uri/ =404;
        }
}
The code block above creates definitions for an Nginx server block that will point every request to the HTML file in the build folder.
In sites-enabled, create a symlink of the server block:
sudo ln -s /etc/nginx/sites-available/your_domain /etc/nginx/sites-enabled/
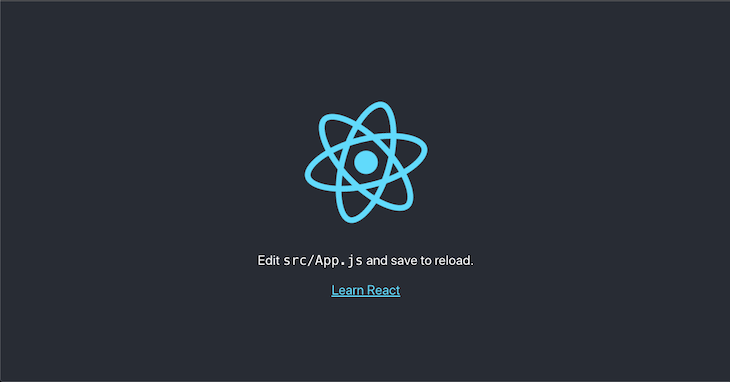
Create React App creates a deployment build of the application and serves it as an HTML file. A request to the domain you’ve selected above should return an output similar to the screenshot below:

Self-hosting a React application can be very economical, especially if your intention is to have total control over your deployment, build tools, and workflow.
In this article, we explored options for self-hosting applications created with Create React App, including Heroku and DigitalOcean with Nginx. I hope you enjoyed this tutorial! Be sure to leave a comment if you have any questions.
Install LogRocket via npm or script tag. LogRocket.init() must be called client-side, not
server-side
$ npm i --save logrocket

// Code:

import LogRocket from 'logrocket';
LogRocket.init('app/id');
// Add to your HTML:

<script src="https://cdn.lr-ingest.com/LogRocket.min.js"></script>
<script>window.LogRocket && window.LogRocket.init('app/id');</script>
Hey there, want to help make our blog better?
Join LogRocket’s Content Advisory Board. You’ll help inform the type of content we create and get access to exclusive meetups, social accreditation, and swag.
Sign up now
Discover how to use Gemini CLI, Google’s new open-source AI agent that brings Gemini directly to your terminal.

This article explores several proven patterns for writing safer, cleaner, and more readable code in React and TypeScript.

A breakdown of the wrapper and container CSS classes, how they’re used in real-world code, and when it makes sense to use one over the other.

This guide walks you through creating a web UI for an AI agent that browses, clicks, and extracts info from websites powered by Stagehand and Gemini.