For many developers and software engineers, an all-in-one development tool has been something to look forward to. WMR is an all-in-one development tool for modern web apps built by the Preact team, with a very small size and no dependencies.

WMR was developed with features that will enable developers to build web apps from development to production. Compared to many other single development tools, WMR stands out because of the following perks:
WMR is initialized with no entry points or pages to configure, it comes with just HTML files that contain scripts with type modules i.e <script type=module>.
WMR was built to support server-side rendering out of the box, it also prerenders your application’s pages to static HTML at build time.
WMR provides support for TypeScript out of the box.
WMR allows you to safely import npm packages without installation, with this you can import an npm package without running npm install which will install additional dependencies.
WMR comes out of the box with the ability for your npm dependencies to be bundled for whenever you want it, it also caches your history on your build machine.
WMR comes in-built with support for HTTP2 in development and production modes.
WMR provides support for Rollup plugins, even when it’s not used in development.
Rollup is a module bundler for JavaScript that compiles bits of code to be more complex, similar to a library.
The Replay is a weekly newsletter for dev and engineering leaders.
Delivered once a week, it's your curated guide to the most important conversations around frontend dev, emerging AI tools, and the state of modern software.
In this section, we are going to build a notes app. Users will be able to write notes, view, and also delete notes they’ve written.
Similar to a number of SSR frameworks, WMR allows us to build our components and render them as pages. Leveraging this, we will be building our app as a single page inside an app directory, and we will render the application in our project’s index.js file. First, let’s initialize a new WMR project using the code block below.
To initialize a project using WMR, first, you need to install the package using a package manager.
Using npm:
npm init wmr wmr-notes-app
or using yarn:
yarn create wmr wmr-notes-app
The above command initializes an empty WMR project, in our case, the first command creates a WMR project with wmr-notes-app as the project name, it can be replaced with whatever name you choose to use. Next, let’s install a package for our icons:
npm i react-icons
The above package will be used for adding icons to our application.
Next, change into your project directory and start your development server by running:
cd wmr-notes-app && npm start
The command starts a server on http://localhost:8080, if you open the address on your local machine, it will display a site similar to this:
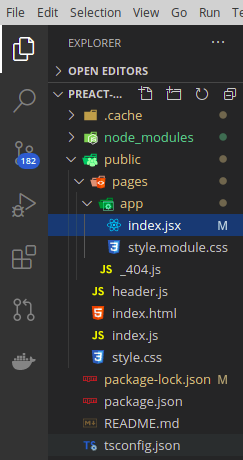
Next, let’s restructure the application folder to look like this:
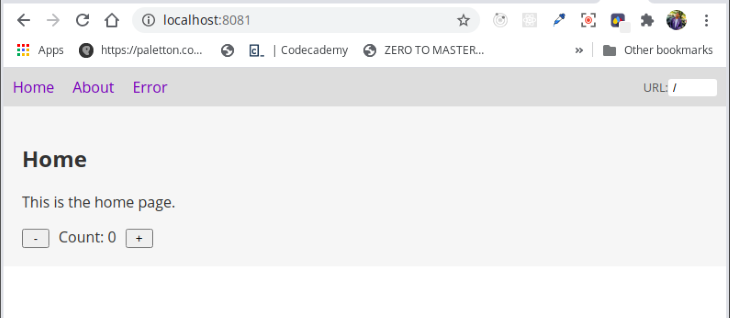
To do that, in the public/pages, let’s delete the following files and folders, home and about directories.
These files are mostly used for applications that will require a home and about page, having done that, let’s get started on building our application.
We will start off with creating a new folder called app and inside the folder, create a file called index.js. Note that the filename can be whatever you want, however you see fit.
Next, we create a functional component called NoteApp with two states, one for creating a note and another for displaying the current notes, the component will return a h1 element and an input field:
import { useState } from 'preact/hooks';
import { FaTrash } from "react-icons/fa";
import styles from './style.module.css';

export default function NoteApp() {
    const [Notes, setNotes] = useState([]);
    const [currNote, setcurrNote] = useState('');

    return (
        <section class={styles.wmr_app}>
            <h1>WMR Note App</h1>
            <div class={styles.inputArea}>
            <input />
         </div>
        </section>
    )
}
In the code block above, first, we imported the useState hook from preact/hooks, we also imported our icon for delete and our styles from the module.css file.
In our NoteApp component, first, using the React useState hook, we initialized an initial value for our notes and another one state to handle our current note, our application, for now, returns a header element and a div for our input field. Before we refresh our browser, let’s write the style as we’ve included it in our section and div tags:
.wmr_app {
    background: white;
    height: 100vh;
}

@media (min-width: 768.11px) {
    .inputArea {
        color: black;
    }
}
In this section, we will write a function that will act as a backbone for adding notes to our application, for this we will initialize a function addNote which will take in an ID for our notes and set it as the state of our application:
const addNote = note_content => {
        Notes.push({
            id: Notes.length,
            note: note_content
        });
        setcurrNote('');
    }
In the code above, we initialized a constant addNote that takes in our Notes, and using the native JavaScript array method push, which takes in an ID and note parameter to add a new note, and set it as the current state of our application. The push method adds a new note to our array of notes and then returns a new length of the array. Next, we will write a function to delete notes from our application.
Here, we will write a function to delete notes we added to our application, we will be using the native JavaScript method .filter to check if a note id is not equal to the id of the note we want to remove from the array, then return the new notes in the array, like this:
const deleteNote = note_idx => {
    const notes = Notes.filter(note => note.id !== note_idx);
    setNotes(notes);
}
Next, we’ll write a function to display our notes as soon as its added, this function will also automatically add a delete icon to each note as soon as it’s added to our list of notes:
const extractNotes = () => (
    Object.values(Notes).map(note => (
        <li key={note.id} class={styles.noteItem}>
            <span class={styles.deleteIcon} onClick={ e => deleteNote(note.id) }>
                <FaTrash size={20} color={"red"} />
            </span>
            { note.note }
        </li>
      )
  )
In the code block, we initialized a function extractNotes with the object.values method which returns the values of our array in the same way it is provided. Next, we map through, returning an li with a delete button, and then display the returned note.
To complete this, let’s add styles for our list item and our delete icon:
.noteItem {
    padding: 16px;
    border-radius: 3px;
    background-color: #f2f9fb;
    box-shadow: 1px 1px 3px 1px #efefef;
    font-size: 20px;
    max-width: 400px;
    margin: 10px auto;
}
.deleteIcon {
    padding: 14px;
    background-color: #eee;
    border-radius: 3px;
    margin-right: 20px;
}
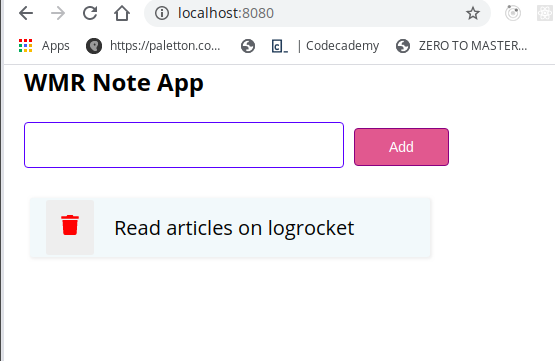
If we did this correctly, our app should look something like this:
To conclude our application, let’s finish the last component that renders our application, here we will finish our input field and add a button to add notes to our application and then render the notes we’ve added:
return (
    <section class={styles.wmr_app}>
        <h1>WMR Note App</h1>
        <div class={styles.inputArea}>
            <input
                class={styles.inputField}
                type="text" value={currNote}
                onChange={ e => setcurrNote(e.currentTarget.value) }
                onKeyUp={ e => e.key == 'Enter' ? addNote(currNote) : null }
            />
            <button class={styles.button} onClick={ () => addNote(currNote) }>Add</button>
        </div>
        <div class={styles.notes_list_wrapper}>
            <ul class={styles.unstyled_list}>
                { extractNotes() }
            </ul>
        </div>
    </section>
  )
}
In the code block above, we are returning an input field that takes in an onChange event that sets our current note to the value of our input field. We also added a keypress event that on key up adds the value of our input field to our notes.
Next, we added a button to input our notes to our application, after this, we rendered the added notes. To complete our application, let’s add the CSS properties and then show the image of our final application:
.unstyled_list {
    list-style: none;
    padding: 0;
}

.notes_list_wrapper {
    border-radius: 5px;
    padding: 6px;
    max-width: 400px;
}
.button {
    font-size: 14px;
    border: 1px solid purple;
    background-color: palevioletred;
    color: white;
    border-radius: 4px;
    padding: 10px 34px;
    margin: 10px;
}
.button:hover {
    border: 1px solid purple;
    background-color: purple;
}
@media (min-width: 768.11px) {
    .inputField {
        border: 1px solid blue;
        padding: 10px;
        font-size: 21px;
        border-radius: 4px;
    }
    .inputField:hover, .inputField:focus {
        outline: none !important;
        box-shadow: none !important;
        border: 1px solid green;
    }
}
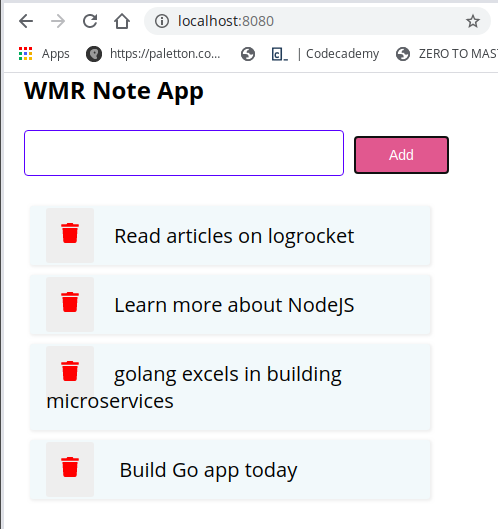
Our final application should look something like this:
In this post, we’ve learned about WMR, its features, and how to use WMR to build a notes app, we’ve also seen how to use module.css to add styles to our application. The code used in this article can be found on GitHub.
Install LogRocket via npm or script tag. LogRocket.init() must be called client-side, not
server-side
$ npm i --save logrocket

// Code:

import LogRocket from 'logrocket';
LogRocket.init('app/id');
// Add to your HTML:

<script src="https://cdn.lr-ingest.com/LogRocket.min.js"></script>
<script>window.LogRocket && window.LogRocket.init('app/id');</script>

Learn what context rot is, why AI agent sessions degrade over time, and how to fix it with compaction, prompt anchoring, context files, plan files, and RAG.

Learn about TypeScript v6’s breaking changes, new ES2025 features, and deprecated options. A complete migration guide from v5 to prepare for v7.

Learn how Vite+ unifies Vite, Vitest, Oxlint, Oxfmt, Rolldown, and Node.js management in one CLI.

AI companies are buying developer tools as coding agents turn runtimes, package managers, and linters into strategic infrastructure.
Hey there, want to help make our blog better?
Join LogRocket’s Content Advisory Board. You’ll help inform the type of content we create and get access to exclusive meetups, social accreditation, and swag.
Sign up now
